Introduction: Understanding the Morel Mushroom
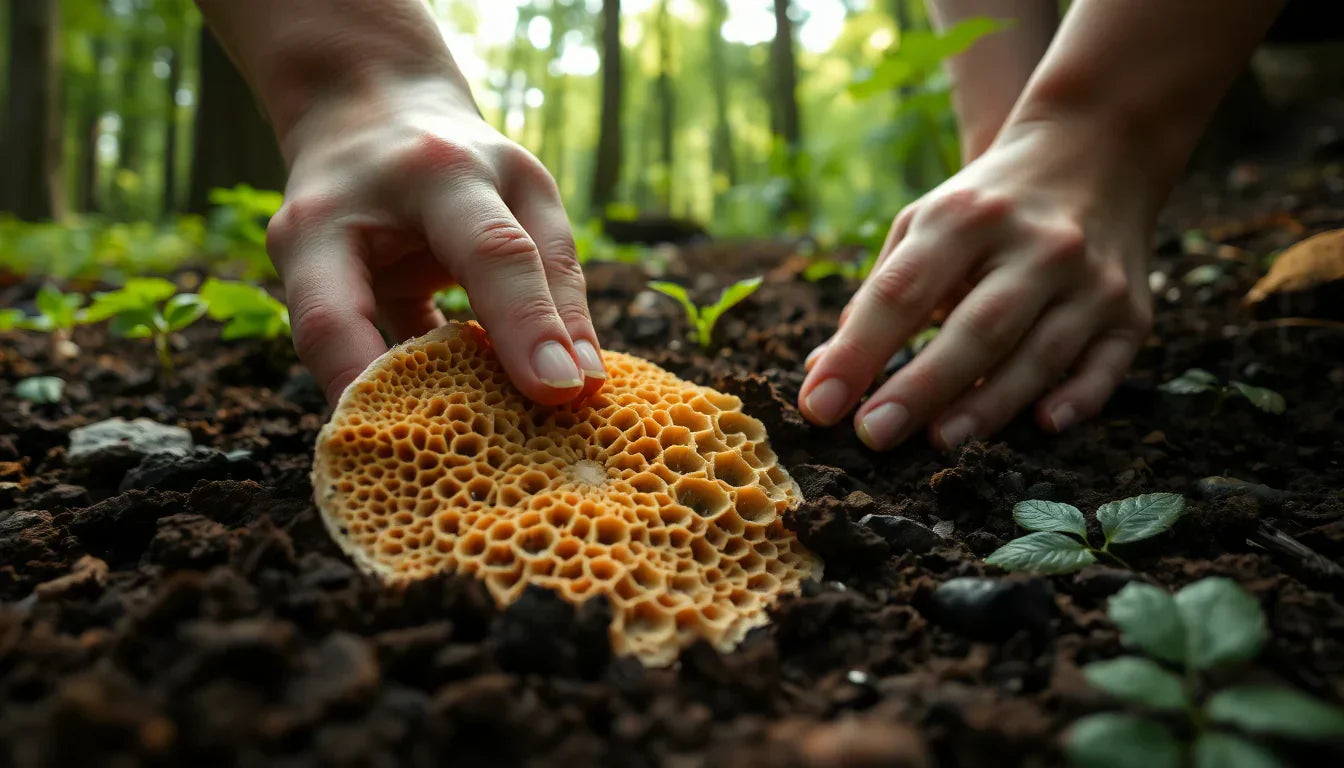
Morel mushrooms (Morchella spp.) are among the most sought-after edible fungi in the world, prized for their distinctive honeycomb caps, rich nutty flavor, and meaty texture. These gourmet delicacies typically appear in the wild during spring, often in areas that have experienced environmental disturbances such as forest fires or around dying trees.
For mushroom enthusiasts, learning how to plant morel mushrooms at home can be a rewarding endeavor, albeit one that requires patience and attention to detail. Unlike more commonly cultivated mushrooms such as oysters or button mushrooms, morels have a complex life cycle and specific environmental requirements that make them challenging to grow.
This comprehensive guide will walk you through the process of planting and cultivating morel mushrooms, from understanding their growth habits to selecting the right cultivation method for your situation. While success is never guaranteed with morels, the methods outlined here have proven effective for many home growers, and with persistence, you may soon be harvesting these valuable fungi from your own property.

The Morel Mushroom Life Cycle
Before attempting to plant morel mushrooms, it's important to understand their natural growth cycle, as this knowledge will inform your cultivation approach.
Understanding Morel Biology
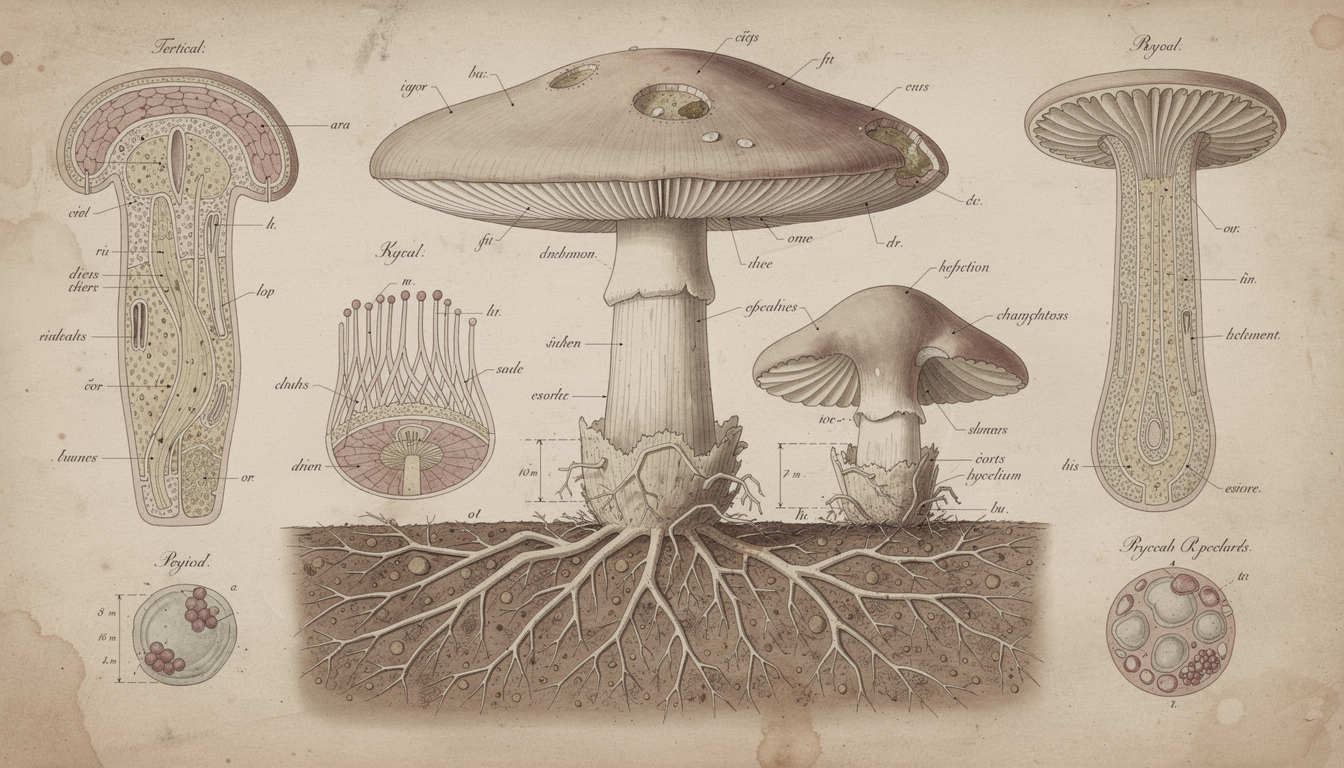
Morels are ascomycete fungi with a unique life cycle that includes several distinct phases:
-
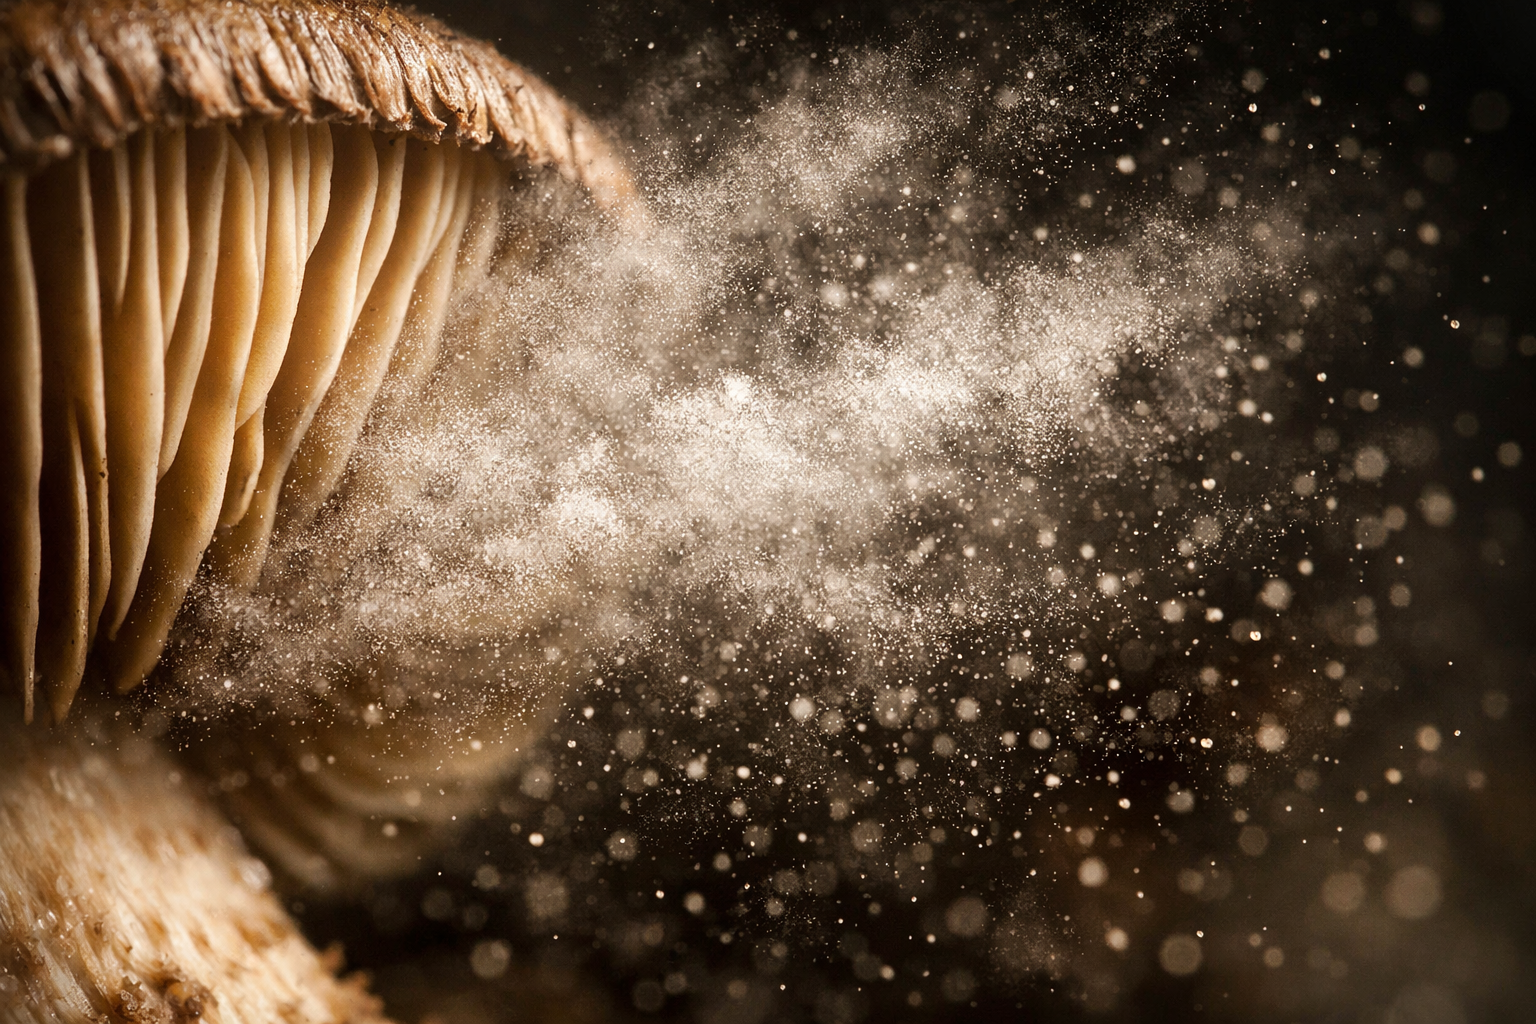
Spore Germination: When conditions are right, microscopic spores released from mature morels germinate and form thin, thread-like structures called hyphae.
-
Mycelium Development: The hyphae grow and branch out to form a network called mycelium, which spreads through the soil and organic matter, gathering nutrients.
-
Sclerotium Formation: Under certain conditions, morel mycelium forms a hardened mass called sclerotium, which is a food storage structure that helps the fungus survive unfavorable conditions.
-
Fruiting Body Production: When environmental triggers (such as temperature fluctuations, moisture levels, and nutritional factors) align, the mycelium or sclerotium produces the familiar honeycomb-capped mushrooms we recognize as morels.
Understanding this cycle is crucial because successful morel cultivation requires recreating the conditions that trigger each phase, particularly the transition from mycelium or sclerotium to fruiting body.
Natural Growing Conditions
In nature, morels tend to appear:
- In early spring, after soil temperatures reach around 50-60°F (10-15°C)
- In areas with deciduous trees, particularly elm, ash, poplar, and apple trees
- Following environmental disturbances such as forest fires
- In soils with a pH between 6.0 and 7.5
- In areas receiving filtered sunlight
- In well-drained yet consistently moist soil
By mimicking these conditions in your cultivation efforts, you'll increase your chances of success.
Choosing a Cultivation Method
There are several approaches to planting morel mushrooms, each with its own advantages and challenges. The three most common methods are:
1. Spore Slurry Method
This approach involves creating a liquid solution containing millions of morel spores, which is then used to inoculate a prepared growing area.
2. Spawn Method
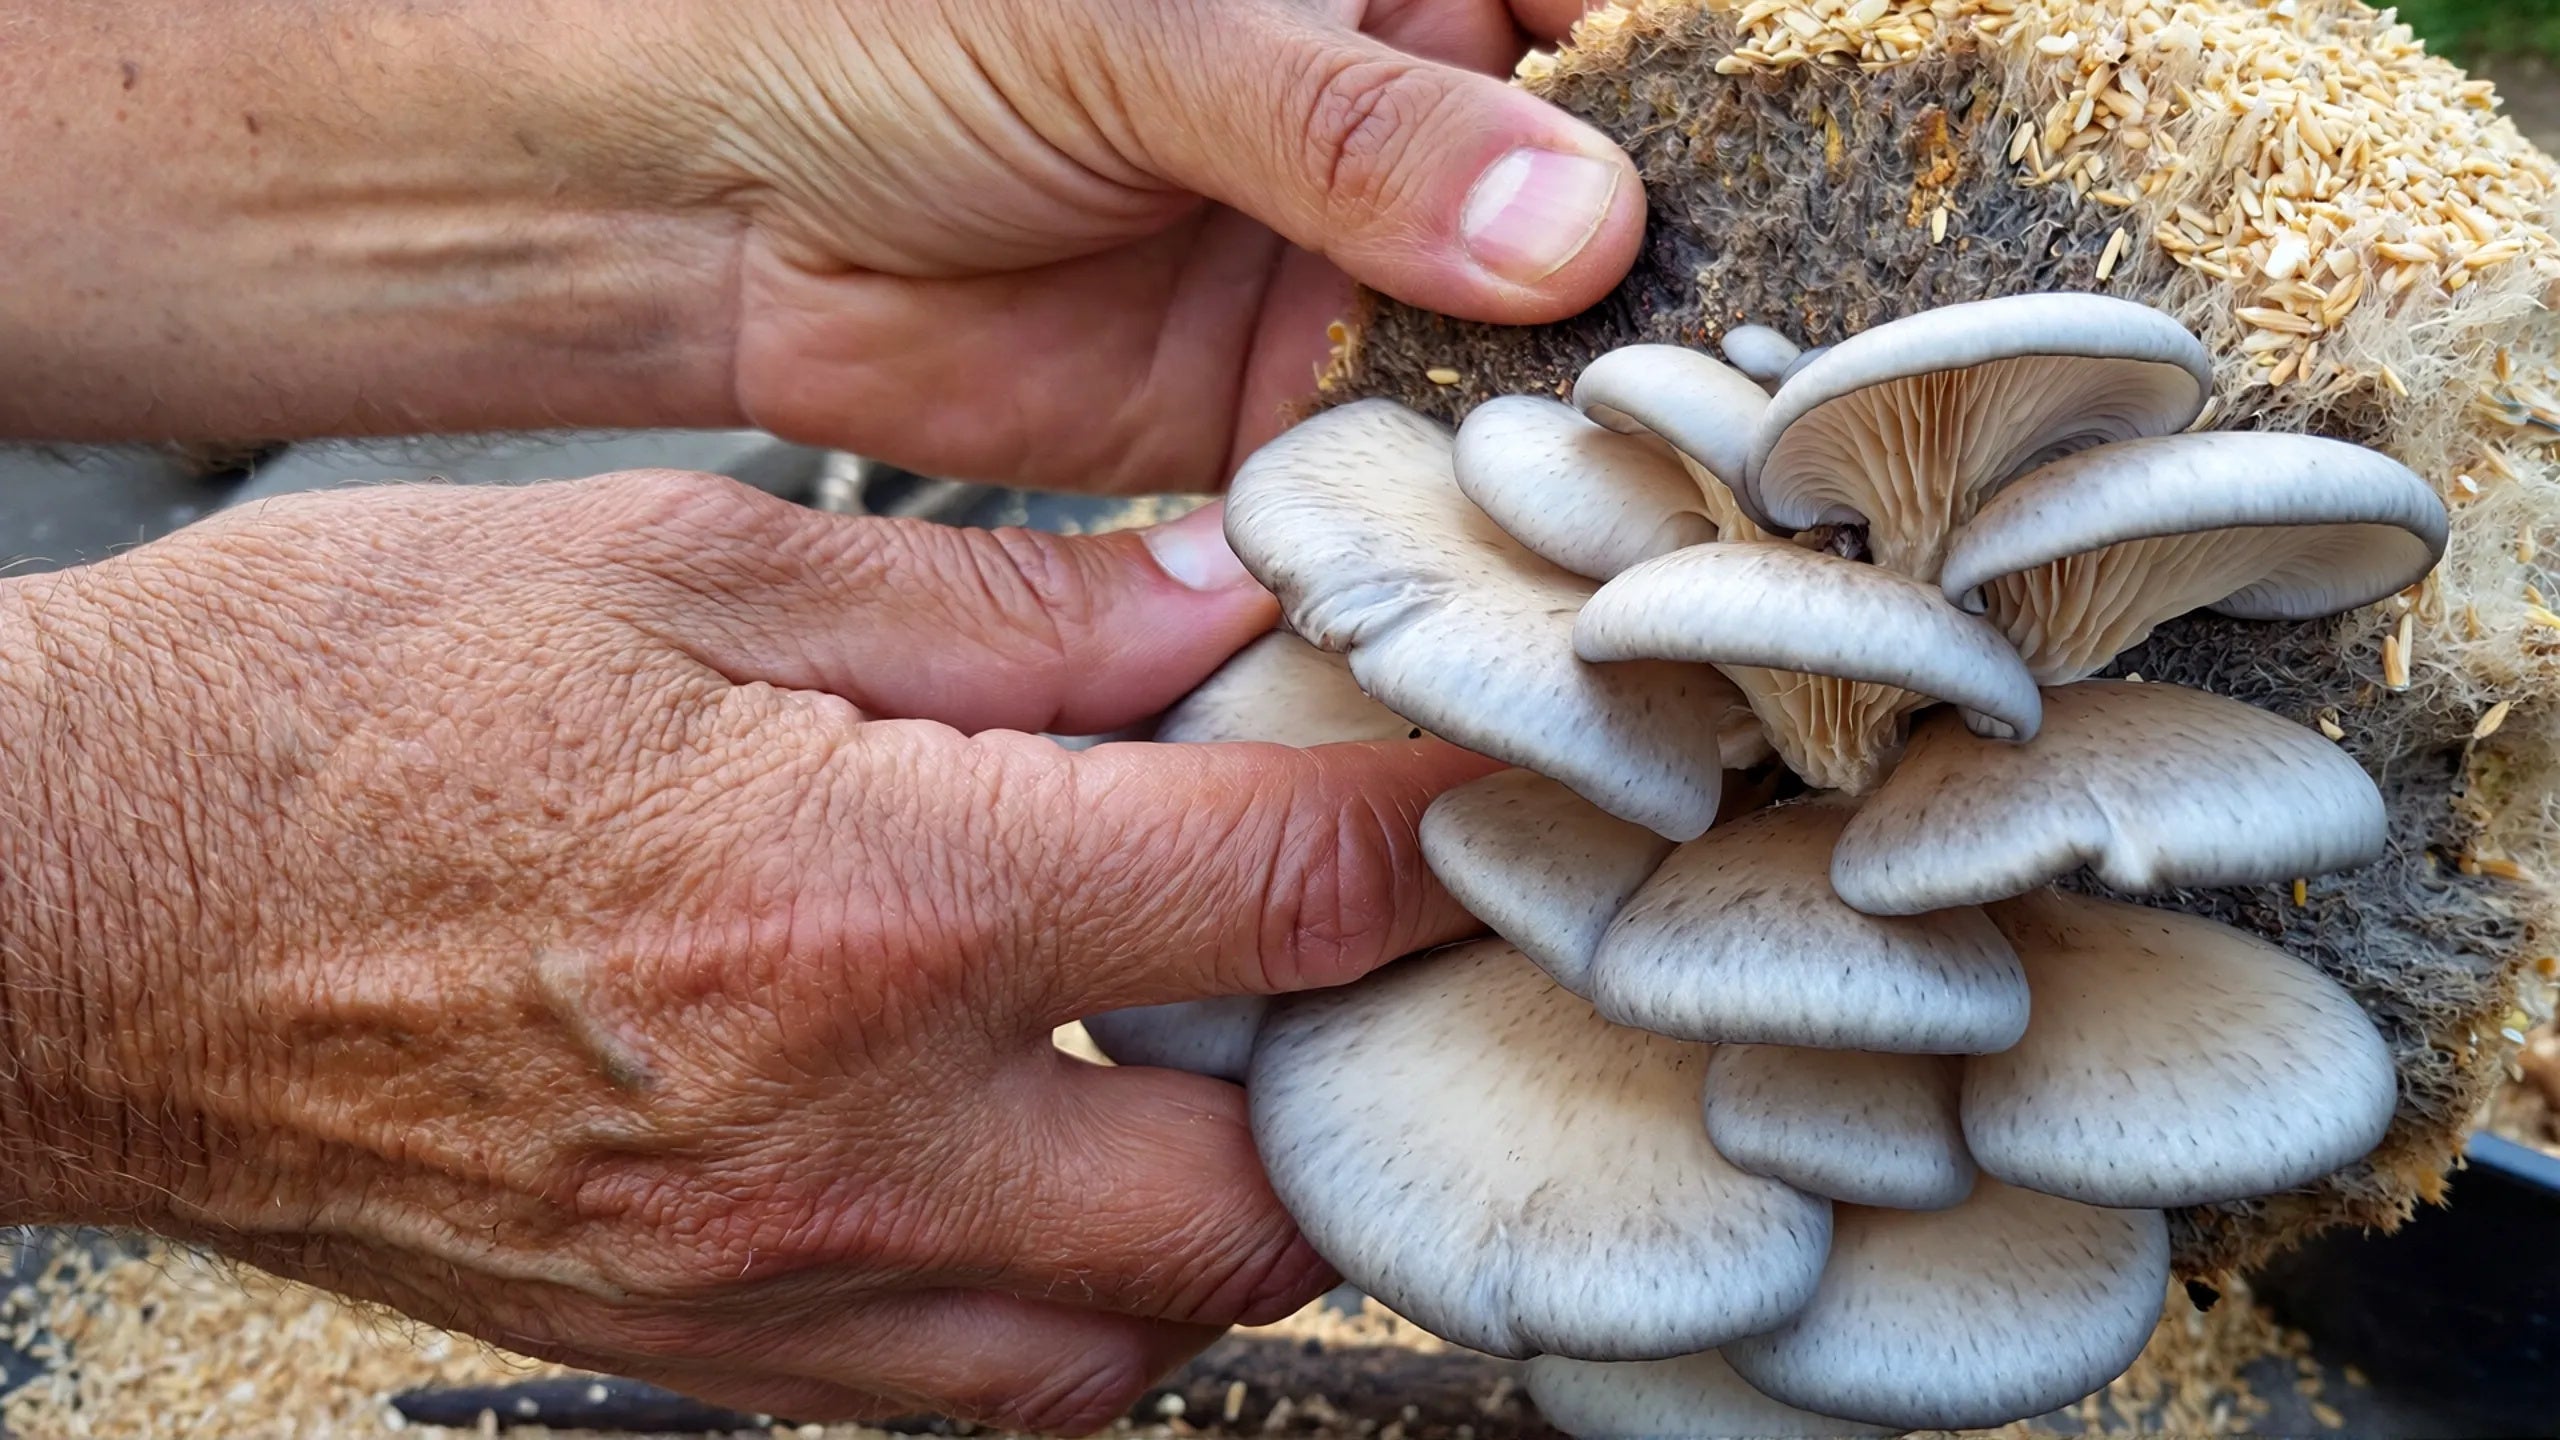
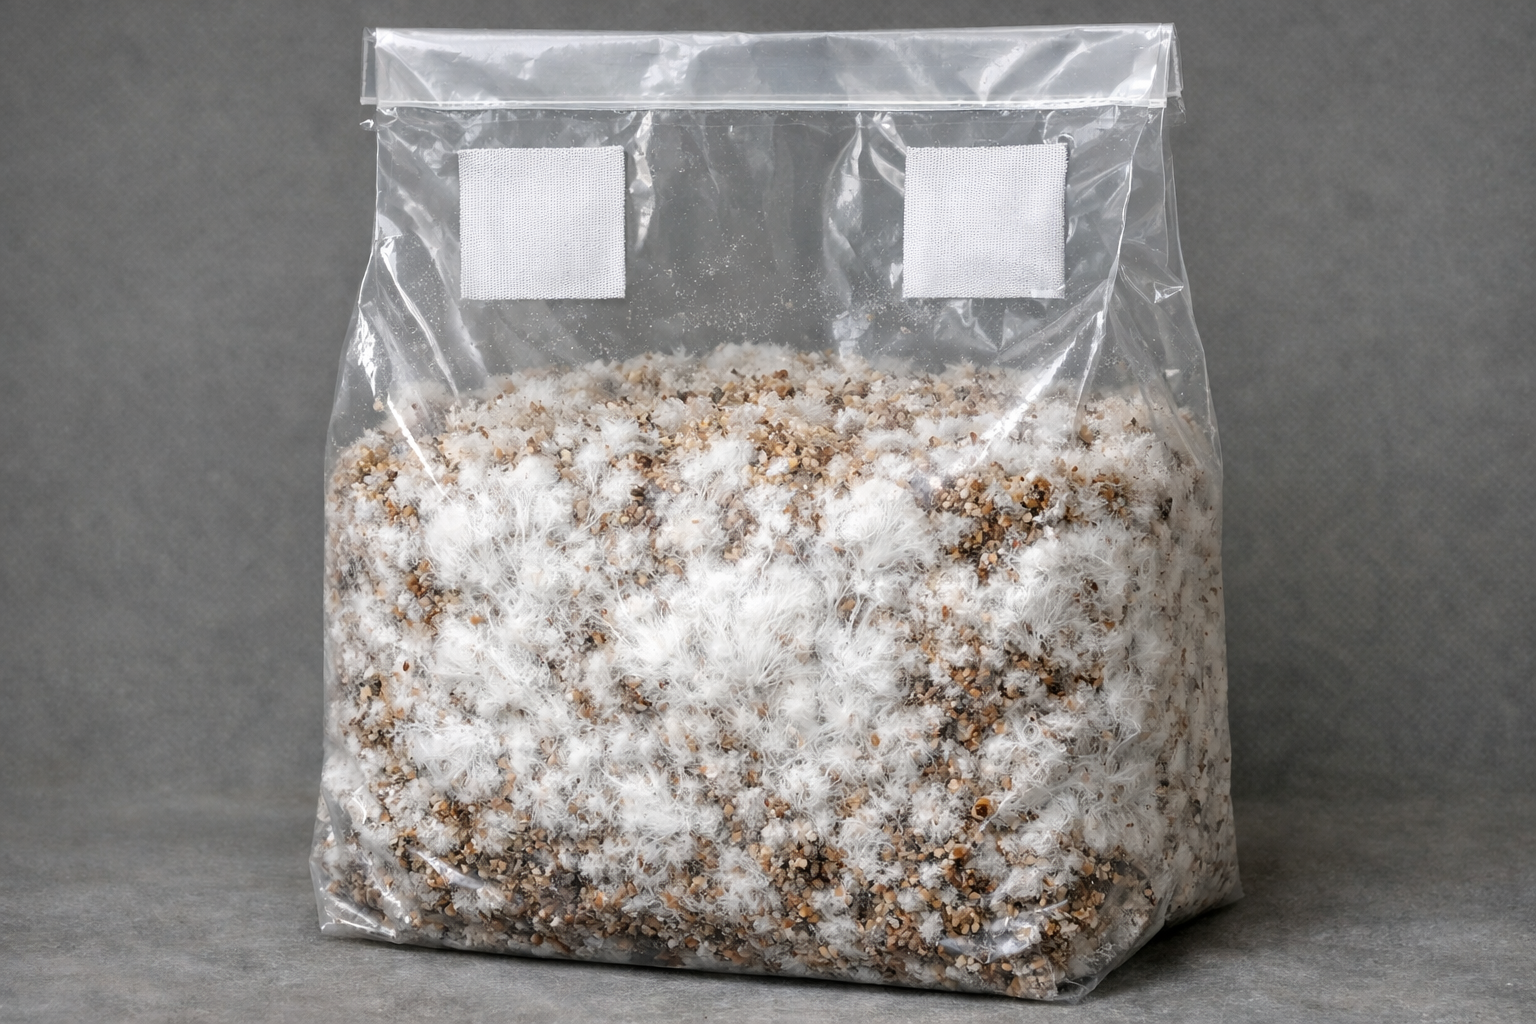
This method uses commercially prepared morel spawn—mycelium that has already colonized a growing medium such as grain or sawdust—to introduce the fungus to your growing area.
3. Transplanting Mycelium
This technique involves carefully transferring wild morel mycelium from an established growing location to a new area with similar conditions.
For beginners, the first two methods are generally more accessible and reliable. We'll focus primarily on the spore slurry and spawn methods in this guide.
Method 1: The Spore Slurry Technique
The spore slurry method is a popular approach for establishing morel patches outdoors, as it mimics the natural process of spore dispersal but in a concentrated manner.
Materials Needed:
- Fresh or dried morel mushrooms (preferably fresh)
- Non-chlorinated water (distilled, spring, or rainwater)
- A clean bucket or container (food-grade plastic or glass)
- Optional: molasses or honey (1 tablespoon per gallon of water)
- Optional: a pinch of non-iodized salt
- Wood ash (preferably from hardwoods like elm, ash, or apple)
- Hardwood chips (from elm, ash, apple, or oak trees)
Step-by-Step Process:
1. Prepare the Slurry
Start with clean, non-chlorinated water in a food-safe container. Add a pinch of salt and about a tablespoon of molasses to the water and stir. The salt helps inhibit bacterial growth, while the molasses provides sugars for germinating spores.
Alternative preparation methods include:
- Boiled Water Method: Boil water, let it cool completely, then add your ingredients
- Blender Method: For faster preparation, blend clean morels with water
2. Add the Mushrooms
Soak a freshly picked morel in a bucket of distilled water overnight. The spores will release into the water, creating a slurry that can be used for planting.
If using multiple mushrooms, ensure they're mature but not decaying. Do not clean the mushrooms beforehand, as you want to preserve as many spores as possible.
3. Let It Steep
Allow the mixture to sit for 24-48 hours at room temperature. During this time, millions of spores will release into the water. Cover the container with a breathable cloth to prevent contamination while allowing air exchange.
4. Prepare Your Planting Location
While the slurry steeps, prepare your planting location:
Shade is important for morels, and if you plan on growing them in your garden, you'll need to plant them under a tree or use shade cloth to shield your morel patch from direct sunlight.
Ideal locations include:
- Areas around elm, ash, oak, or apple trees
- Partially shaded garden beds
- Forest edges with dappled sunlight
- Areas with well-drained, loamy soil
5. Enhance the Soil
Wood chips, wood ash, peat moss, and sand are also desirable soil additives for growing morels. Many homeowners have success in growing morels near a tree stump or in a mix of decaying wood chips from ash, elm, or oak trees.
To prepare the soil:
- Remove weeds and debris
- Mix in wood ash from hardwood sources
- Add partially decomposed wood chips
- Consider adding a small amount of peat moss and sand for drainage
6. Apply the Slurry
For the spore slurry method, the idea is to mix billions of Morel spores with water into buckets. You then pour these buckets in areas that you want your Morel mushrooms to grow.
Pour the spore slurry over the prepared area, ensuring even distribution. Some growers recommend adding wood ash directly to the slurry before application.
7. Add a Top Layer
After applying the slurry, cover the area with a thin layer (1/2 inch to 1 inch) of wood chips, ideally from elm, ash, or apple trees. This protective layer helps maintain moisture and provides additional nutrients as it decomposes.
8. Maintain the Area
Keep the area consistently moist, similar to a wrung-out sponge. Water during dry periods, but avoid saturating the soil. Protect the area from disturbances and foot traffic.
9. Practice Patience
In a newly "seeded" area, it will take three- to five-years for a network of underground filaments called mycelium to form. The mushrooms, which are the fruiting bodies, are the last stage of growth.
This is perhaps the most challenging aspect of growing morels—the waiting period can be extensive. Some growers see results in as little as one year, while others may wait several years before harvesting their first morels.
Method 2: Using Morel Spawn
For those seeking a potentially more reliable method, using commercially produced morel spawn can increase your chances of success.
Materials Needed:
- Morel mushroom spawn (purchased from a reputable supplier)
- Hardwood chips (elm, ash, apple, or oak)
- Wood ash
- Peat moss (optional)
- Sand (optional)
- Garden tools for preparation
Step-by-Step Process:
1. Purchase Quality Spawn
Source your morel spawn from a reputable supplier who specializes in mushroom cultivation. The spawn should be fresh and free from contamination.
Types of spawn available include:
- Plug spawn (wooden dowels inoculated with morel mycelium)
- Grain spawn (grain colonized with morel mycelium)
- Sawdust spawn (sawdust colonized with morel mycelium)
2. Select and Prepare Your Location
Morel cultivation has proven to be a tricky process. A basic goal to start would be the introduction of morel mycelium into your landscape.
Choose a location following the same criteria as the spore slurry method:
- Shaded or partially shaded area
- Near compatible trees if possible
- Well-drained soil
- Protected from excessive foot traffic
Prepare the soil by removing weeds and loosening the top few inches.
3. Create a Suitable Substrate
Mix your substrate ingredients:
- Hardwood chips (preferably from elm, ash, or apple trees)
- Wood ash
- Garden soil
- Optional: small amounts of peat moss and sand
The exact ratios can vary, but a general guideline is:
- 60-70% hardwood chips
- 20-30% garden soil
- 5-10% wood ash
- 5% peat moss (if using)
4. Inoculate the Area
"Infecting" the roots of a young tree with mushroom spawn requires a very young elm, ash, or apple tree and some spawn from a morel mushroom kit. Plant the tree and spawn together, with the spawn strewn throughout the tree roots.
Alternatively, if not planting with a tree:
- Spread a layer of your substrate mix in the chosen location
- Break apart the spawn and distribute it evenly throughout the top few inches
- Mix gently to incorporate the spawn
- Add a top layer of hardwood chips
5. Maintain Optimal Conditions
To keep your morels healthy and thriving, ensure that they're adequately hydrated. Morels require frequent watering or moist soil to grow. Once fully grown, the soil should remain moist but not extremely wet.
Regular maintenance includes:
- Watering during dry periods
- Adding fresh hardwood chips annually
- Protecting the area from disturbances
- Removing competing vegetation
6. Wait for Fruiting
As with the spore slurry method, patience is essential. It may take 1-3 years (sometimes longer) before you see your first morels appear.
Method 3: Growing Morels with Young Trees
Another approach combines tree planting with morel cultivation, attempting to establish a mycorrhizal relationship between the fungus and tree roots.
Materials Needed:
- Young tree sapling (elm, ash, apple, oak, or poplar)
- Morel spawn or spore slurry
- Planting tools
- Mulch (hardwood chips)
Step-by-Step Process:
1. Select a Suitable Tree
Choose a young sapling of a tree species known to associate with morels:
- Elm (particularly American elm)
- Ash
- Apple
- Oak
- Poplar/aspen
2. Prepare the Planting Area
Dig a hole appropriate for the tree's root ball, making it slightly larger than necessary.
3. Inoculate During Planting
You'll need a very young elm, ash, or apple tree and some spawn from a morel mushroom kit. Plant the tree and spawn together, with the spawn strewn throughout the tree roots. Care for it as you would any young tree of the species you chose.
As you place the tree in the hole:
- Sprinkle morel spawn or pour spore slurry around and among the roots
- Ensure good contact between the spawn/slurry and the tree roots
- Fill in with soil as normal
4. Mulch and Maintain
Apply a layer of hardwood chips around the base of the tree, extending to the drip line. Care for the tree according to its species requirements while maintaining moisture in the soil.
5. Monitor for Morels
Check the area around the tree each spring for morel emergence. As the tree matures, the chances of morel fruiting may increase.
Advanced Method: Indoor Morel Cultivation
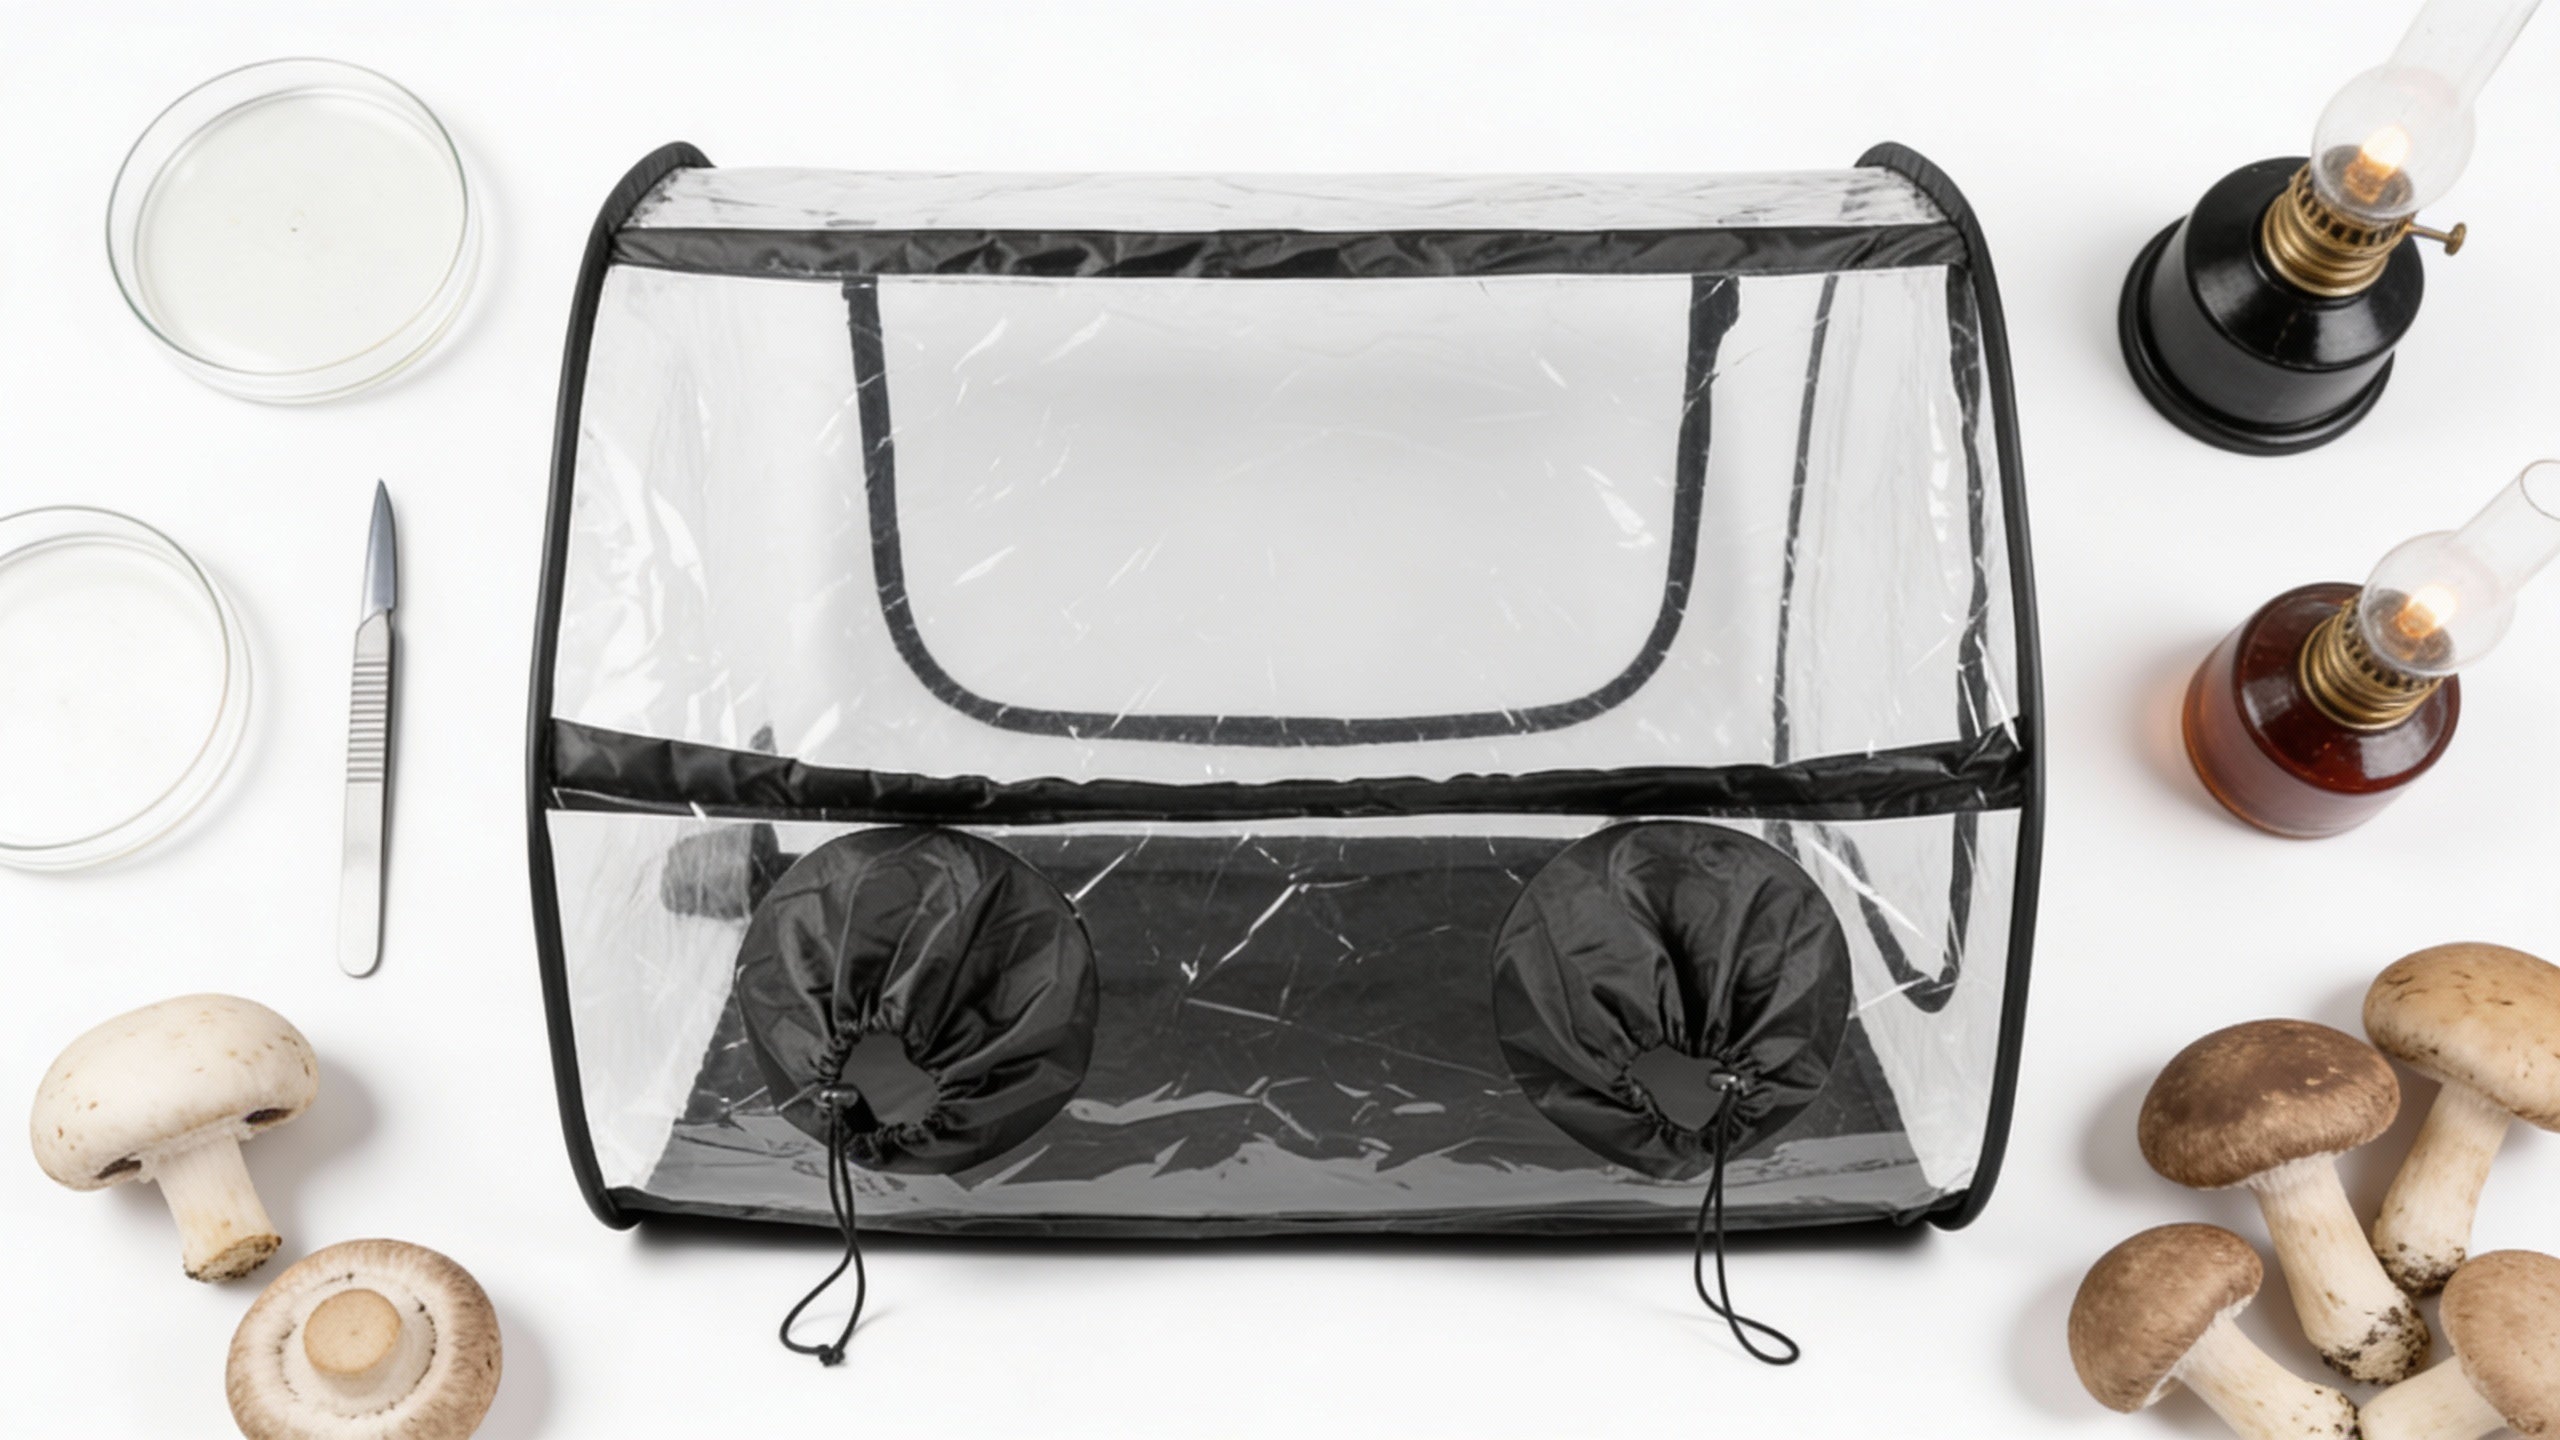
Indoor cultivation of morels is considerably more challenging and typically requires advanced cultivation skills and specialized equipment. However, for the dedicated enthusiast, it may be worth exploring.
For those interested in growing morel mushrooms indoors, creating a controlled environment can yield excellent results. Use a large container or grow bed filled with a mix of soil, compost, and sawdust. Ensure the container has drainage holes to prevent waterlogging.
This method typically involves:
- Developing morel cultures on agar or in liquid culture
- Transferring to sterilized grain spawn
- Creating a specialized substrate
- Managing the sclerotium formation phase
- Triggering fruiting through temperature fluctuation
Due to its complexity, indoor cultivation is generally not recommended for beginners and falls outside the scope of this guide.
Troubleshooting: Common Challenges in Morel Cultivation
Even with perfect technique, morel cultivation can be unpredictable. Here are some common issues and potential solutions:
No Fruiting After Several Years
Patience is key with morels, but if you've waited 3-5 years with no results, consider:
- Refreshing the area with additional spawn or slurry
- Adjusting soil composition
- Ensuring proper moisture levels
- Trying a different location
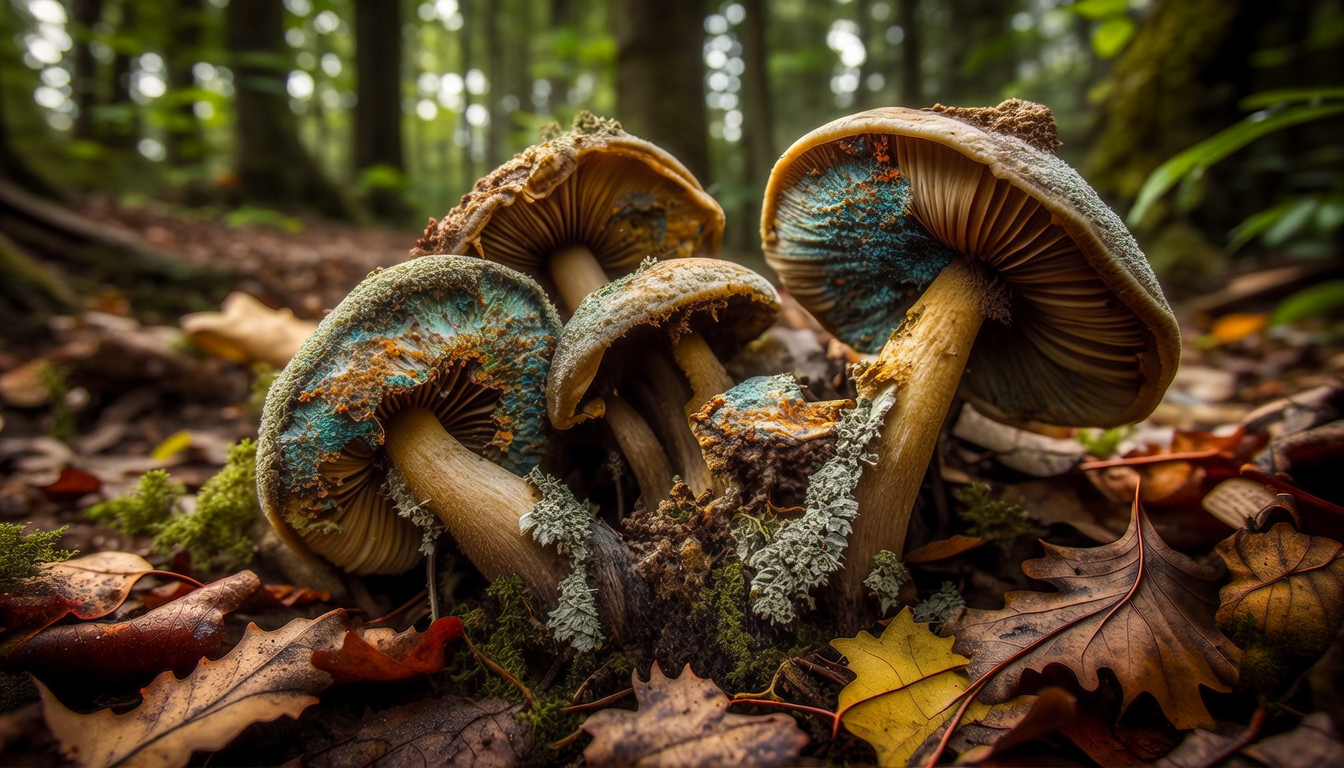
Contamination Issues
If you notice unwanted fungi or molds in your morel growing area:
- Remove visible contamination
- Add a fresh layer of clean hardwood chips
- Consider applying fresh spawn to outcompete contaminants
Wildlife Disturbance
Animals may disturb your morel beds:
- Consider installing a simple fence or barrier
- Use motion-activated deterrents
- Apply a slightly thicker layer of wood chip mulch

Harvesting and Enjoying Your Morels
Once your patience and efforts pay off and morels begin to appear, proper harvesting ensures continued production in future years.
When to Harvest
Harvest morels when:
- They reach 2-4 inches in height
- The caps have fully developed their honeycomb pattern
- The mushrooms feel firm to the touch
Proper Harvesting Technique
To harvest:
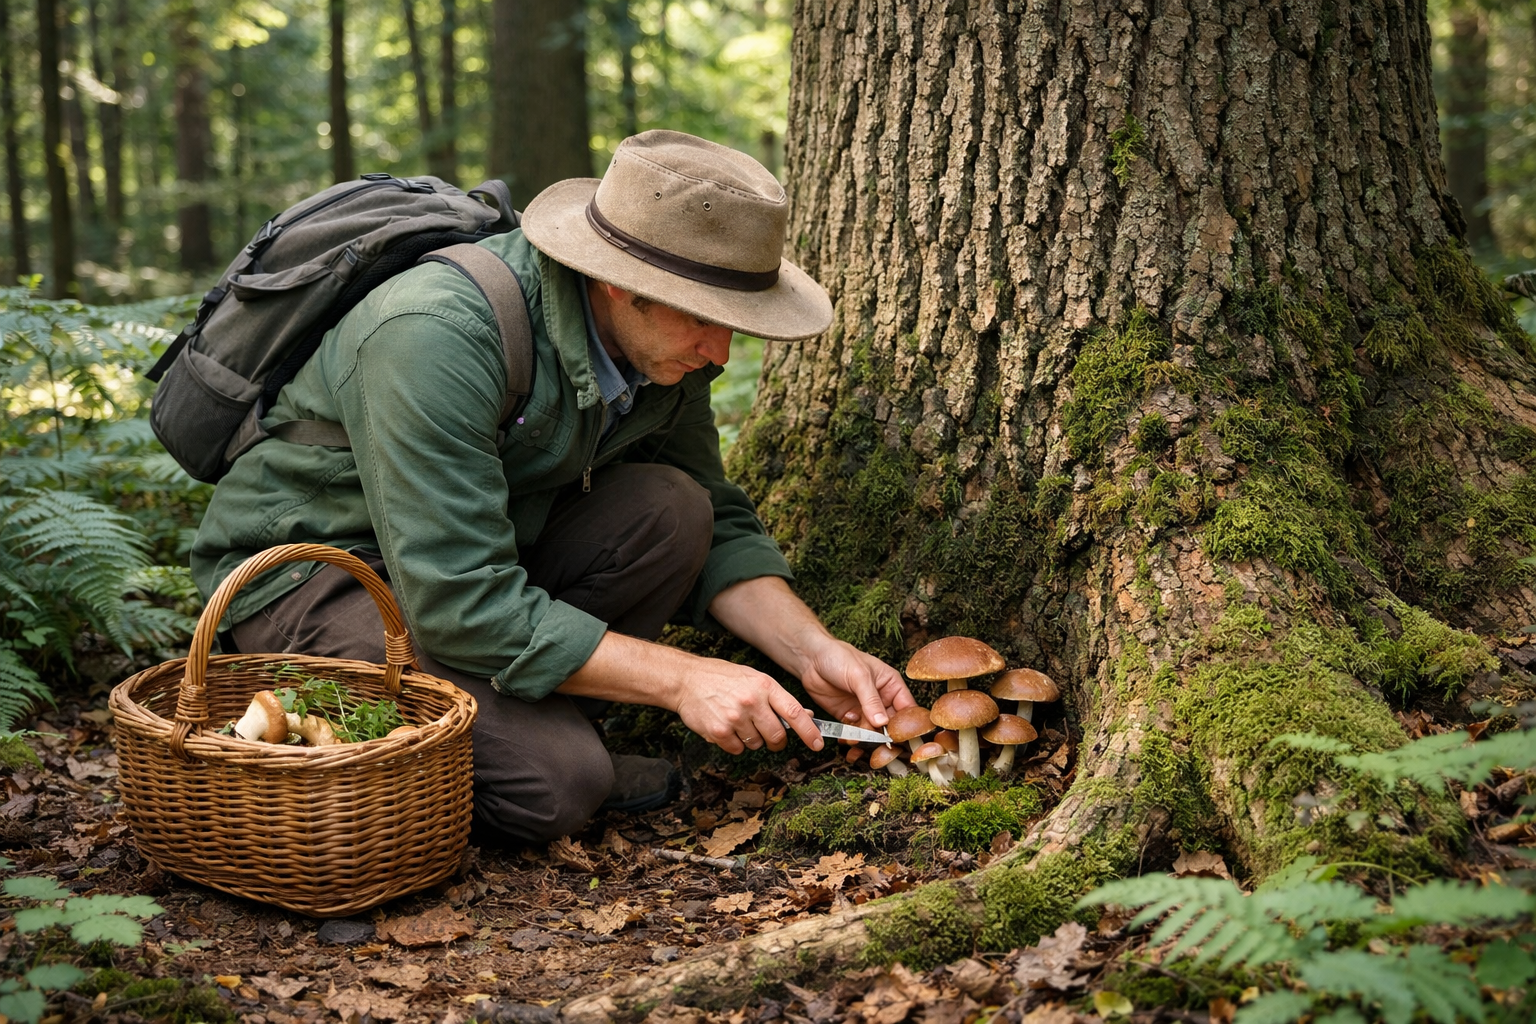
- Cut the mushrooms at the base with a sharp knife
- Alternatively, pinch and twist gently at the base
- Avoid pulling, which can damage the underground mycelium
- Leave a few mature mushrooms to release spores
Identifying True Morels
Always verify you're harvesting true morels, which have:
- Caps fully attached to the stems (no hanging "skirt")
- Completely hollow interiors when cut lengthwise
- Distinctive honeycomb pattern (not brain-like folds)
False morels (Gyromitra species) can be toxic and should be avoided.
Enjoying Your Harvest
Fresh morels should be:
- Cleaned gently to remove debris
- Always cooked thoroughly before consumption
- Enjoyed within a few days or preserved for later use
Conclusion: The Rewards of Morel Cultivation
Growing morel mushrooms requires patience, attention to detail, and a willingness to work with nature's timeline rather than imposing our own. While success is never guaranteed, the methods outlined in this guide represent the best practices developed by mushroom enthusiasts and mycologists over years of experimentation.
Remember that each failure provides valuable information for future attempts, and even experienced growers sometimes wait years before achieving their first harvest. The reward—a sustainable supply of one of the world's most prized culinary mushrooms—is well worth the effort and patience required.
Whether you choose the spore slurry method, spawn inoculation, or planting with trees, the journey of cultivating morels connects you with the fascinating world of fungi and the cycles of nature that produce these remarkable organisms.
With persistence and careful observation, you may soon find yourself harvesting morels from your own backyard—a delicious secret that few have mastered but many would envy.

Share:
How to Pick Morel Mushrooms: A Complete Forager’s Guide for Beginners
Morel Mushroom Benefits: A Delicious Secret