

Turkey tail mushrooms (Trametes versicolor) are one of the most widely recognized medicinal mushrooms, valued for their immune-boosting properties and potential health benefits. While these colorful, fan-shaped fungi grow abundantly in forests worldwide, many people are discovering the rewards of cultivating them at home. This comprehensive guide will walk you through various methods for growing turkey tail mushrooms, from beginner-friendly grow kits to more advanced techniques.
Why Grow Turkey Tail Mushrooms?
Before diving into cultivation methods, let's explore the compelling reasons to grow your own turkey tail mushrooms:
Health Benefits
Turkey tail mushrooms contain powerful compounds, including polysaccharopeptides (PSP) and polysaccharide-K (PSK), which have been extensively studied for their medicinal properties:
- Immune system support: Research suggests that turkey tail can enhance immune function
- Gut health promotion: Acts as a prebiotic, supporting beneficial gut bacteria
- Antioxidant properties: Rich in flavonoids and phenols that help combat oxidative stress
- Traditional medicine: Used for centuries in Eastern medicine for various health conditions
Sustainability Benefits
Growing your own turkey tail mushrooms offers several environmental advantages:
- Resource efficiency: Mushrooms can be grown on agricultural waste products and wood byproducts
- Local production: Reduces transportation emissions and packaging waste
- Circular economy: Spent mushroom substrate makes excellent compost or soil amendment
- Forest conservation: Reduces pressure on wild mushroom populations
Economic Benefits
For those interested in small-scale farming or entrepreneurship:
- Growing market: Increasing demand for medicinal mushrooms presents business opportunities
- Value-added products: Can be processed into teas, tinctures, powders, and supplements
- Low startup costs: Some cultivation methods require minimal investment
- Multiple harvests: A single substrate can produce several flushes over time

Understanding Turkey Tail Mushroom Biology
To successfully cultivate turkey tail mushrooms, it's helpful to understand their basic biology and lifecycle.
Taxonomy and Identification
- Scientific name: Trametes versicolor (also known as Coriolus versicolor or Polyporus versicolor)
- Family: Polyporaceae (bracket fungi)
- Appearance: Thin, semicircular shelves with multicolored zones resembling a turkey's tail
- Spore surface: White to cream-colored pores (not gills) on underside
- Size: Typically 2-8 cm in diameter and 1-3 mm thick
Natural Habitat
In nature, turkey tail mushrooms:
- Grow on dead or dying hardwood trees, logs, and stumps
- Sometimes found on conifers (though less commonly)
- Prefer shaded, humid forest environments
- Appear in overlapping clusters or rosettes
- Are found on all continents except Antarctica
Growth Cycle
The turkey tail mushroom lifecycle consists of several stages:
- Spore germination: Spores land on suitable wood and germinate, producing primary mycelium
- Mycelial colonization: Thread-like mycelium grows through the wood, decomposing it for nutrients
- Primordia formation: When conditions are right, small bumps (primordia) form
- Fruiting body development: Primordia develop into the fan-shaped turkey tail fruiting bodies
- Spore release: Mature mushrooms release spores from pores on the underside
Cultivation Methods for Turkey Tail Mushrooms
There are several approaches to growing turkey tail mushrooms, ranging from beginner-friendly to more advanced. Let's explore each method in detail.
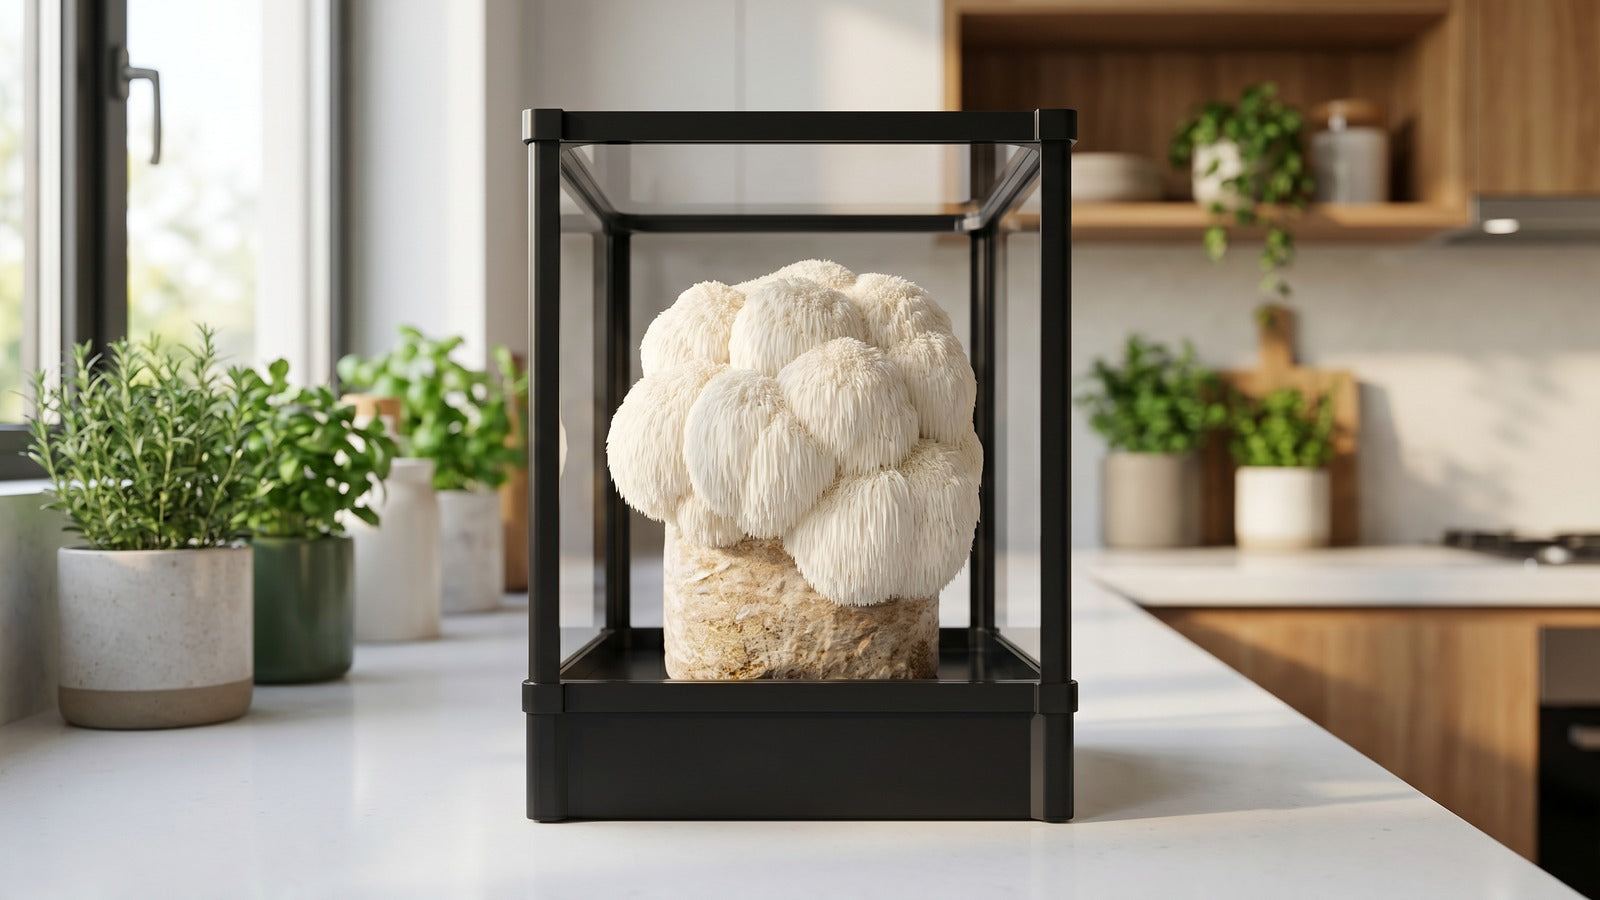
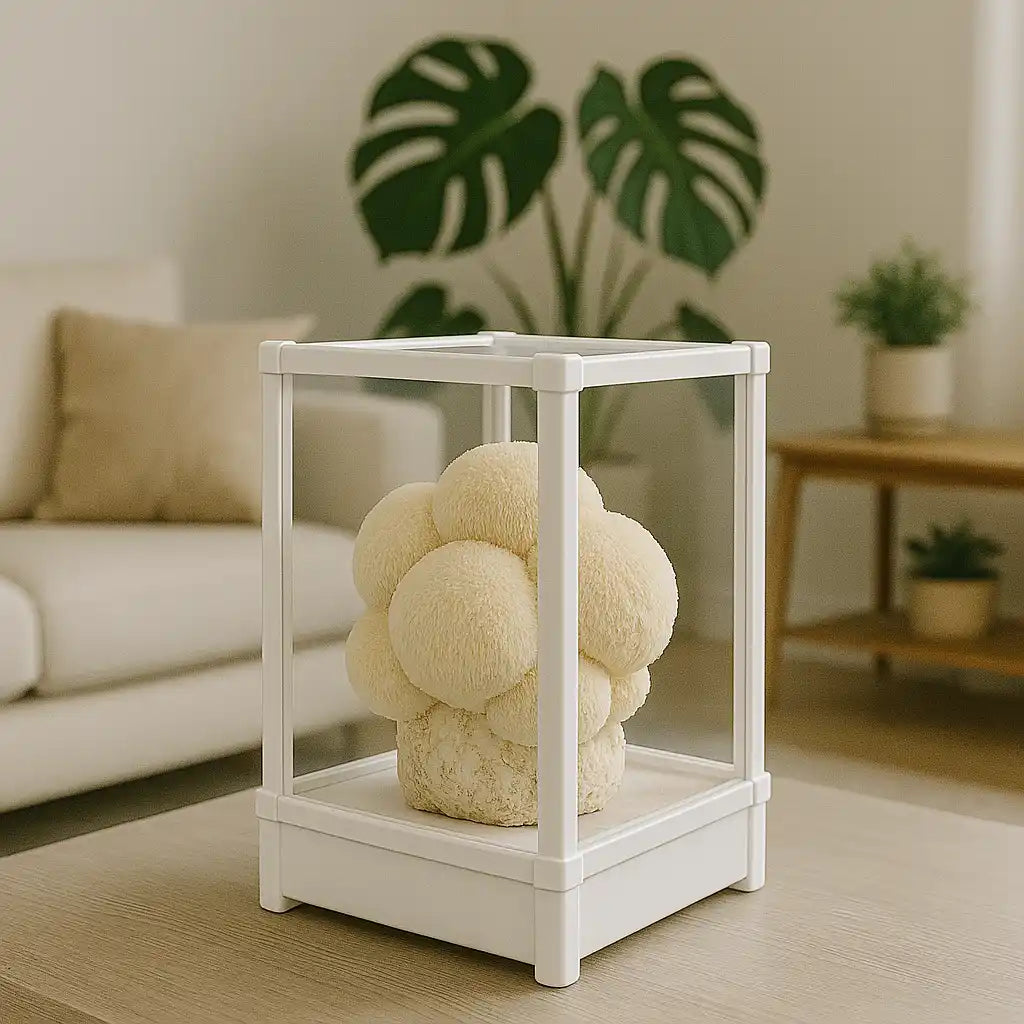
Method 1: Using Grow Kits
Difficulty level: Beginner Time investment: Low Cost: Moderate ($25-60 per kit) Space required: Minimal
Grow kits are the easiest way to start growing turkey tail mushrooms, requiring minimal expertise and equipment.
What You'll Need:
- Turkey tail mushroom grow kit (pre-colonized substrate)
- Spray bottle for misting
- Humidity tent (often included with kit)
- Location with indirect light and stable temperature
Step-by-Step Process:
-
Unbox and inspect your kit: Look for white mycelium covering the substrate. Avoid kits with unusual colors or odors that might indicate contamination.
-
Place in an appropriate location: Choose a spot with indirect light and temperatures between 68-77°F (20-25°C). Avoid direct sunlight or heating/cooling vents.
-
Follow kit instructions: Most kits require you to:
- Remove the lid or cut open the top of the bag
- Mist the exposed surface with water
- Place the kit inside the humidity tent
-
Maintain proper conditions:
- Mist the inside of the humidity tent 1-2 times daily
- Ensure good air exchange by lifting the tent briefly each day
- Keep away from direct sunlight
-
Be patient: Turkey tail mushrooms grow more slowly than culinary varieties. Expect to wait 2-4 weeks before seeing substantial growth.
-
Harvest: Once the turkey tails have developed into thin, colorful shelves with white undersides, they're ready to harvest. Gently twist and pull them from the substrate.
-
Prepare for additional flushes: After harvesting, mist the substrate again and return to the humidity tent. Multiple flushes are possible over several months.
Tips for Success with Grow Kits:
- Follow the specific instructions provided with your kit, as brands may vary slightly
- Maintain consistent humidity without soaking the substrate
- Be patient, turkey tail is slower growing than many culinary mushrooms
- Take photos to document growth progress
Method 2: Log Cultivation
Difficulty level: Intermediate Time investment: Moderate to high Cost: Moderate for supplies, low per log Space required: Outdoor area or shaded space
Growing turkey tail mushrooms on logs is the traditional method and closely mimics their natural growth environment.
What You'll Need:
- Freshly cut hardwood logs (oak, maple, birch, beech, alder)
- Turkey tail mushroom spawn (plug or sawdust)
- Drill with 5/16" or 8-12mm bit (for plug spawn)
- Hammer or rubber mallet
- Wax for sealing (cheese wax, beeswax, or paraffin)
- Small paintbrush for applying wax
- Heat source for melting wax
- Tarp or shade cloth (optional)
Step-by-Step Process:
-
Select appropriate logs:
- Choose hardwood logs cut from living, healthy trees
- Ideal diameter: 4-8 inches (10-20 cm)
- Ideal length: 2-4 feet (60-120 cm)
- Use logs cut within the last 2-4 weeks (before natural fungi colonize)
-
Prepare logs:
- Brush off any debris or loose bark
- Keep the bark intact as it helps maintain moisture and protection
-
Drill holes in a diamond pattern:
- Space holes about 4-6 inches (10-15 cm) apart
- Drill to a depth of about 1-1.5 inches (2.5-4 cm)
- Stagger the holes in a diamond pattern around the log
-
Inoculate the logs:
- For plug spawn: Hammer plugs into the drilled holes until flush with the bark
- For sawdust spawn: Use an inoculation tool to fill each hole with spawn
-
Seal the holes with wax:
- Melt the wax and use a paintbrush to cover each inoculated hole
- The wax prevents the spawn from drying out and protects from contaminants
-
Label your logs:
- Mark each log with the mushroom species and inoculation date
- Weather-resistant tags or aluminum tags work well
-
Stack and place logs:
- Place in a shaded location with good air circulation
- Stack in a log cabin style, or lean against a wall or fence
- Keep logs off the ground using bricks or other supports
-
Maintain moisture:
- Water logs during dry periods to maintain adequate moisture
- Ideal moisture content is 40-60% (log should feel damp but not soaking)
- Consider covering with a shade cloth during extremely dry periods
-
Wait for colonization:
- Turkey tail mycelium typically takes 6-12 months to fully colonize logs
- Look for white mycelium appearing at the ends of the logs as a sign of successful colonization
-
Fruiting conditions:
- After full colonization, turkey tail mushrooms will naturally fruit when conditions are right
- Fruiting is triggered by temperature fluctuations and rainfall
- Logs can produce mushrooms for 3-5 years
Tips for Success with Log Cultivation:
- Select logs with intact bark to help maintain moisture
- Some growers recommend "shocking" the logs by soaking in cold water for 24 hours to induce fruiting
- Position logs in a location that mimics a forest edge, partially shaded with good air circulation
- Be patient, log cultivation is a long-term project
Method 3: Sawdust Block Cultivation
Difficulty level: Advanced Time investment: High Cost: Moderate to high for equipment, low per block Space required: Indoor space for preparation, incubation, and fruiting
Growing turkey tail mushrooms on supplemented sawdust blocks is a method used by many commercial growers, offering faster results than log cultivation.
What You'll Need:
- Hardwood sawdust or wood chips (oak, maple, beech)
- Supplements (wheat bran, soy hulls) for nutrients
- Turkey tail grain spawn
- Filter patch grow bags
- Scale for measuring ingredients
- Large containers for mixing
- Pressure cooker or autoclave
- Heat sealer (optional but recommended)
- Shelving for incubation
- Fruiting chamber or humidity tent
- Spray bottle for misting
- Hygrometer and thermometer
Step-by-Step Process:
-
Prepare the substrate mixture:
- Mix hardwood sawdust with a small amount of supplement (5-10% wheat bran or soy hulls by weight)
- Turkey tail prefers less supplementation than culinary mushrooms
- Add water until the mixture reaches field capacity (when squeezed hard, a drop or two of water comes out)
- Standard ratio: For every 1 kg of dry sawdust, add approximately 1.5 liters of water
-
Fill and seal bags:
- Load the moistened substrate into filter patch bags, filling about halfway
- Fold the top and seal with tape or a heat sealer, leaving the filter patch exposed
- Make sure the substrate is packed firmly but not too densely
-
Sterilize the substrate:
- Place bags in a pressure cooker or autoclave
- Sterilize at 15 PSI for 2-2.5 hours
- Allow to cool completely inside the pressure cooker (at least 8 hours)
-
Inoculate the bags:
- In a clean environment (ideally in front of a flow hood or in a still air box), open the bags
- Add grain spawn at a rate of 10-15% of the substrate weight
- Seal the bags again
-
Incubation period:
- Place bags in a warm, dark location (70-75°F / 21-24°C)
- Allow 2-4 weeks for the mycelium to fully colonize the substrate
- Shake bags gently after 1 week to distribute spawn evenly
-
Initiate fruiting:
- Once the substrate is fully colonized (appears white throughout), cut open the bag
- Option 1: Remove the top of the bag to allow top fruiting
- Option 2: Cut X-shaped slits in the sides of the bag for side fruiting
- Place in a location with indirect light, high humidity (80-90%), and fresh air
-
Maintain fruiting conditions:
- Mist several times daily to maintain high humidity
- Ensure good air exchange
- Keep temperature around 65-75°F (18-24°C)
-
Harvest:
- Turkey tail mushrooms will form in rosettes or shelves
- Harvest when they reach a good size (typically after 2-3 weeks of development)
- Twist or cut at the base to harvest
-
Prepare for additional flushes:
- After harvesting, the block can produce additional flushes
- Rest the block for a week, then return to fruiting conditions
- Expect 2-3 flushes from each block
Tips for Success with Sawdust Block Cultivation:
- Turkey tail prefers lower supplementation levels than culinary mushrooms (5-10% is ideal)
- Maintain strict cleanliness during inoculation to prevent contamination
- Be patient, turkey tail colonizes more slowly than many other species
- Monitor humidity closely during fruiting
Method 4: Outdoor Bed Cultivation
Difficulty level: Intermediate Time investment: Moderate Cost: Low Space required: Outdoor shaded area
This method involves creating an outdoor mushroom bed using wood chips or sawdust, which can produce turkey tail mushrooms for several years.
What You'll Need:
- Hardwood chips or sawdust
- Turkey tail spawn (sawdust or grain)
- Cardboard (optional)
- Tarp or shade cloth
- Water source
- Shovel and rake
Step-by-Step Process:
-
Select a suitable location:
- Choose a shaded area under trees or on the north side of a building
- Ensure the area gets some moisture but isn't waterlogged
- Ideally, pick a location that's easily accessible for maintenance
-
Prepare the bed:
- Clear the area of debris and weeds
- Optionally, lay down cardboard as a weed barrier
- Create a bed about 4-6 inches deep and as wide as desired
-
Layer method:
- Create alternating layers of hardwood chips/sawdust and spawn
- Start with a layer of wood chips (2-3 inches)
- Add a thin layer of spawn
- Add another layer of wood chips (2-3 inches)
- Add final layer of spawn and top with a thin layer of wood chips
-
Maintain moisture:
- Water thoroughly after setting up the bed
- Cover with a breathable tarp or shade cloth to retain moisture
- Check regularly and water during dry periods
-
Wait for colonization:
- The mycelium will spread through the wood chips over 3-6 months
- You may see white patches forming as the mycelium colonizes
-
Fruiting:
- Turkey tail mushrooms will naturally fruit when conditions are right
- Typically, this occurs during spring and fall when there's moisture and temperature fluctuation
- Remove the covering once you see mushrooms starting to form
-
Maintenance and expansion:
- Add fresh hardwood chips annually to replenish the bed
- The bed can produce mushrooms for 3-5 years
- Expanded beds can be created using pieces of colonized substrate from the original bed
Tips for Success with Outdoor Bed Cultivation:
- Use wood chips from hardwood trees (avoid cedar, redwood, or pressure-treated wood)
- This method works well for larger-scale production with minimal intervention
- An established bed can be used to expand to new areas
- Consider creating a mushroom garden with multiple species in different beds
Method 5: Recycled Christmas Tree Method
Difficulty level: Intermediate Time investment: Low Cost: Low Space required: Outdoor area
This eco-friendly method repurposes discarded Christmas trees as a substrate for growing turkey tail mushrooms.
What You'll Need:
- Discarded Christmas tree (or other conifer logs)
- Turkey tail plug spawn
- Drill with 5/16" (8mm) bit
- Hammer
- Beeswax or food-grade wax
- Small pot for melting wax
- Paintbrush
Step-by-Step Process:
-
Prepare the tree:
- Remove all decorations and artificial materials
- Cut the trunk into manageable sections (2-3 feet long)
- Let the wood rest for 2-3 weeks after cutting (but not longer than a month)
-
Drill holes:
- Drill holes approximately 1.25 inches deep
- Space holes 4-6 inches apart in a diamond pattern
- Ensure the drill bit is the same diameter as your plug spawn
-
Insert spawn plugs:
- Tap plug spawn into holes with a hammer until flush with the surface
- Fill all drilled holes with spawn plugs
-
Seal with wax:
- Melt the wax in a small pot
- Use a paintbrush to cover each inoculated hole with wax
- This prevents the spawn from drying out
-
Place in a suitable location:
- Position logs in a shaded, moist area
- Keep logs off the ground using bricks or other supports
- Ensure good air circulation
-
Maintain moisture:
- Water during dry periods
- Consider covering with a shade cloth during extremely dry weather
-
Wait for colonization and fruiting:
- Colonization typically takes 6-12 months
- Turkey tail mushrooms will then fruit naturally when conditions are right
Tips for Success with the Christmas Tree Method:
- While most mushroom cultivation focuses on hardwoods, turkey tail can grow on conifers like pine and spruce
- Yields may be lower than with hardwood, but it's an excellent way to repurpose waste
- Consider using sections of the trunk rather than thin branches
- This method contributes to sustainable waste management
Environmental Requirements for Turkey Tail Cultivation
Regardless of which cultivation method you choose, understanding and maintaining the right environmental conditions is crucial for success.
Temperature
- Colonization: 70-75°F (21-24°C)
- Fruiting: 65-75°F (18-24°C)
- Tolerance: Turkey tail can withstand a wider temperature range than many mushroom species
Humidity
- Colonization: 65-75% relative humidity
- Fruiting: 80-90% relative humidity
- Maintenance: Regular misting or a humidifier may be necessary for indoor cultivation
Light
- Colonization: Darkness or very low light
- Fruiting: Indirect light (not direct sunlight)
- Light cycle: 12 hours of indirect light during fruiting is ideal
Air Exchange
- Colonization: Minimal fresh air exchange needed
- Fruiting: Regular fresh air exchange is essential
- Method: For indoor cultivation, open fruiting chamber or lift humidity tent several times daily
Substrate pH
- Optimal range: 5.5-6.5
- Tolerance: Turkey tail can grow in a slightly wider pH range than some mushrooms

Troubleshooting Common Issues
Even experienced growers encounter challenges. Here are solutions to common problems:
Contamination
Signs:
- Green, black, or blue mold growth
- Unpleasant odors
- Unusual colors in the mycelium
Solutions:
- Improve sterilization techniques
- Ensure clean working conditions during inoculation
- Isolate contaminated blocks/logs from healthy ones
- For outdoor methods, contamination is less problematic as turkey tail can often outcompete other fungi
Slow or No Colonization
Causes:
- Temperature too low or too high
- Substrate too wet or too dry
- Poor quality spawn
- Contamination inhibiting growth
Solutions:
- Verify and adjust temperature to optimal range
- Check moisture content of substrate
- Source high-quality spawn from reputable suppliers
- Be patient, turkey tail colonizes more slowly than many species
No Fruiting
Causes:
- Inadequate environmental triggers
- Insufficient colonization
- Substrate dried out
- Lack of fresh air exchange
Solutions:
- Create temperature fluctuation (5-10°F drop can trigger fruiting)
- Ensure substrate is fully colonized before initiating fruiting conditions
- Maintain proper humidity (80-90%)
- Increase fresh air exchange
- For logs, try soaking in cold water for 24 hours ("shocking")
Small or Malformed Mushrooms
Causes:
- Insufficient humidity
- Poor light conditions
- Inadequate fresh air
- Nutrient deficiency
Solutions:
- Increase humidity
- Provide indirect, natural light or full-spectrum lighting
- Improve air circulation without drying out the substrate
- Consider adjusting substrate recipe for future batches
Harvesting and Processing Turkey Tail Mushrooms
Harvesting turkey tail at the right time and properly processing the mushrooms preserves their medicinal properties.
When to Harvest
Turkey tail mushrooms are ready to harvest when:
- They have developed their distinctive fan shape
- The upper surface shows clear, concentric color zones
- The underside is white to cream-colored with visible pores
- The edges are flexible but not fragile
Harvesting Techniques
- Gentle removal: Grasp the mushroom at the base and twist or pull gently
- Clean cutting: For tougher attachments, use a sharp knife to cut at the base
- Timing: Harvest in the morning when mushrooms have the highest moisture content
- Selection: Only harvest healthy specimens without signs of decay or insect damage
Processing Methods
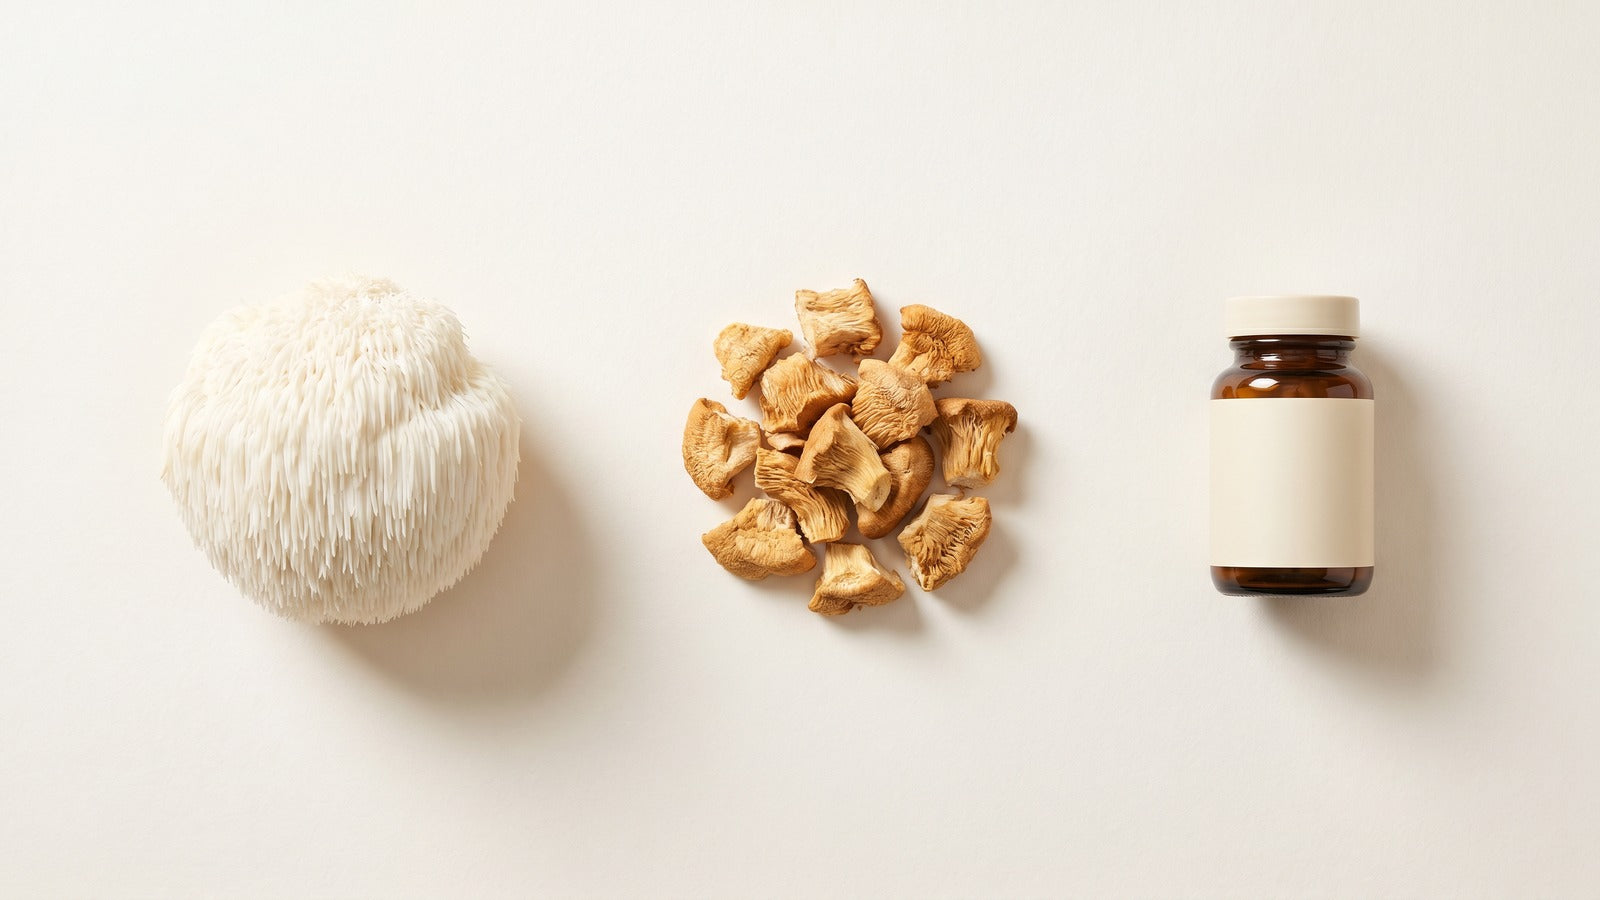
Drying
The most common preservation method:
- Clean mushrooms with a soft brush to remove debris
- Slice larger specimens into smaller pieces for even drying
- Use a food dehydrator at 110-120°F (43-49°C) until completely dry and crisp
- Alternatively, air dry in a well-ventilated area with low humidity
- Store dried mushrooms in airtight containers away from light and moisture
Making Powder
For convenient use in teas, capsules, or cooking:
- Ensure mushrooms are completely dry
- Grind in a coffee grinder or high-powered blender until fine
- Store powder in airtight containers
- Use within 6-12 months for optimal potency
Tincture Production
For concentrated medicinal preparations:
- Chop dried turkey tail mushrooms into small pieces
- Fill a glass jar halfway with mushroom pieces
- Cover completely with 80-100 proof alcohol (vodka or grain alcohol)
- Seal and store in a cool, dark place for 4-6 weeks, shaking occasionally
- Strain through cheesecloth and store in dark bottles with droppers
Dual Extraction
To access both water-soluble and alcohol-soluble compounds:
- Perform alcohol extraction as above
- Simmer the strained mushroom material in water for 2 hours
- Strain and reduce the water extract by simmering until volume is reduced by half
- Combine alcohol extract with water extract at a 1:1 ratio
- Store in dark bottles with droppers
Using Your Harvested Turkey Tail Mushrooms
After successfully growing and harvesting turkey tail mushrooms, here are some ways to use them:
Tea Preparation
- Use 3-5 grams of dried turkey tail per cup of water
- Simmer for 30-60 minutes (not just steep)
- Strain and drink 1-2 cups daily
- Add flavor enhancers like honey, ginger, or lemon if desired
Supplement Creation
- Fill vegetable capsules with dried turkey tail powder
- Typical dosage is 2-3 capsules (00 size) daily
- Store capsules in a cool, dry place
- Label with date and contents
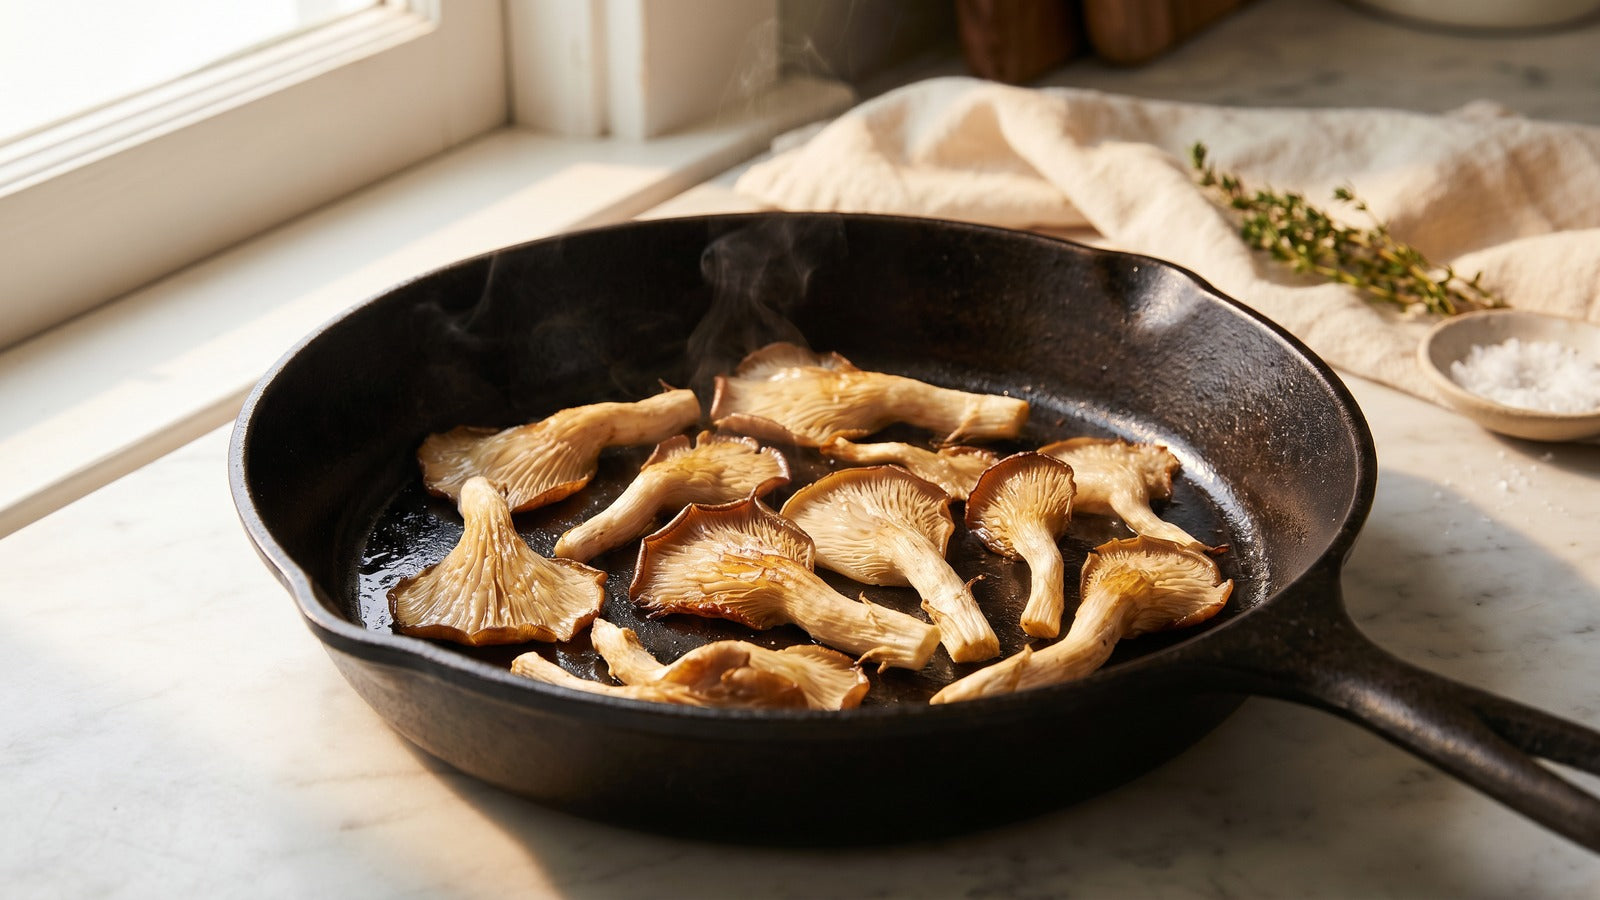
Culinary Uses
While too tough to eat directly, turkey tail can be used to:
- Create medicinal broths for soups and stews
- Add powder to smoothies, coffee, or baked goods
- Make mushroom-infused honey
Spent Substrate Utilization
After harvesting, don't discard your spent substrate, repurpose it:
- Use as a garden soil amendment
- Add to compost piles to accelerate decomposition
- Create new outdoor mushroom beds
- Inoculate wood chip mulch around garden plants
Scaling Up: Commercial Considerations
For those interested in growing turkey tail mushrooms commercially:
Market Assessment
- Research local demand for medicinal mushrooms
- Identify potential customers (health food stores, herbalists, direct consumers)
- Consider value-added products like tinctures, powders, or tea blends
Production Planning
- Start small and scale gradually
- Calculate space requirements based on production goals
- Plan for continuous production cycles
- Consider automation for larger operations
Business Considerations
- Check local regulations regarding food/supplement production
- Research necessary permits and licenses
- Develop quality control protocols
- Create a marketing strategy emphasizing benefits and sustainability
Conclusion
Growing turkey tail mushrooms at home is a rewarding way to connect with nature while producing a valuable medicinal resource. Whether you choose the simplicity of a grow kit or the long-term investment of log cultivation, the process offers insights into fungal life cycles and sustainable food production.
As you gain experience with turkey tail cultivation, you'll develop an intuitive understanding of the conditions that promote healthy mushroom growth. This knowledge can be applied to growing other medicinal and gourmet mushrooms, expanding your mycological skills and harvests.
Remember that patience is essential when growing turkey tail mushrooms, their slower growth rate compared to culinary varieties is balanced by their impressive medicinal properties and the satisfaction of producing your own natural health supplement.
By growing turkey tail mushrooms, you're participating in a tradition that spans cultures and millennia while embracing modern sustainable practices. Your cultivation efforts not only provide personal benefits but also contribute to a greater understanding and appreciation of fungi's vital role in our ecosystems and health.


Share:
Nutritional Value of Turkey Tail Mushrooms: Exploring Nature’s Immune-Boosting Superfood
How to Cook Turkey Tail Mushrooms Perfectly: Easy Steps for Best Results