Morel mushrooms are among the most prized edible fungi in the culinary world, cherished for their distinctive honeycomb-like caps, nutty flavor, and meaty texture. Whether you've foraged these treasures yourself or splurged on them at a farmers' market, proper cleaning is essential before cooking. The unique structure of morels—with their hollow interiors and honeycomb-textured caps—creates countless nooks and crannies where dirt, grit, and tiny forest creatures can hide.
This comprehensive guide will walk you through several proven methods to clean morel mushrooms effectively while preserving their delicate flavor and texture. You'll learn the great debate between soaking and rinsing, discover expert techniques from seasoned foragers, and pick up valuable tips for handling these delicate delicacies.
Why Cleaning Morel Mushrooms Requires Special Attention
Morel mushrooms present unique cleaning challenges compared to other mushroom varieties. Their distinctive characteristics include:
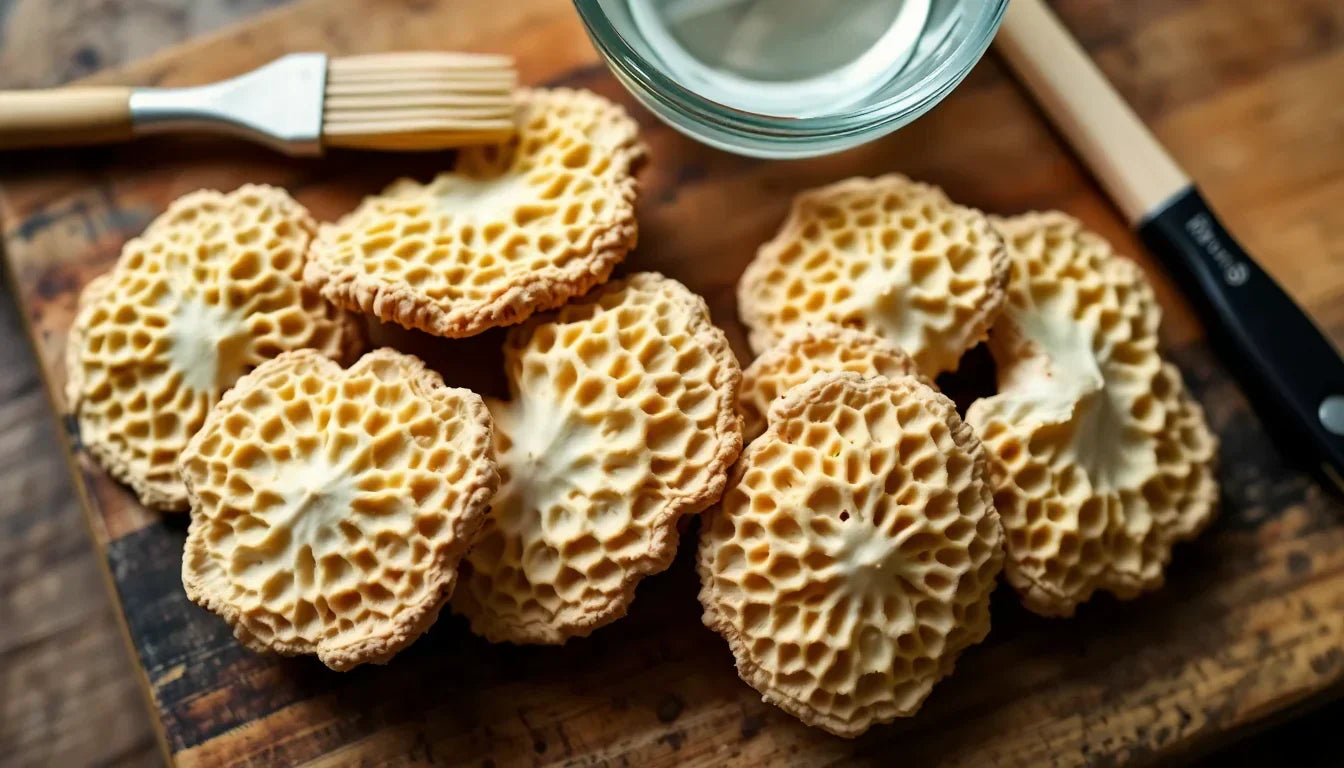
- Honeycomb structure: The deeply ridged, pitted surface can trap dirt, sand, and forest debris
- Hollow interior: The inside of morels can harbor insects, larvae, and additional dirt
- Absorbent nature: Like all mushrooms, morels act like sponges when exposed to water
- Delicate texture: Excessive handling or harsh cleaning can damage their structure
These factors make morel cleaning a bit of an art form—requiring a careful balance between thorough cleaning and preserving their quality. Let's explore the three main methods for cleaning morels, along with their pros and cons.

The Great Debate: To Soak or Not to Soak
Among morel enthusiasts, perhaps no topic sparks more passionate discussion than whether to soak morels in water. According to a poll of foragers, approximately 81% soak their morels (divided between short and long soaks), while 19% prefer a quick rinse only. Let's examine each approach.
Method 1: The Quick Rinse Technique
For those concerned about preserving the firm texture and full flavor of morels, the quick rinse method offers minimal water exposure.
Supplies Needed:
- Colander or strainer
- Cold running water
- Paper towels
- Soft mushroom brush (optional)
Step-by-Step Instructions:
-
Initial Inspection: Examine each morel and trim off any damaged or deteriorating parts.
-
Cut in Half: Slice each morel lengthwise to expose the hollow interior for inspection and easier cleaning.
-
Brush Away Debris: Use a soft mushroom brush or your fingers to gently remove visible dirt from the exterior and interior surfaces.
-
Quick Water Rinse: Place morels in a colander and give them a brief spray with cold water, focusing on dislodging visible dirt.
-
Shake and Drain: Gently shake the colander several times to help release water from the morels' crevices.
-
Pat Dry: Lay the rinsed morels on paper towels and gently pat them dry, being careful not to crush them.
Pros of the Quick Rinse Method:
- Preserves the firmest texture and fullest flavor
- Minimizes water absorption
- Quickest cleaning method
- Good for relatively clean morels
Cons of the Quick Rinse Method:
- May not remove all dirt from deep crevices
- Less effective at dislodging tiny insects
- Not ideal for very dirty or muddy morels
Method 2: The Short Soak Technique
The short soak method strikes a balance between thorough cleaning and preserving quality, making it the most popular approach among experienced foragers.
Supplies Needed:
- Large bowl or container
- Cold water
- Table salt
- Colander
- Paper towels
Step-by-Step Instructions:
-
Prepare Saltwater Solution: Fill a large bowl with cold water and add approximately 1-2 tablespoons of salt per quart of water.
-
Slice Morels: Cut morels in half lengthwise to expose the interior.
-
Submerge in Solution: Place the halved morels in the saltwater solution.
-
Gentle Agitation: Swish the morels around gently (as one expert suggests, "at about a 3 on a vigor scale of 1-10") to help dislodge dirt and encourage any hiding insects to exit.
-
Short Soak Time: Allow morels to soak for 5-20 minutes—long enough to loosen debris but not so long that they become waterlogged.
-
Lift Out: Rather than pouring the water and morels through a strainer (which would redeposit dirt onto the mushrooms), lift the morels out by hand, leaving the dirty water behind.
-
Rinse: Give the morels a quick final rinse under cold running water to remove any remaining salt.
-
Thorough Drying: Place on paper towels and carefully pat dry, rotating to ensure all surfaces are dried.
Pros of the Short Soak Method:
- More thorough cleaning than a quick rinse
- Salt helps drive out tiny insects
- Effective at removing dirt from deep crevices
- Minimizes handling compared to thorough scrubbing
- Still maintains good flavor and texture
Cons of the Short Soak Method:
- Some flavor may be lost in the soaking water
- Texture may soften slightly compared to the quick rinse method
- Takes more time than a simple rinse
Method 3: The Long Soak Technique
For particularly dirty morels or those who prioritize thorough cleaning over texture, the long soak method provides the most intensive cleaning.
Supplies Needed:
- Large bowl or container
- Cold water
- Table salt
- Heavy plate (to keep morels submerged)
- Colander
- Paper towels
Step-by-Step Instructions:
-
Prepare Saltwater Solution: Similar to the short soak, fill a bowl with cold water and add 1-2 tablespoons of salt per quart of water.
-
Submerge Morels: Place whole or halved morels in the solution.
-
Keep Submerged: Place a plate or other clean weight on top of the morels to keep them fully submerged.
-
Extended Soak Time: Allow to soak for several hours or overnight in the refrigerator.
-
Lift and Rinse: Carefully lift morels from the water and rinse under cold running water.
-
Thorough Drying: Pat completely dry with paper towels before cooking.
Pros of the Long Soak Method:
- Most thorough cleaning possible
- Very effective at removing all insects
- Minimal manual cleaning required
- Good for extremely dirty morels
Cons of the Long Soak Method:
- Significant flavor loss is possible
- Texture becomes softer and potentially mushy
- Longest preparation time
- Most controversial among morel enthusiasts
Expert Tips for Morel Cleaning Success
No matter which method you choose, these tips from experienced foragers will help ensure your morels are clean and ready for cooking:
Timing Is Everything
Clean morels just before cooking, not before storing. Cleaning introduces moisture that can accelerate spoilage if the morels are stored afterward.
Cut to Inspect
Always slice morels in half lengthwise before or during cleaning. This allows you to:
- Check for insects inside the hollow stem
- Ensure the interior is clean
- Verify they are true morels (which are completely hollow)
- Clean more thoroughly
Gentle Handling
Throughout the cleaning process, handle morels delicately to prevent damage to their structure. They're surprisingly fragile when wet.
Use Cold Water Only
Always use cold water for cleaning morels. Warm water may begin cooking the mushrooms or accelerate deterioration.
The Lift-Out Technique
When removing morels from soaking water, always lift them out rather than pouring everything through a strainer. This prevents redepositing dirt on the clean mushrooms.
Consider Cleanliness at Harvest
Many cleaning headaches can be avoided by careful harvesting. Cut morels cleanly above ground level rather than pulling them up, which brings soil along with them.

Storage Tips for Clean Morels
After cleaning, if you're not cooking your morels immediately, follow these storage tips:
Short-Term Storage (1-3 days):
- Allow cleaned morels to dry completely
- Line a bowl with paper towels
- Place dried morels in the bowl
- Cover loosely with another paper towel
- Store in the refrigerator
Never Store in Plastic
Avoid placing morels in sealed plastic bags or containers, which trap moisture and accelerate spoilage. They need air circulation.
Common Questions About Cleaning Morels
Do I need to remove bugs from morels before cooking?
Yes, it's best to remove any visible insects during cleaning. The salt water soak methods are particularly effective at driving out tiny insects from the honeycomb structure. While small insects won't harm you when cooked, most people prefer not to have them in their meal.
Does salt water affect the flavor of morels?
A brief salt water soak (under 20 minutes) with a proper rinse afterward generally doesn't noticeably affect flavor. Longer soaks may result in some flavor loss, but many foragers find the trade-off worthwhile for cleaner mushrooms.
Can I clean morels with a brush only?
For minimally dirty morels, brushing with a soft mushroom brush can remove surface dirt. However, this method alone usually doesn't clean the interior effectively and may not remove all dirt from the honeycomb texture.
Why are my morels mushy after cleaning?
Excessive soaking, especially in warm water or for extended periods, can lead to mushiness. If your morels seem waterlogged after cleaning, you may want to cook them at higher heat initially to drive off excess moisture.
What's the minimum cleaning needed for morels?
At minimum, morels should be:
- Cut in half to inspect the interior
- Brushed to remove surface dirt
- Given at least a quick rinse to remove remaining debris
- Dried thoroughly before cooking
Conclusion: Finding Your Perfect Cleaning Method
The ideal morel cleaning method depends on several factors:
- How dirty are your morels? Heavily soiled mushrooms benefit from soaking, while clean specimens might need just a rinse.
- How will you cook them? For recipes where texture is crucial, minimize water exposure.
- What's your cleaning philosophy? Some prioritize flavor preservation, while others want the most thorough cleaning possible.
Many experienced foragers develop their own hybrid approaches, perhaps using a short salt water soak followed by careful rinsing and thorough drying. The good news is that morels are delicious enough that even with some flavor loss from cleaning, they remain one of the most coveted culinary ingredients.
Whichever method you choose, the reward of perfectly cleaned morels—ready to be sautéed in butter, fried to crispy perfection, or incorporated into your favorite spring recipes—makes the effort worthwhile. Happy cleaning and even happier eating!

Share:
How to Store Morel Mushrooms Like a Pro
Can You Grow Morel Mushrooms: Tips & Tricks