

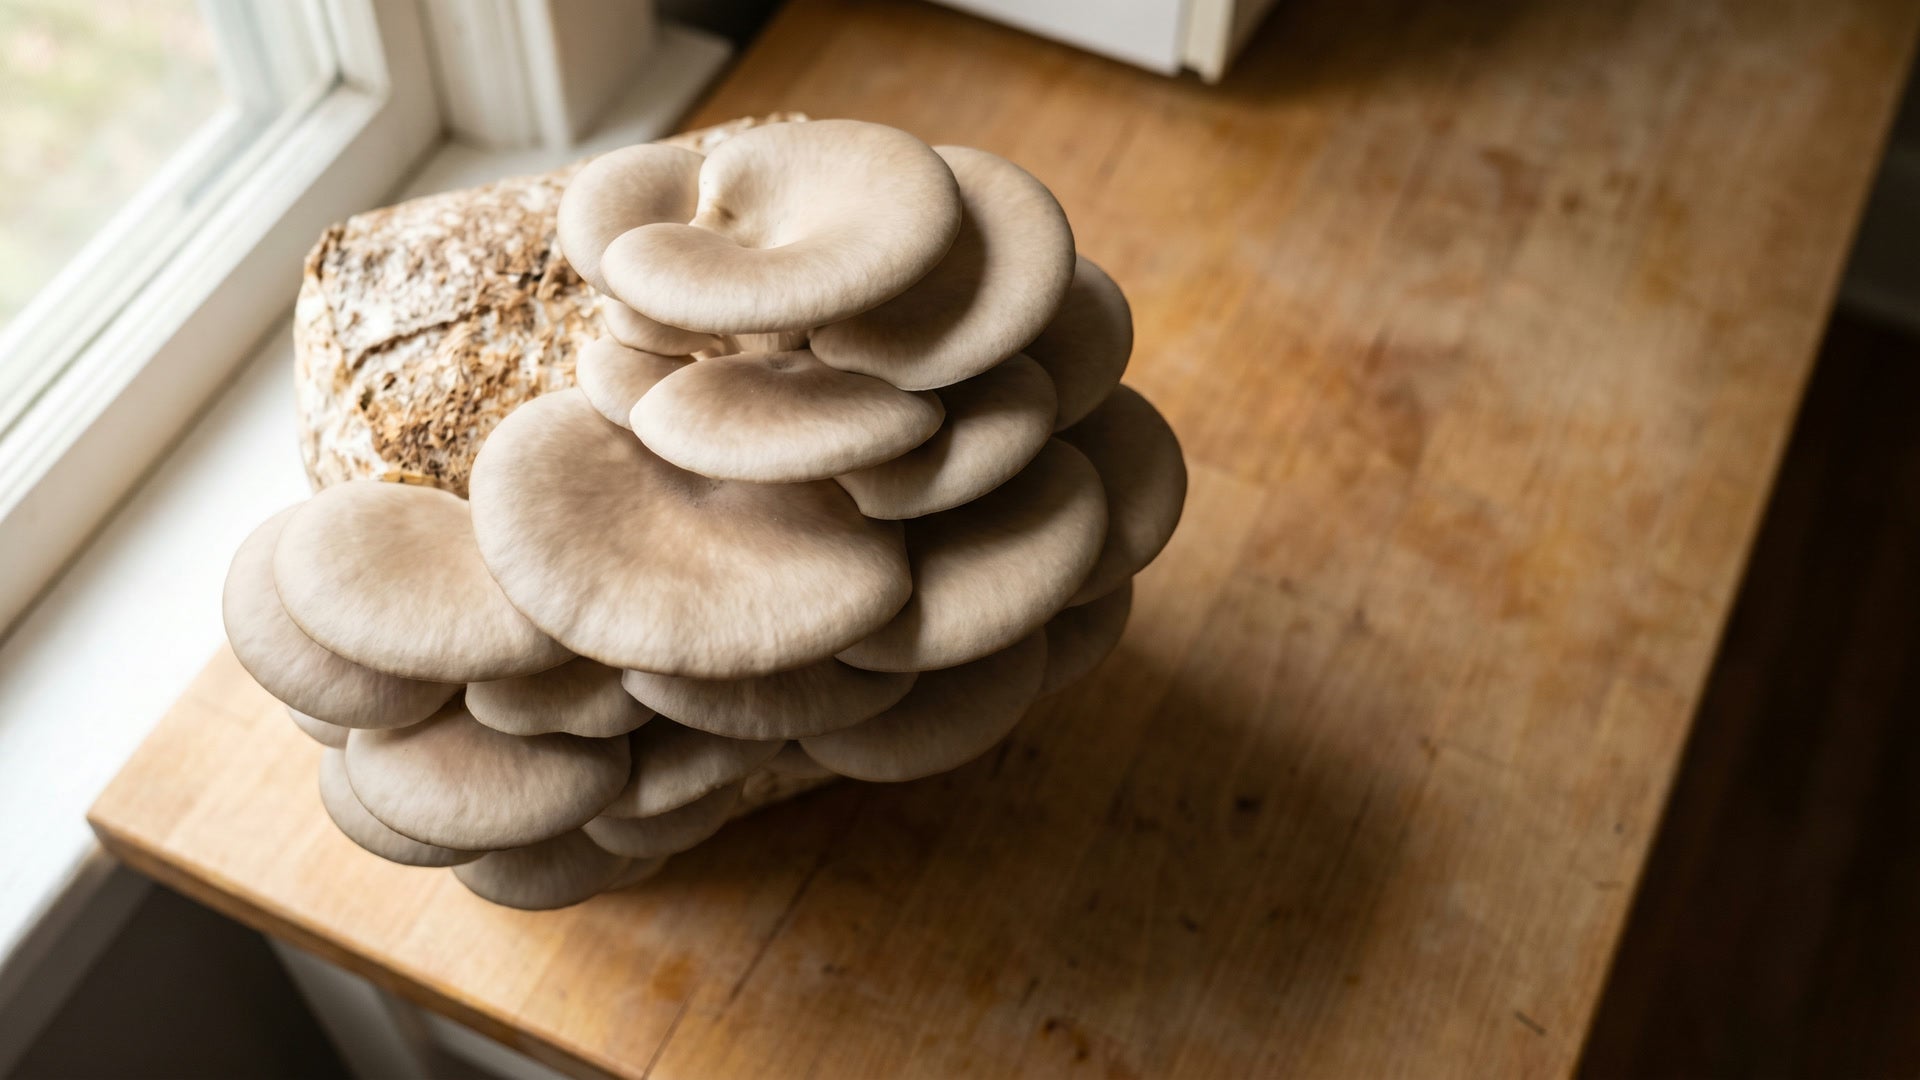
Oyster mushrooms are famous for being the most forgiving species you can grow at home, and a big part of that reputation comes from the substrate. Unlike shiitake or lion's mane, oysters will fruit on almost anything organic and cellulosic: straw, coffee grounds, cardboard, even shredded denim. The question is not whether they will grow, but which substrate gives you the best balance of yield, effort, and cost.
This oyster mushroom substrate comparison breaks down the six most common options, side by side, with realistic yield numbers expressed as biological efficiency (BE%), preparation effort, sterility requirements, and cost per pound of fresh mushrooms harvested. By the end, you will know exactly which substrate to start with based on your goals, and where the Lykyn fruiting block fits if you want to skip substrate prep entirely.
How To Read Substrate Yield: A Quick Note On Biological Efficiency

Biological efficiency, or BE%, is the standard way commercial and hobby growers compare substrate performance. It is the wet weight of mushrooms harvested divided by the dry weight of the substrate, multiplied by 100. A 5 pound dry substrate that produces 5 pounds of fresh mushrooms returns 100% BE. Oyster mushrooms on quality substrates routinely deliver 75 to 150% BE across multiple flushes, which is higher than nearly any other gourmet species.
When evaluating any substrate option below, multiply the BE% by your dry substrate weight to estimate yield. A 10 pound dry batch of straw at 100% BE returns roughly 10 pounds of fresh oysters across 2 to 3 flushes. Real-world results depend on hydration, pasteurization quality, strain, and environmental control, so treat these as targets rather than guarantees.
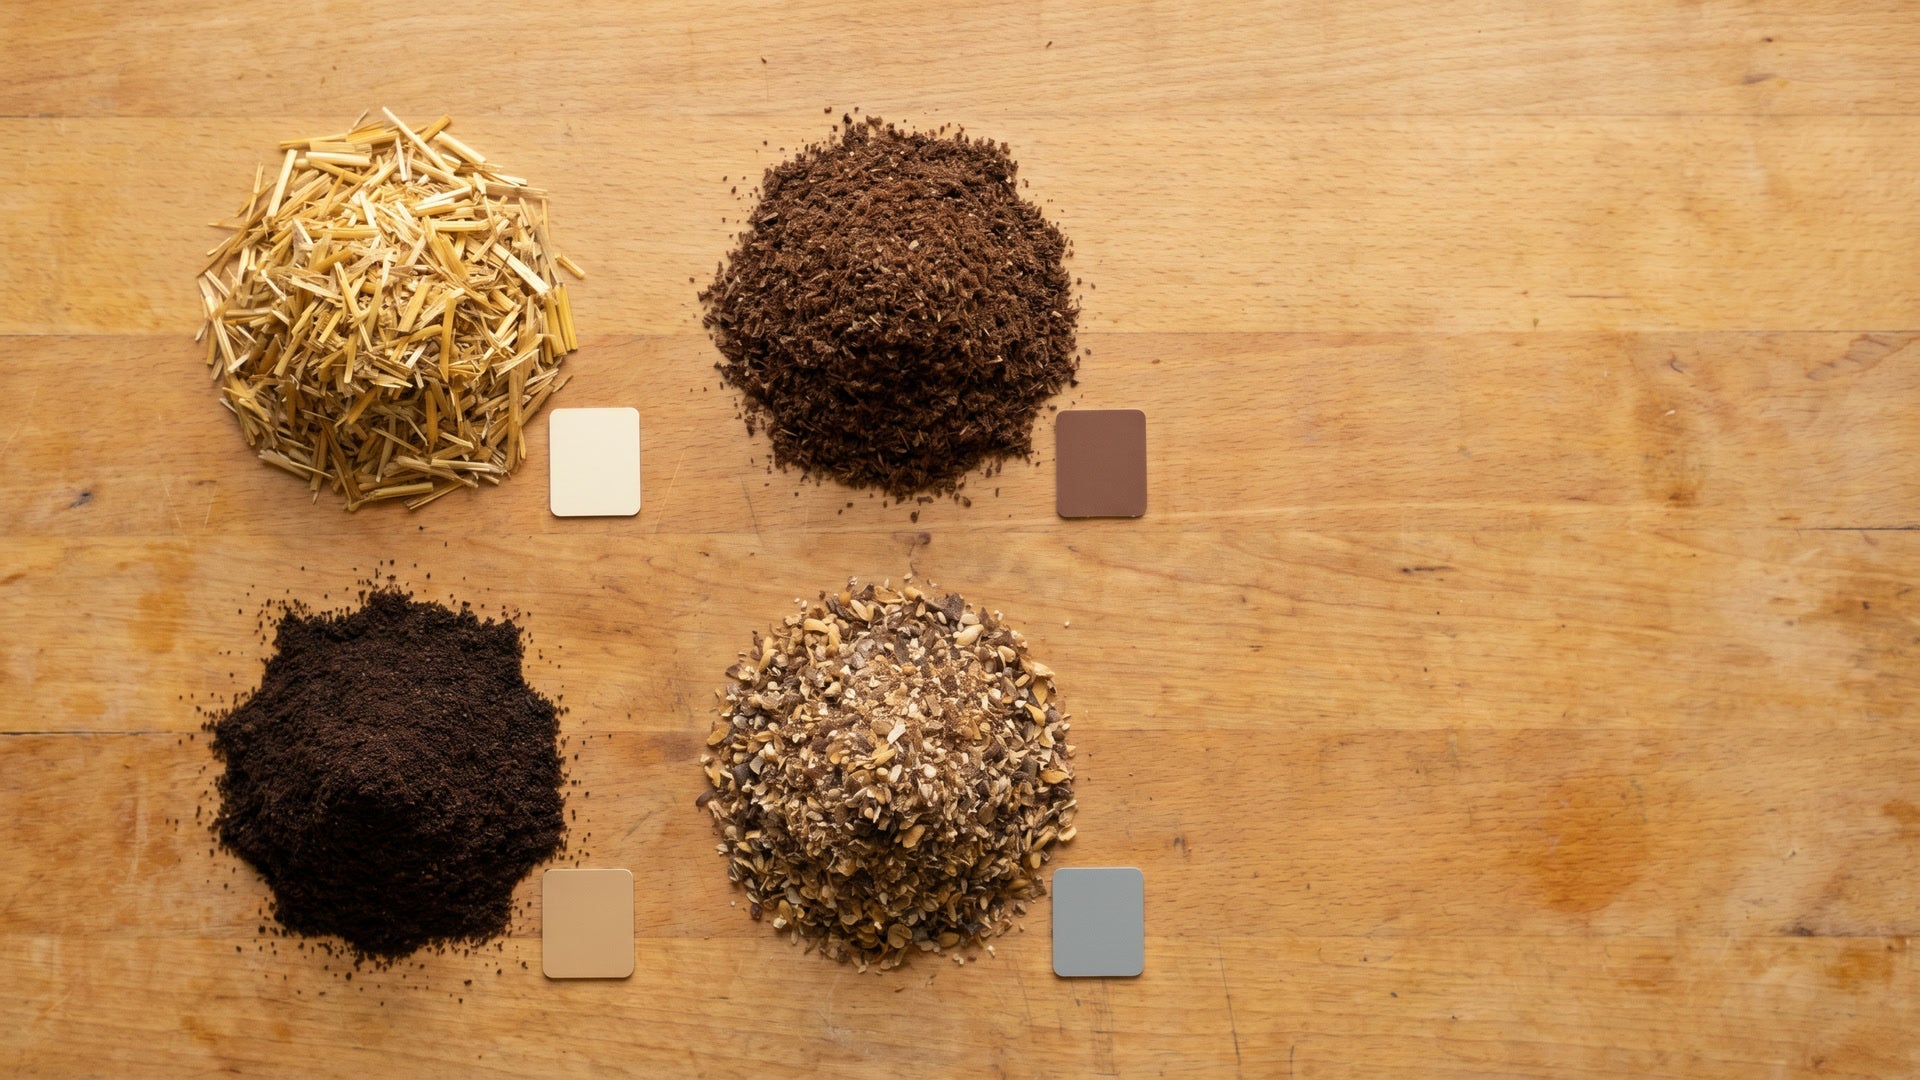
Straw: The Classic Beginner Substrate

Wheat or oat straw is the most widely used oyster substrate worldwide and the gold standard for first-time growers. It is cheap, widely available from feed stores, and only needs pasteurization rather than full sterilization.
- Typical BE: 75 to 100% across 2 to 3 flushes
- Preparation: Chop to 1 to 3 inch pieces, hydrate by soaking, then pasteurize at 160 to 170 F for 1 to 2 hours
- Sterility: Pasteurization only, no pressure cooker needed
- Cost per pound of mushrooms: $0.50 to $1.00
- Beginner-friendliness: 9 out of 10
Straw works because pasteurization knocks down competitor molds without sterilizing the beneficial microbes that help oyster mycelium colonize. The downside is bulk: pasteurizing 10 pounds of straw requires a 20-gallon barrel, a propane burner, and a way to drain water without scalding yourself. If you have the space, straw is unbeatable on yield-to-cost.
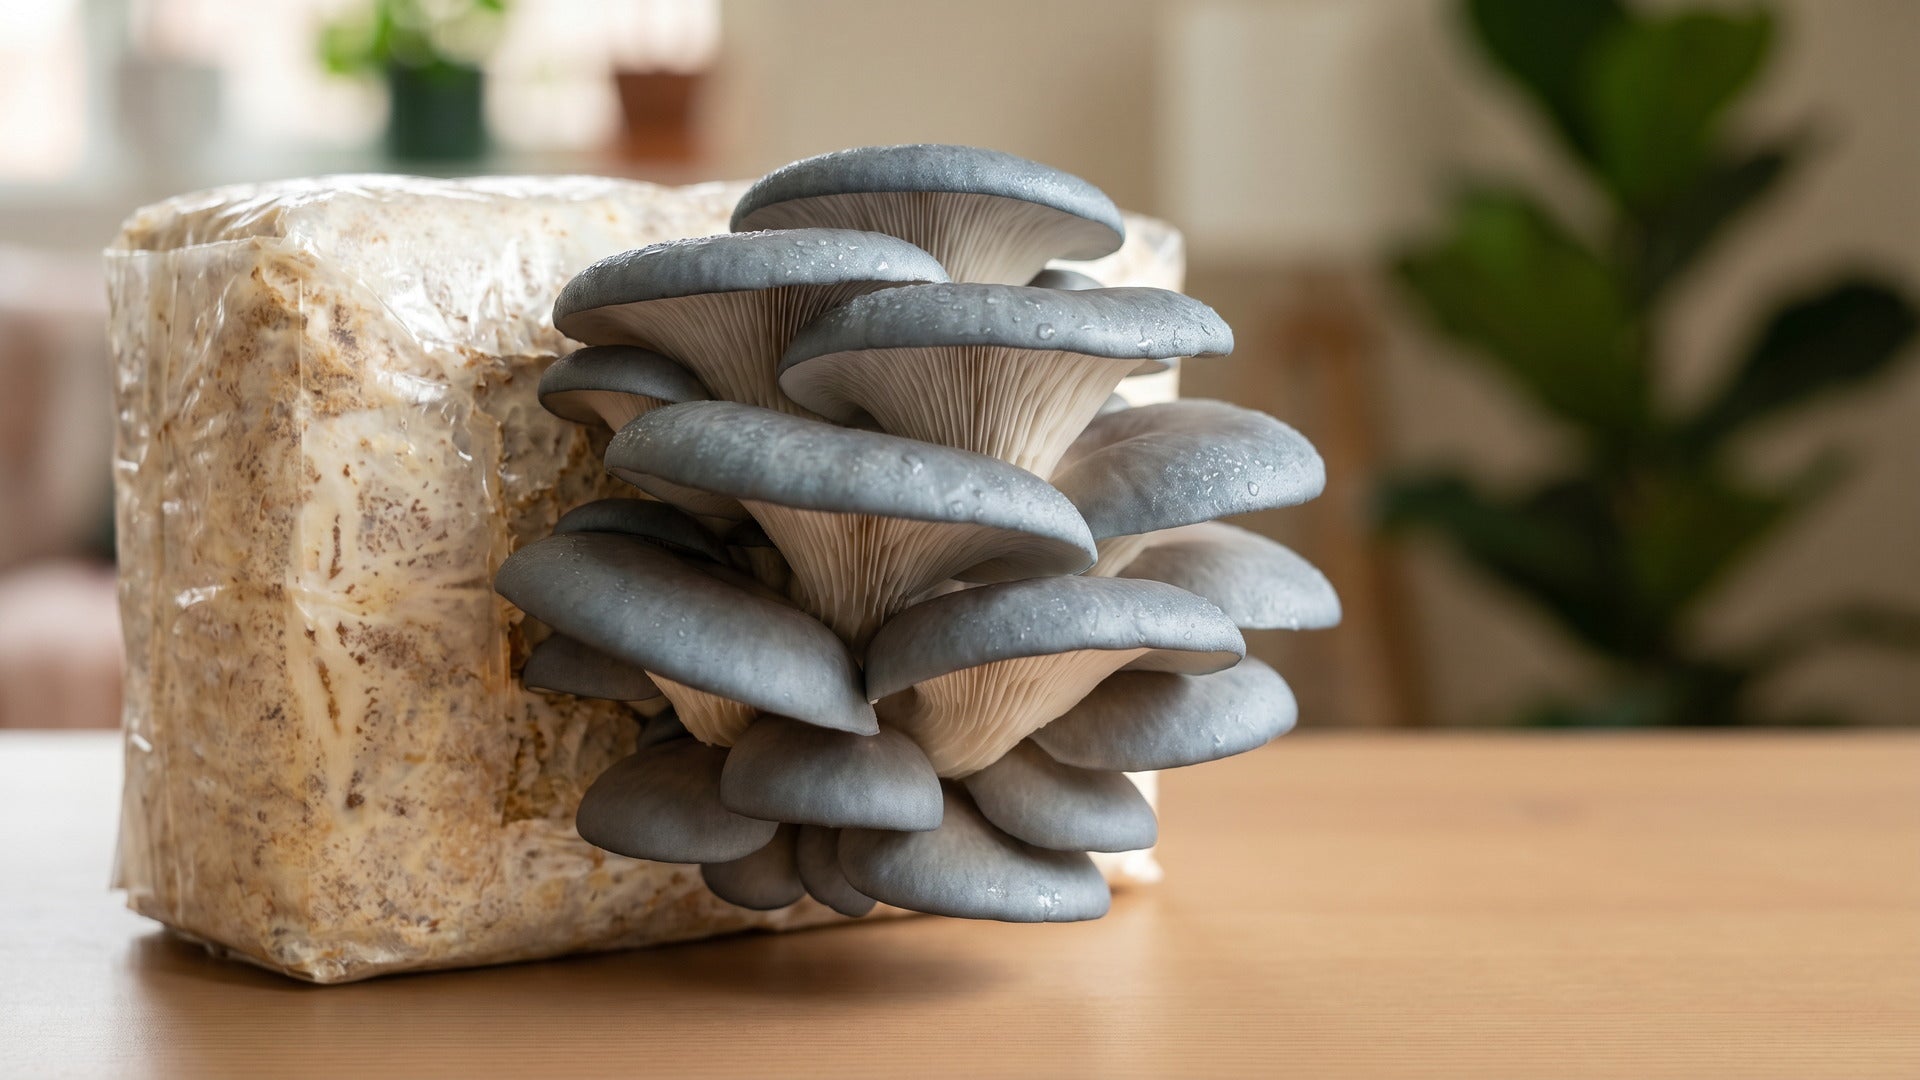
Hardwood Sawdust: The Commercial Workhorse

Pasteurized hardwood sawdust, usually oak, beech, or maple, is the substrate behind most commercial oyster production. It produces denser, meatier fruits than straw and holds moisture longer through multiple flushes.
- Typical BE: 60 to 90% across 2 to 4 flushes
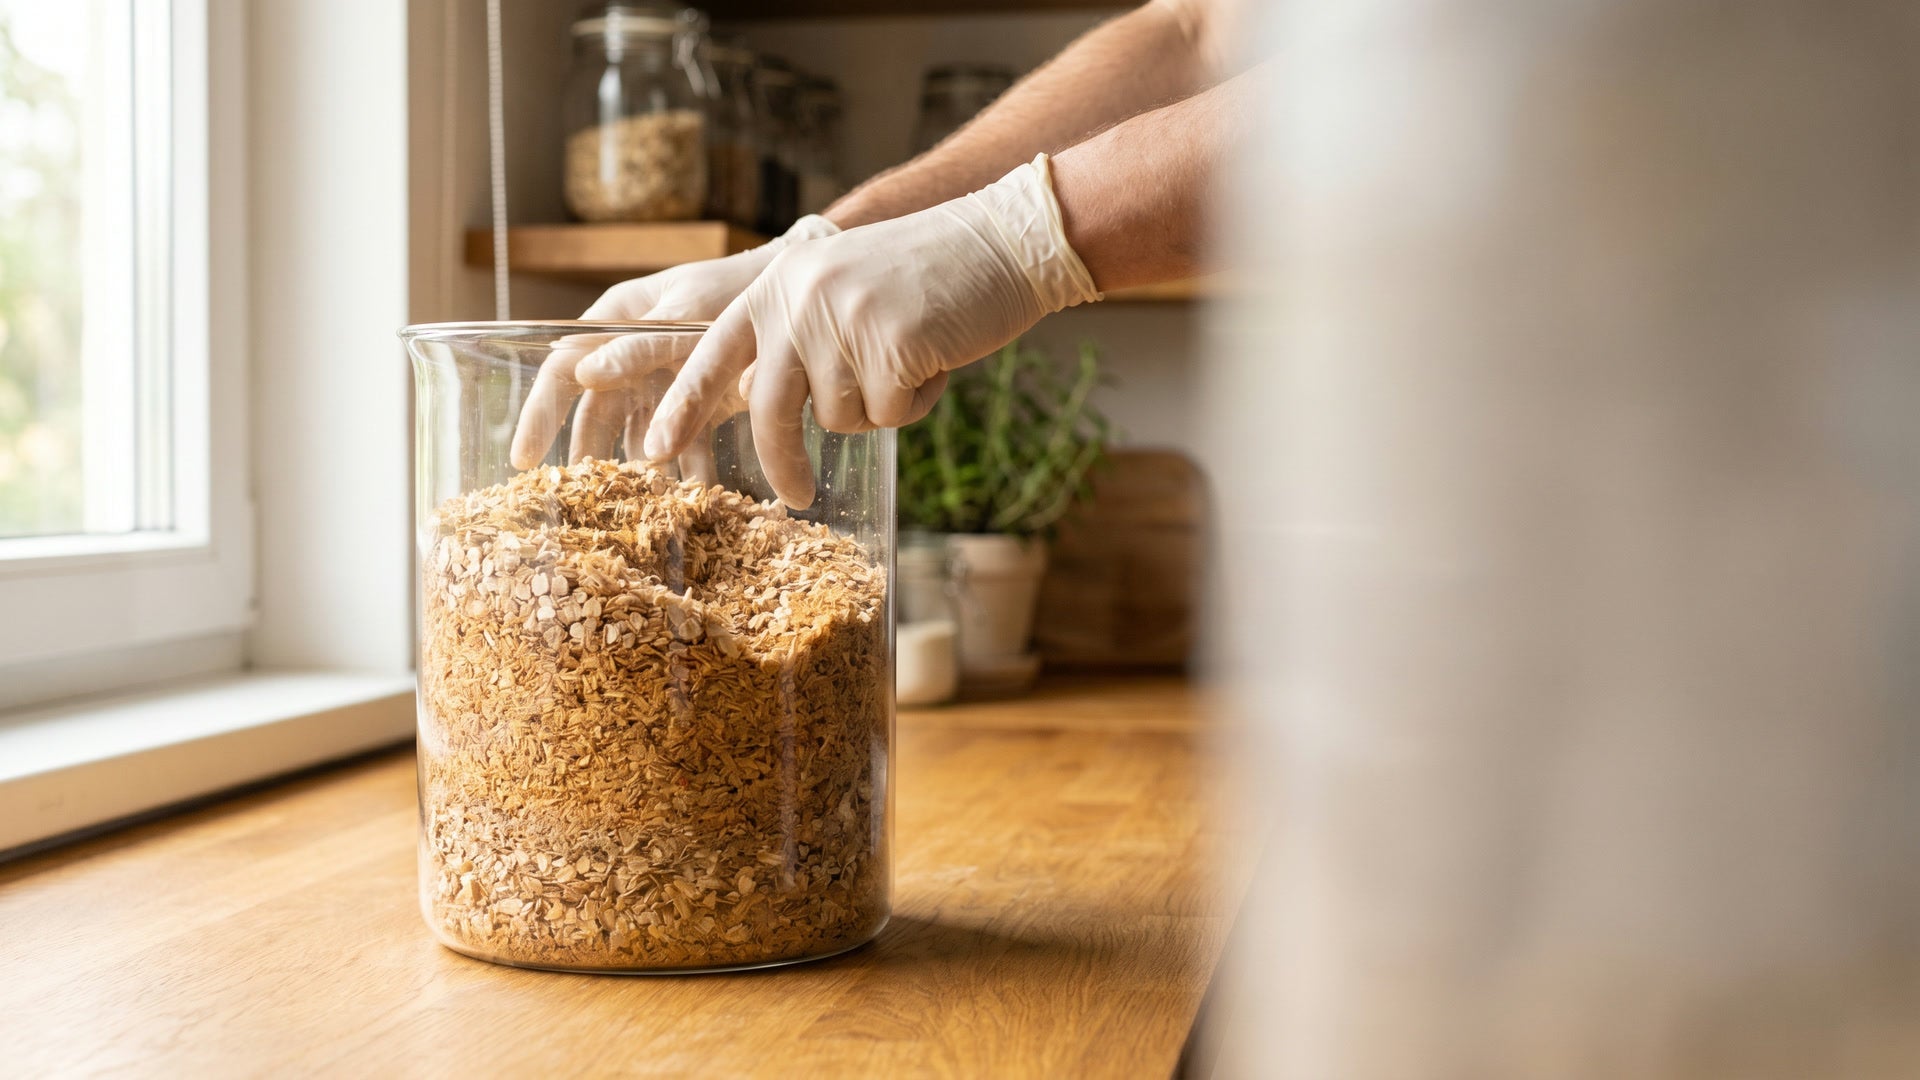
- Preparation: Hydrate to 60 to 65% moisture, then sterilize at 15 PSI for 90 minutes (or pasteurize for lower-yield results)
- Sterility: Sterilization preferred for best yields, pasteurization possible
- Cost per pound of mushrooms: $1.50 to $2.50
- Beginner-friendliness: 6 out of 10
The catch with sawdust is that pure hardwood sawdust on its own is nutritionally lean. For real yields you need to add a nitrogen supplement, which leads us straight to the next substrate.
Masters Mix: The Yield Champion

Masters mix is a 50/50 blend by dry weight of supplemented hardwood sawdust and soy hulls. It was popularized by the boutique mushroom cultivation community because it consistently delivers the highest yields of any substrate that does not require grain spawn levels of sterility.
- Typical BE: 100 to 150% across 2 to 3 flushes
- Preparation: Blend hardwood pellets and soy hulls 1:1 by dry weight, hydrate to 65% moisture, sterilize at 15 PSI for 2 to 2.5 hours
- Sterility: Sterilization required, soy hulls are too nutrient-rich for pasteurization to keep contaminants at bay
- Cost per pound of mushrooms: $1.00 to $1.75
- Beginner-friendliness: 5 out of 10
Masters mix is what serious home growers graduate to once they outgrow straw. The investment in a pressure cooker pays back fast: a 5 pound block of masters mix routinely produces 5 to 7 pounds of mushrooms, compared to 4 to 5 pounds from straw. If you are evaluating ready-made options, our pre-inoculated fruiting blocks use a masters mix style supplemented hardwood base, sterilized and ready to fruit.
Coffee Grounds: The Free Substrate

Used coffee grounds are already pasteurized by the brewing process and arrive nutritionally pre-balanced for oyster mushrooms. If you have a coffee shop willing to set aside their daily waste, this substrate is essentially free.
- Typical BE: 50 to 90% on a first flush, often only 1 flush
- Preparation: Use within 24 hours of brewing while still hot, mix with 20 to 30% chopped straw or cardboard for structure
- Sterility: None needed if used fresh, the hot brewing water acts as pasteurization
- Cost per pound of mushrooms: $0 to $0.25
- Beginner-friendliness: 7 out of 10
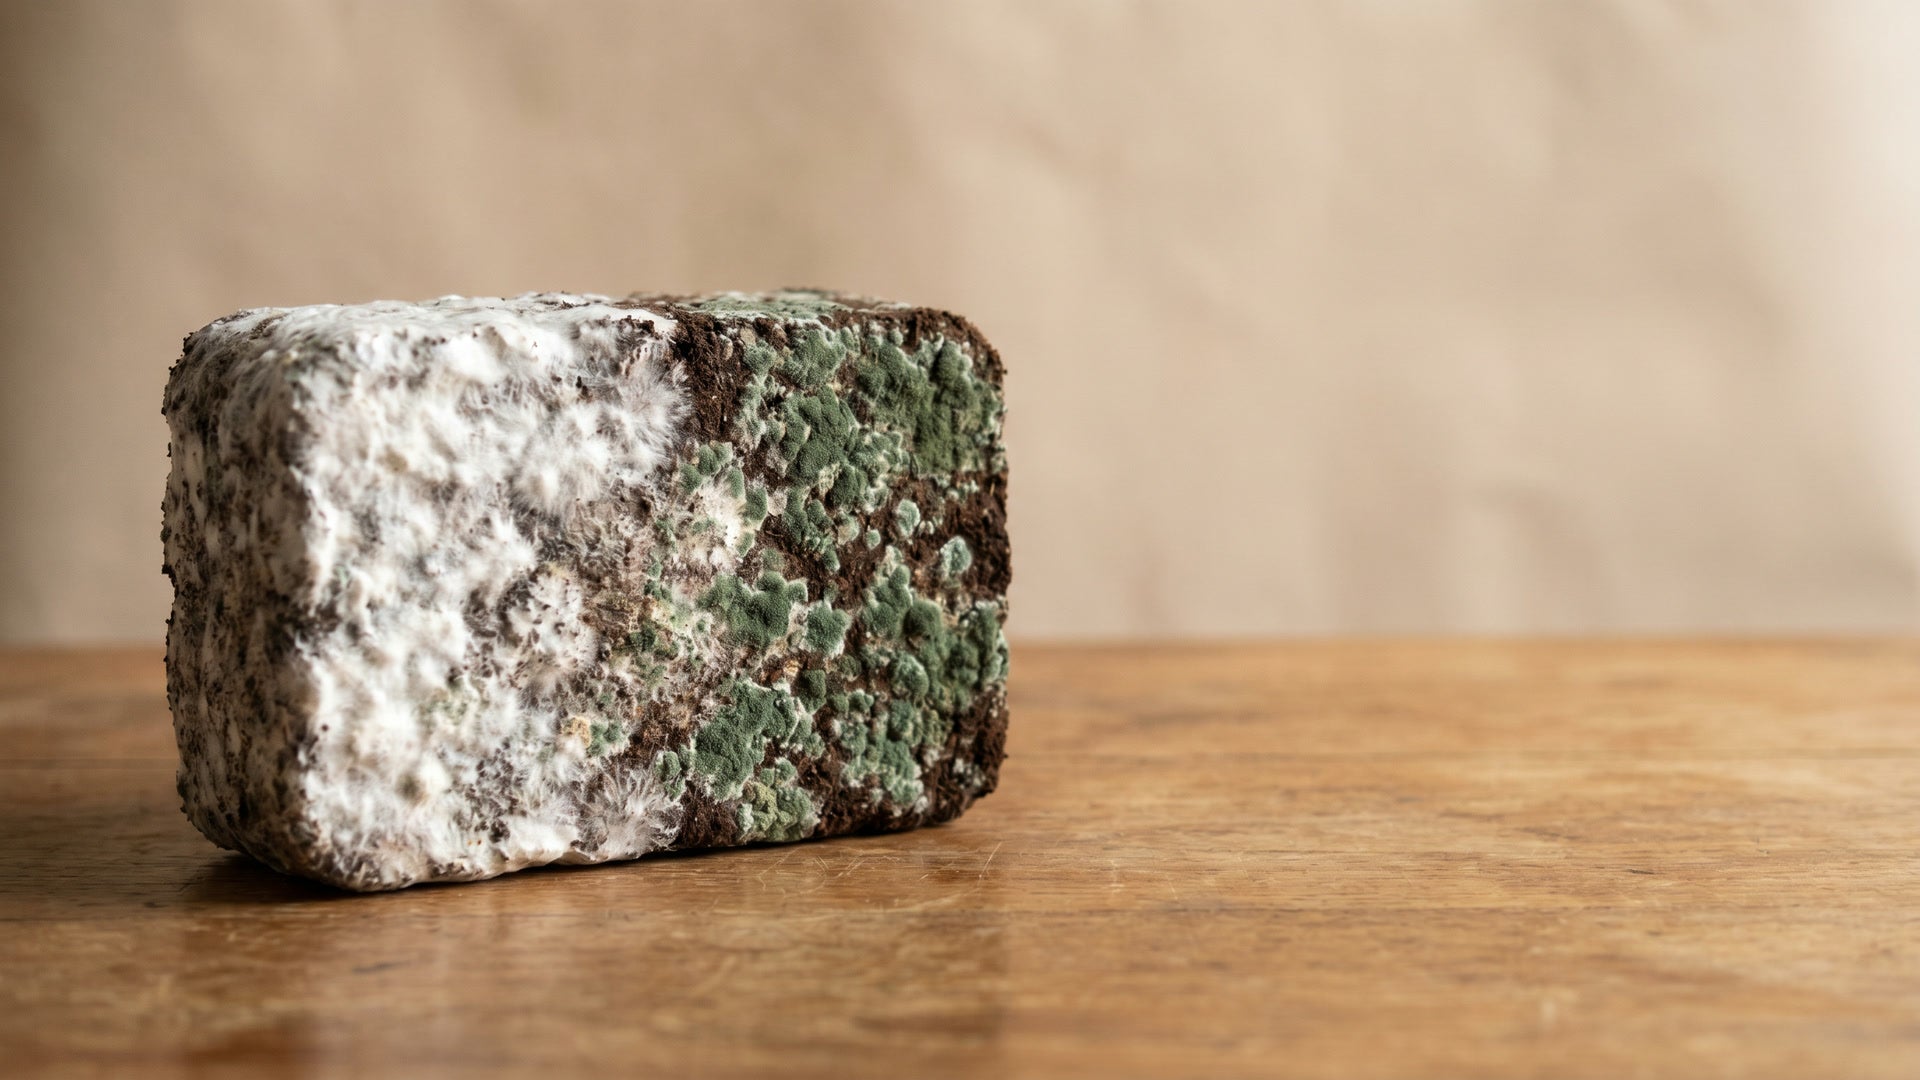
Coffee grounds work best for pink and blue oyster strains that thrive on nitrogen-rich substrates. The two caveats: yields drop sharply after the first flush, and grounds older than 24 hours start growing trichoderma before your oyster spawn can colonize. Treat coffee as a one-and-done substrate.

Fuel Your Mushroom Journey
Black Oyster Grow Kit
Hardwood-sawdust block colonized with vigorous black oyster mycelium. Drops straight into your Lykyn chamber and starts pinning within days.
Add to cart $29.95Supplemented Straw: Straw With An Upgrade

Supplemented straw adds 5 to 10% wheat bran or soy hull by weight to a standard straw substrate. The supplement boosts nitrogen and pushes yields meaningfully higher, though it also raises the contamination risk and tips the prep toward sterilization.
- Typical BE: 90 to 130% across 2 to 3 flushes
- Preparation: Chop and hydrate straw, mix in bran or hulls, then sterilize at 15 PSI for 90 minutes
- Sterility: Sterilization recommended, pasteurization works for very low supplement rates
- Cost per pound of mushrooms: $0.75 to $1.25
- Beginner-friendliness: 6 out of 10
This is the middle ground between straight straw and masters mix. You get most of the yield gain of a supplemented substrate without the full cost of soy hulls.
Cardboard: The Bootstrap Substrate

Plain corrugated cardboard, soaked and shredded, is the substrate most often recommended for absolute first-timers doing a small bucket grow. It is free, requires no special equipment, and oyster mycelium loves the cellulose in unbleached corrugated.
- Typical BE: 25 to 50% across 1 to 2 flushes
- Preparation: Soak in clean water for 1 to 2 hours, drain, then layer with grain spawn in a bucket
- Sterility: None, the soak displaces enough competitors for a low-yield grow
- Cost per pound of mushrooms: $0 to $0.10
- Beginner-friendliness: 10 out of 10
Cardboard is the cheapest way to see your first oyster pin in your kitchen. It is also the lowest yield by a wide margin. Use it as a proof-of-concept run, then graduate to straw or a pre-made block for real harvests.
Side-By-Side Summary: Picking The Right Substrate For You
If your priority is the cheapest first grow, start with cardboard or coffee grounds. If you want a forgiving, high-yield substrate without buying a pressure cooker, go with straw. If you have a pressure cooker and want maximum yield per pound of substrate, switch to masters mix. Pure hardwood sawdust is best for growers prioritizing cap density over raw yield, and supplemented straw sits in the sweet spot for growers ready to step up from pasteurization but not yet committed to soy hulls.
For a structured beginner walkthrough on a specific oyster variety, see our pink oyster growing guide or blue oyster growing guide, both of which assume a pre-inoculated block as the starting point.
Ready to Grow Mushrooms at Home?
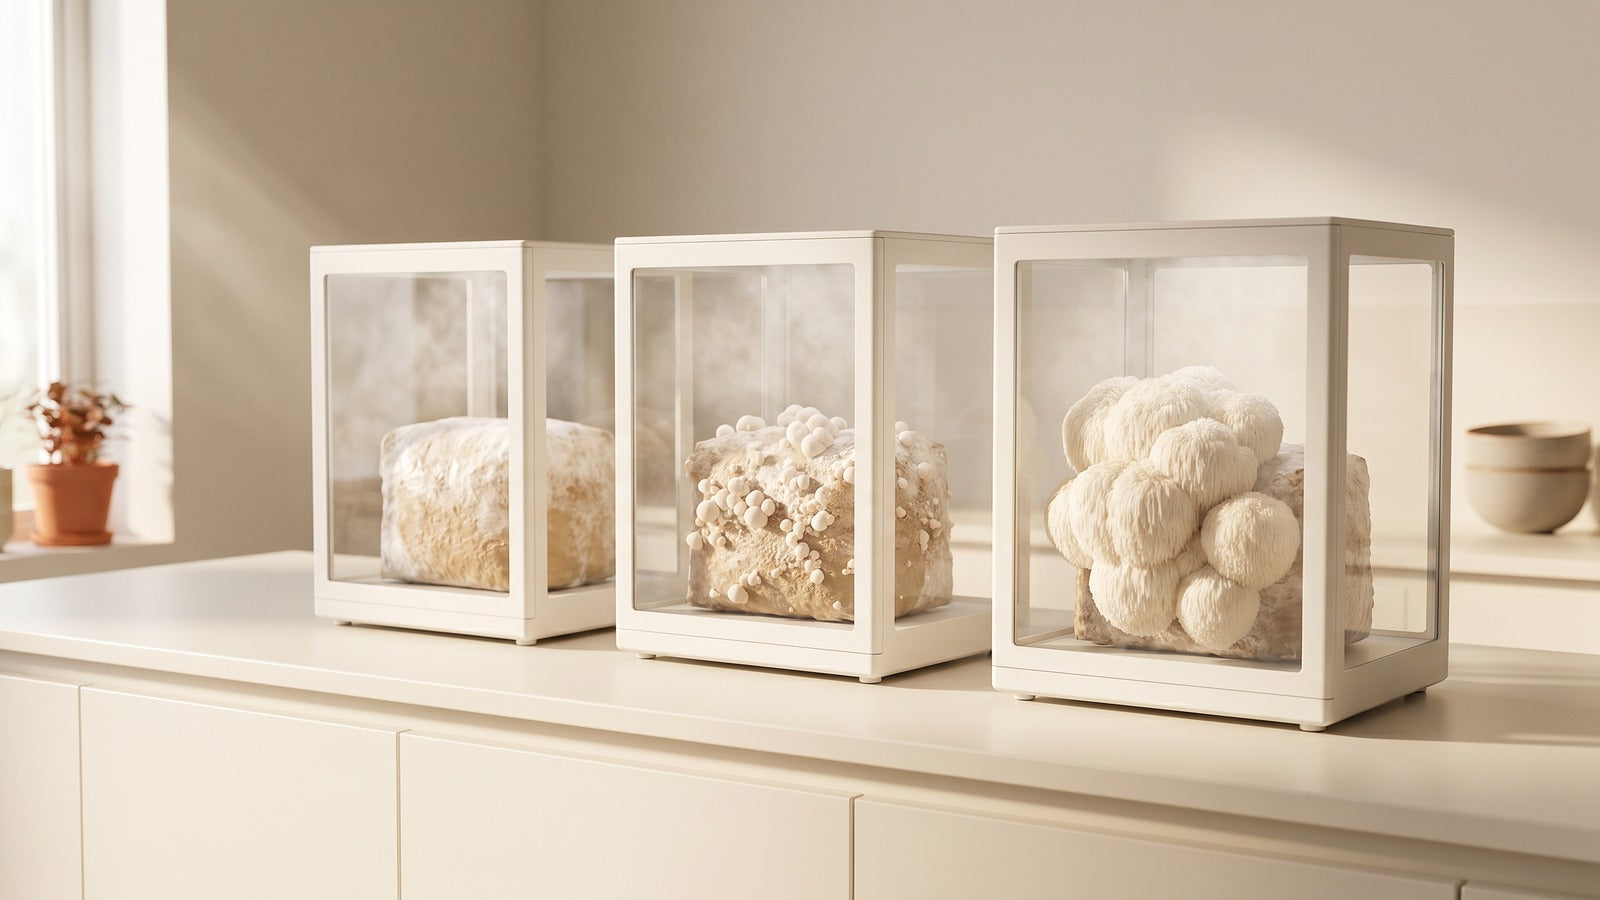
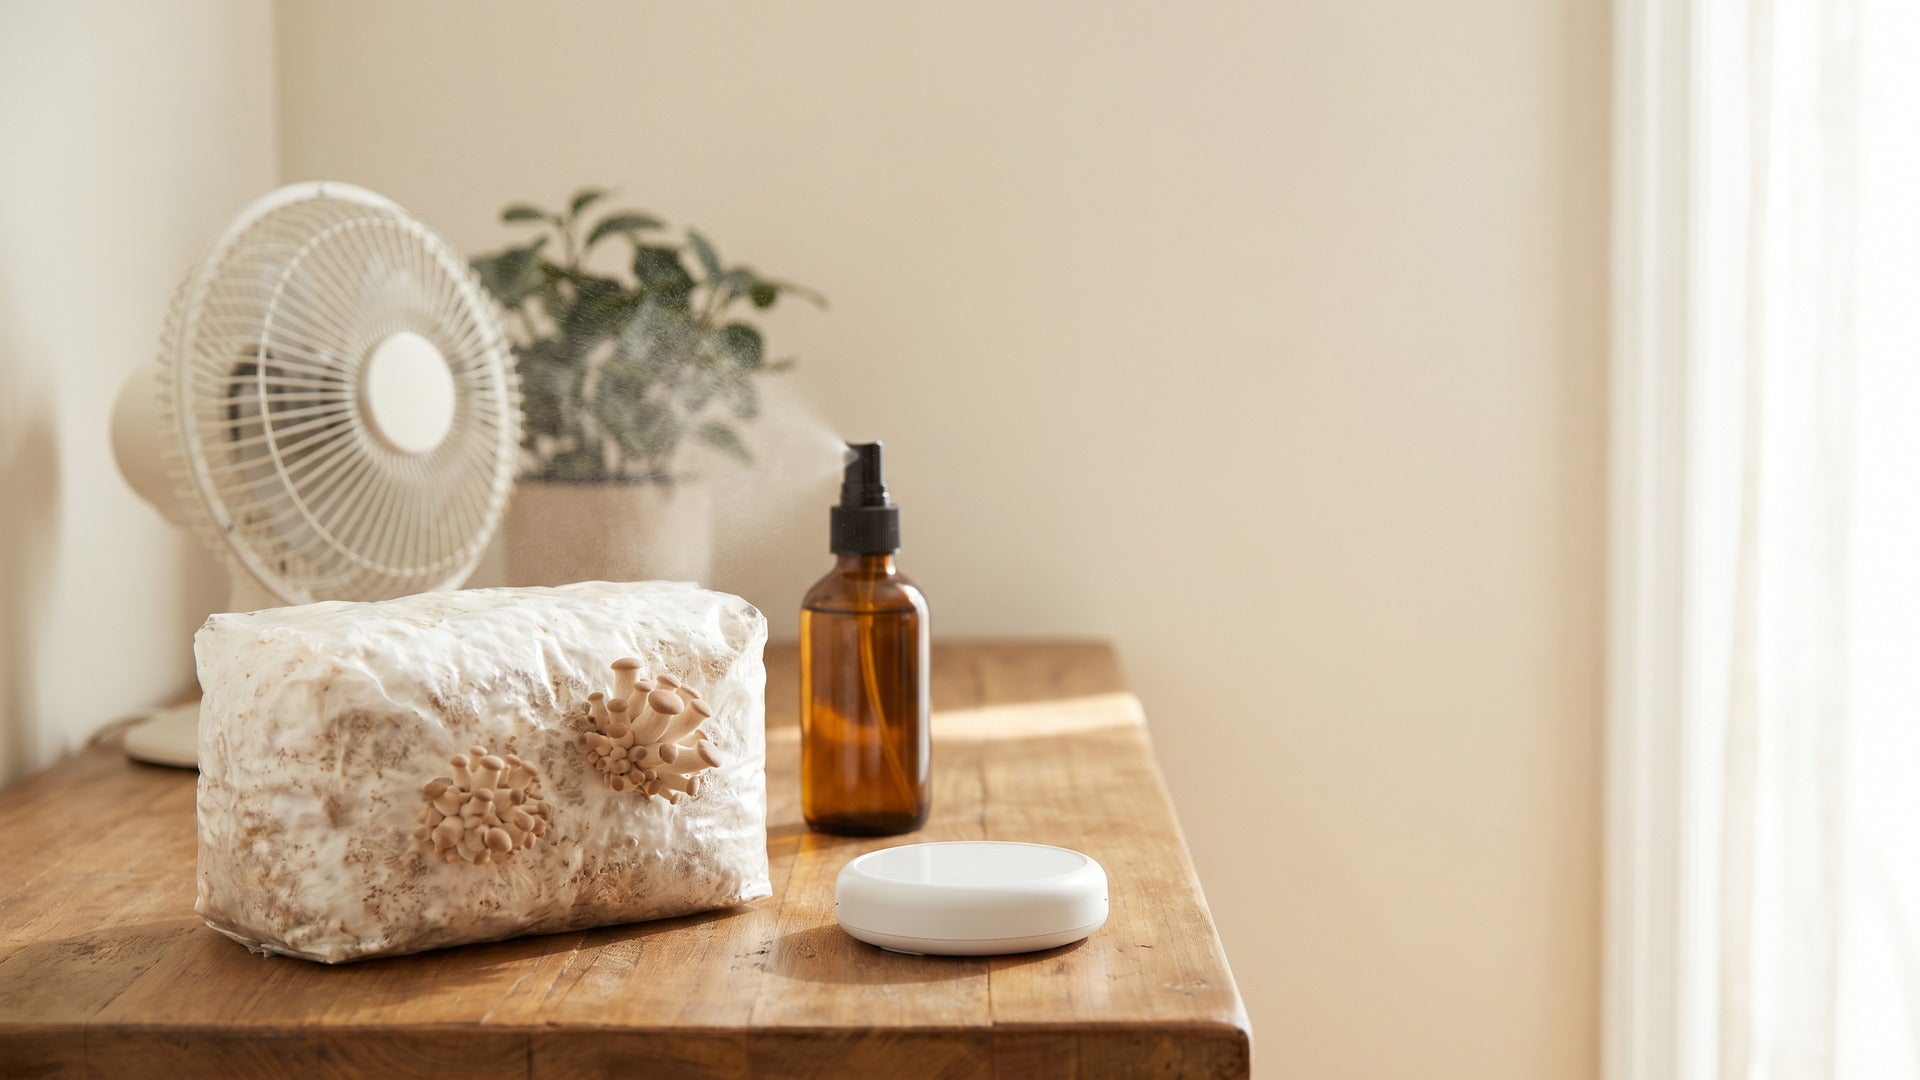
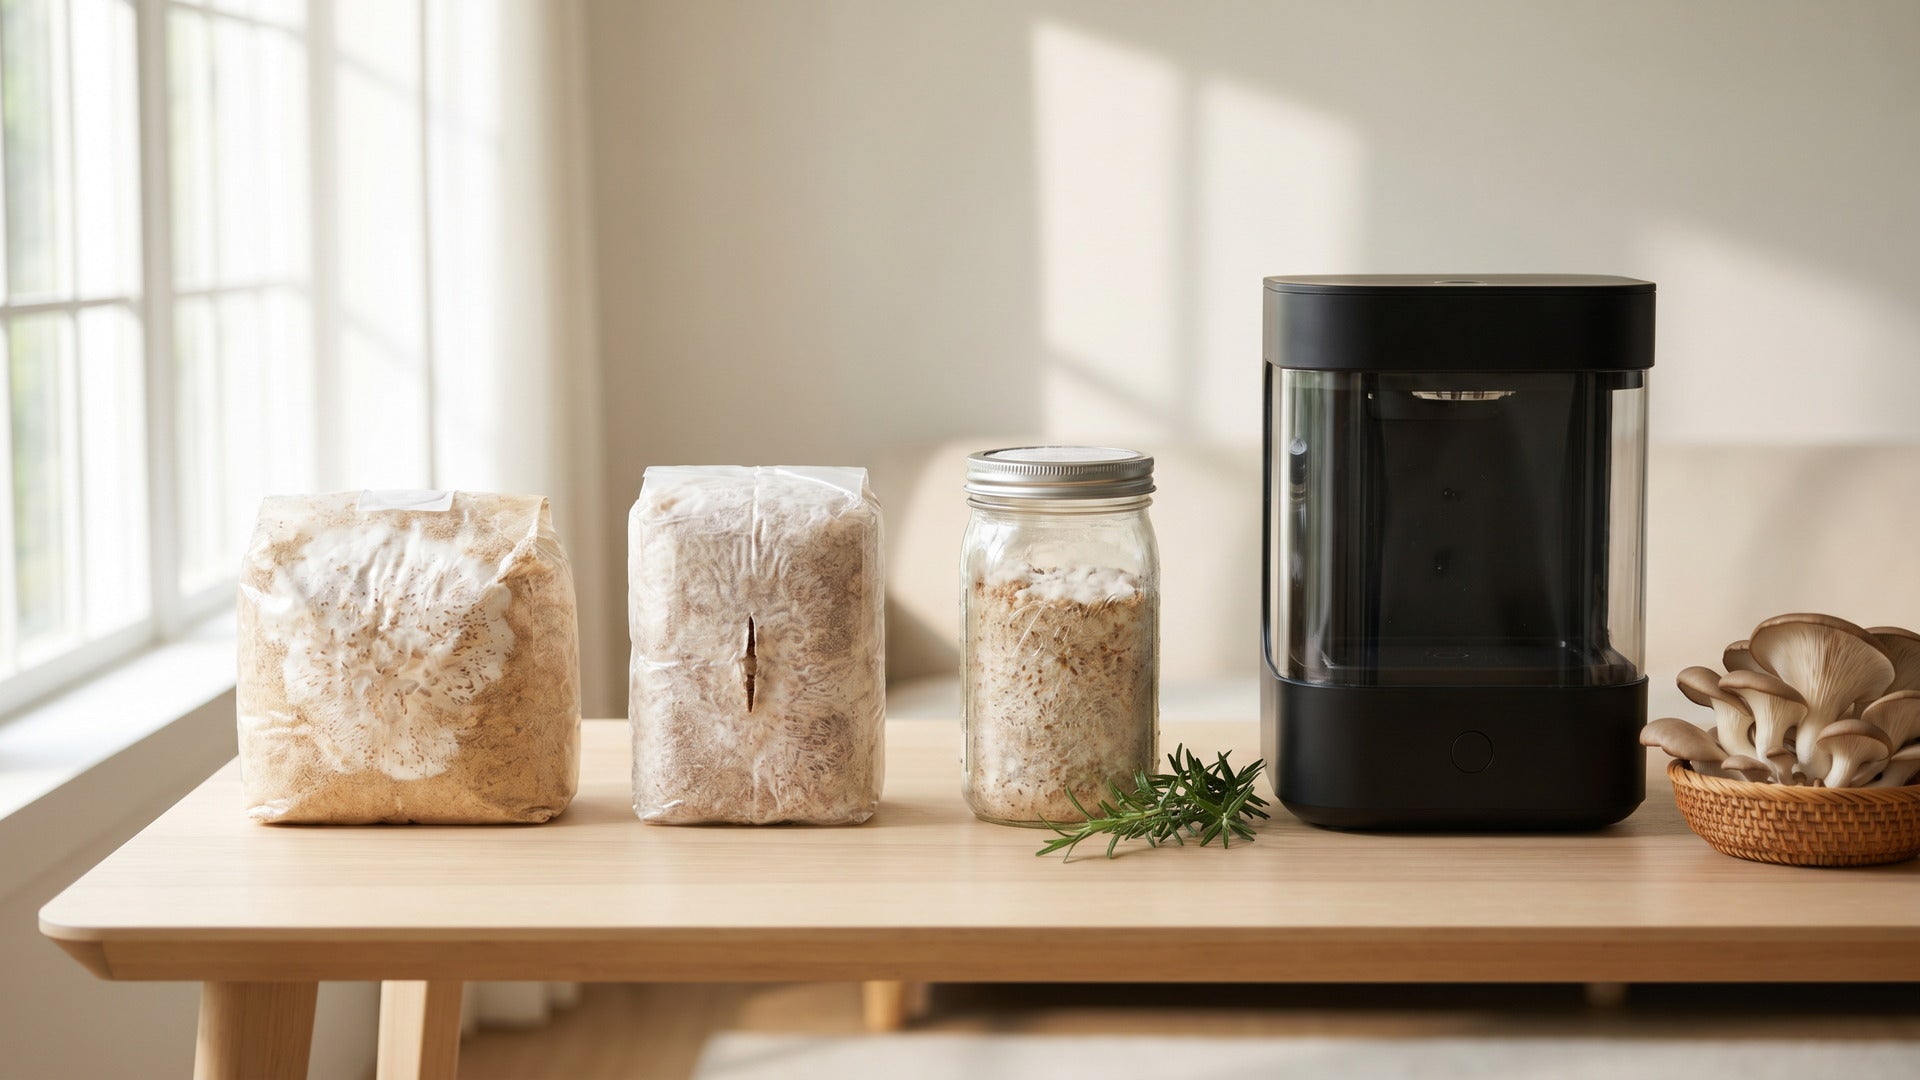
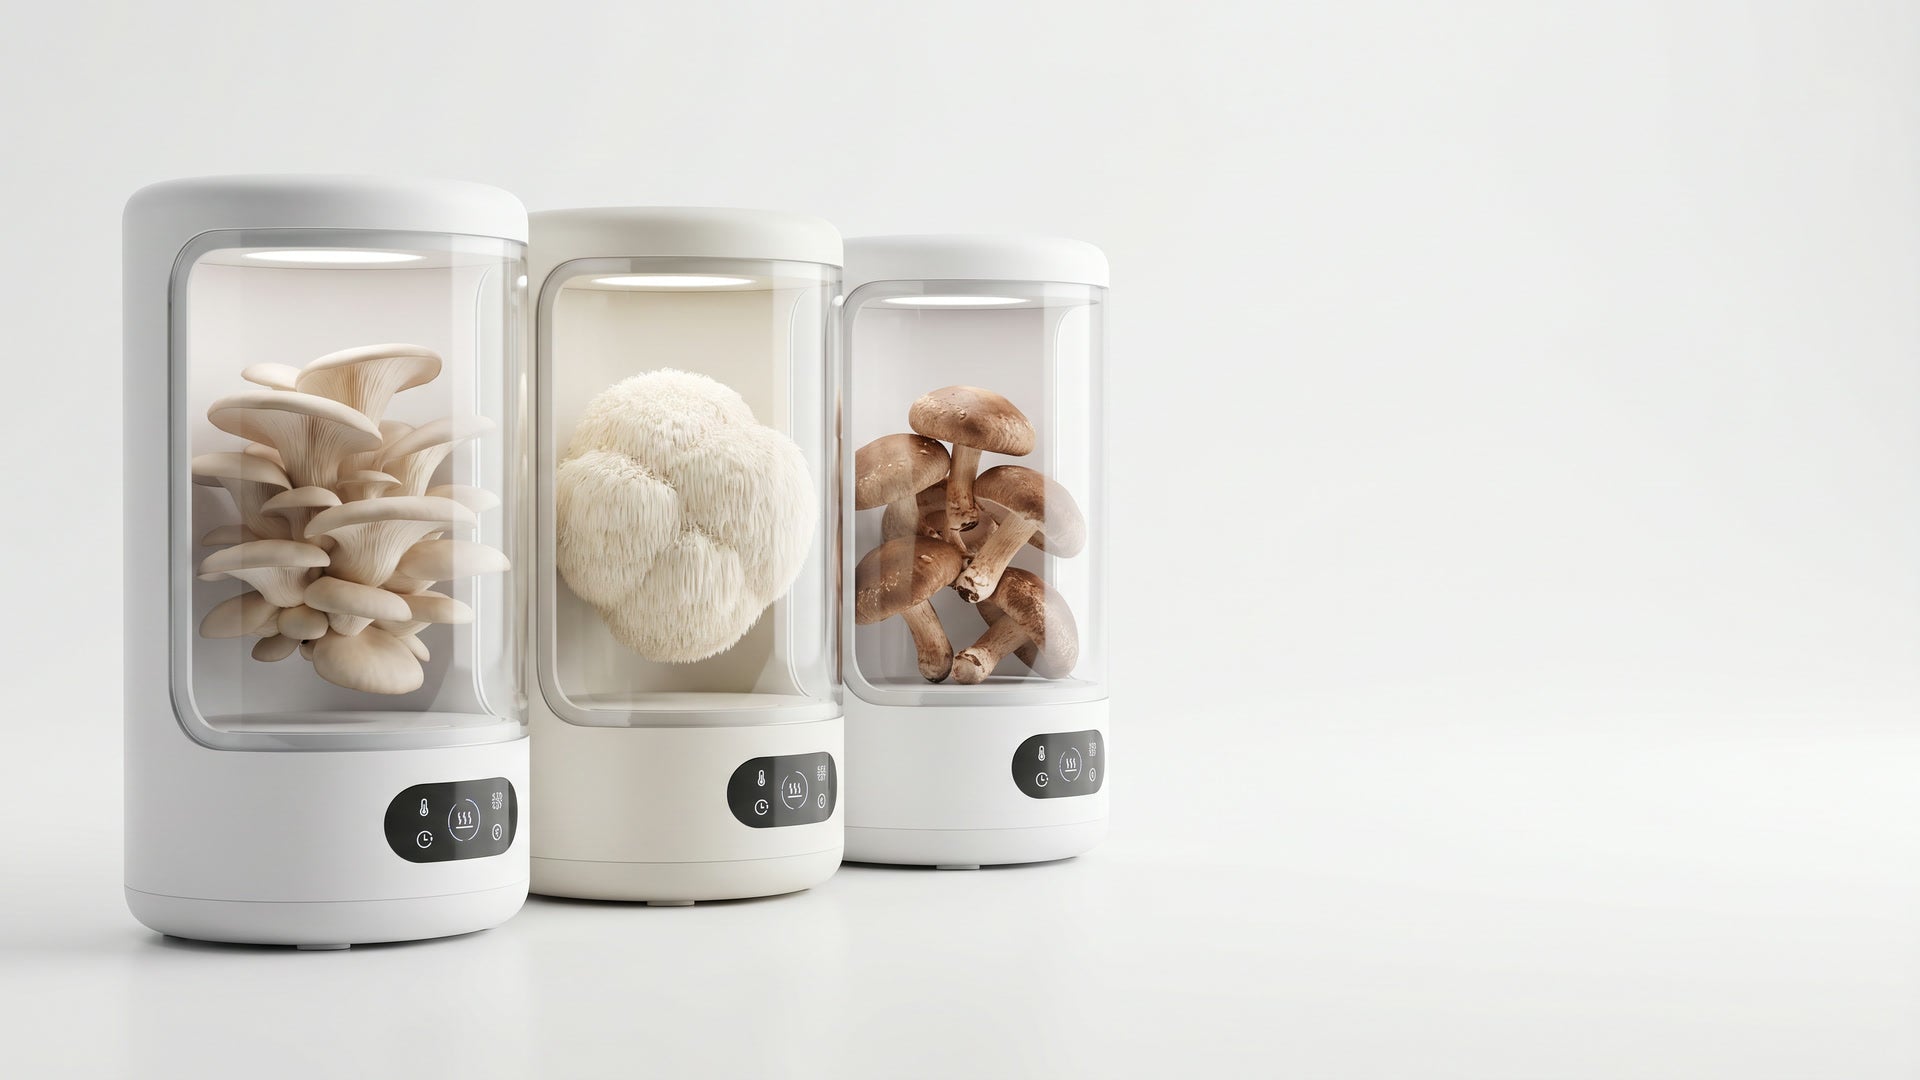
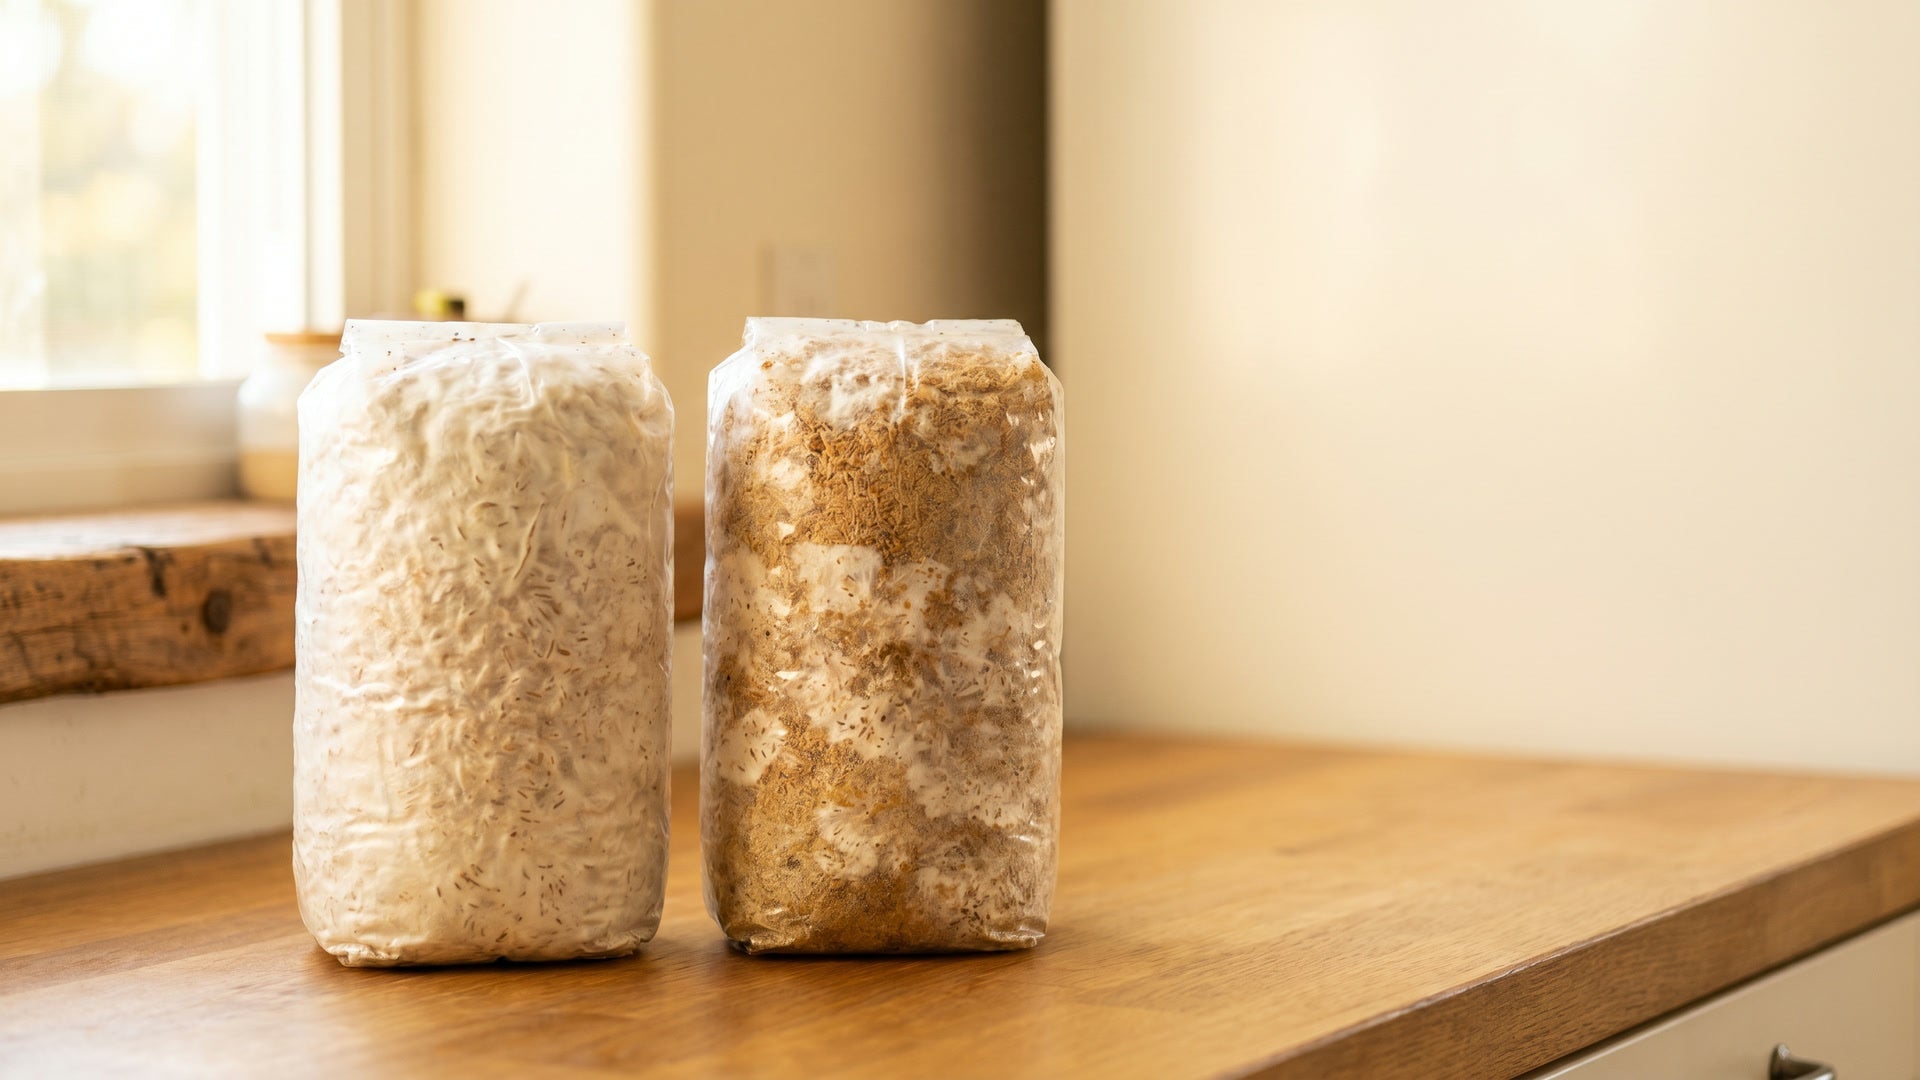
Every substrate above has the same hidden cost: hours of chopping, soaking, pasteurizing, and waiting, with no guarantee against contamination. The Lykyn Smart Mushroom Grow Box removes that prep entirely. Each pre-inoculated fruiting block arrives fully colonized on a sterilized supplemented hardwood substrate, ready to drop into the chamber. The grow box then handles humidity, airflow, and lighting automatically, so your first oyster flush arrives within 5 to 10 days.
Browse the full Lykyn grow kit collection to pick your starter species. No pressure cooker, no soaking barrel, no contamination guesswork. Just open the block, place it in the chamber, and watch the mycelium do its work.
Fuel Your Mushroom Journey

Smart Chamber. Bone White Single
- 2.8L tank, 90% humidity automatic
- App-controlled, plug-and-play
- 6 lb block ceiling, in stock

Smart Chamber. Obsidian Black Single
- Same hardware as Bone White
- Matte black premium finish
- Pairs with any kitchen palette

Aktie:
Oyster Mushroom Yield Guide: BE, Numbers, and Real Harvests
Lions Mane Mushroom Yield: Realistic Numbers & How to Hit Them