

If you've been lucky enough to find or purchase fresh morel mushrooms, you're holding one of nature's most prized culinary treasures in your hands. These distinctive honeycomb-capped fungi command premium prices for good reason, their rich, nutty flavor and meaty texture are absolutely unmatched. And while there are many ways to prepare morels, frying them to crispy, golden perfection might just be the most delicious method of all.
This comprehensive guide will teach you everything you need to know about frying morel mushrooms, from proper cleaning and preparation through achieving that perfect crispy exterior with a tender, flavorful interior. Whether you're a first-timer or looking to perfect your technique, you'll discover the secrets to restaurant-quality fried morels in your own kitchen.
Why Frying Is the Perfect Cooking Method for Morels
Frying morel mushrooms creates a magical transformation. The high heat caramelizes their natural sugars while developing deep, complex flavors that highlight their earthy, nutty characteristics. The light breading adds satisfying crunch that contrasts beautifully with the mushroom's tender, meaty interior.
This cooking method is particularly popular in the Midwest, where morel hunting is a beloved spring tradition. Families have been frying fresh-picked morels for generations, creating crispy treats that celebrate the season's bounty. The breading helps seal in moisture while allowing the distinctive morel flavor to shine through.

Unlike more delicate cooking methods that can make morels soggy or bland, frying creates textural contrast and intense flavor that makes these special mushrooms truly memorable. Plus, fried morels make excellent appetizers, side dishes, or toppings for everything from steaks to salads.
Step 1: Cleaning Your Morel Mushrooms Properly
Before you even think about frying, proper cleaning is absolutely essential. Morels' distinctive honeycomb structure creates countless nooks and crannies where dirt, grit, sand, and tiny forest creatures love to hide. Skipping thorough cleaning means biting into gritty, unpleasant mushrooms, definitely not the gourmet experience you're after!
The Best Cleaning Method for Morels
Here's the foolproof approach that balances thorough cleaning with flavor preservation:
Initial inspection: Examine each morel mushroom carefully. Trim off any damaged portions or very dirty stem ends. Check for visible insects or debris.
Slice them lengthwise: Cut each morel in half from top to bottom. This critical step exposes the hollow interior, making it much easier to spot and remove hidden insects, debris, or dirt trapped inside.
Salt water soak: Fill a large bowl with cold water and add 2-3 tablespoons of salt per gallon. Submerge your halved morels and gently agitate them. Let them soak for 5-10 minutes, the salt water helps drive out any tiny insects hiding in the honeycomb structure.
Gentle rinse: Lift the morels out of the salt water (don't pour through a strainer, which redeposits dirt). Rinse them gently under cold running water, using your fingers to clean out any remaining debris from the crevices.
Thorough drying: This step is crucial for achieving crispy fried morels! Pat the mushrooms completely dry with paper towels or clean kitchen towels. Remove as much moisture as possible, wet mushrooms won't crisp up properly and can make your breading soggy.
For more detailed cleaning techniques, check out our comprehensive guide on how to clean morel mushrooms.
Pro tip: Always use cold water when cleaning morels. Warm water can begin cooking them or accelerate deterioration, affecting both texture and flavor.
Step 2: Preparing Your Breading Station
The secret to perfectly fried morels lies in a well-organized breading station. Setting everything up before you start makes the process smooth and ensures even coating on every mushroom piece.
Essential Ingredients for Fried Morels
For approximately 12 ounces (340g) of fresh morel mushrooms, gather:
For the flour mixture:
- 1 cup all-purpose flour
- 1 teaspoon salt
- 1/2 teaspoon freshly ground black pepper
- 1/2 teaspoon garlic powder
- 1/4 teaspoon paprika (adds color and subtle smokiness)
- Optional: 1/4 teaspoon cayenne pepper for heat
For the egg wash:
- 2 large eggs
- 2 tablespoons milk or water
- Pinch of salt
For optional extra crunch:
- 1/2 cup finely crushed crackers, panko breadcrumbs, or regular breadcrumbs
For frying:
- 4 tablespoons butter, clarified butter, or high-heat cooking oil
- Additional butter for finishing (optional)
Setting Up Your Dredging Station
Arrange three shallow bowls or pie plates in assembly-line fashion:
Station 1: Mix flour with all seasonings in the first bowl. This seasoned flour provides flavor and helps the egg wash adhere.
Station 2: Beat eggs with milk and a pinch of salt in the second bowl. The egg wash creates the sticky layer that holds your final coating.
Station 3: (Optional) Place crushed crackers or breadcrumbs in the third bowl for extra-crispy results. Many traditionalists skip this and use only the flour coating, which works beautifully too.

Keep a clean plate nearby for your breaded morels, and have your skillet ready to go. Organization prevents the frustration of juggling wet, floury mushrooms while trying to prep your cooking surface.
Step 3: The Perfect Breading Technique
Proper breading technique makes the difference between coating that stays on your mushrooms versus ending up in the pan. Follow these steps for each morel piece:
Dredge in seasoned flour: Take a morel half and coat it completely in the seasoned flour mixture. Shake off any excess flour, you want an even, light coating, not clumps.
Dip in egg wash: Transfer the floured morel to the egg mixture. Turn it to coat all sides, allowing excess egg to drip off back into the bowl.
Final coating: If using the optional third station, press the egg-coated morel into the breadcrumbs or crackers, turning to coat all sides. Again, shake off excess.
Rest before frying: Place breaded morels on your clean plate. Let them rest for 5-10 minutes before frying, this helps the coating adhere better and prevents it from sliding off during cooking.
Keep one hand dry: Here's a pro tip that prevents "club hand", use one hand for dry ingredients (flour and breadcrumbs) and the other for wet (egg wash). This prevents your fingers from becoming coated in thick, clumpy breading.
Step 4: Frying Your Morels to Golden Perfection
Now comes the exciting part, transforming your breaded morels into crispy, golden deliciousness!
Heat Management Is Critical
Choose the right pan: A large, heavy-bottomed skillet (cast iron works beautifully) distributes heat evenly and prevents hot spots that can burn your coating.
Select your fat: Butter provides incredible flavor but burns easily. Consider these options:
- Pure butter: Classic flavor but requires careful heat monitoring
- Clarified butter or ghee: Higher smoke point than regular butter with great flavor
- High-heat oil: Vegetable, canola, or peanut oil handles higher temperatures well
- Butter/oil combination: Mix of both gives you flavor plus higher heat tolerance
Heat to the right temperature: Heat your fat over medium to medium-high heat until shimmering but not smoking. Test with a small piece of bread or breading, it should sizzle immediately when it hits the pan.
The Frying Process
Don't crowd the pan: This is crucial! Arrange morels in a single layer with space between each piece. Crowding lowers the oil temperature and creates steam, resulting in soggy rather than crispy mushrooms. Fry in batches if necessary.
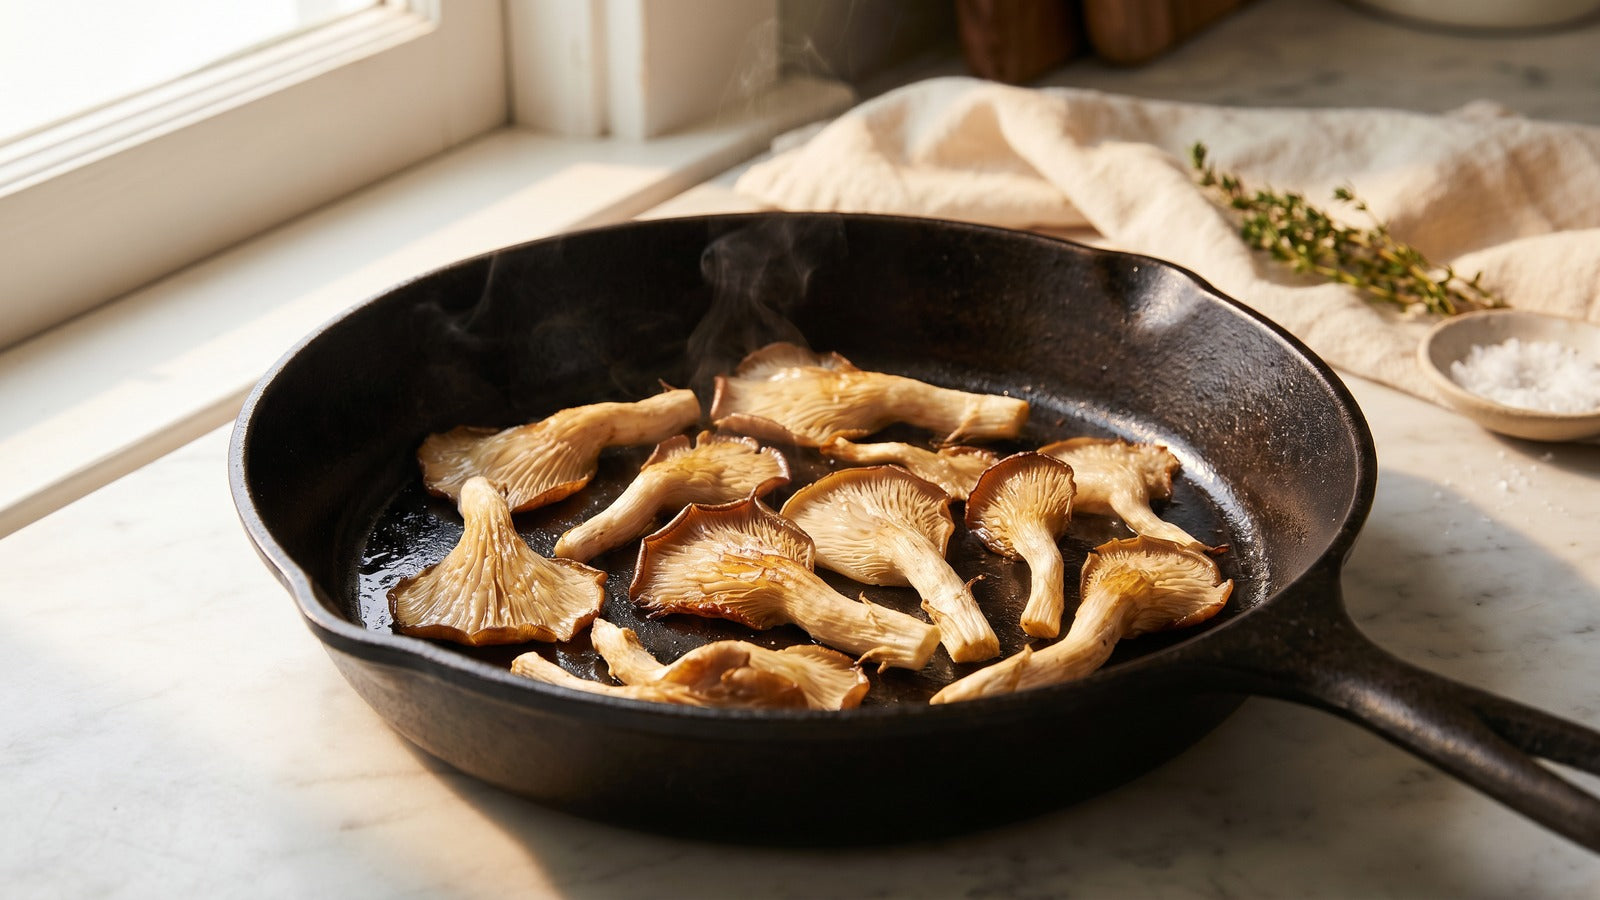
Cook without disturbing: Let the morels cook undisturbed for 2-3 minutes on the first side. Resist the urge to flip them too early, they need time to develop that golden-brown crust.
Flip and finish: Once the first side is beautifully golden, carefully flip each piece using tongs or a fork. Cook for another 2-3 minutes until the second side matches the first.
Watch for doneness: Your morels are done when they're golden brown on both sides with slightly crisp edges. The total cooking time should be about 4-6 minutes, depending on mushroom size and heat level.
Drain properly: Transfer finished morels to a plate lined with paper towels to drain excess oil. This keeps them crispy rather than greasy.
Season immediately: While still hot, sprinkle with a little extra salt if desired. The salt sticks better when the morels are hot and fresh from the pan.

Troubleshooting Common Frying Problems
Coating slides off: Your morels may not have been dry enough before breading, or you moved them too soon during cooking. Let them rest after breading and don't flip too early.
Soggy instead of crispy: The oil wasn't hot enough, or you crowded the pan. Increase heat slightly and cook fewer pieces at a time.
Burning before cooking through: Heat is too high. Lower to medium heat and cook more patiently.
Mushrooms release water: This happens when morels aren't thoroughly dried after cleaning. Always pat completely dry before breading.
Serving Suggestions and Flavor Pairings
Fried morel mushrooms are incredibly versatile. Here are delicious ways to serve them:
As an Appetizer
Serve your crispy fried morels with complementary dipping sauces:
- Garlic aioli: Mayonnaise-based sauce with roasted garlic and lemon
- Ranch dressing: Classic cooling complement to the rich mushrooms
- Herb butter: Melted butter infused with fresh thyme, parsley, or chives
- Lemon-caper sauce: Bright, acidic contrast to rich, earthy morels
- Horseradish cream: For those who enjoy a spicy kick
As a Side Dish
Fried morels pair beautifully with:
- Grilled steaks: The ultimate surf-and-turf style pairing
- Roasted chicken: Elegant spring dinner combination
- Fresh asparagus: Celebrating spring's best flavors together
- Creamy mashed potatoes: Comfort food at its finest
- Spring salad: Adding warm, crispy elements to fresh greens
As a Topping
Get creative by using fried morels as toppings for:
- Burgers (especially bison or beef)
- Pizza
- Pasta dishes
- Grain bowls
- Loaded baked potatoes
For more cooking inspiration and methods beyond frying, explore our complete guide on how to cook morel mushrooms.
Understanding Morel Mushroom Flavor and Texture
What makes fried morels so special? Understanding their unique characteristics helps you appreciate why this preparation method works so perfectly.
The Complex Morel Flavor Profile
Morel mushrooms offer deep umami richness with nutty sweetness that lingers on your palate. Many people describe their flavor as earthy, reminiscent of the forest floor, with subtle smoky qualities. Their porous structure readily absorbs flavors, in this case, butter, seasonings, and the savory notes from frying.
The cooking process intensifies these characteristics, creating concentrated flavors that are both comforting and sophisticated. Learn more about what morel mushrooms taste like in our detailed flavor guide.
The Ideal Texture
When properly fried, morels deliver a delightful textural contrast:
- Crispy exterior: The golden breading provides satisfying crunch
- Tender interior: The mushroom flesh remains moist and meaty
- Slightly chewy: Unlike soft button mushrooms, morels have substantial bite
This combination of textures makes fried morels incredibly satisfying and explains why people go to such lengths to forage for them each spring.
Storing and Preserving Morel Mushrooms
Found more morels than you can fry in one session? Here's how to preserve them for future enjoyment:
Short-Term Storage
Fresh morels keep for 5-7 days when stored properly:
- Place unwashed morels in a paper bag (never plastic)
- Store in the refrigerator crisper drawer
- Check daily for any signs of spoilage
- Wash only right before you're ready to cook
For detailed storage techniques, see our guide on how to store morel mushrooms.
Long-Term Preservation Options
Freezing: Sauté cleaned morels lightly in butter first, then freeze in airtight containers. Learn the complete process in our article on how to freeze morel mushrooms.
Drying: Dehydrated morels develop even more concentrated flavor and store for months. Our guide on how to dehydrate morel mushrooms walks you through the process.
Pro tip: While you can fry previously frozen morels, fresh or properly dried-then-rehydrated morels yield better texture. The freezing process changes their cell structure slightly.
Featured Snippet Summary
To fry morel mushrooms: Clean and halve them, pat completely dry, dredge in seasoned flour, dip in beaten egg, and coat with breadcrumbs if desired. Fry in medium-high heat butter or oil for 2-3 minutes per side until golden brown. The key is thorough drying before breading and avoiding pan overcrowding for maximum crispiness. Serve immediately with dipping sauces or as a side dish.
Frequently Asked Questions About Frying Morel Mushrooms
Q: Do I have to bread morel mushrooms before frying, or can I fry them plain?
A: You can definitely fry morel mushrooms without breading! Simple pan-frying (sautéing) in butter or oil with just salt and pepper creates delicious results that let the mushroom flavor shine through. However, breading creates that satisfying crispy coating and protects the delicate mushrooms from direct high heat, resulting in a more tender interior. Both methods are delicious, breaded frying creates an appetizer-style dish, while simple sautéing works better for incorporating morels into other dishes. Many people enjoy both preparations depending on the occasion. For simple sautéing techniques, check our comprehensive morel cooking guide.
Q: Can you fry morel mushrooms without cutting them in half first?
A: While you can technically fry whole morels, cutting them in half lengthwise is strongly recommended for several important reasons. First, halving exposes the hollow interior, allowing you to spot and remove any hidden insects, dirt, or debris trapped inside, essential for food safety and pleasant eating. Second, the cut surface provides more area for breading to adhere, creating better coating coverage. Third, halved morels cook more evenly throughout and are easier to eat. Finally, you get more servings from your precious morel haul! The only exception might be very small button-stage morels, which can be fried whole, but these are best simply sautéed rather than breaded.
Q: What oil or fat is best for frying morel mushrooms?
A: Each fat option offers different advantages for frying morels. Pure butter provides classic, incomparable flavor but requires careful heat management since it burns easily, best for experienced cooks who can monitor temperature closely. Clarified butter or ghee offers butter flavor with a higher smoke point, making it more forgiving and ideal for most home cooks. Neutral high-heat oils (vegetable, canola, peanut) handle higher temperatures well and create very crispy results, though they lack butter's flavor richness. Butter-oil combination (half butter, half neutral oil) provides a balance of flavor and higher heat tolerance, an excellent choice for beginners. For best results with pure butter, keep heat at medium and watch carefully for any browning of the butter itself.
Q: How do you keep the breading from falling off when frying morels?
A: Breading adhesion depends on several critical factors. First, your morels must be completely dry after cleaning, pat them thoroughly with paper towels until no moisture remains. Even small amounts of water prevent flour from sticking and can cause the coating to slide off. Second, let breaded morels rest for 5-10 minutes before frying, this allows the coating to "set" and bond to the mushroom. Third, make sure your oil is hot enough (should sizzle immediately when mushrooms hit the pan), if it's not hot enough, breading absorbs oil and becomes soggy. Fourth, don't flip too early, let the first side fully cook and develop a crust (2-3 minutes) before turning. Finally, avoid overcrowding the pan, which creates steam that loosens breading. Following these steps ensures restaurant-quality coating that stays put.
Q: Are fried morel mushrooms safe to eat, or do morels need special preparation?
A: Morel mushrooms are completely safe to eat when properly cooked, the key word being "cooked." Never eat raw morels, as they contain small amounts of hydrazine compounds that can cause digestive upset. Cooking thoroughly (which frying certainly does) destroys these compounds, making morels perfectly safe and delicious. The frying process involves 4-6 minutes of cooking at relatively high heat, which is more than sufficient to eliminate any concerns. Beyond cooking, the only other safety consideration is proper identification, make absolutely certain your morels are true morels and not toxic false morels (Gyromitra species). If you're foraging, learn identification from experienced guides or consult our articles on black morels and large morels for identification help. Purchased morels from reputable sources are already verified as safe.
Start Frying Your Morel Mushrooms Today
Now that you know exactly how to fry morel mushrooms to crispy, golden perfection, it's time to put your knowledge into action! Whether you've foraged your own morels or found them at the farmers market, this simple preparation method transforms these spring treasures into an unforgettable culinary experience.
The beauty of fried morels lies in their simplicity, basic ingredients and straightforward techniques create restaurant-quality results that celebrate the mushroom's natural flavor. From the satisfying crunch of the breading to the tender, meaty interior bursting with earthy, nutty goodness, every bite reminds you why morels command such devotion from foragers and food lovers alike.
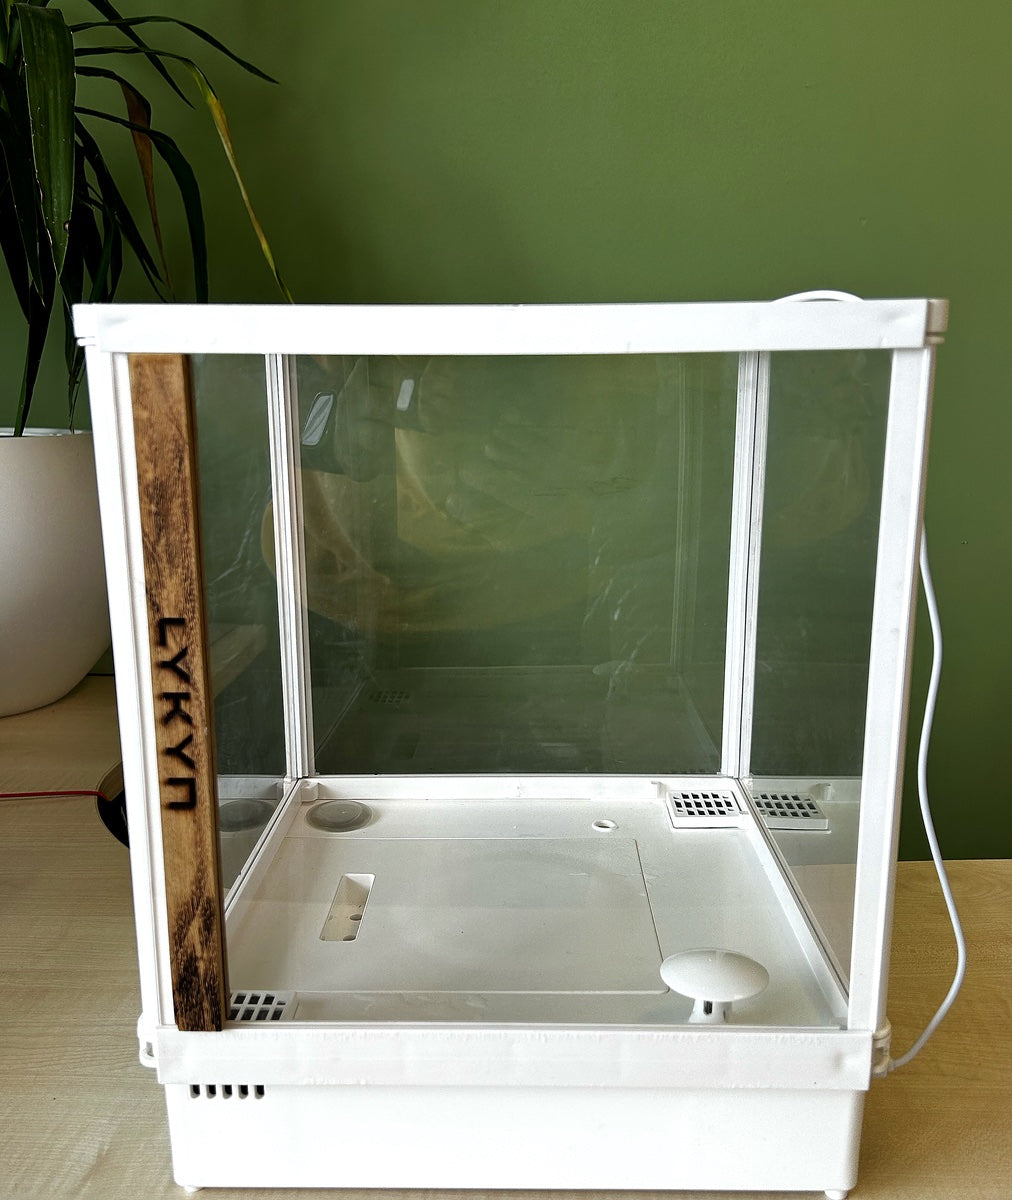
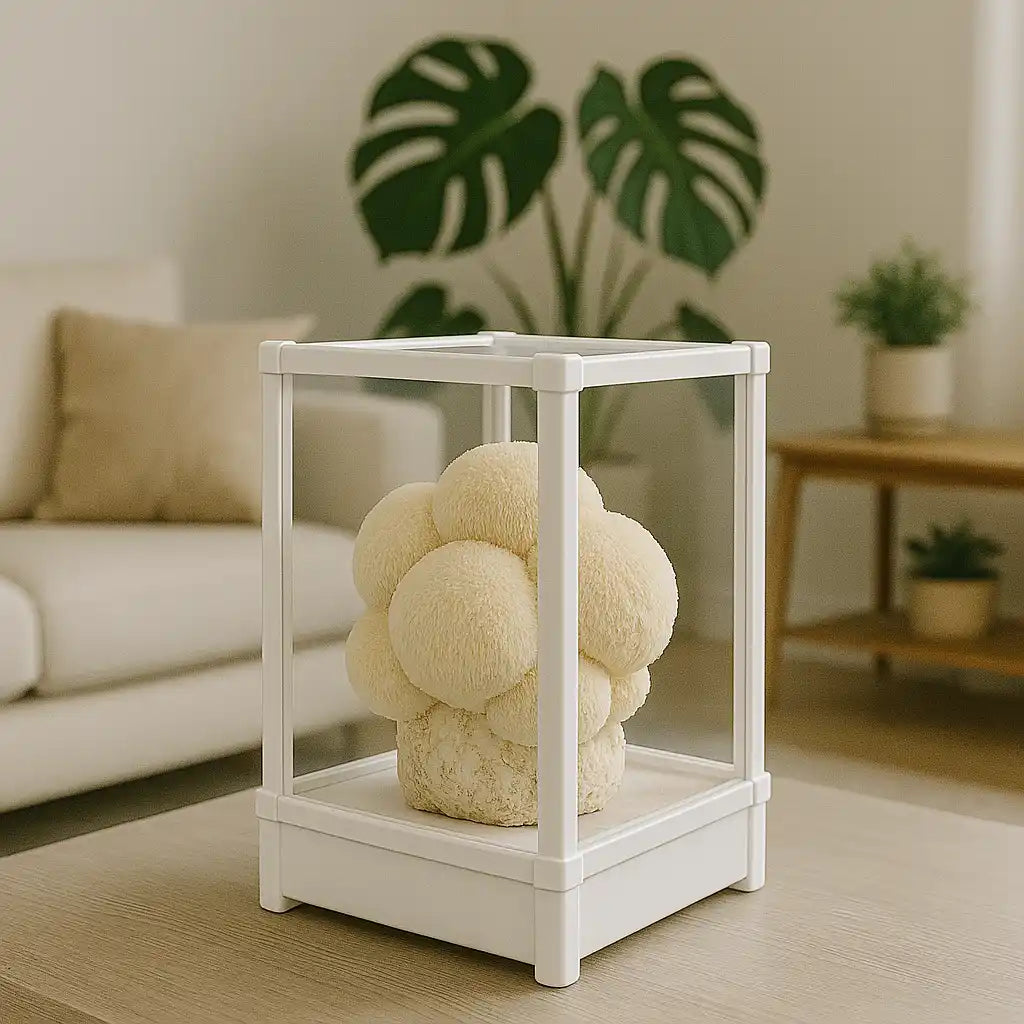
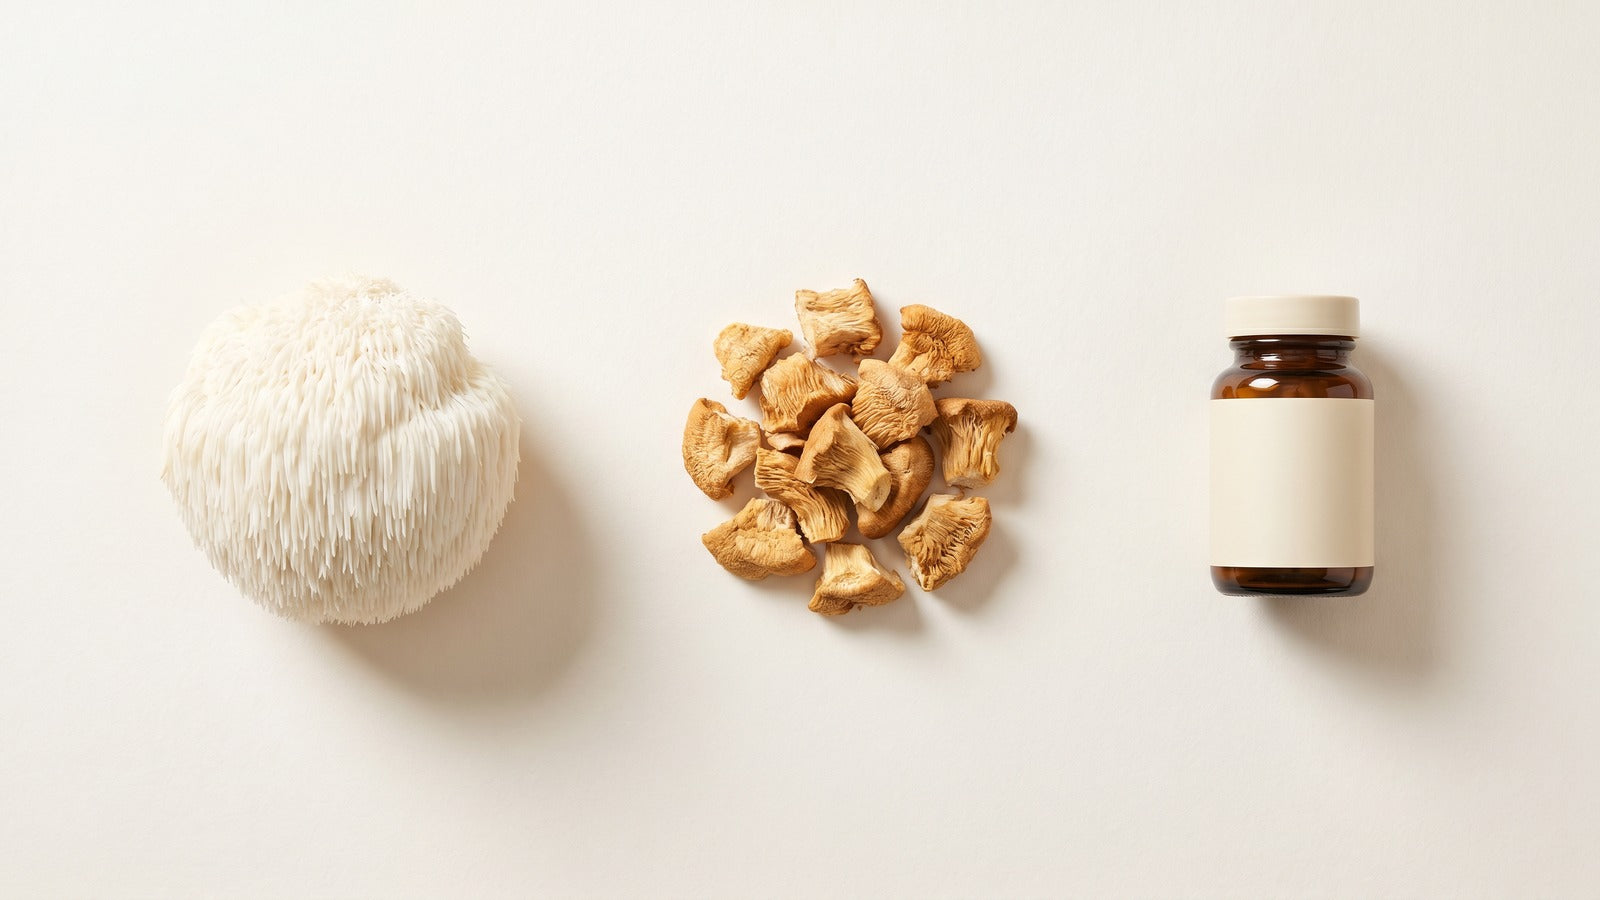
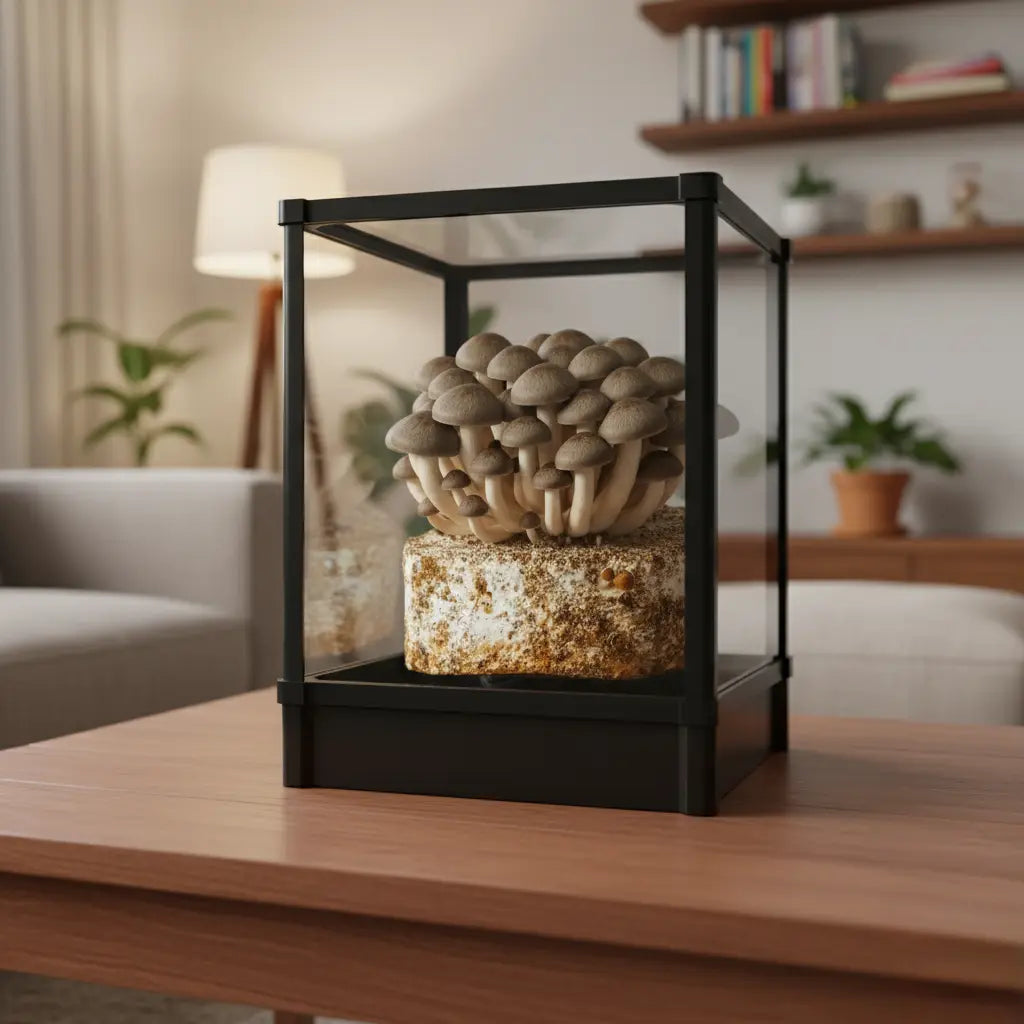
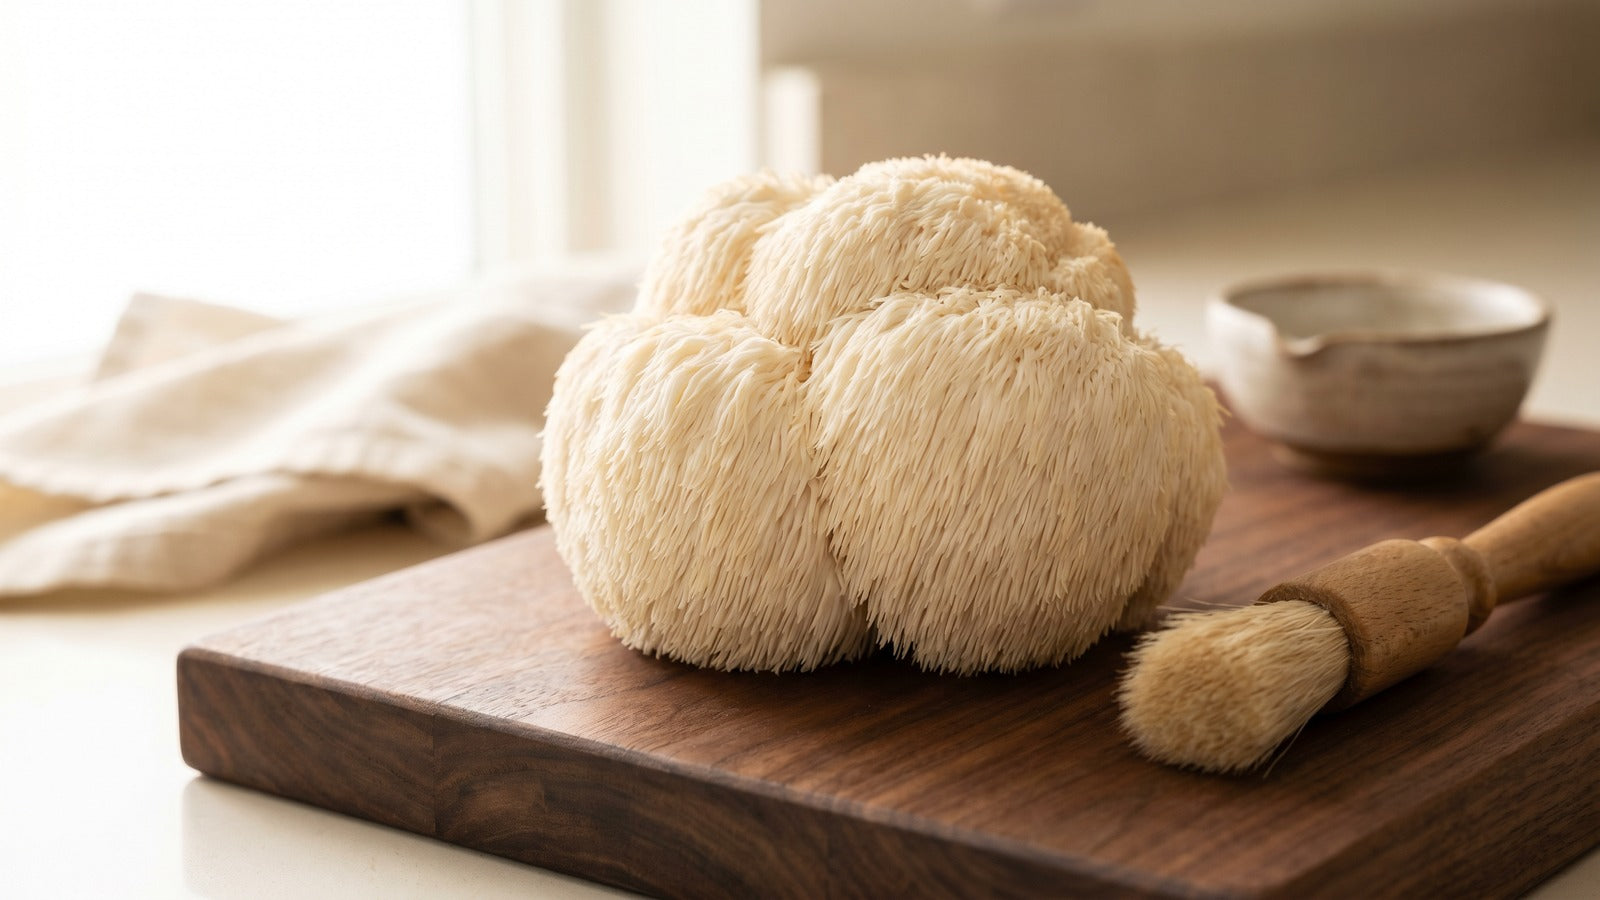
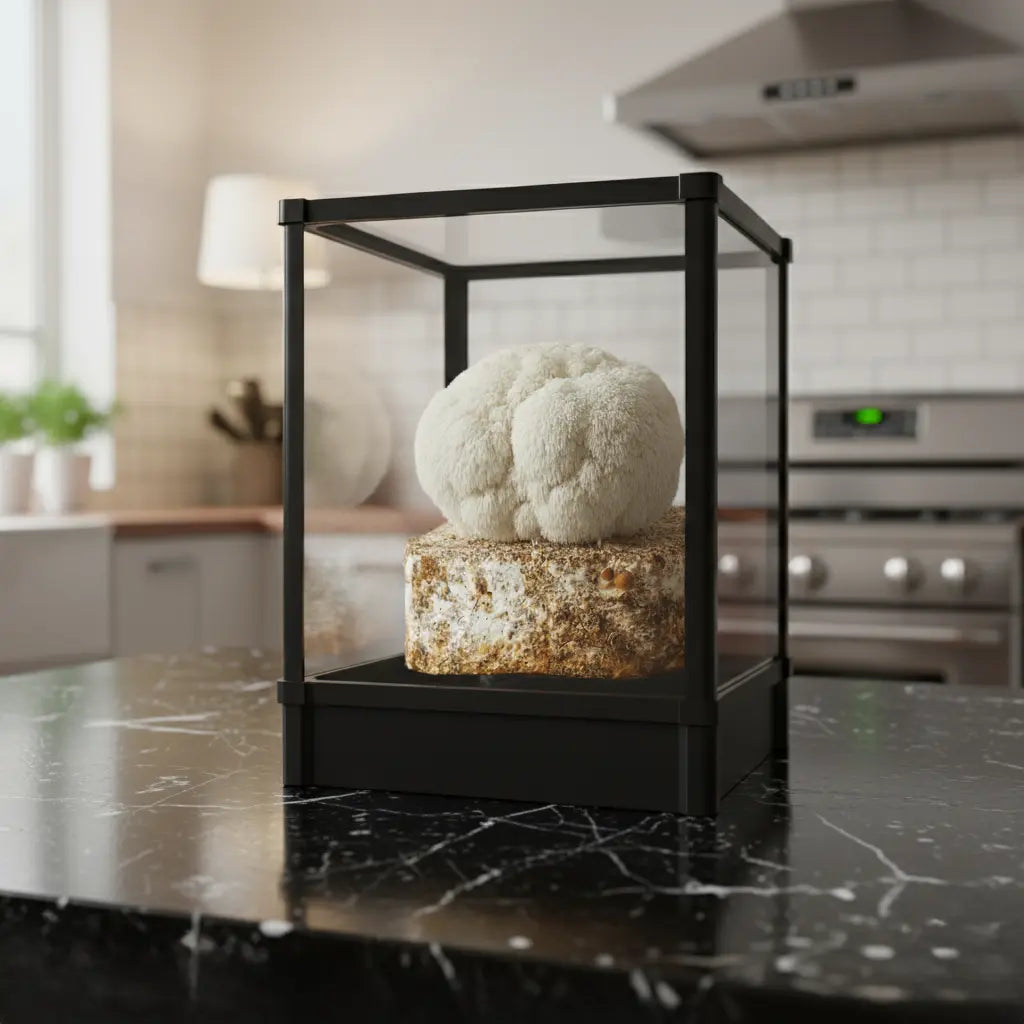
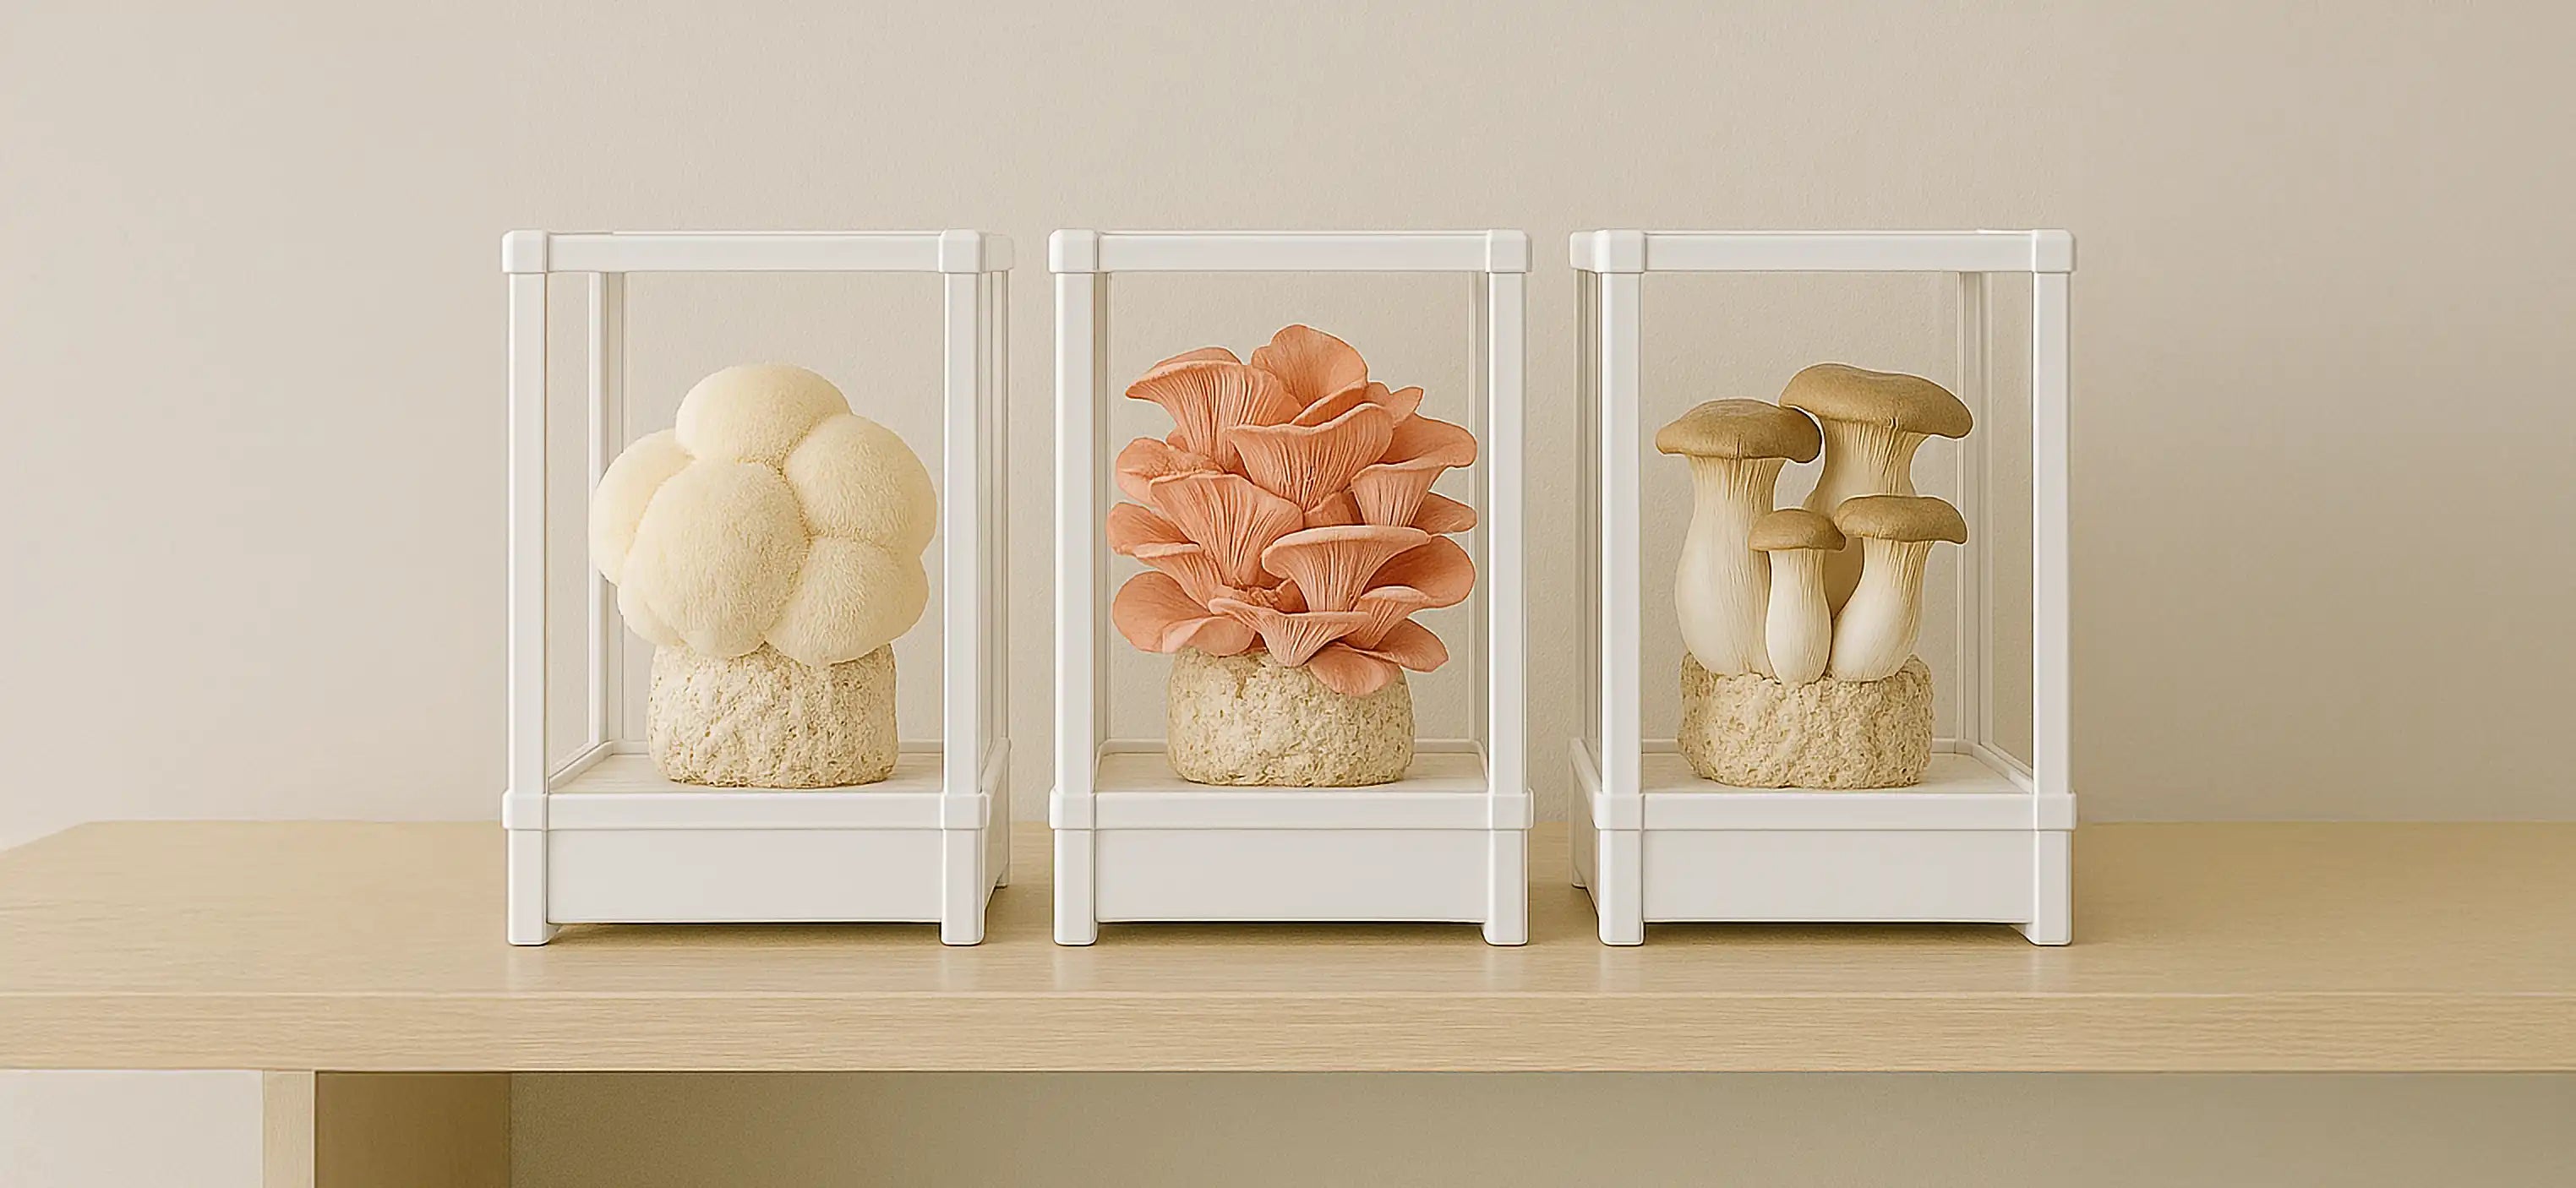
While morels remain challenging to cultivate commercially, you can explore growing other gourmet mushrooms at home year-round. The Lykyn Smart Mushroom Grow Chamber makes it easy to cultivate oyster mushrooms, shiitake, lion's mane, and other varieties that are equally delicious when fried using the same techniques you've learned here.
Ready to expand your mushroom cooking repertoire? Browse our complete collection of mushroom guides, recipes, and cultivation resources. From foraging tips to cooking techniques to growing your own gourmet varieties, Lykyn provides everything you need to enjoy fresh, flavorful mushrooms all year long.
Don't let another morel season pass without experiencing the crispy, golden magic of perfectly fried morels. Grab your skillet, fire up the stove, and prepare for one of spring's greatest culinary pleasures!
Share:
Do Mushrooms Need Sunlight? The Complete Light Guide for Growing Healthy Fungi
Reishi Mushrooms: The Complete Guide to Their Benefits, Uses & How to Grow Them