

Morels have a reputation for being uncooperative. Wild foragers track snowmelt, soil temperature, and burn scars for years before consistently finding them, and home growers have spent decades trying to reproduce that magic in a controlled space. The step-by-step morel mushroom growing process isn't impossible, but it's nothing like growing oysters or lion's mane. It requires patience, an outdoor bed, and a willingness to wait a full year before you see a single mushroom.
Here's the honest, science-based walkthrough of how morels are grown at home, what works, what doesn't, and where most beginners get tripped up.
Why Morels Are Different

Smart Chamber. Bone White Single
- 2.8L tank, 90% humidity automatic
- App-controlled, plug-and-play
- 6 lb block ceiling, in stock

Smart Chamber. Obsidian Black Single
- Same hardware as Bone White
- Matte black premium finish
- Pairs with any kitchen palette

Most cultivated mushrooms (button, oyster, shiitake, lion's mane) are saprotrophs that decompose dead wood or straw. Morels are facultative mycorrhizal fungi, which means they form complex relationships with tree roots, soil microbes, and seasonal weather cues. They don't fruit on demand the way oysters do, and they can't be grown indoors in a jar or bag.
The two species that are actually cultivable at home are Morchella rufobrunnea and Morchella importuna, sometimes called the landscape morel and the black morel. Other species exist, but only these two have been reliably produced in backyard beds.
Step 1: Choose the Right Location
Morels need partial shade, well-draining soil, and a stable microclimate. The ideal spot is the north or east side of a building, the edge of a tree line, or under a deciduous canopy that leafs out in spring. Avoid full sun, low spots that pool water, and areas where pets or kids will trample the bed.
Soil should be slightly alkaline, with a pH between 7.0 and 7.8. If your soil is acidic, work in agricultural lime several weeks before planting. Sandy loam beats heavy clay every time, since morels need oxygen at the root zone.
Step 2: Prepare the Bed
A 4 by 4 foot bed is the smallest practical size, and bigger is better. Dig down 6 to 8 inches, remove rocks and roots, and amend the soil with the following mixture per 16 square feet:
- 2 cups of hardwood ash (apple, oak, or maple, not pine)
- 1 cup of gypsum
- 2 cups of peat moss or coco coir
- 4 cups of partially decomposed hardwood chips
Mix the amendments into the top 4 inches of soil. The goal is a loose, slightly alkaline, organically rich layer that mimics the soil under a recently burned hardwood stand. Many wild morels fruit prolifically after forest fires, and the ash chemistry is one of the reasons.
Step 3: Inoculate With Spawn
Buy fresh morel grain spawn from a reputable supplier. The spawn should be active, white with visible mycelium, and used within a few weeks of purchase. One quart of spawn covers roughly 10 to 15 square feet.
Scatter the spawn evenly over the prepared bed, then rake it gently into the top inch or two of soil. Water the bed deeply, so the soil is moist all the way through but not saturated. Cover with a 1-inch layer of hardwood chips to slow moisture loss.
Spring planting (April or May, when soil temperatures hit 50 degrees Fahrenheit) is traditional, but fall planting also works in milder climates. The mycelium needs months to establish before fruiting conditions arrive.
Step 4: Maintain Through the First Year
This is the hard part. After inoculation, morel mycelium spends roughly 10 to 14 months colonizing the bed before it's ready to fruit. During that year you'll do almost nothing except keep the bed lightly moist (think damp leaf litter, never soggy) and protect it from foot traffic.

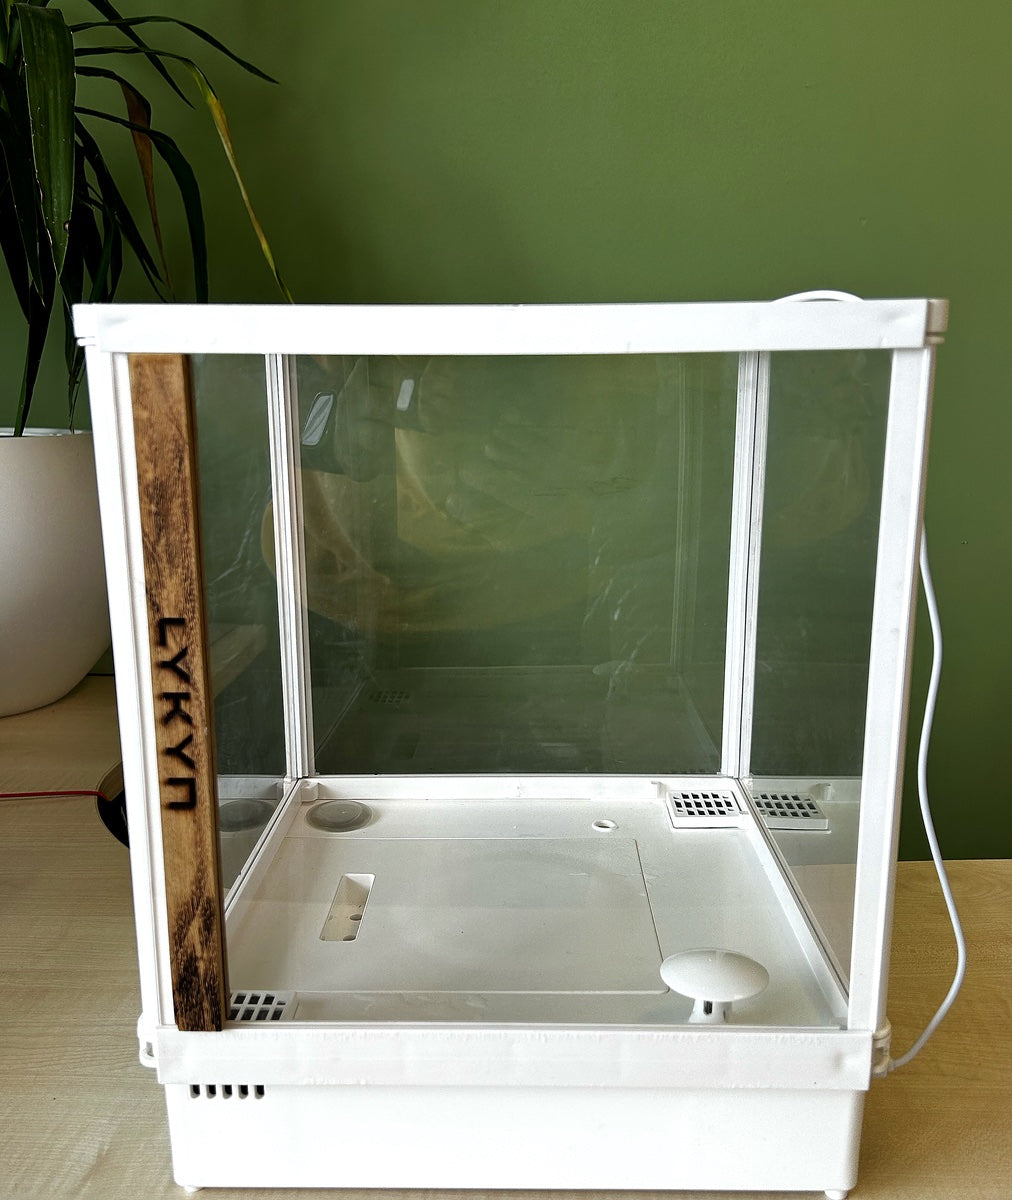
Fuel Your Mushroom Journey
Smart Mushroom Grow Chamber
Plug-and-play smart chamber with humidity, light, and airflow dialed in for every species. Beginners harvest their first flush in days, not months.
Add to cart $299Mulch with leaves or wood chips in fall to insulate against freeze-thaw cycles. Don't fertilize, don't dig, and don't transplant on top of the bed. Morel mycelium is delicate and slow, and disturbing the bed sets you back months.
Some growers add a fresh layer of hardwood ash in late winter to mimic the post-fire flush. There's anecdotal evidence this helps, though it isn't a guarantee.
Step 5: Trigger the Fruiting
Morels fruit when daytime soil temperatures hit roughly 50 to 60 degrees Fahrenheit and night temperatures stay above 40. In most of the U.S., this window opens between late March and mid-May, depending on latitude and elevation.
Two weeks before you expect fruiting weather, water the bed deeply twice a week. The mycelium needs a saturated period followed by warming soil to form sclerotia, the small storage bodies that eventually become mushrooms. After the cold-wet phase, reduce watering and let the bed warm naturally.
If conditions cooperate, primordia (tiny pin-shaped morels) will appear within 7 to 14 days. They grow quickly once they emerge, doubling in size every day or two.
Step 6: Harvest Carefully
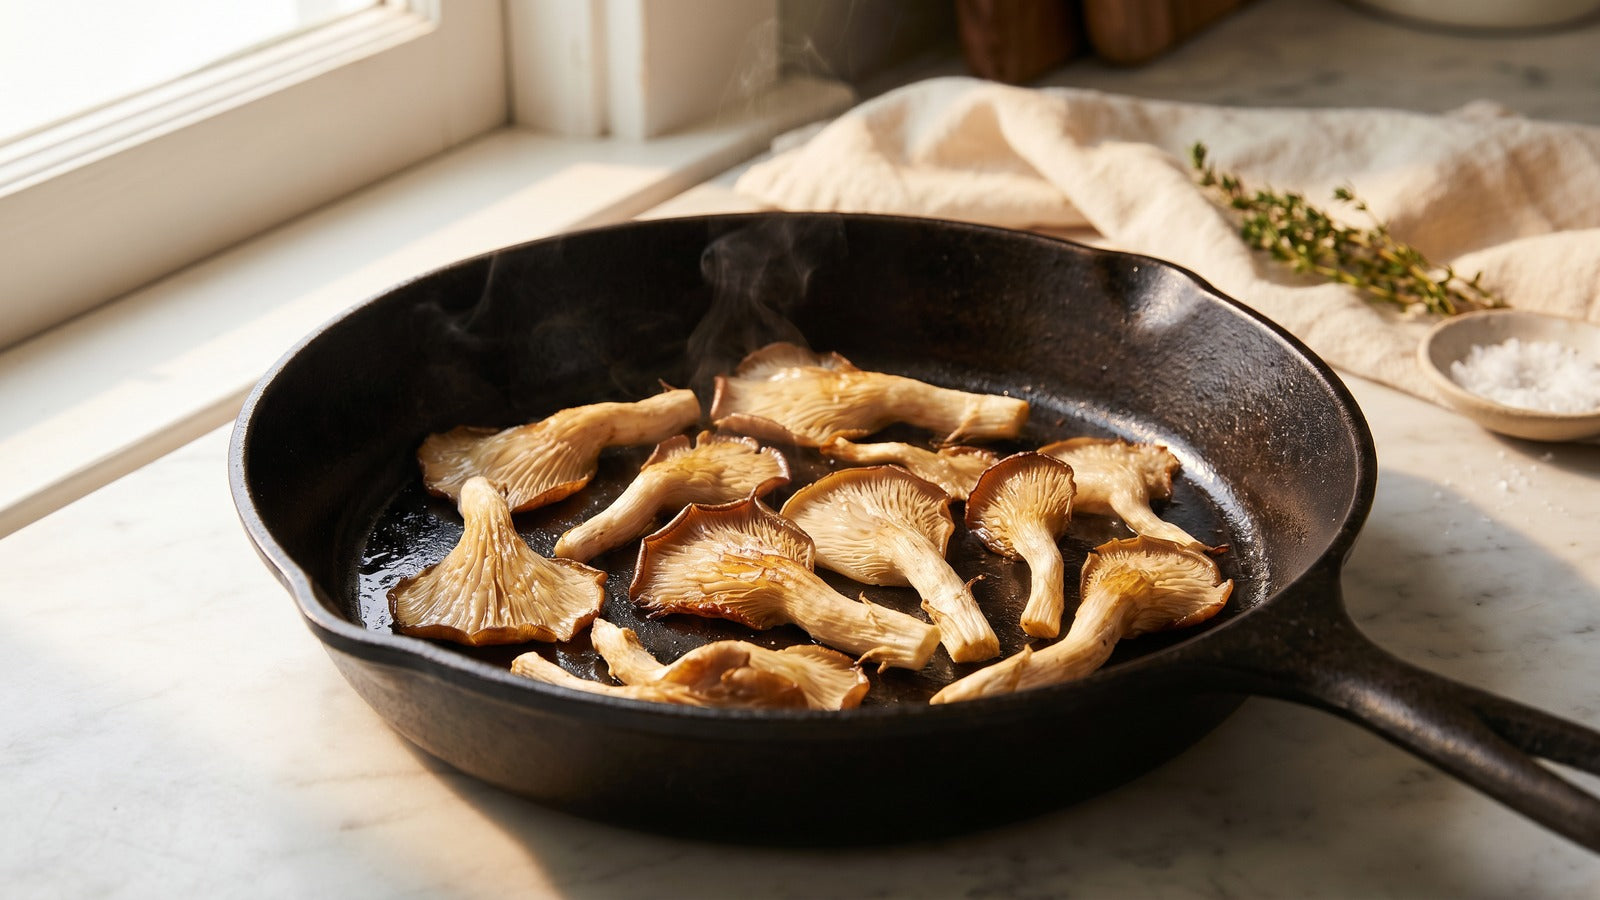
Pick morels when the caps are fully formed but before the ridges start to dry or split. Use a sharp knife or scissors and cut at the base, leaving the underground portion of the stem intact so the mycelium can continue to colonize. Brush off dirt and store harvested morels in a paper bag in the refrigerator for up to a week.
Never eat a wild-looking morel you haven't positively identified. False morels (genus Gyromitra) contain monomethylhydrazine, which is genuinely toxic. True morels are completely hollow from cap to stem when sliced lengthwise. If it's not hollow, don't eat it.
What to Expect and What Could Go Wrong
A well-established morel bed produces somewhere between zero and 50 mushrooms in its first fruiting season. Yields are unpredictable, and a bed that produced nothing in year one might explode in year two. This is normal. Even experienced growers report a roughly 50 percent success rate on a per-bed basis.
Common failure modes include insufficient moisture during establishment, too much shade (or not enough), wrong soil pH, and pests like slugs, voles, and birds. Slug bait around the bed perimeter and a fine mesh cover at fruiting time solve most pest problems.
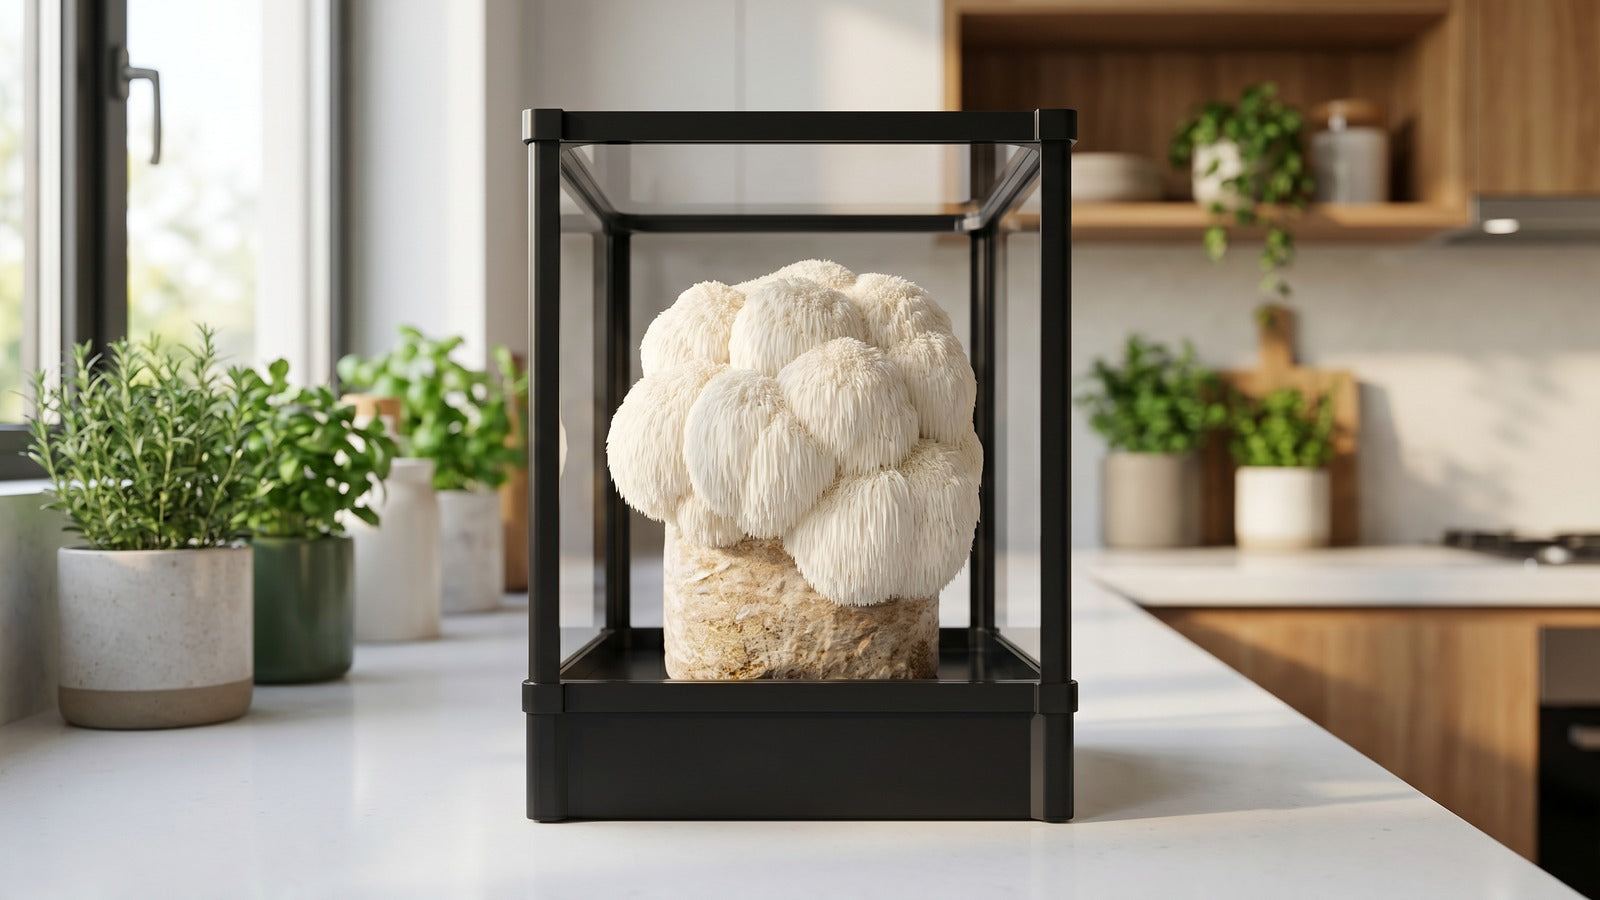
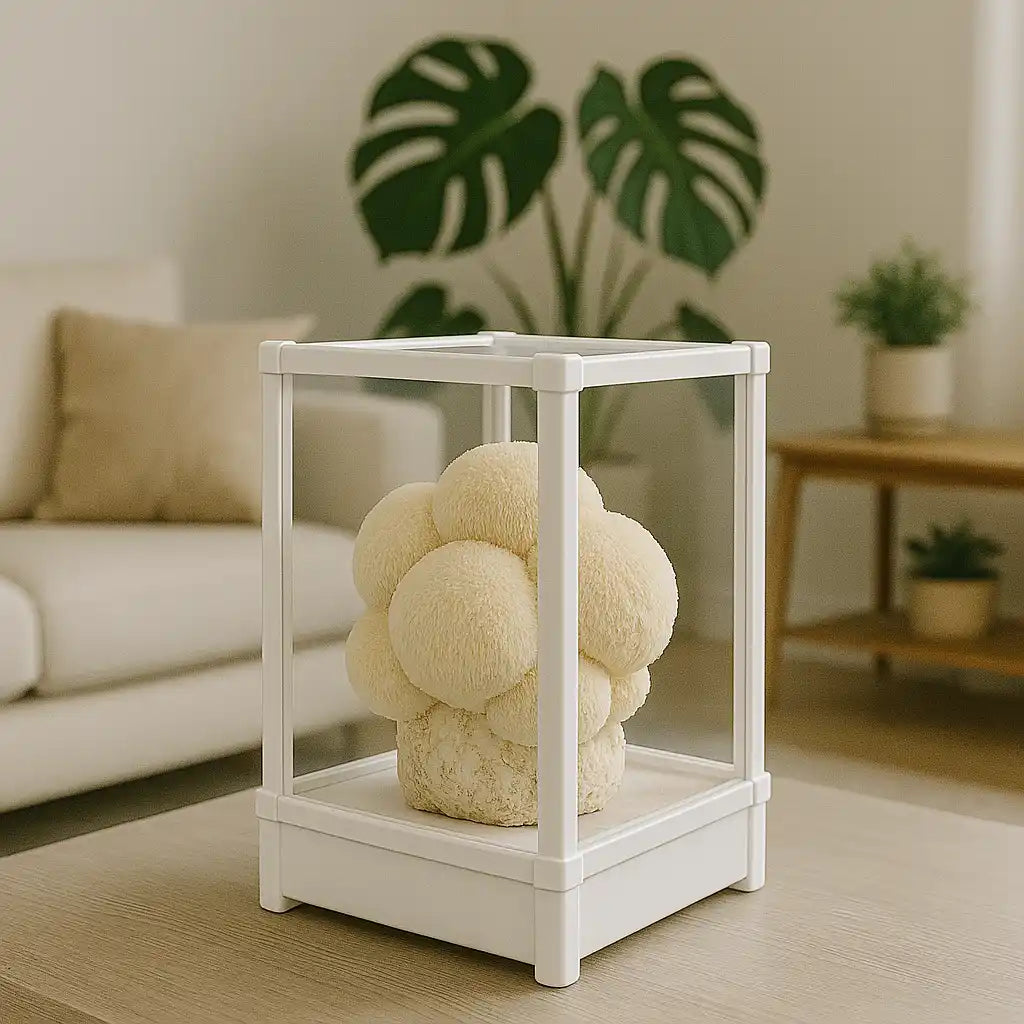
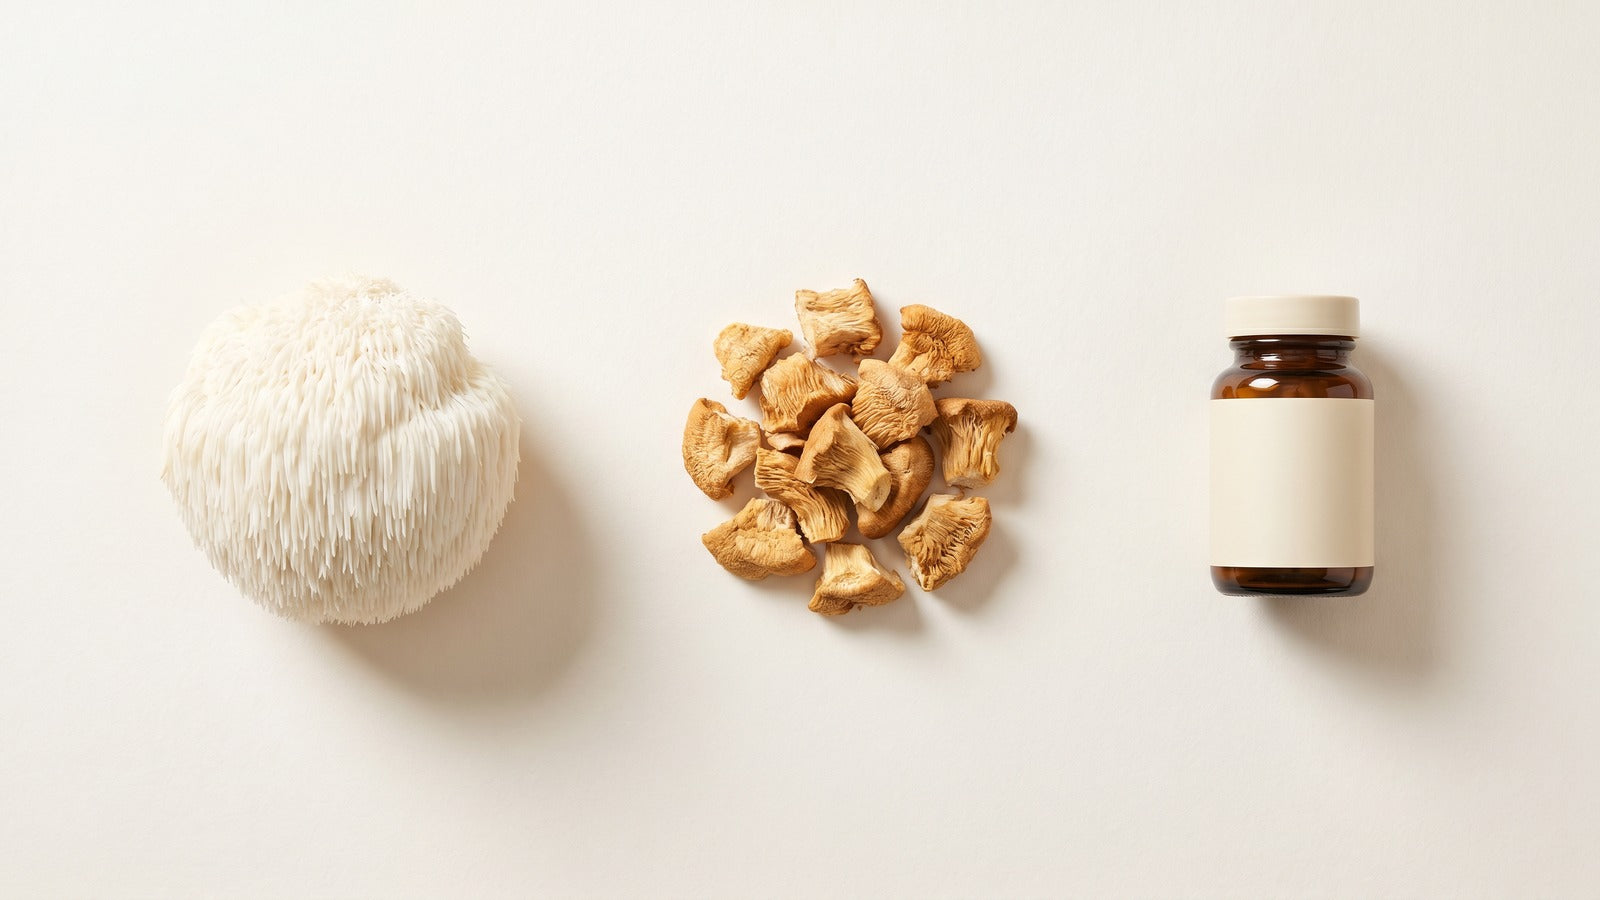
If outdoor morel cultivation feels too uncertain, indoor grow kits for species like lion's mane and oyster offer faster, more predictable results. A countertop kit from Lykyn's mushroom grow kits can produce harvests in 5 to 7 days with no soil or seasonal waiting.
The step-by-step morel mushroom growing process rewards patience over technique. Set up the bed correctly, leave it alone for a year, and trust the biology. If the first season disappoints, give it another. Morel beds often produce for 3 to 5 years once they're established.


Share:
Choosing the Best Morel Growing Kit: Buyer Criteria
Choosing the Best Morel Growing Kit: Buyer Criteria