

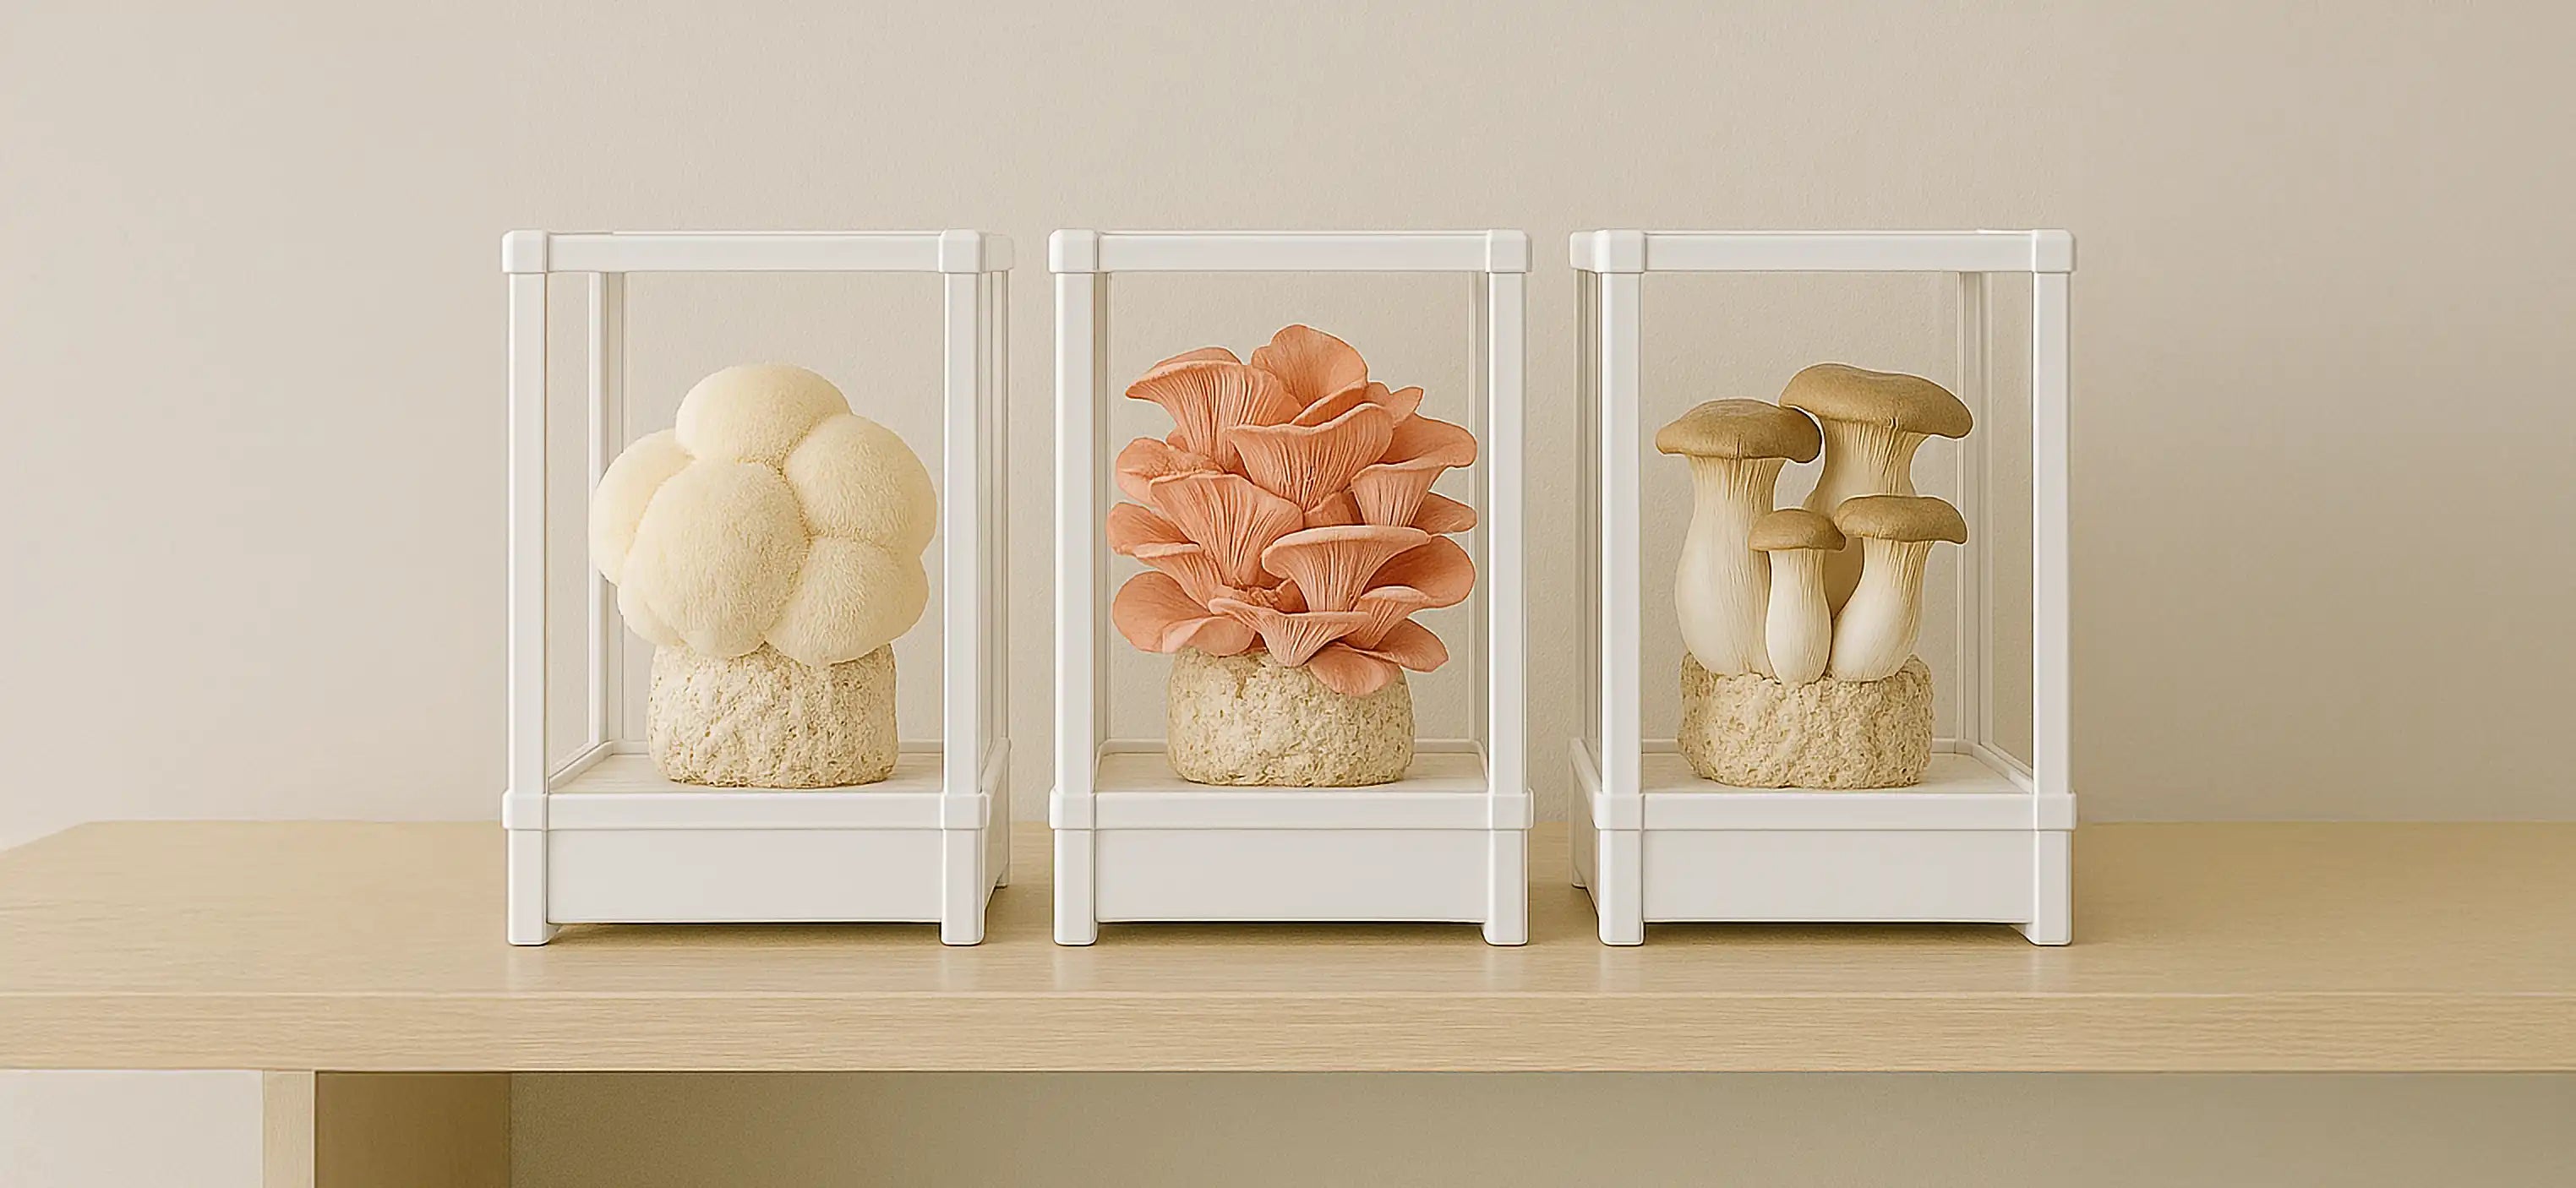
Turkey tail mushrooms (Trametes versicolor) are not only visually striking with their fan-shaped, multicolored bodies resembling wild turkey tails, but they also offer impressive medicinal benefits. As interest in medicinal mushrooms continues to grow, many enthusiasts are turning to home cultivation to ensure a steady supply of these beneficial fungi. This comprehensive guide covers everything you need to know about turkey tail mushroom cultivation, from beginner-friendly methods to advanced techniques.
Understanding Turkey Tail Mushrooms
Biology and Natural Habitat
Turkey tail mushrooms are polypore fungi that grow abundantly in temperate forests worldwide. These adaptable fungi thrive on:
- Dead and decaying hardwood logs
- Fallen branches
- Tree stumps
- Various woody debris
In nature, turkey tail mushrooms play an essential role as decomposers, breaking down lignin and cellulose in wood. This decomposition process makes them relatively easy to cultivate, as they can grow on a variety of woody substrates.
Identification Features
Before beginning cultivation, it's important to familiarize yourself with the identifying characteristics of true turkey tail mushrooms:
- Thin, flexible, leathery caps (1-3mm thick)
- Distinct zones of varying colors (browns, grays, blues, whites)
- White pore surface underneath (no gills)
- Velvety top surface
- Grows in shelf-like formations, often in overlapping clusters
Understanding these features helps distinguish turkey tail from look-alikes such as false turkey tail (Stereum ostrea) or other similar polypores.

Benefits of Growing Your Own Turkey Tail Mushrooms
Advantages of Home Cultivation
Growing your own turkey tail mushrooms offers numerous benefits over purchasing commercial products:
- Cost-effectiveness: A one-time investment in supplies yields multiple harvests
- Quality control: You control the growing environment and inputs
- Sustainability: Reduces packaging waste and transportation emissions
- Educational value: Provides hands-on learning about fungal biology
- Continuous supply: Ensures fresh material is always available
- Potency assurance: Freshly harvested mushrooms may retain more beneficial compounds
Medicinal Applications
Turkey tail mushrooms contain bioactive compounds including:
- Polysaccharide-K (PSK)
- Polysaccharide Peptide (PSP)
- Beta-glucans
- Antioxidants
These compounds have been studied for their potential immune-supporting properties, making home cultivation particularly valuable for those interested in integrative health approaches.
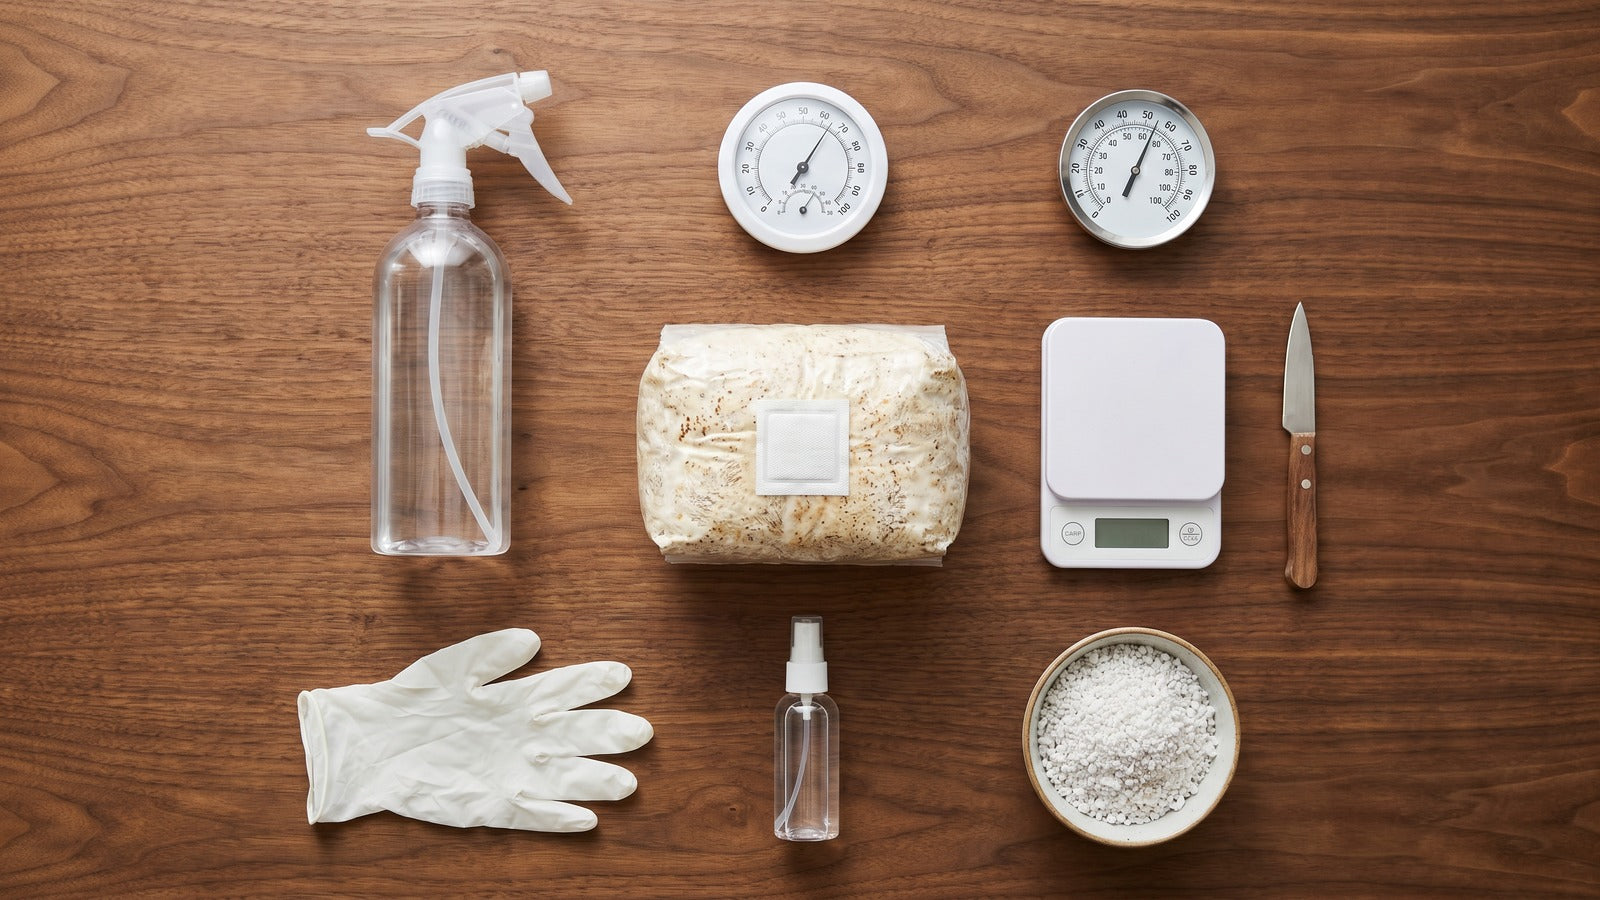
Essential Supplies for Turkey Tail Cultivation
Basic Equipment
To begin cultivating turkey tail mushrooms, you'll need these fundamental supplies:
- Pressure cooker (for sterilization)
- Spray bottle (for maintaining humidity)
- Thermometer and hygrometer
- Clean workspace
- Scalpel or X-acto knife
- Isopropyl alcohol (70%)
- Gloves and face mask
- Growing containers (bags, jars, or boxes)
Substrate Materials
Turkey tail mushrooms thrive on woody substrates including:
- Hardwood sawdust or chips (oak, maple, beech preferred)
- Supplemental nutrients like wheat bran (10-20% of substrate volume)
- Hardwood fuel pellets (convenient pre-processed option)
- Straw (less preferred but workable)
- Coffee grounds (can be mixed with other substrates)
Spawn Sources
You'll need to obtain turkey tail mushroom spawn, which can be purchased as:
- Grain spawn (fastest colonization)
- Sawdust spawn (most common for wood-loving species)
- Liquid culture (for those who make their own spawn)
- Spore prints or syringes (more challenging for beginners)
For beginners, purchasing ready-made spawn from reputable suppliers is recommended before attempting to create your own.
Cultivation Methods for Turkey Tail Mushrooms
Log Cultivation
Log cultivation is the most traditional and natural method for growing turkey tail mushrooms.
Selecting Appropriate Logs
- Choose hardwood logs (oak, maple, beech, poplar)
- Optimal diameter: 4-8 inches
- Length: 3-4 feet manageable size
- Use freshly cut logs (within 2 weeks of cutting)
- Avoid logs with signs of decay or existing fungi
Inoculation Process
- Drill holes in diamond pattern (6-8 inches apart)
- Holes should be sized to match your dowel or sawdust spawn
- Insert spawn into holes
- Seal with wax to prevent contamination and moisture loss
Incubation and Fruiting
- Stack logs in a shady, humid location
- Maintain moisture by periodically soaking logs
- Expect 6-12 months for full colonization
- Turkey tail mushrooms will begin fruiting naturally after colonization
- Logs can produce for 3-5 years depending on size and wood type
Sawdust Block Method
The sawdust block method is faster than log cultivation and offers more control.
Substrate Preparation
- Mix hardwood sawdust (80-85%) with wheat bran (15-20%)
- Adjust moisture content to 55-65% (should form a ball when squeezed without dripping)
- Fill filter patch bags with the substrate mixture
- Sterilize in pressure cooker at 15 PSI for 2-2.5 hours
Inoculation Technique
- Allow sterilized bags to cool completely
- In a clean environment, open bags and add spawn (5-10% of substrate weight)
- Mix thoroughly or layer spawn with substrate
- Seal bags securely
Colonization Parameters
- Incubate at 70-75°F (21-24°C)
- Maintain in darkness or low light
- Allow 3-6 weeks for complete colonization
- Look for white mycelial growth throughout the substrate
Initiating Fruiting
- When fully colonized, expose blocks to:
- Increased fresh air
- Higher humidity (85-95%)
- Indirect light
- Slightly cooler temperatures (65-70°F/18-21°C)
- Cut small X-shaped openings in the bag to allow for primordia formation
- Mist several times daily to maintain surface moisture
Bucket or Container Technique
This low-tech approach is perfect for beginners with limited space and equipment.
Setting Up
- Drill 1/4-inch holes throughout a food-grade bucket (4-6 inches apart)
- Layer pasteurized sawdust substrate and spawn in the bucket
- Close lid tightly during colonization
- Place in a moderate temperature environment (65-75°F/18-24°C)
Maintenance
- After colonization (4-8 weeks), move to an area with:
- Indirect light
- Fresh air circulation
- High humidity
- Mist around holes daily
- Primordia and then mushrooms will emerge from the drilled holes
Harvesting from Buckets
- Harvest turkey tails when they reach full size but remain flexible
- Cut cleanly at the base rather than pulling
- Buckets can produce multiple flushes over 6-12 months
Advanced Cultivation Techniques
Creating Your Own Spawn
For experienced growers, producing spawn can reduce costs and provide greater control.
Grain Spawn Production
- Soak and cook grain (rye berries work well)
- Fill jars 2/3 full
- Sterilize at 15 PSI for 90 minutes
- Inoculate with liquid culture or tissue sample
- Incubate until fully colonized
Liquid Culture Preparation
- Create a nutrient solution (4% honey or light malt extract in water)
- Sterilize solution in jars with injection ports
- Add small piece of clean turkey tail tissue or spores
- Incubate at room temperature until cloudy with mycelium
Agar Work and Clone Selection
Agar cultivation allows for strain isolation and improvement.
Basic Agar Technique
- Prepare potato dextrose agar or malt extract agar
- Pour into sterile petri dishes
- Inoculate with tissue samples from quality specimens
- Select and transfer the strongest rhizomorphic growth
Strain Selection Criteria
Look for turkey tail cultures with:
- Rapid growth rate
- Dense, rhizomorphic mycelium
- Resistance to contamination
- Consistent fruiting patterns
- Desirable coloration and form
Optimizing Growing Conditions
Environmental Factors
Turkey tail mushrooms require specific conditions for optimal growth.
Temperature Management
- Colonization: 70-75°F (21-24°C)
- Primordia formation: 65-70°F (18-21°C)
- Fruiting: 60-70°F (15-21°C)
- Avoid temperatures above 80°F (27°C) which can slow or stop growth
Humidity Control
- Colonization: 40-60% relative humidity
- Fruiting: 85-95% relative humidity
- Techniques to increase humidity:
- Misting regularly
- Using humidity tents
- Perlite or gravel beds with water
- Humidifiers in growing areas
Light Requirements
- Colonization: Darkness or very low light
- Fruiting: Indirect natural light or 12/12 hour cycle of artificial light
- Avoid direct sunlight which can dry out substrates
Air Exchange
- Colonization: Minimal fresh air exchange needed
- Fruiting: Significant fresh air exchange required
- CO₂ buildup will prevent proper fruiting
Troubleshooting Common Issues
Contamination Prevention and Management
- Work in a clean environment
- Use 70% isopropyl alcohol for surface sanitization
- Consider a still air box or flow hood for inoculation
- Discard clearly contaminated substrates away from growing area
- Common contaminants include:
- Green or black molds (Trichoderma, Aspergillus)
- Bacterial blotches (wet or slimy areas)
- Competitor fungi (other mushrooms)
Growth Problems
- Slow colonization usually indicates:
- Temperature issues
- Moisture problems
- Poor spawn quality
- Contamination
- Failure to fruit often results from:
- Insufficient fresh air
- Inadequate humidity
- Lack of temperature fluctuation
- Over-aged substrate
Harvesting and Processing
Optimal Harvest Timing
Turkey tail mushrooms should be harvested when they:
- Reach full size (typically 2-8 cm in diameter)
- Develop distinct color bands
- Remain flexible but are fully formed
- Have a white pore surface underneath
Harvesting too early results in underdeveloped medicinal compounds, while harvesting too late leads to tough, less potent specimens.
Harvesting Techniques
- Use a sharp knife or scissors to cut at the base
- Avoid pulling, which can damage the mycelium
- Harvest in dry conditions when possible
- Leave small specimens to mature if harvesting from logs
Post-Harvest Processing
Cleaning
- Gently brush away debris with a soft brush
- Avoid washing if possible, as turkey tails absorb water
- If necessary, use a quick rinse and immediate drying
Drying Methods
- Food dehydrator: 115-125°F (46-52°C) until completely dry and crisp
- Air drying: In a well-ventilated area with low humidity
- Oven drying: Lowest setting with door cracked open
Storage Solutions
Properly dried turkey tail mushrooms can be stored in:
- Airtight glass containers
- Vacuum-sealed bags
- Paper bags in a very dry environment
For maximum shelf life of 1-2 years, store in a cool, dark, dry location.
Using Your Cultivated Turkey Tail Mushrooms
Preparation Methods
Turkey tail mushrooms can be utilized in several ways:
Tea and Decoctions
- Break dried mushrooms into small pieces
- Simmer 1-2 teaspoons per cup of water for 15-30 minutes
- Strain and drink 1-3 cups daily
Tinctures
- Fill a jar halfway with broken dried mushrooms
- Cover completely with 80-100 proof alcohol
- Seal and store in a dark place for 4-6 weeks, shaking daily
- Strain and store in dropper bottles
Powder Preparation
- Ensure mushrooms are completely dry
- Grind in a dedicated coffee grinder
- Store powder in airtight containers
- Use 1/2-1 teaspoon daily added to foods or beverages
Incorporation into Daily Routine
- Add powder to smoothies, soups, or coffee
- Take tincture under the tongue or in water
- Enjoy tea with honey or other herbs
- Create capsules for convenient consumption
Scaling Up: Commercial Considerations
Space Requirements
For larger-scale cultivation:
- Dedicated grow room with environmental controls
- Separate areas for different stages of production
- Efficient workflow design
- Contamination prevention barriers between areas
Equipment Investments
Scaling up requires:
- Larger pressure cookers or autoclaves
- Laminar flow hood
- Automated environmental controls
- Efficient irrigation systems
- Larger incubation facilities
Potential Markets
Commercial turkey tail cultivators may supply:
- Health food stores
- Herbalists and natural medicine practitioners
- Supplement manufacturers
- Farmers markets
- Direct-to-consumer online sales
- Natural products distributors
Sustainable Cultivation Practices
Resource Efficiency
Implement these sustainable approaches:
- Recycle spent substrates as garden mulch
- Use local waste products as substrate materials
- Collect rainwater for misting and soaking
- Create closed-loop systems where possible
Ecological Considerations
- Source hardwood sustainably
- Return spent substrates to nature to complete the decomposition cycle
- Consider solar or other renewable energy sources
- Use biodegradable packaging materials
Conclusion: The Rewarding Journey of Turkey Tail Cultivation
Cultivating turkey tail mushrooms offers a rewarding blend of science, art, and natural medicine. From logs in your backyard to sophisticated indoor setups, these adaptable fungi provide accessible entry into the world of mushroom cultivation. By following the guidelines in this comprehensive guide, you'll be well on your way to producing your own supply of these beneficial mushrooms.
Remember that patience is essential in mushroom cultivation. Turkey tails may take longer to fruit than some other species, but their relatively forgiving nature makes them excellent candidates for both beginners and experienced growers. The journey of learning to work with these fascinating organisms offers rewards beyond the harvest itself, connecting you more deeply with natural cycles and the remarkable kingdom of fungi.
As you gain experience, don't hesitate to experiment with different substrates, techniques, and conditions to discover what works best in your specific environment. Document your results, learn from each cycle, and enjoy the process of becoming a skilled turkey tail cultivator.


Share:
How to Use Turkey Tail Mushrooms Effectively: A Complete Wellness Guide
Turkey Tail Mushroom's Role in Breast Cancer