


Button mushrooms are the gateway crop for almost every home cultivator. They're the same species (Agaricus bisporus) you find in every grocery store, they tolerate basic conditions, and a single 10-pound bag of composted substrate can pay you back with 1.5 to 2 pounds of fresh mushrooms over a few weeks. The catch: button mushrooms are pickier than oyster or lion's mane, and they punish shortcuts. This guide is the field-tested tips and tricks that separate a clean white flush from a tray of stunted, off-color caps.
The short answer to "what does it take" is four things: pasteurized composted substrate, casing soil on top, cool temperatures (around 60 to 65 degrees Fahrenheit), and patience for roughly 8 to 10 weeks from inoculation to harvest. Everything below builds on those four pillars.
Pick the right strain for your conditions

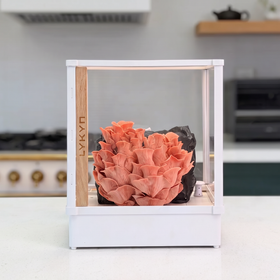
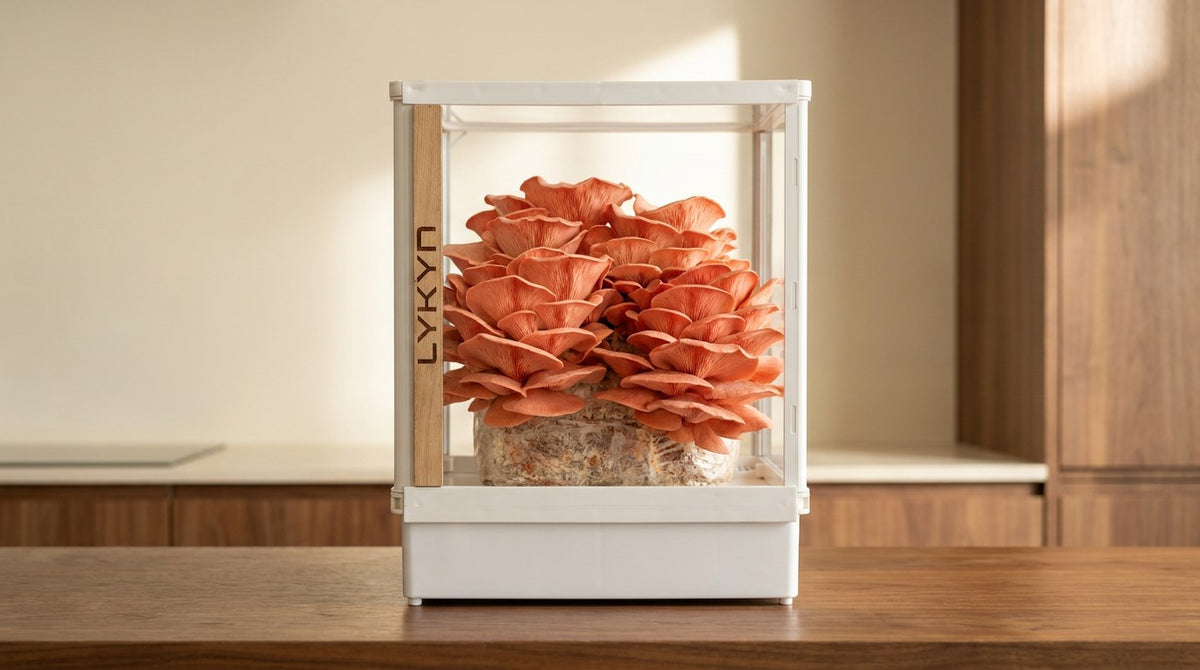
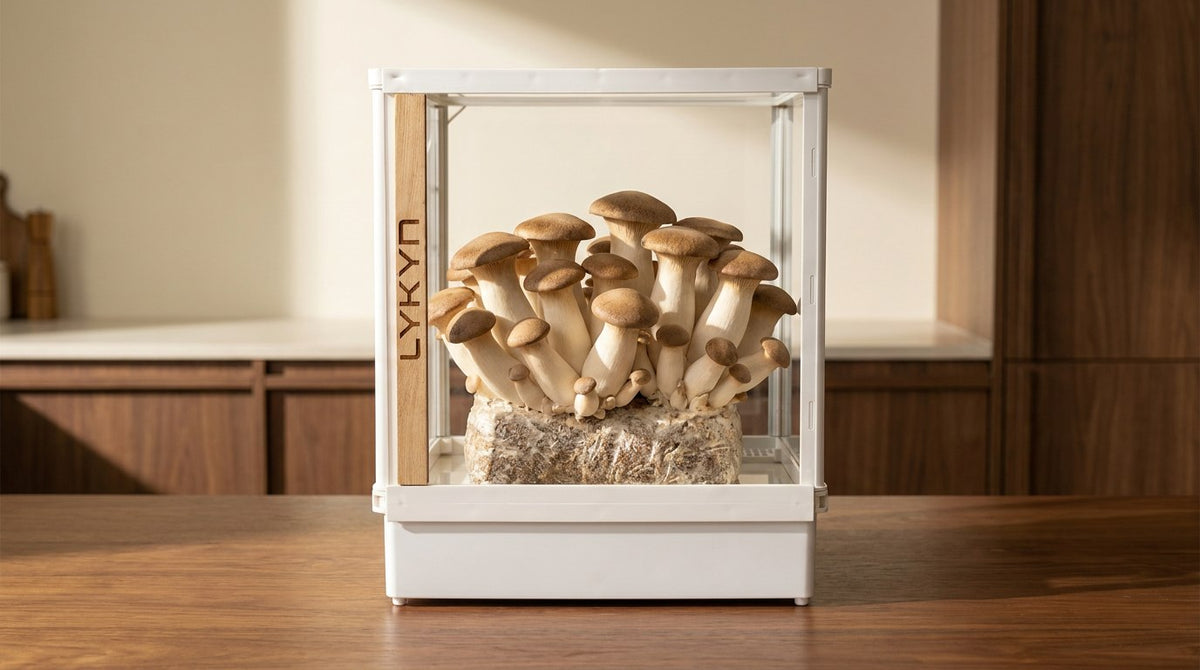
Smart Chamber. Bone White Single
- 2.8L tank, 90% humidity automatic
- App-controlled, plug-and-play
- 6 lb block ceiling, in stock

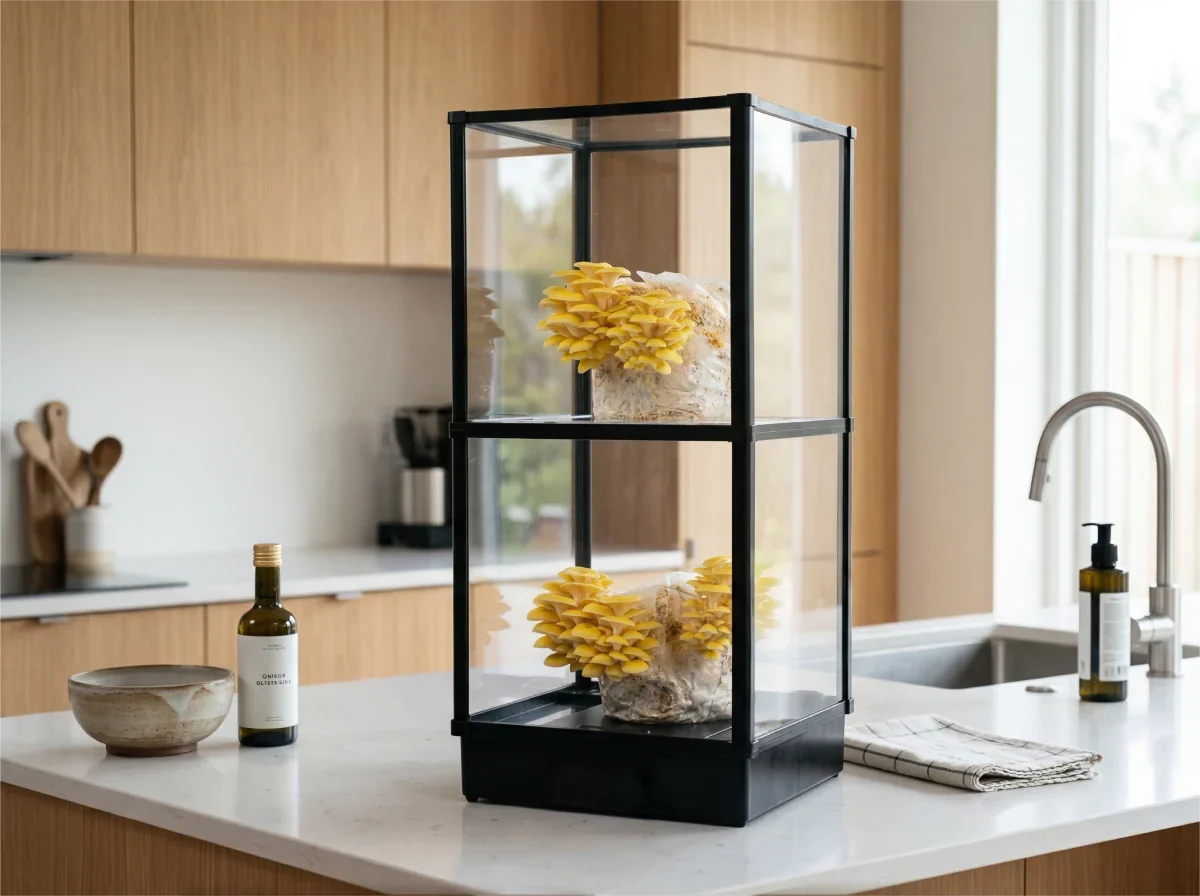
Smart Chamber. Obsidian Black Single
- Same hardware as Bone White
- Matte black premium finish
- Pairs with any kitchen palette

Most home growers reach for the white hybrid strains because they look like the grocery store version, but the brown (crimini) strains are easier for beginners. Brown strains tolerate slightly warmer temperatures, fruit more forgivingly when humidity drifts, and the pin-set is less sensitive to the casing layer being slightly off. If you let a brown strain mature, you get portobellos. White hybrids reward precision but bruise faster and need cleaner air exchange.
A good rule of thumb: start with brown for your first two grows, then move to white once you can hit your humidity and temperature targets consistently.
Get the compost right or accept defeat
Button mushrooms are compost feeders, not wood feeders. They will not fruit on the straw or coffee grounds that work for oysters. You need genuine mushroom compost: a hot-composted blend of horse manure, straw, gypsum, and supplements that has gone through a thermophilic phase to kill weed seeds and competing molds.
You have three honest options
- Buy pre-made phase II compost from a commercial supplier. Most expensive, highest success rate.
- Buy a ready-to-fruit kit. The compost is already inoculated and partially colonized.
- Make your own from horse manure and wheat straw, with a 14 to 21 day hot composting phase. Cheapest, most failure-prone, smelliest.
For your first try, buy phase II compost or a kit. Once you understand what a healthy colonized block looks and smells like (sweet, nutty, never sour or ammonia-heavy), you can graduate to making your own.
Casing soil is non-negotiable
This is the single biggest mistake beginners make. Button mushrooms will not pin (start forming primordia) until you cover the colonized compost with about one inch of moist casing soil. The casing is usually a peat moss and lime mixture at a pH around 7.4 to 7.8. It triggers the fungus to switch from vegetative growth to reproductive growth.
Skip the casing layer and you get a beautiful white mycelial mat that never produces a single mushroom. Apply the casing too thin and pinning is patchy. Too thick and primordia stall underground.
Mixing your own casing
A reliable home recipe is 80% peat moss, 20% dolomitic lime, hydrated to field capacity (squeezes a few drops when you fist it, doesn't drip). Pasteurize the casing at 140 degrees Fahrenheit for two hours before applying. Cooling it overnight in a clean bin keeps it sterile until use.

Fuel Your Mushroom Journey
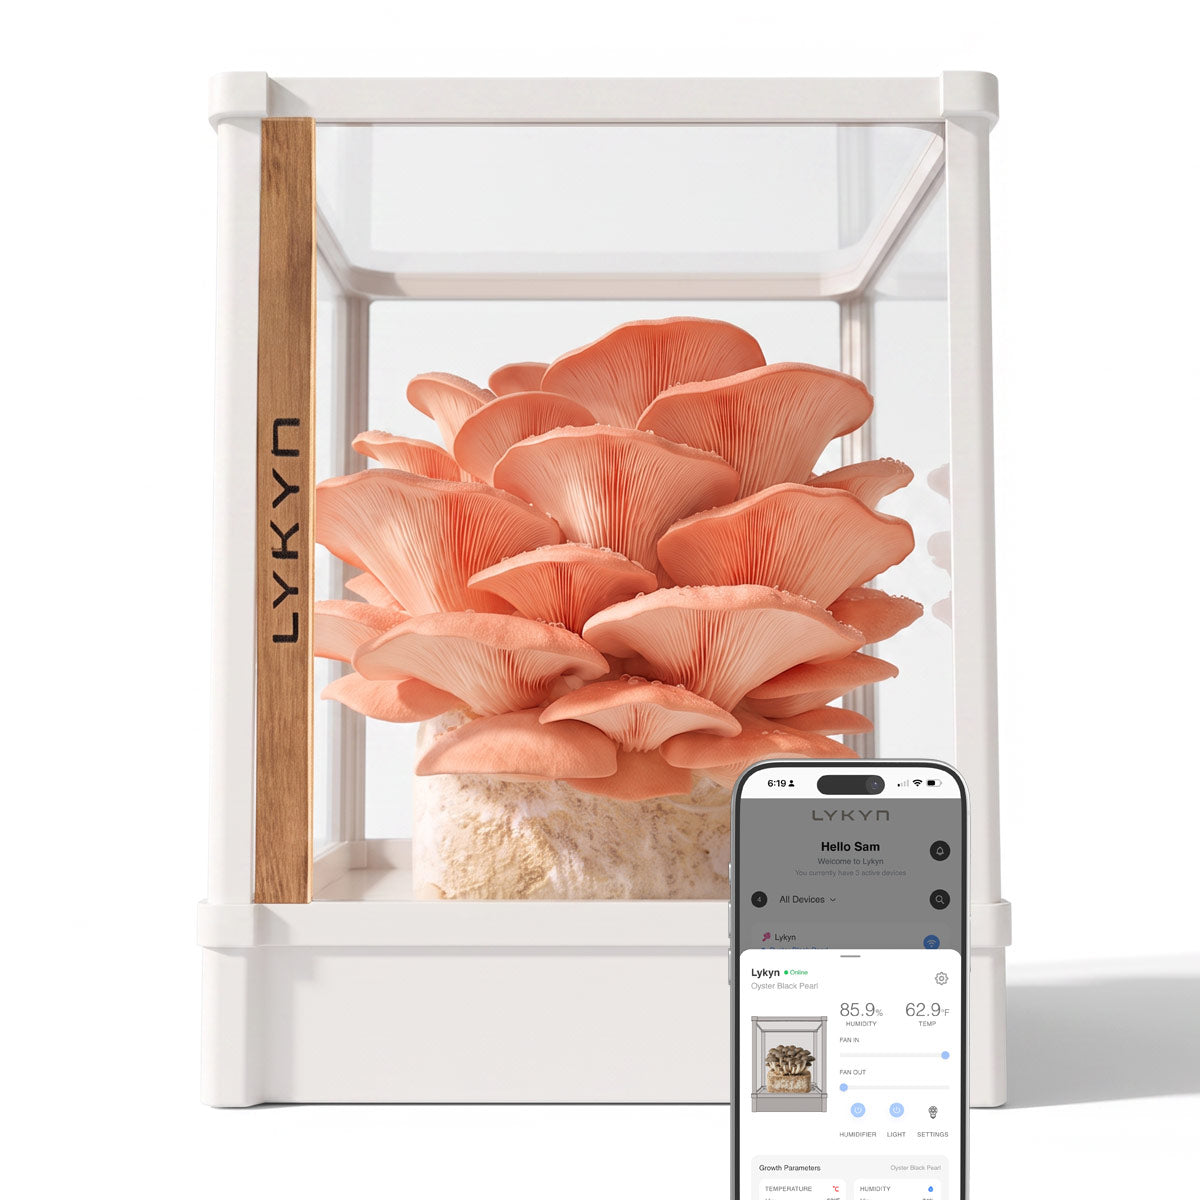
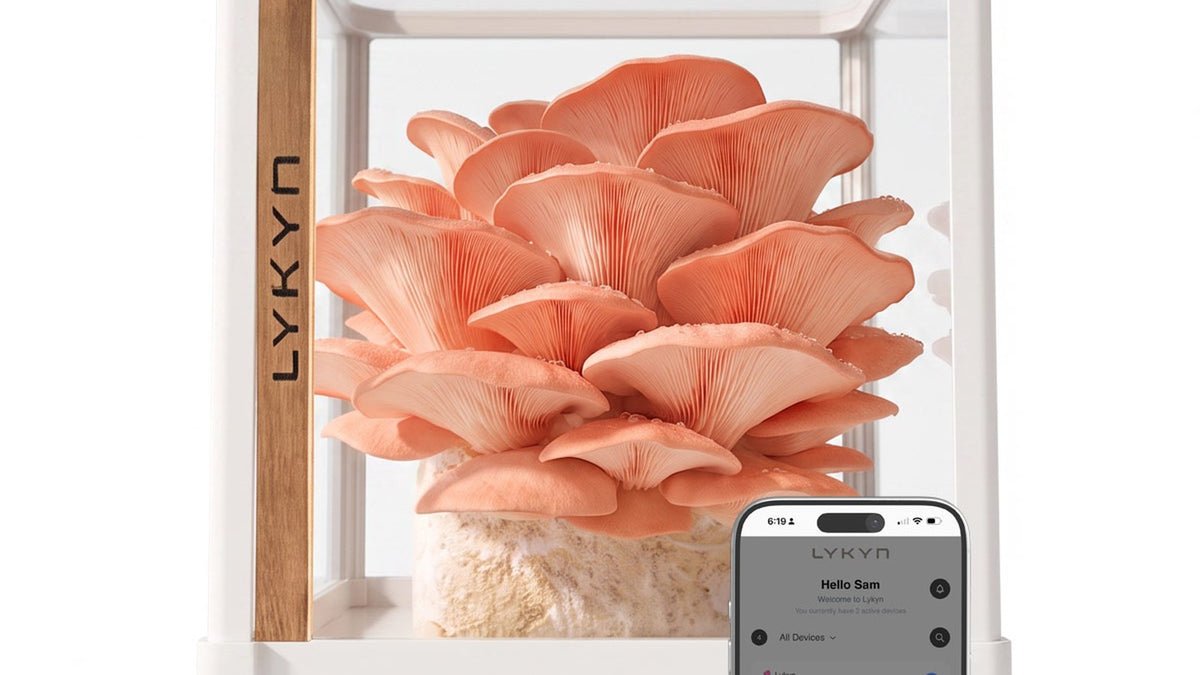
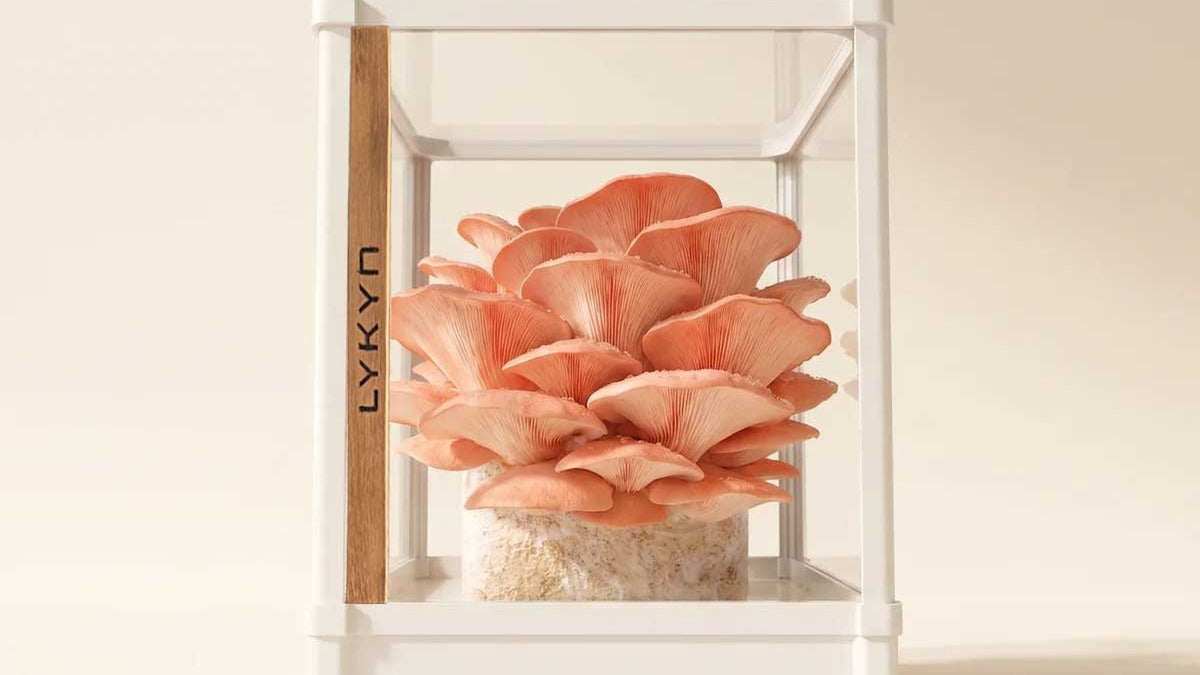
Smart Mushroom Grow Chamber
Plug-and-play smart chamber with humidity, light, and airflow dialed in for every species. Beginners harvest their first flush in days, not months.
Add to cart $299Temperature in two phases, not one
Button mushrooms want different temperatures for spawn run and fruiting
- Spawn run (colonization) 72 to 75 degrees Fahrenheit, 14 to 21 days.
- Casing colonization 70 to 75 degrees Fahrenheit, 7 to 10 days after casing.
- Pinning and fruiting 60 to 65 degrees Fahrenheit, 14 to 21 days per flush.
The temperature drop at the pinning stage is the signal that triggers fruiting. If you keep everything at 72 degrees, the mycelium keeps eating compost and never makes mushrooms. A basement, garage, or unused closet with a portable AC during summer is the easiest way to hit the cool-down phase.
Humidity and air exchange: get both right
Aim for 90 to 95% relative humidity during pinning, then drop to 80 to 85% once caps are developing. The most reliable home setup is a clear plastic storage tote with a few quarter-inch holes drilled in the sides and a layer of perlite at the bottom for evaporative humidity. Mist the inside walls (never the casing surface directly) twice a day, and fan the tote with the lid for 30 seconds twice a day to refresh CO2.
Button mushrooms are sensitive to high CO2. If your caps come out long-stemmed with tiny heads, you're suffocating them. If they crack and dry on top, your humidity is too low.
Harvest at the veil break, not before
The right harvest moment is when the protective veil under the cap is just starting to tear but hasn't fully opened. Pick too early and you sacrifice yield (mushrooms double in size in their last 24 hours). Pick too late and the spores release, the texture turns spongy, and the next flush is delayed.
Twist and pull at the base, don't cut. Cutting leaves a stem stub that rots and can seed bacterial blotch in your second flush. Fill the harvest hole with a pinch of clean casing soil so the next pinset has a uniform surface to push through.
Expect three flushes and stop
A healthy button mushroom block will give you three flushes over about six weeks. The first flush is the biggest (roughly 50% of total yield). The second is around 30%. The third is what's left. After the third flush, the compost is exhausted and the risk of cobweb mold or trichoderma contamination spikes. Compost the spent block in your garden bed and start fresh.
Common failure modes and the fix
- No pins after 10 days of casing Temperature too warm or casing pH too low. Move to a cooler spot and check pH with a strip.
- Long stems, pinhead caps Not enough fresh air. Increase fanning frequency.
- Green or black mold patches Trichoderma or aspergillus. Cut out the affected area plus a one-inch margin, dust with salt, and isolate.
- Cobweb mold (fluffy gray-white spreading fast) Casing too wet. Reduce misting and increase airflow.
- Yellow droplets on caps Bacterial blotch from over-misting. Wipe down, reduce humidity, increase fanning.
If you'd rather skip the variables
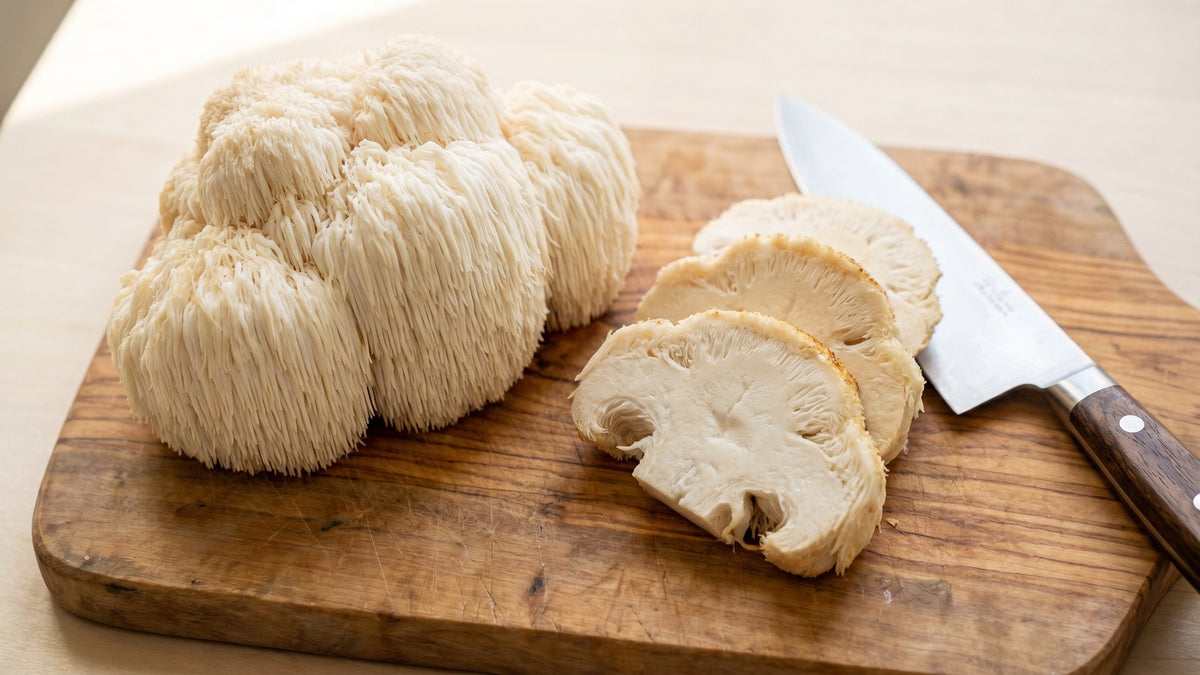
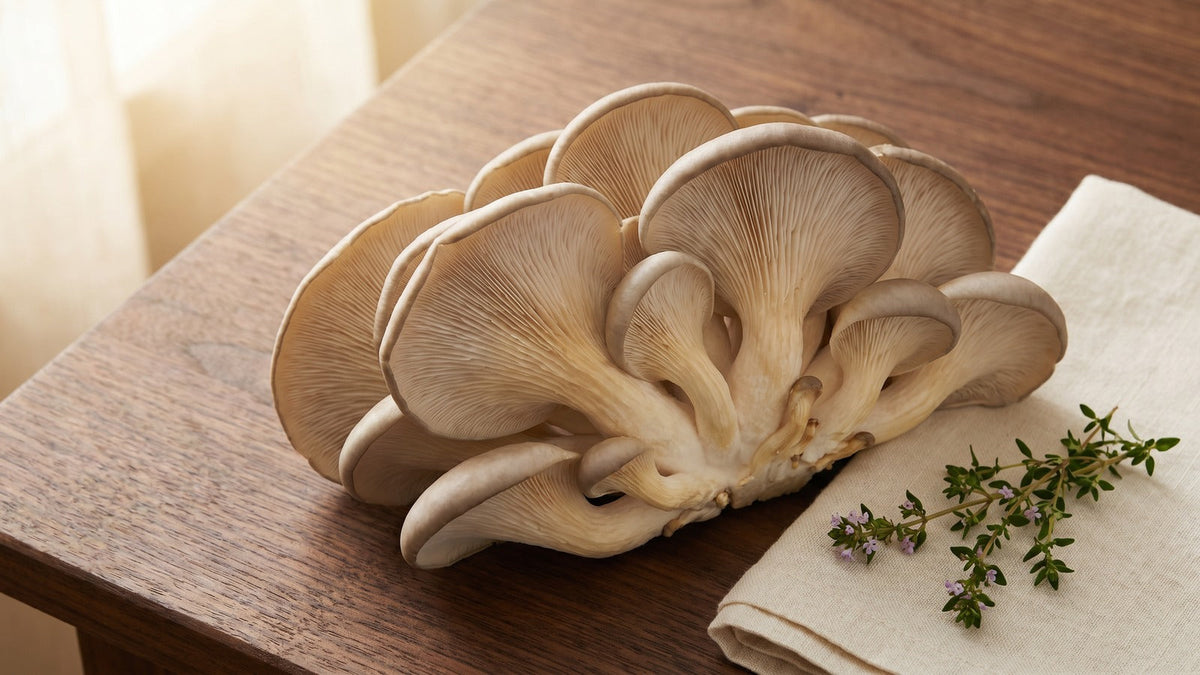
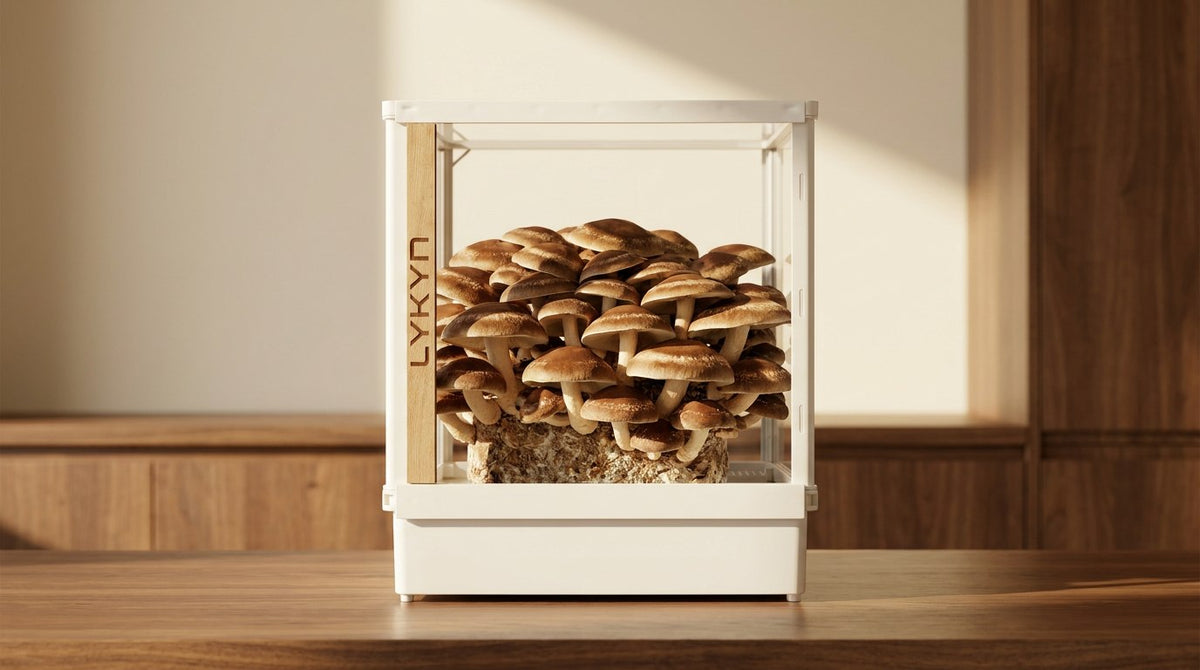
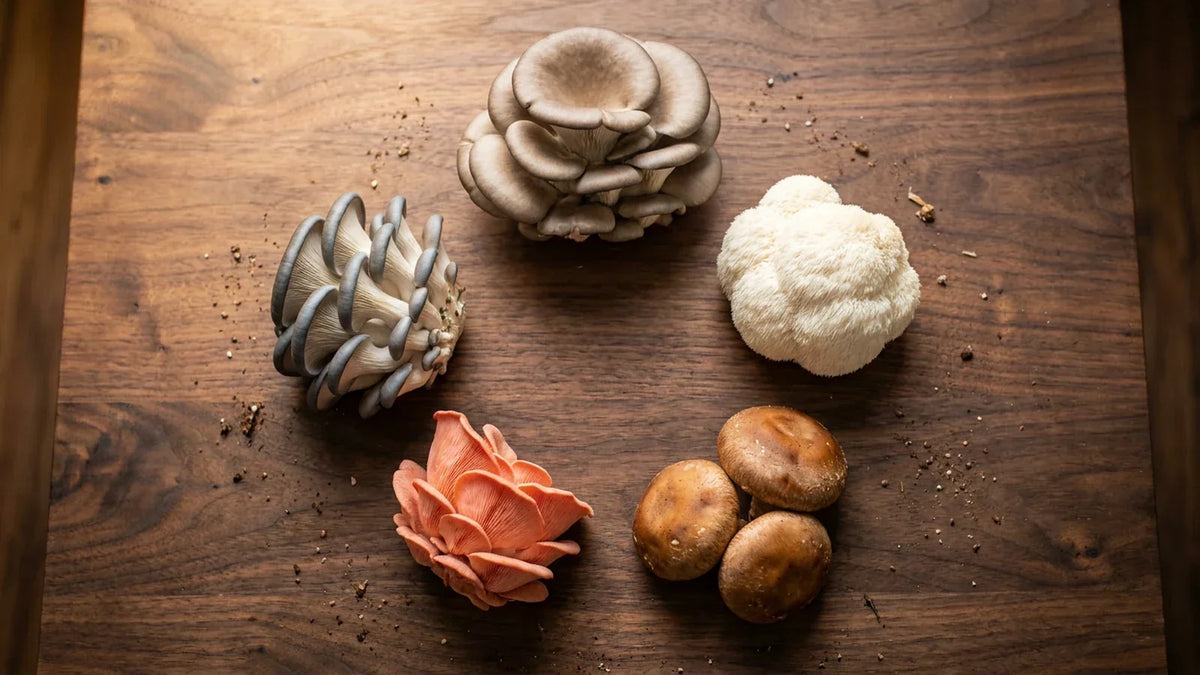
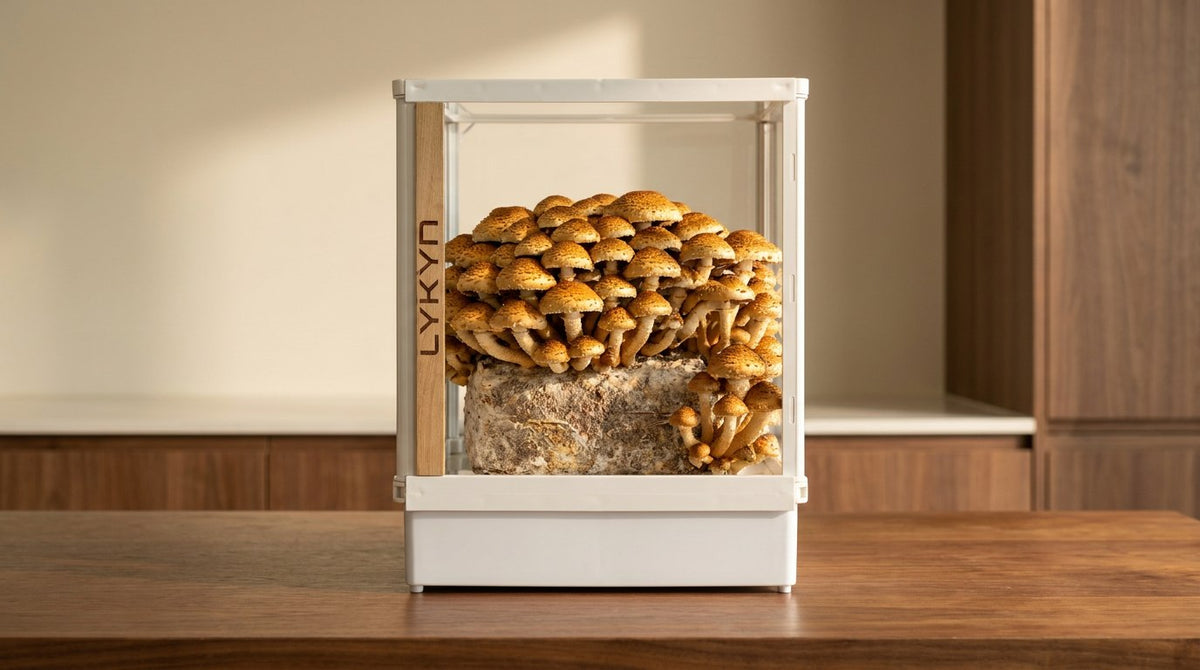
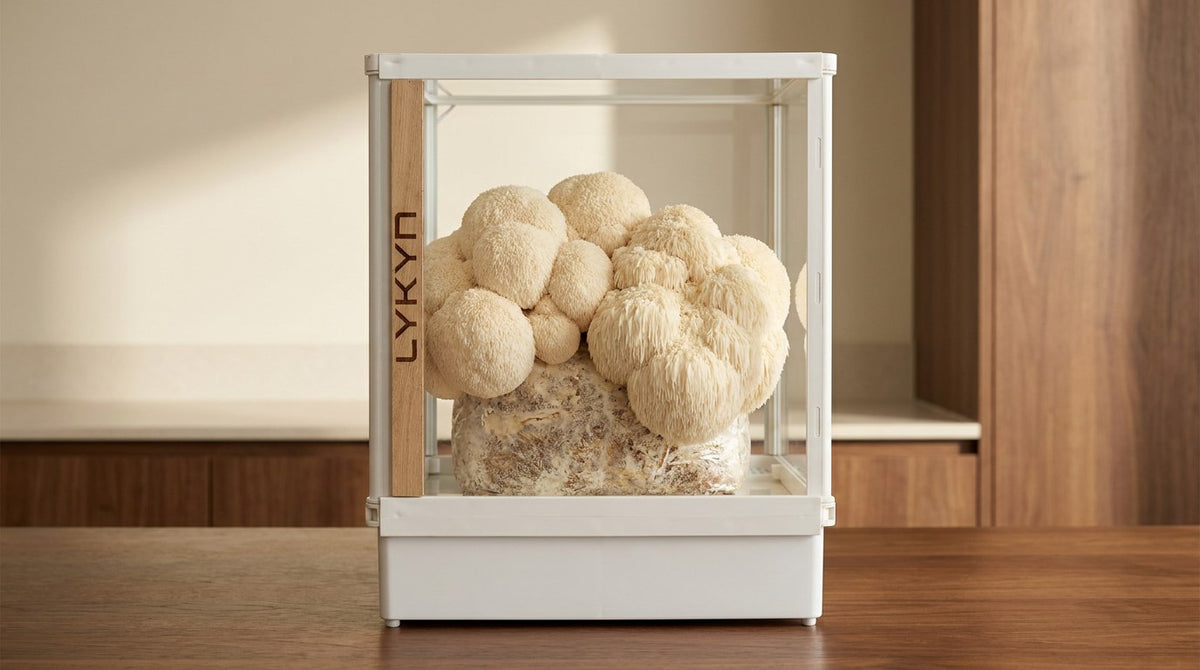
Button mushrooms reward patience and punish drift. If managing pasteurization, casing chemistry, and a manual temperature swing sounds like more project than hobby, an enclosed automated grow kit handles the variables for you, just on a different species. Button mushrooms don't fit a typical home grow box because of the casing and compost requirements, but oyster, lion's mane, and shiitake all do, and they share the same harvest satisfaction. Explore mushroom grow kits if button growing turns out to be more work than you want.
For the cultivators who stick with buttons: nail the casing layer, hit the temperature drop, and don't rush the third flush. That's the whole game.
Share:
Nutritional Facts About Button Mushrooms Explained
Nutritional Facts About Button Mushrooms Explained