


Setting up a mushroom fruiting tent is the upgrade most home cultivators make once they outgrow shoebox monotubs and start running multiple fruiting blocks at a time. Done right, it gives you stable humidity, controlled fresh-air exchange, and a clean enclosed environment that turns hobby cultivation into something that consistently produces. Done wrong, it's an expensive humidity sauna that grows mold faster than mushrooms. This is the step-by-step setup guide.
Before we start, the direct answer for anyone scanning: a working fruiting tent needs five things in this order: a sealed tent enclosure, a humidifier with a controller, a small fresh-air exchange fan on a timer, an LED light on a timer, and a hygrometer/thermometer logger you can actually trust. Everything else is optimization.
Step 1: Pick the right tent size

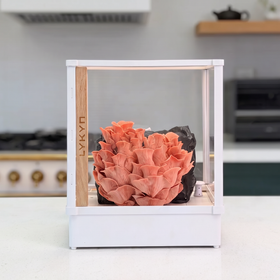
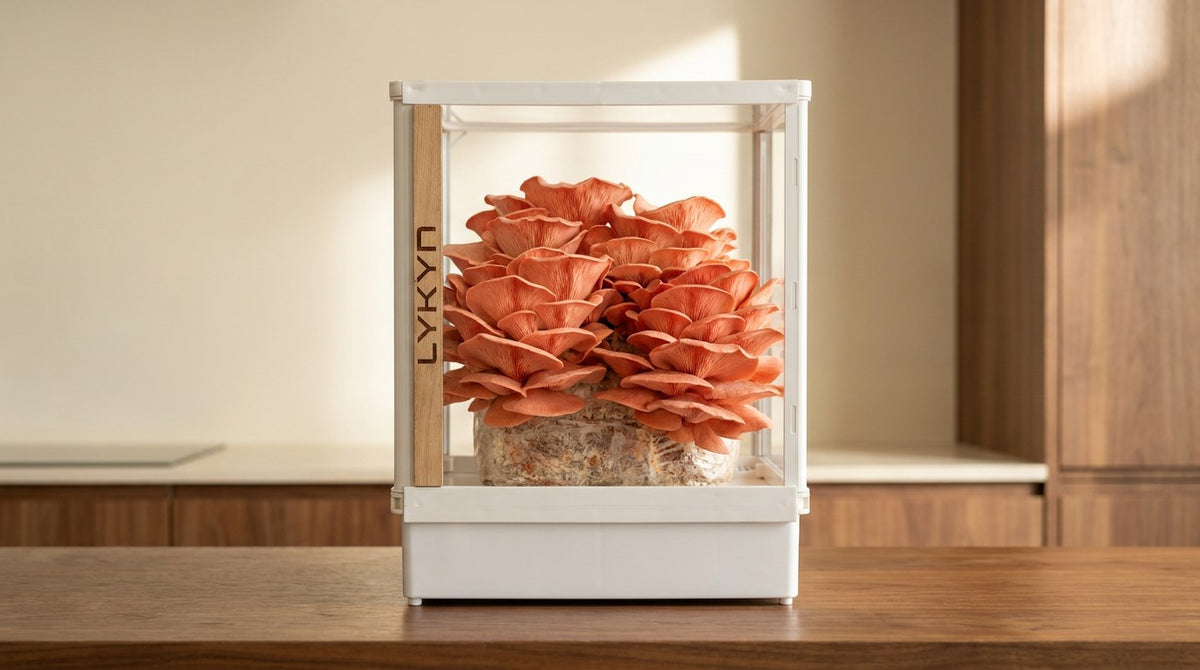
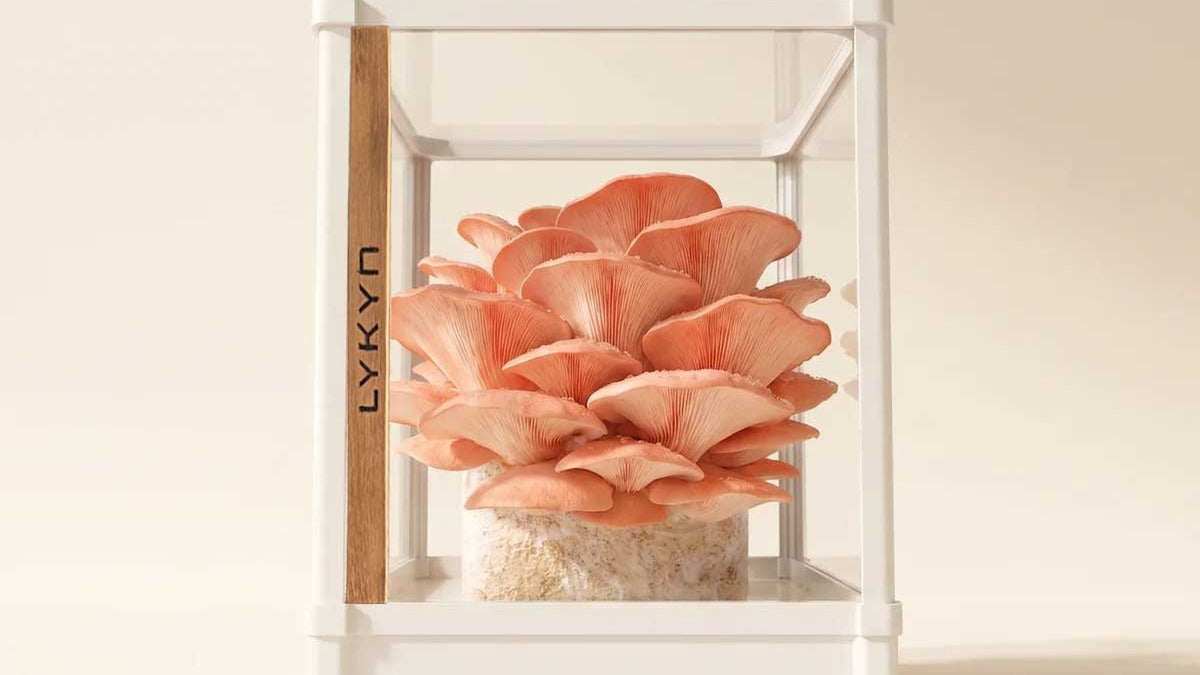
Smart Chamber. Bone White Single
- 2.8L tank, 90% humidity automatic
- App-controlled, plug-and-play
- 6 lb block ceiling, in stock

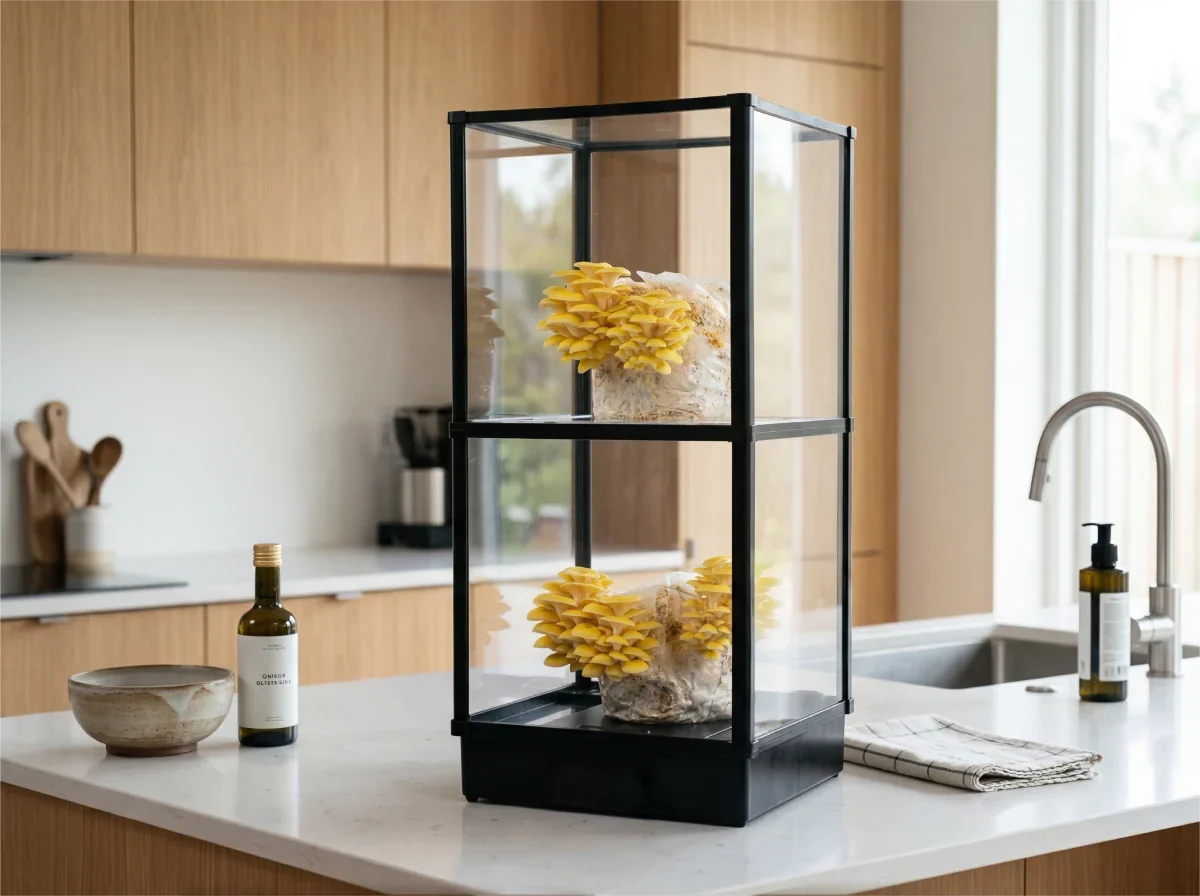
Smart Chamber. Obsidian Black Single
- Same hardware as Bone White
- Matte black premium finish
- Pairs with any kitchen palette

The most common home sizes are
- 2x2 foot tent Fits 2 to 4 fruiting blocks. Good for one species at a time. Cheapest setup.
- 2x4 foot tent Fits 4 to 6 blocks. Best for households running a steady rotation.
- 4x4 foot tent Fits 12 to 16 blocks. Small-scale market-grower territory.
Buy a hydroponic grow tent rather than a fabric closet or a homemade tarp setup. Hydroponic tents have reflective Mylar interiors, sturdy frames, zipped doors, pre-cut ventilation ports, and a waterproof spill tray, all of which matter for mushroom cultivation. The total cost difference is small and the time savings are real.
Step 2: Set up the spill tray and floor
Mushroom tents run wet. Place the tent on a hard floor (not carpet), lay down a waterproof mat or contractor plastic under the spill tray, and add 2 to 3 inches of damp perlite or expanded clay pebbles inside the tray for evaporative humidity. The perlite layer doubles as a passive humidity reservoir and a drainage layer for any water that escapes from blocks during fruiting.
Step 3: Mount the humidifier
For tents up to 2x4 feet, a 1.5 to 2 liter ultrasonic humidifier with a built-in humidistat is the sweet spot. For 4x4 foot tents, step up to a 4 to 6 liter unit or run two smaller units on opposite corners.
Setup notes
- Place the humidifier outside the tent if possible, with a hose feeding fog inside. This protects the electronics from the wet environment and lets you refill without opening the tent.
- If you must place it inside, sit it on a small platform 4 inches above the spill tray so the mist nozzle aims at the upper third of the tent.
- Use distilled or RO water. Tap water leaves mineral scale that clogs the ultrasonic transducer and can leave a white film on your fruits.
Step 4: Wire up a humidity controller
The humidifier's built-in humidistat is usually inaccurate. Buy a separate humidity controller (Inkbird IHC-200 or similar, $35 to $50) and plug the humidifier into it. Set the target to 90% RH with a 3% deadband (turns off at 90%, back on at 87%). The controller will cycle the humidifier as needed rather than running constantly.
Place the controller's humidity probe at the center of the tent at fruiting-block height, not near the humidifier outlet (you'll get a falsely high reading) and not near the fan exhaust (falsely low). A small zip tie to a tent pole works fine.
Step 5: Install fresh-air exchange
This is the step beginners most often skip. A sealed tent with only a humidifier becomes a CO2-rich, stagnant box where mushrooms grow long stems and tiny caps. You need fresh-air exchange (FAE).
The simplest setup
- Mount a 4-inch or 6-inch inline duct fan to the tent's top exhaust port
- Run the fan on a digital timer (15 minutes on, 45 minutes off for most species)
- Leave the lower intake port partially open to allow makeup air
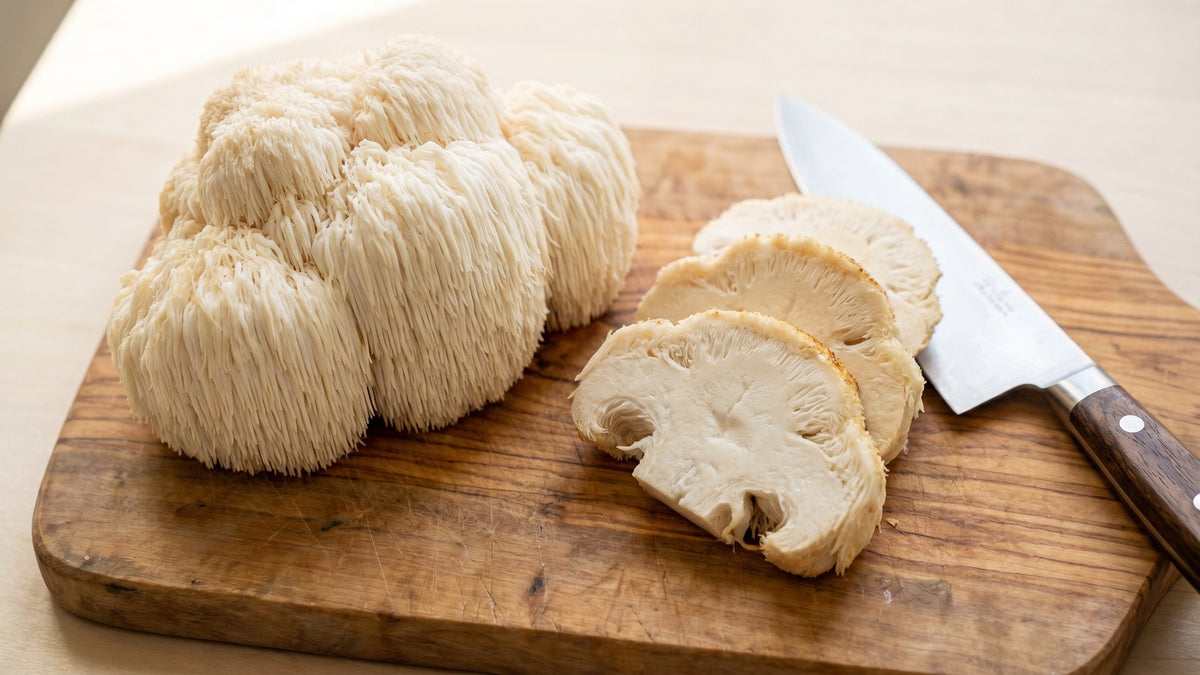
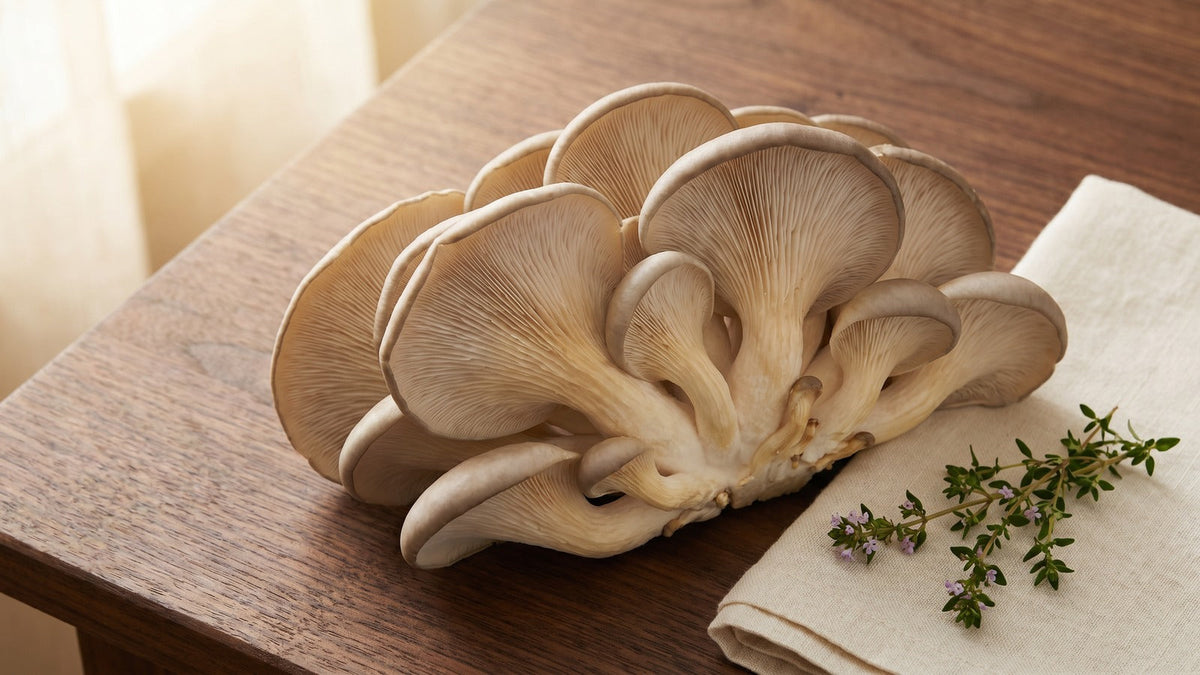
For oyster mushrooms (very CO2-sensitive), increase to 20 minutes on, 40 minutes off. For lion's mane and shiitake (more tolerant), 10 minutes on, 50 minutes off is fine.
Step 6: Add a small circulation fan
Separate from the FAE exhaust fan, install a small clip-on or USB-powered fan inside the tent to keep humid air moving across all surfaces. Stagnant pockets in corners are where contamination starts. Aim the fan at the tent wall, not directly at fruiting blocks (direct airflow dries out pins and stunts caps).

Fuel Your Mushroom Journey
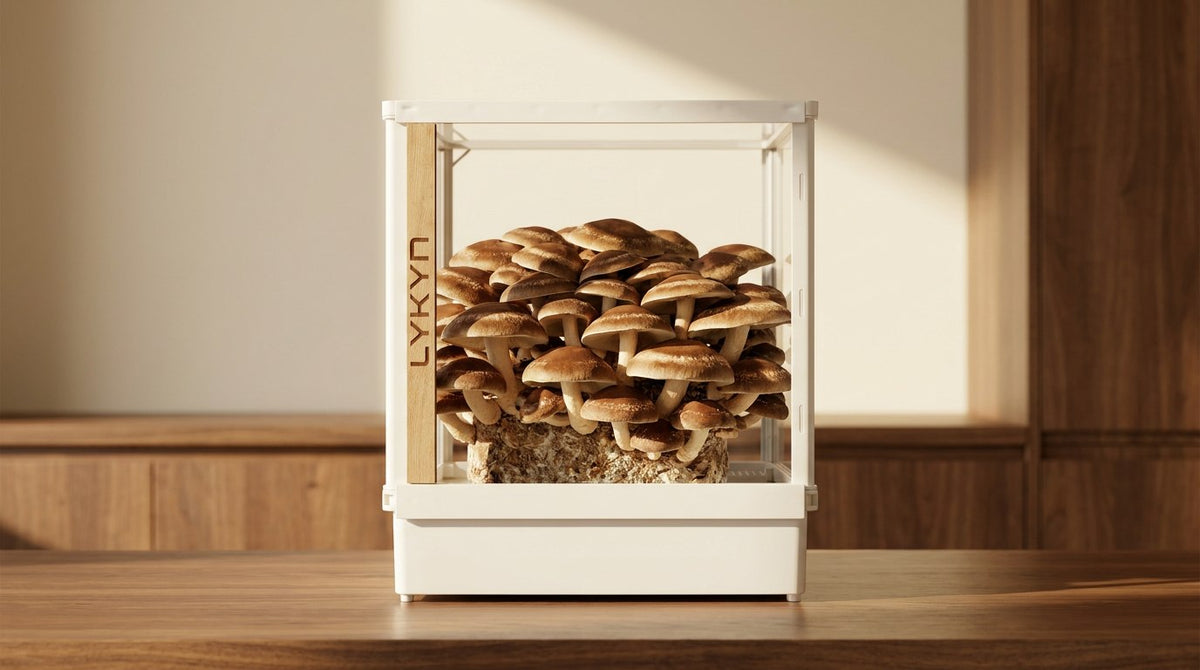
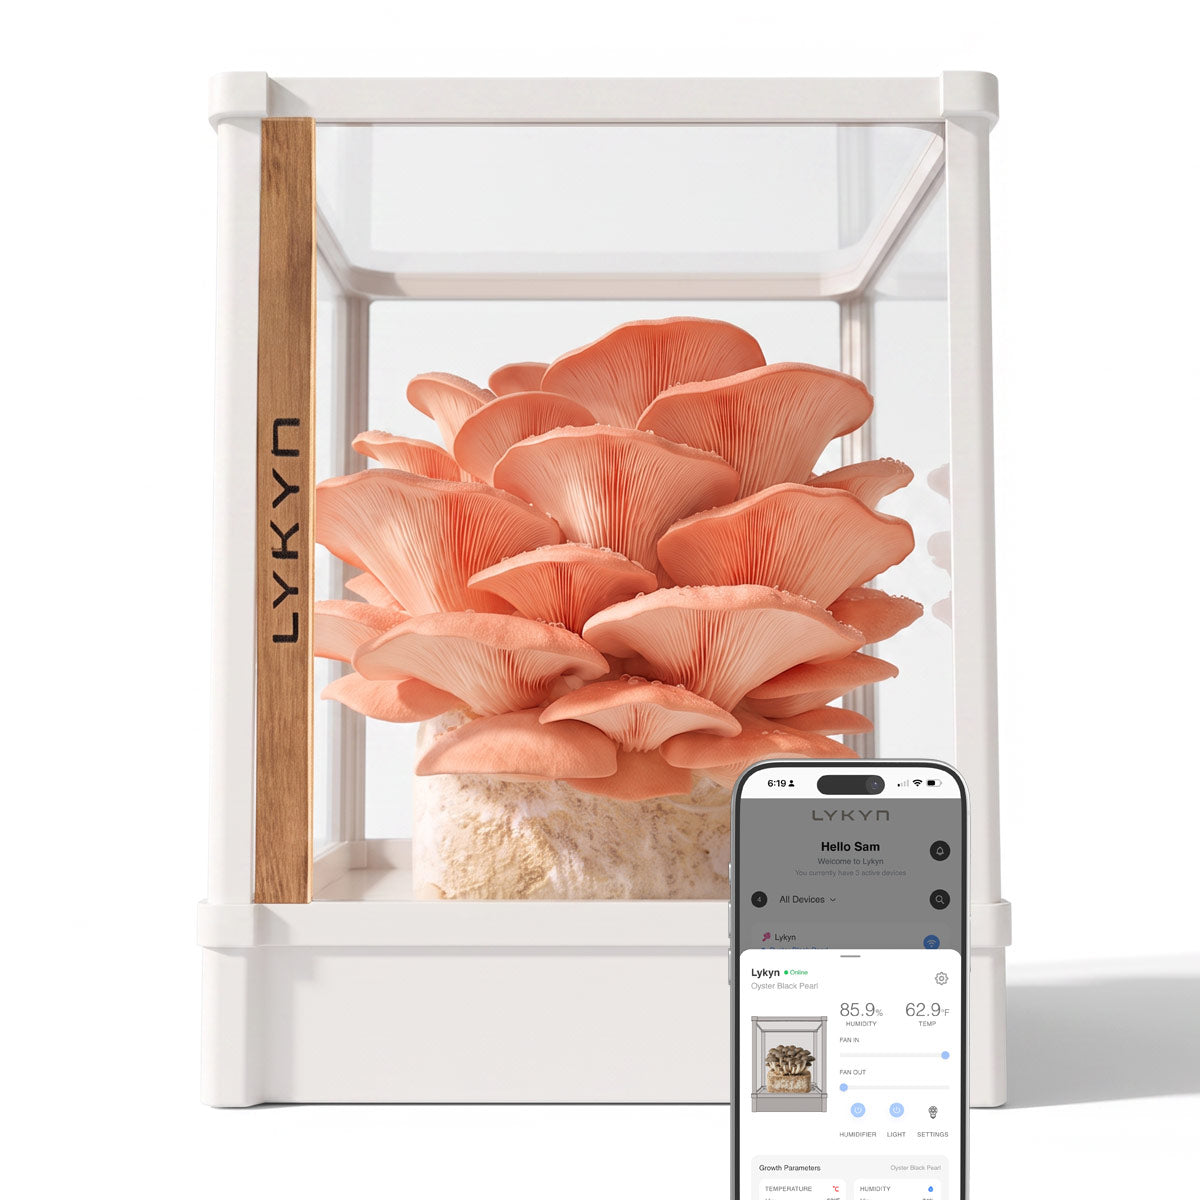
Smart Mushroom Grow Chamber
Plug-and-play smart chamber with humidity, light, and airflow dialed in for every species. Beginners harvest their first flush in days, not months.
Add to cart $299This fan can run continuously. A 5-inch USB clip fan draws 2 to 4 watts and lasts for years.
Step 7: Set up lighting
A single 20 to 40 watt full-spectrum LED panel or strip on a timer is plenty for a 2x4 foot tent. Larger tents need 60 to 100 watts. Run lights 12 hours on, 12 hours off, mimicking outdoor daylight cycles. Mushrooms don't need bright light; they need predictable light timing as a fruiting cue.
If your tent has a clear viewing window, ambient room light through the window is sometimes enough for oyster and shiitake. Lion's mane is less light-dependent. When in doubt, add the LED. It's cheap insurance.
Step 8: Install monitoring you trust
Buy a logger-style hygrometer/thermometer (something with min/max history, ideally Wi-Fi-connected). Cheap stick-on hygrometers are unreliable below 95% RH. A SensorPush, Govee, or Inkbird logger gives you real numbers over time and lets you spot patterns (humidity drops at 2 AM when the heater kicks on, for example).
Place one logger at fruiting-block height in the center of the tent. For larger tents, add a second logger at the opposite corner to spot uneven conditions.
Step 9: Run a 24-hour test before your first block
Set up the tent fully (humidifier, FAE timer, circulation fan, lighting, logger) with empty fruiting blocks or just damp perlite. Let it run for 24 hours and check the logger. Target conditions
- Humidity: 88 to 92% during humidifier-off periods, peaks below 100% during humidifier-on
- Temperature: 65 to 72 degrees Fahrenheit for most species (some prefer cooler)
- No condensation pooling on tent walls or floor (slight beading is fine, dripping is too wet)
If conditions drift, adjust before you load real blocks. The 24-hour test catches every plumbing and wiring problem before it costs you a harvest.
Step 10: Load and rotate
When your tent passes the test, load fruiting blocks with at least 4 inches of space between them for airflow. If you're running multiple species, group them by humidity and CO2 requirements rather than mixing species with very different needs in the same tent (oyster wants more FAE than lion's mane, for example).
Rotate blocks every 2 to 3 days so each gets even exposure to airflow and light. Spent blocks get pulled and replaced; new blocks join the rotation. This keeps your harvest steady instead of clustered.
Common setup mistakes to avoid
- Putting the humidifier directly under blocks The blocks get soaked, contamination spikes.
- No fresh-air exchange Mushrooms look like long-stem alien growths.
- Tap water in ultrasonic humidifier Mineral dust coats everything, transducer fails in 2 to 3 months.
- Cheap stick-on hygrometer Tells you 90%, real value is 75%, you blame the mushrooms.
- Skipping the 24-hour test First batch fails to environmental drift, you don't know why.
If a full tent setup is more than you want
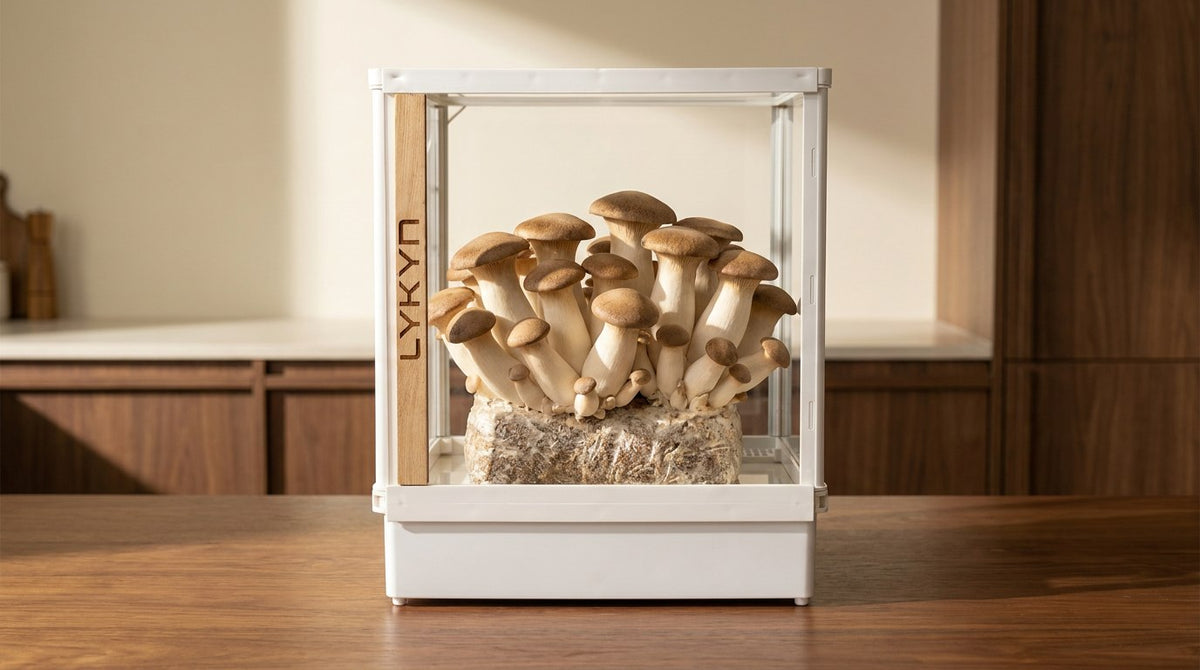
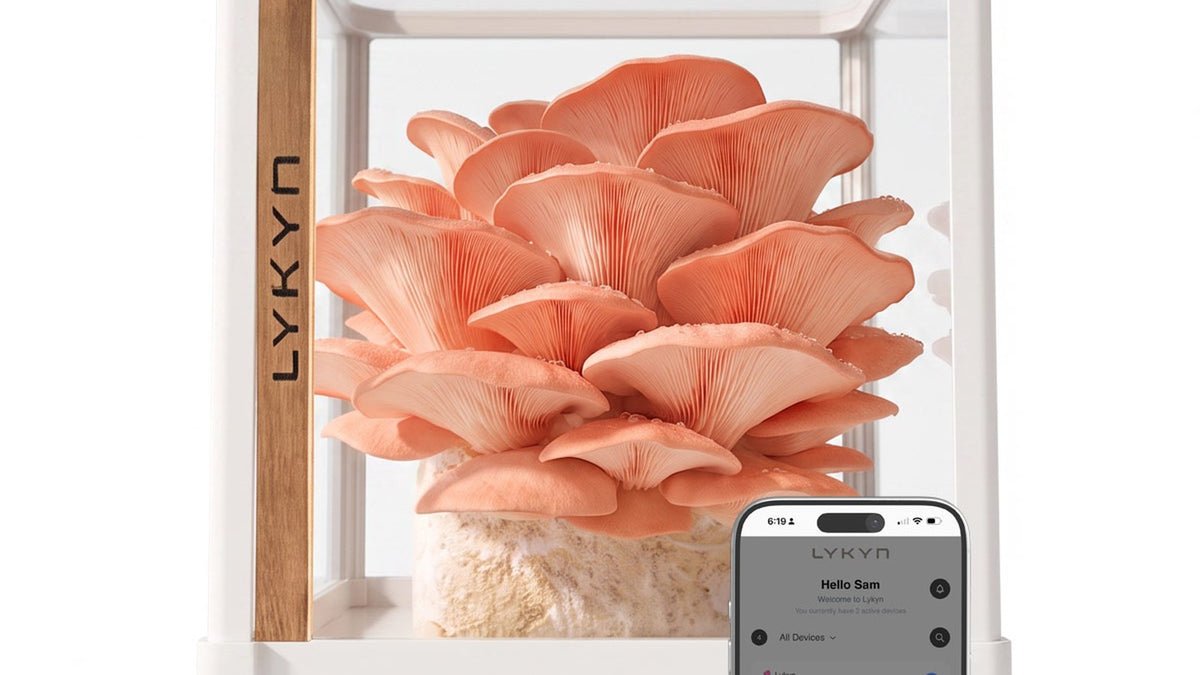
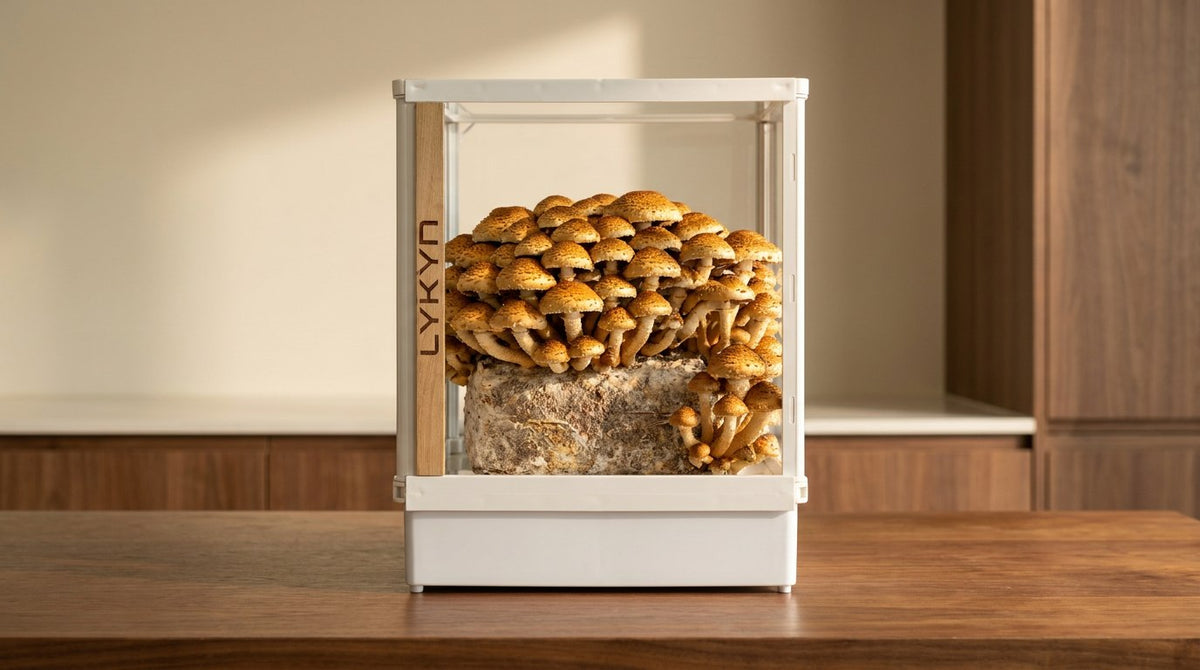
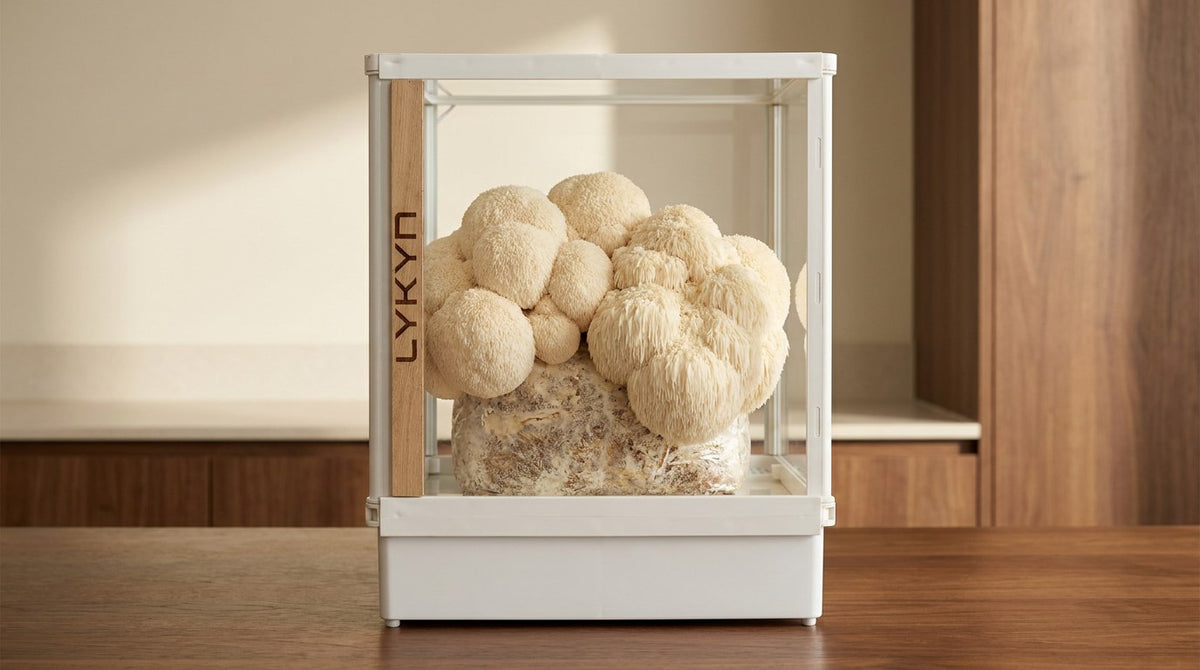
A fruiting tent rewards growers who want flexibility and scale. For everyone else, an enclosed smart grow kit automates humidity, fresh-air exchange, and lighting for a single fruiting block without manual tuning. It trades the ability to run 6 blocks at once for plug-and-play simplicity. Worth comparing against the tent route before you spend $300 on hardware. Browse mushroom grow kits if a self-contained system fits your hobby better than a tunable tent.
Wrap-up
A working mushroom fruiting tent is humidifier plus fan plus light plus logger, all on timers, in a sealed enclosure on a spill tray. Spend an afternoon setting it up properly, run a 24-hour shakedown, then load your blocks. After your first successful harvest you'll wonder why you ever fought humidity in an open kitchen.
Share:
Mushroom Drinks: The Complete Guide to Functional Beverages
Mushroom Drinks: The Complete Guide to Functional Beverages