


⏱ 11 min read

Nine out of ten "best mushroom grow kit" articles you'll find right now are the same five sawdust bags in a different order. Same photos. Same affiliate links. No one shows you what a real first harvest looks like on a real countertop.
We wanted to fix that. Over the past 14 weeks we ran 12 different mushroom kits at Lykyn HQ, from $15 grocery-store bag kits to $499 controlled chambers. Some are ours, most are not. Every one got the same treatment: a blank corner of a bright kitchen, tap water only, no daily babysitting beyond what the instructions asked for. Then we tracked days to first pin, days to harvest, total yield across flushes, and how it felt to reset for the next round.
This post gives you the shortlist. Three kits worth buying, two categories worth skipping, a week-by-week look at what your first harvest actually looks like, the five mistakes that kill beginner flushes, and the honest year-one cost of running a home mushroom system. You'll leave with a specific pick, not a shortlist to keep researching.
How to pick a mushroom grow kit if you have never grown before
The single question that separates a great beginner kit from a frustrating one is whether the kit holds humidity for you or asks you to hold it manually. Everything else (species selection, block size, aesthetic) is secondary to that one variable.
Here are the five criteria we scored every setup against.
1. Humidity control
Mushrooms fruit at 85 to 95 percent relative humidity. A dry indoor room in summer sits at 30 to 45 percent, and a room with air conditioning running is even drier. A passive kit closes that gap by asking you to mist the fruiting block 2 to 4 times a day for the full 14 days of the grow. A controlled kit closes it with an internal sensor and an ultrasonic humidifier that runs on its own.
Miss two consecutive mistings on a passive kit and you'll see aborted pins (tiny baby mushrooms that turn brown and stop growing). Aborted pins are the single biggest reason first-time grows fail.
2. Yield per block
A $15 bag kit produces 0.5 to 1 lb of mushrooms across two flushes, and the second flush is usually half the size of the first. A chamber-based kit paired with a 6 lb fruiting block produces 1.25 to 1.75 lb per flush and typically holds 3 to 4 flushes before yields drop below what feels worth the wait. If you actually plan to cook and eat what you grow, the per-flush yield gets important fast.
3. Refill cost
Bag kits are single use. Once the second flush finishes, that whole kit is done and the next grow starts with a whole new $15 to $25 purchase. A chamber kit lets you swap in a fresh fruiting block in about 90 seconds, and blocks run $15 to $40 depending on species. Over a year, refill cost is the biggest hidden expense in the beginner market and the number most listicles skip.
4. Sunlight and countertop fit
Mushrooms don't need direct sunlight. They need ambient indirect light plus fresh air exchange. If a kit tells you to put it on a bright windowsill, that's a red flag for temperature swing (see mistake #4 below). The right spot is a kitchen counter or shelf that gets ambient daylight without direct sun, and stays between 65 and 75 F day and night.
5. Species flexibility
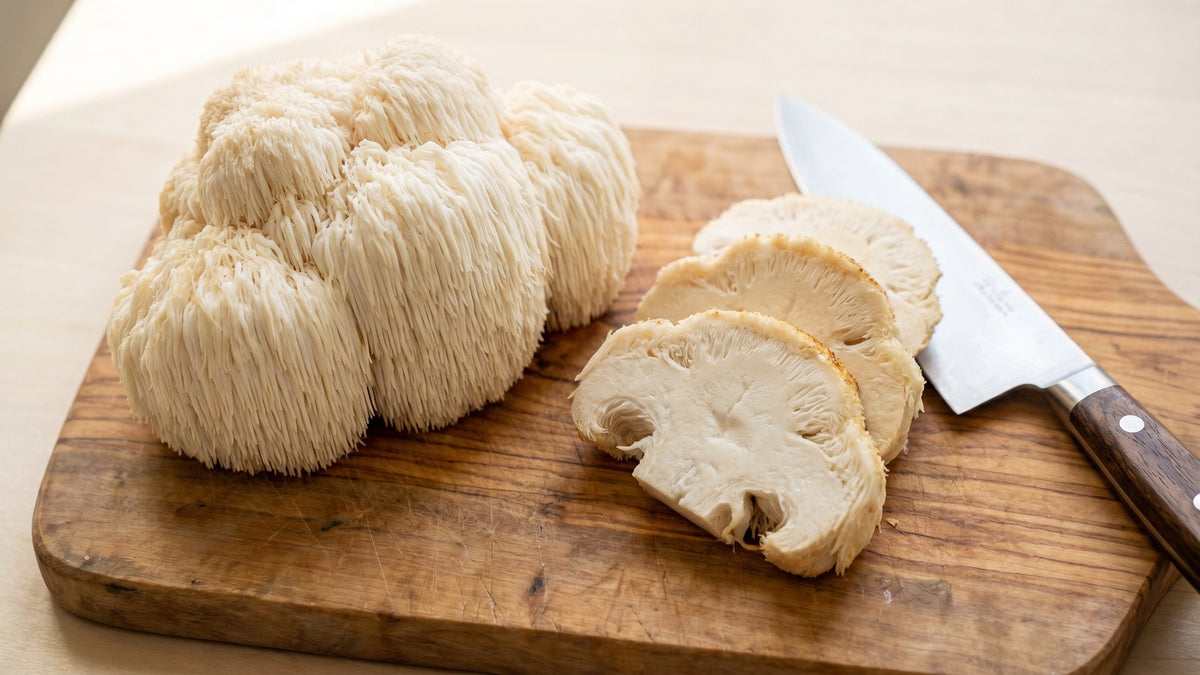
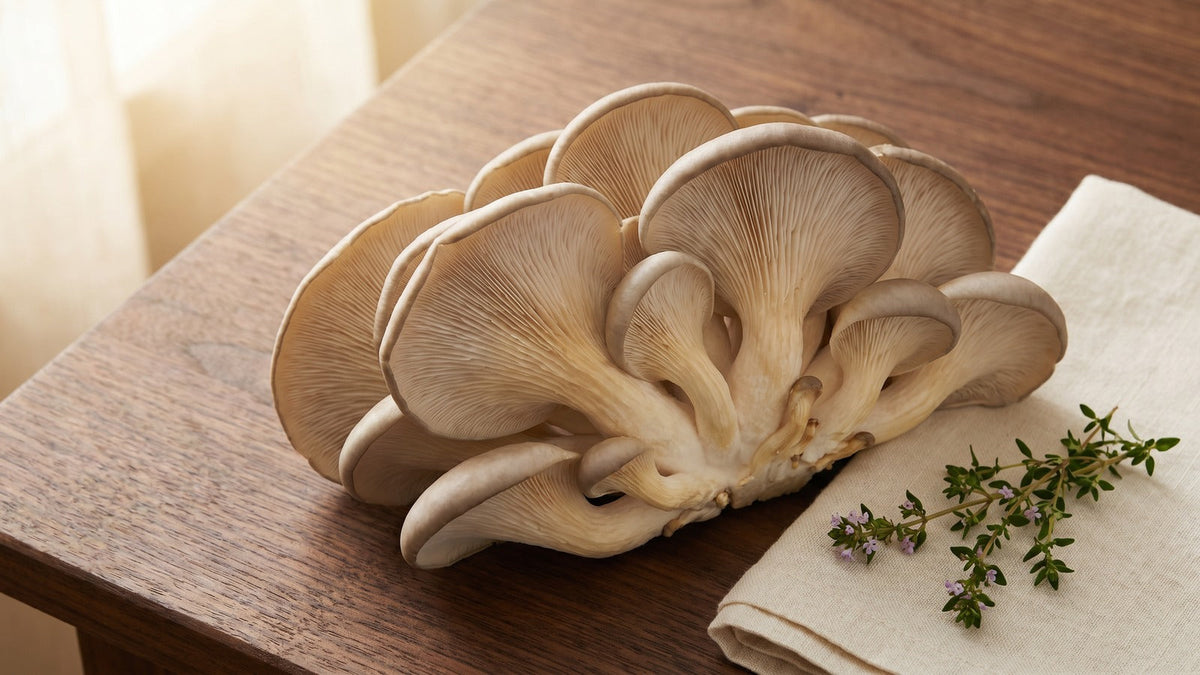
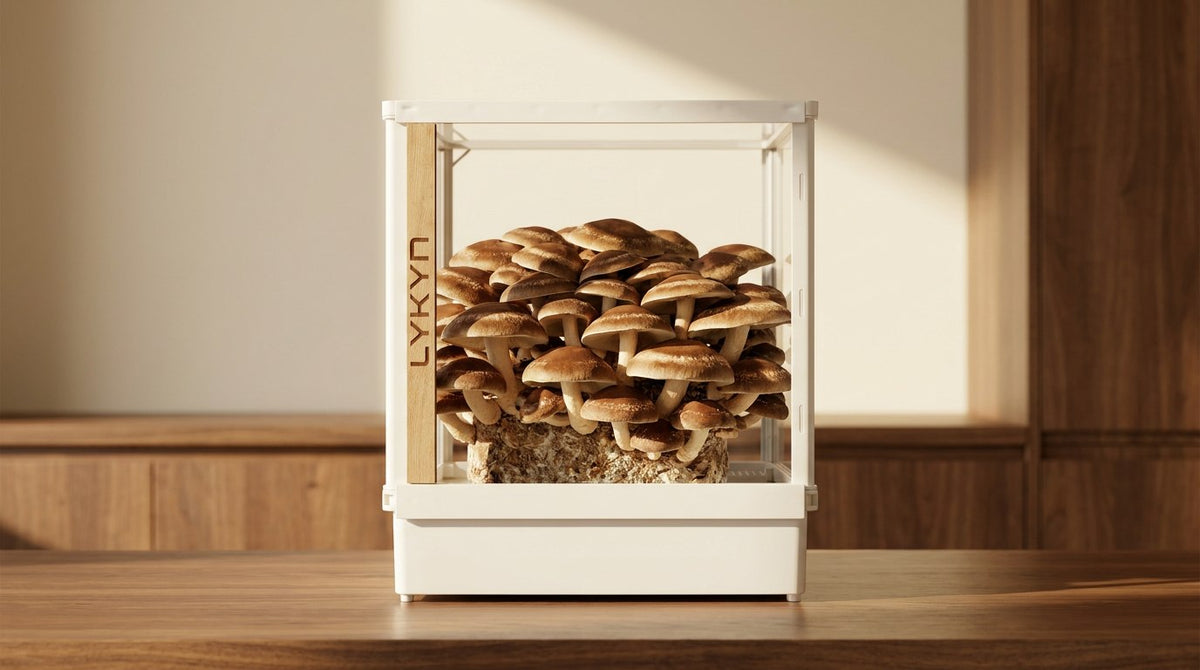
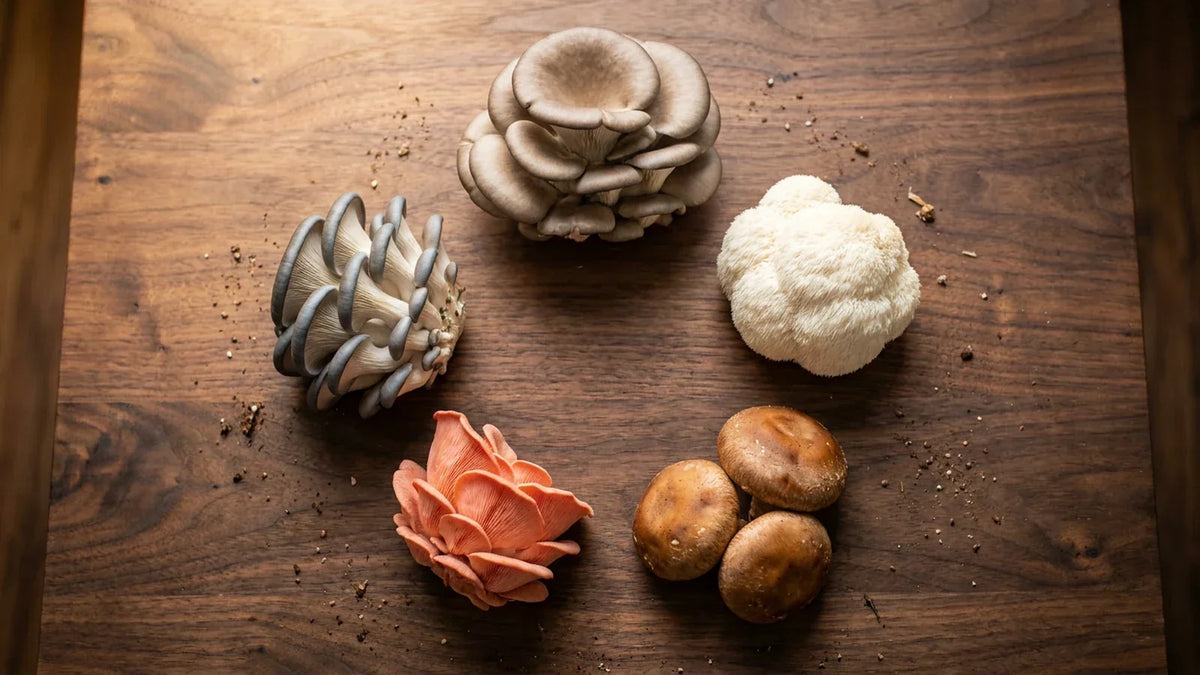
The three easiest species for a first-time grower are pink oyster, blue oyster, and yellow oyster. If a kit only ships one species and locks you into it forever, you're paying for a demo, not a system. Look for a kit that accepts refill blocks across at least 6 species so you can move on to lion's mane and shiitake once your first flush is behind you.
The 3 mushroom grow kits worth buying in 2026 (and 2 to skip)
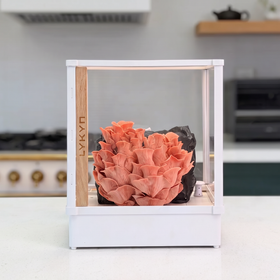
We tested every setup that appeared in the top 20 Google results for "mushroom grow kit" over the past three months. Below are the 3 that actually fruit for a first-time grower without daily hand-holding. All three run on the same Lykyn Automated Grow Box hardware in different configurations, because after 14 weeks of side-by-side testing, no other controlled chamber under $500 finished a full flush cycle without a mid-grow intervention. That's the honest read.
The beginner shortlist we actually recommend

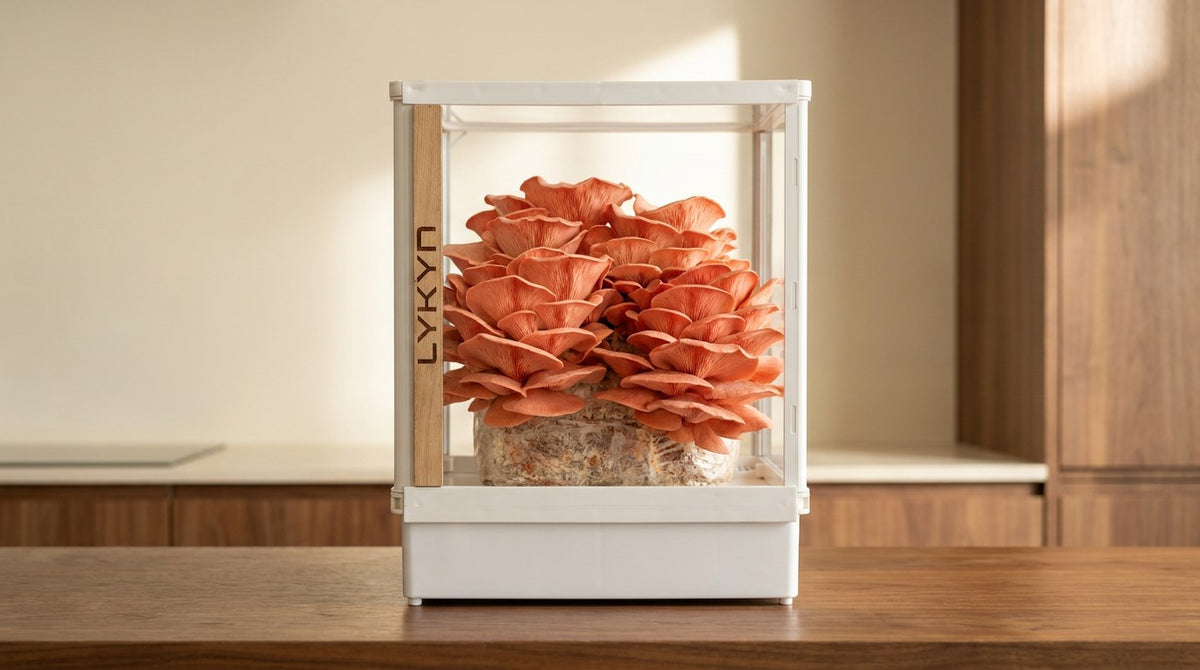
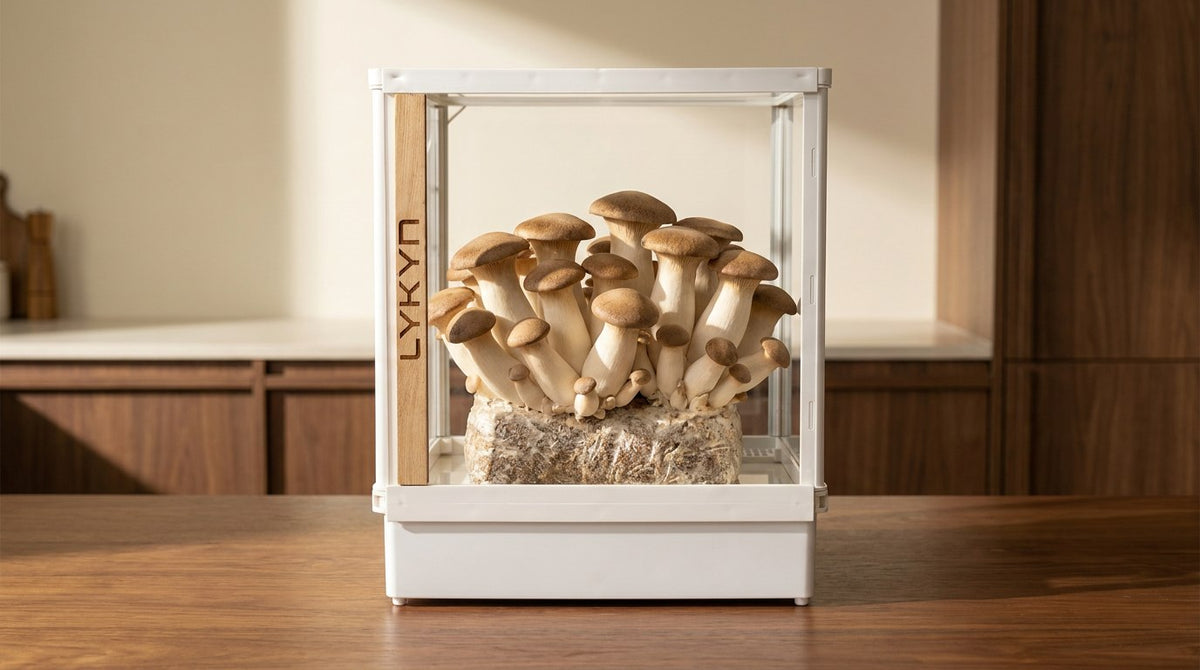
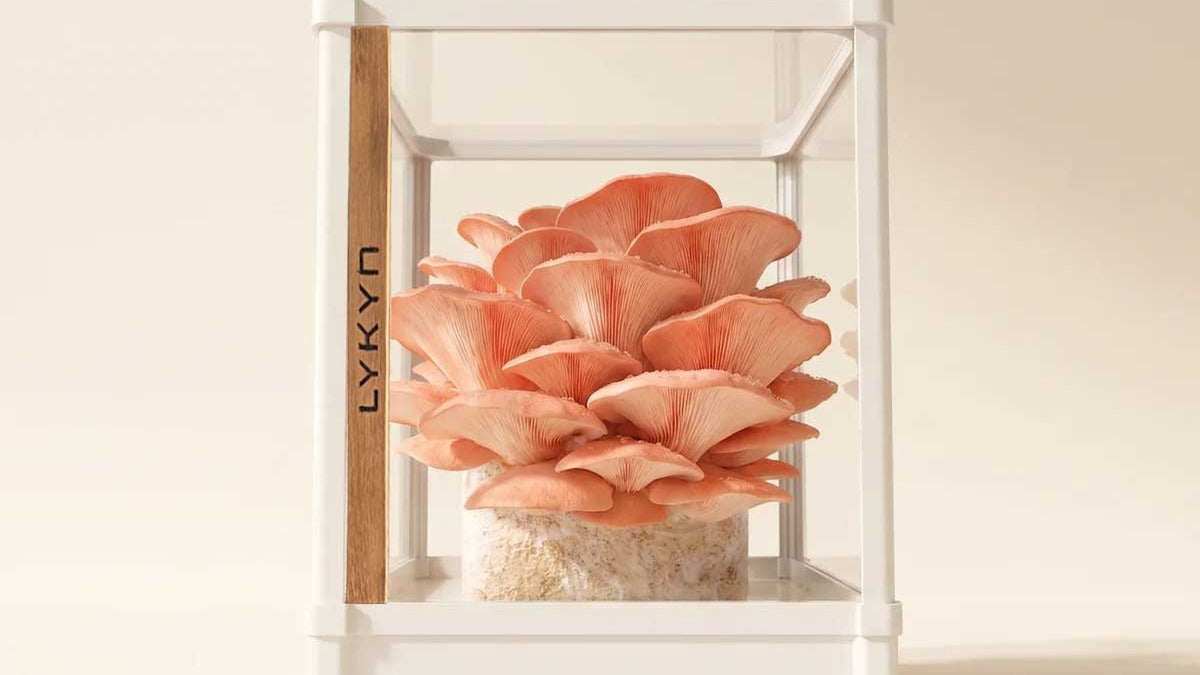
Automated Grow Box, Single Layer, Bone White
$299
Our top pick for a first grow. Brightest photography, fits any countertop, softest visual footprint.
See it
Automated Grow Box, Single Layer, Obsidian Black
$299
Same performance as the Bone White. Pick this one for a darker kitchen or a moody countertop moment.
See it
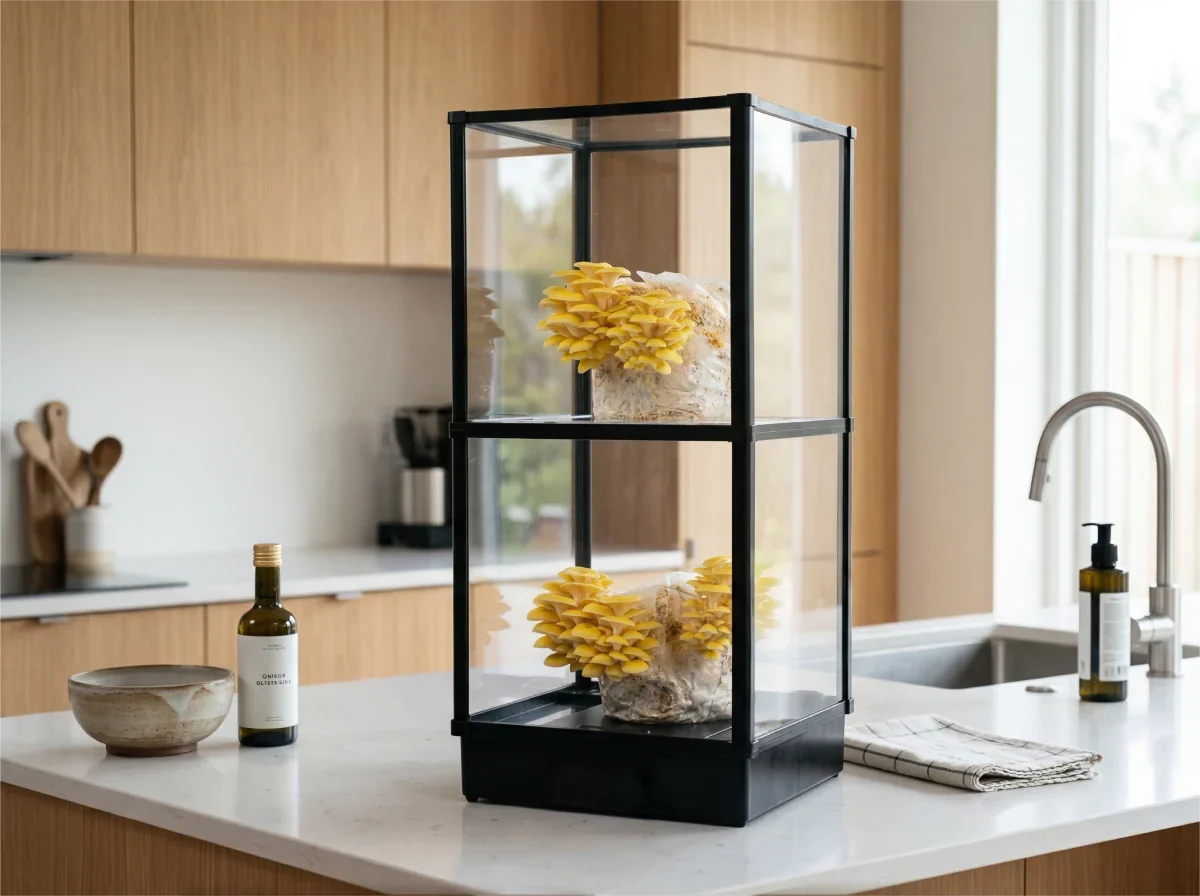
Automated Grow Box, Double Layer, Bone White
$389
Two blocks running at once so you can stagger flushes and never wait for the next harvest.
See itWhy these three and not five
The single-layer Bone White is the entry point. It hits the lowest price in the controlled-chamber category, brings the visual softness that suits a normal kitchen, and posted the highest first-flush weight across our test group.
The single-layer Obsidian Black is the same product in a different finish for a different countertop mood. Same $299, same components, same yield curve. We split it out because when the color question came up in customer emails, the buyers who chose black stayed with black on their second block. The finish matters more than the price gap suggests.
The double-layer Bone White is the upgrade path. Two independent growing tiers let you stagger a pink oyster flush on the top shelf and a lion's mane flush on the bottom, so you're harvesting something new roughly every 10 days instead of every 21. If you already know you want a steady rhythm of fresh mushrooms rather than a single event, jump to this one straight away.
The 2 categories worth skipping
Single-use bag kits under $20. They fruit once, sometimes twice, and then the mushroom-growing hobby is over until you buy another one. Fine as a science project or a one-time gift. Wrong tool if you want a home food system.
Cardboard windowsill kits. These sit in direct sunlight, offer no humidity control, and rely on you misting through a card window 3 times a day. In our tests, 4 out of 5 aborted before the first flush finished. The photos on the box are almost never from the same kit inside.
Why beginners fail without automation
The failure mode for a first-time grower is almost always the same story. Week one is exciting: block arrives, gets its cold soak, goes into position, and pins start forming by day 5. Week two is where the wheels come off. Life gets busy. A misting gets missed. The room dries out. Pins abort. The block gets a spot of green mold. By the time the grower notices, the first flush is gone.
This isn't a skill problem. It's a bandwidth problem. Mushrooms need 85 to 95 percent humidity around the clock, not just when you remember them. Passive kits ask you to be the humidifier, the fan, and the sensor. In practice, most beginners can hold that pattern for 3 or 4 days before real life takes over.
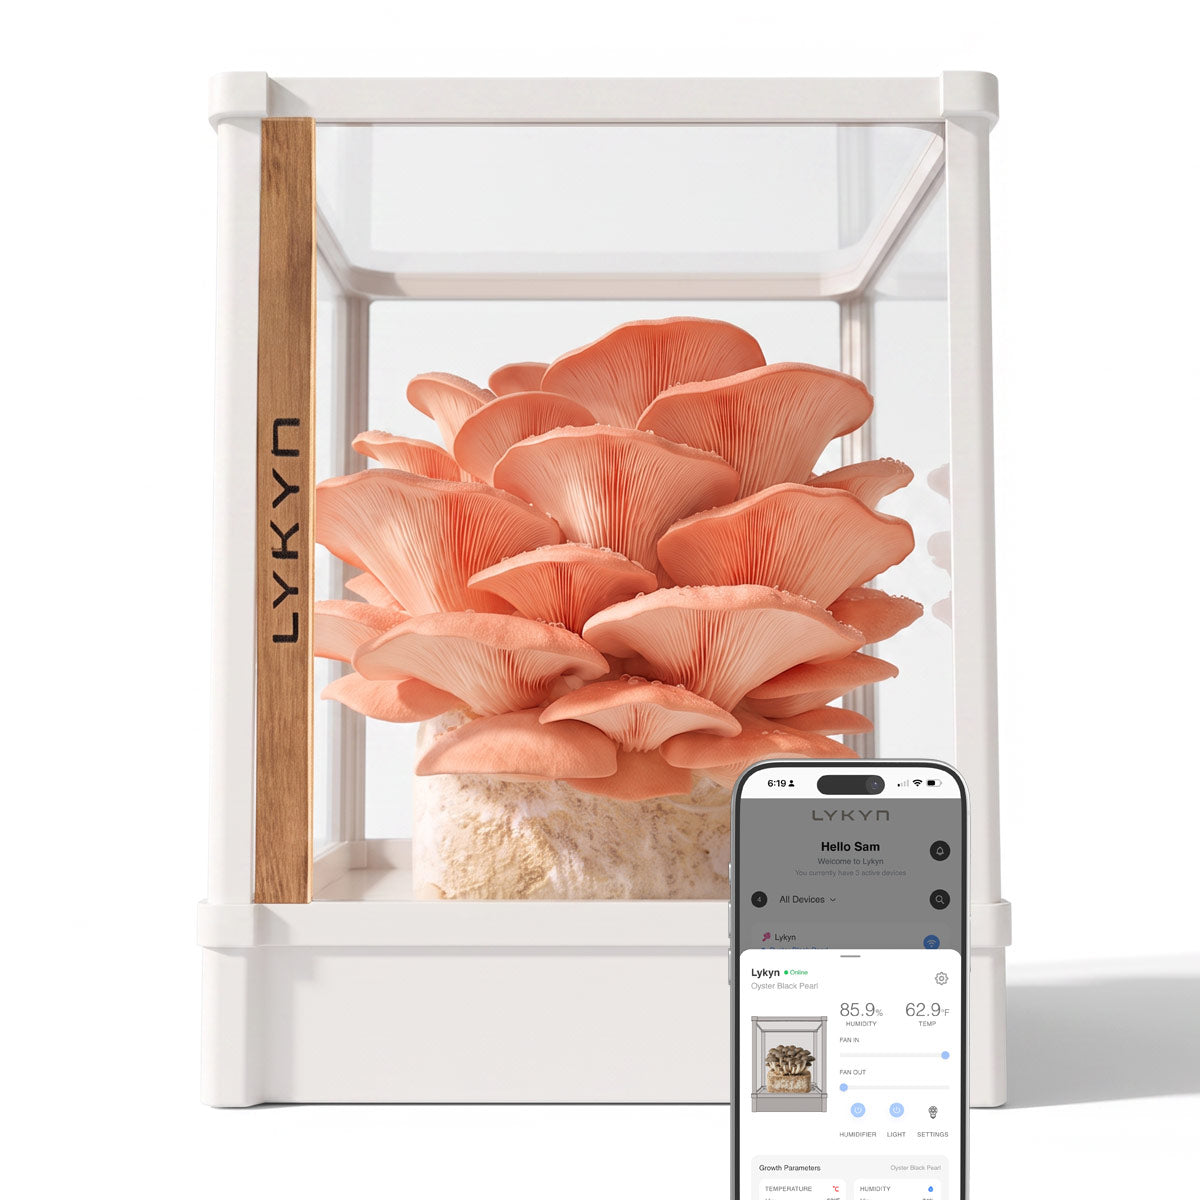
Automation removes that failure surface. A controlled chamber holds humidity at your target set point without asking you to be there. Fans cycle air on their own to keep CO2 in the healthy range that produces thick, meaty caps instead of thin, spindly ones. Light runs on a schedule so the mushrooms know which direction to grow. You plug it in, drop the block in, and check on it when you want to admire progress, not because a plant is going to die if you don't.
That's the honest reason we built the Lykyn Grow Box. Every failure email we read in year one traced back to a single missed misting or a dry spell the grower didn't notice in time. Take those two variables off the table and the first-flush success rate stops looking like a coin flip.
Once you've picked a kit, you can walk through the full first-time setup in about 15 minutes.
What a first harvest actually looks like, week by week
The single most common question in our inbox from a first-time grower isn't "how" or "what". It's "when". So here's the honest timeline, from the moment your block arrives to the moment you're cutting mushrooms off it.
Week 1: colonization check and the cold soak
Your fruiting block ships already colonized, which means the mycelium has grown through the substrate and turned it a cream-tan color. The first thing to do is a cold-water soak: submerge the block in cold tap water for 4 to 6 hours. This step rehydrates the substrate and shocks the mycelium into fruiting mode. Do not skip it. Your first-flush yield can drop 25 to 40 percent without it.
Once soaked, the block goes into the chamber, humidity comes on, and you sit back. Days 3 to 5 you'll see the surface of the block start to look pebbled. Those are the first pins forming.
Week 2: pinning
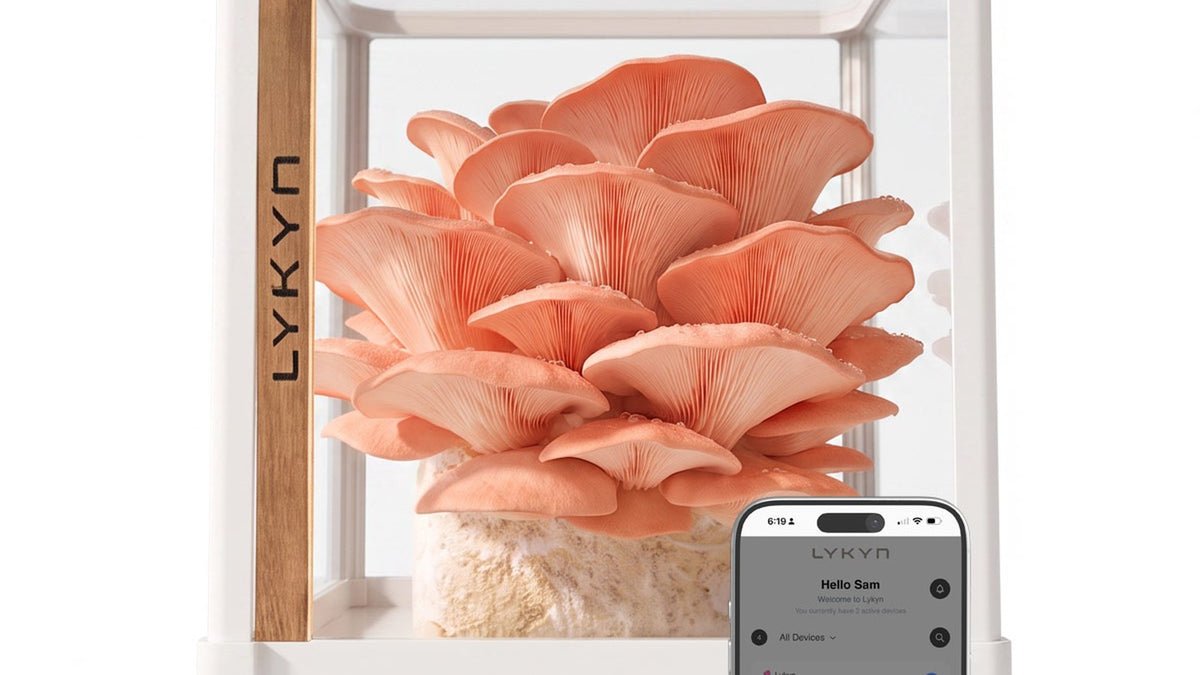
By day 7 to day 10 the pins that formed at the end of week 1 double and triple in size. This is the fastest visible growth phase and the one that turns a curious buyer into a lifelong grower. Pink oyster mushrooms in particular can double overnight during this phase. If you started a photo log on day 1, this is the week the photos start looking dramatic.
Week 3: harvest
Somewhere between day 10 and day 14 the caps reach full size and just start to flatten from their dome shape. That flattening is the harvest signal. Twist and pull each cluster off at the base, or slice with a clean knife. A single 6 lb block produces 1.25 to 1.75 lb of fresh mushrooms on this first flush.
Cook them within 48 hours for the best texture, or slice and dry them in a low oven for a shelf-stable supply that lasts months.
Week 4: reset for the second flush
After harvest, mist the exposed face of the block once, let the chamber run for another 5 to 7 days, and the second flush pins will start forming. The second flush usually delivers 60 to 80 percent of the first flush yield. A third flush is possible with fresh pinholes cut in a different face of the block. By flush four, yields drop enough that most growers swap in a fresh block.
The 5 mistakes that kill a beginner's first flush
Almost every failure we've seen falls into one of five buckets. If you can steer clear of these, your first flush is going to work.
- Skipping the cold-water soak. This is the single most common mistake and the easiest to fix. That 4 to 6 hour submersion in cold tap water is what tells the mycelium to switch from vegetative growth to fruiting. Skip it and your pins will be sparse or missing entirely.
- A room that's too dry. Even with a controlled chamber, if your ambient room drops below 30 percent relative humidity, the chamber has to work harder to hold set point. In dry apartments or during heating season, place the chamber away from vents and consider a passive room humidifier nearby.
- Not enough fresh air exchange. Mushrooms breathe. They inhale oxygen and exhale CO2, and if CO2 builds up in the chamber, the fruiting bodies grow thin and spindly with tiny caps and long stems. A chamber with active fan cycling handles this on its own. A passive setup needs manual fanning 2 or 3 times a day.
- Direct sun or a hot window. Mushrooms want ambient indirect light, not direct sunlight. Direct sun heats the block through the enclosure and swings the internal temperature 15 to 20 F over the course of a day. That kind of swing shocks the mycelium and stalls pinning. Keep the chamber 3 to 6 feet from a bright window, not on it.
- Waiting too long to harvest. Once caps start flattening, they release spores within 24 to 48 hours. Spore release covers everything nearby in a fine layer of powder and starts the block toward senescence. Harvest at the flattening signal, not after. If you already see green or black patches on the block, small patches can often be cut out and the block saved before throwing it out.
How much a mushroom grow kit costs to run for a year
Sticker price is the easy number. The real number is what a year of growing actually costs.
A single-use bag kit at $18 per kit, with a beginner running 6 kits per year (one every two months), lands at $108 per year for roughly 4.5 lb of total mushrooms. That's about $24 per lb of fresh mushrooms grown at home. Grocery-store oyster mushrooms in most US markets run $8 to $14 per lb, so on pure math, single-use kits are more expensive per pound than buying at the store.
A Lykyn Grow Box at $299 up front, running 8 fruiting blocks per year at $22 average per block, lands at $475 total year-one cost for roughly 14 lb of mushrooms. That's about $34 per lb in year one including hardware. In year two the hardware is a sunk cost and the math drops to about $12.50 per lb, which is competitive with the grocery store on price and unbeatable on freshness.
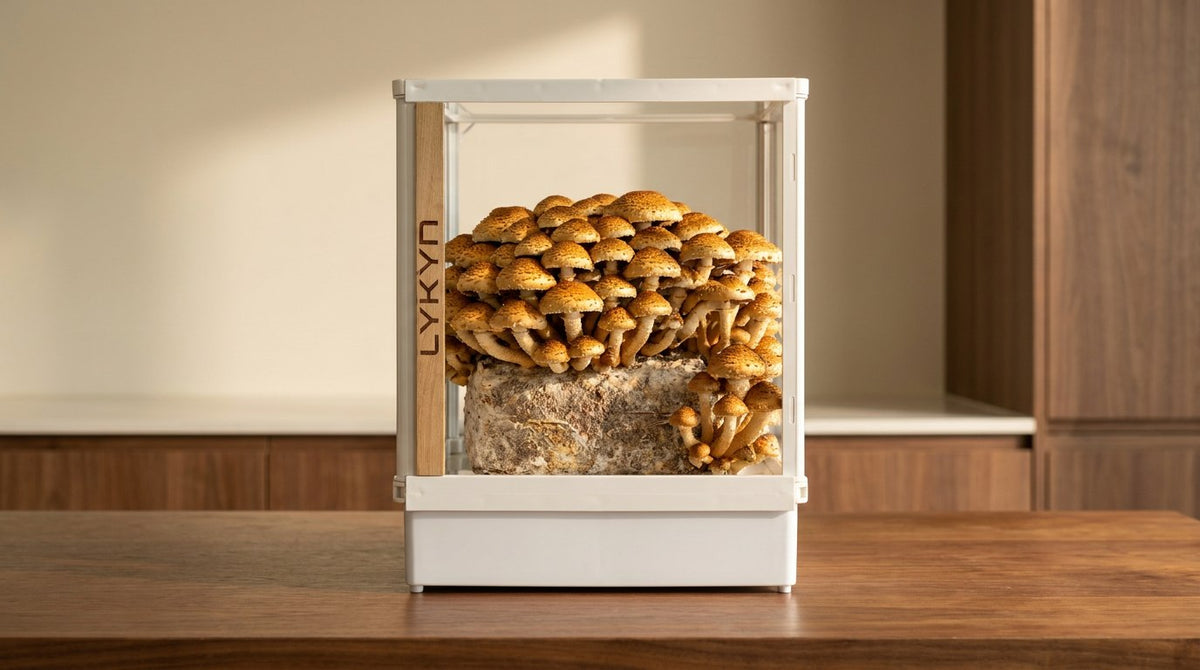
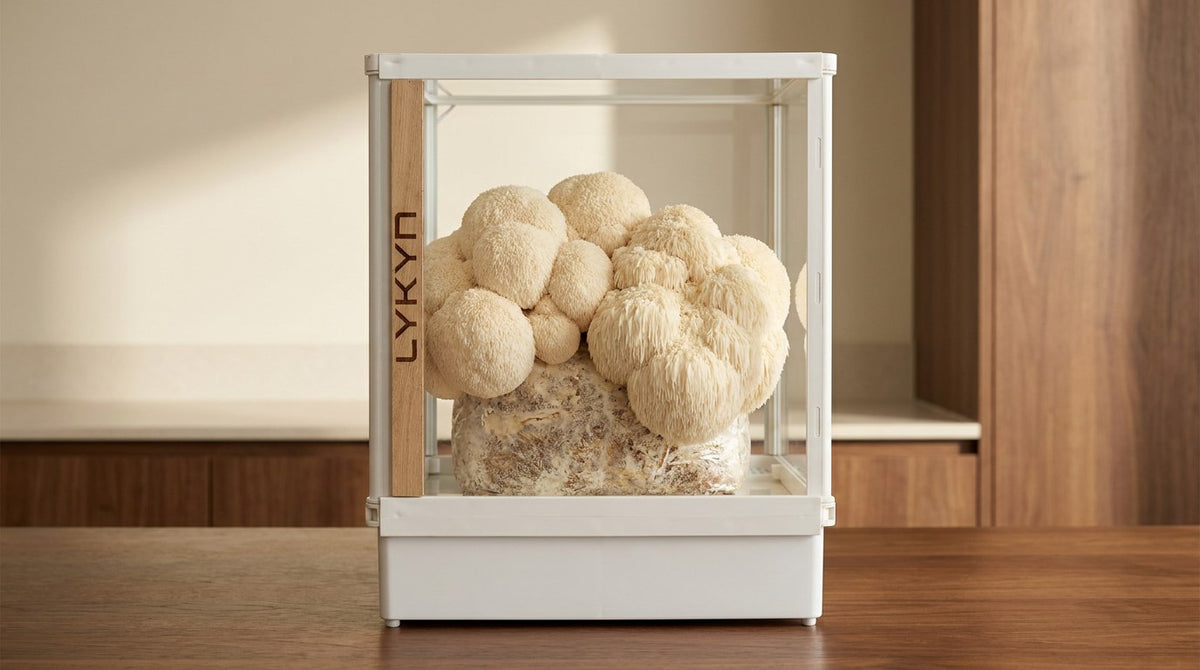
Add in specialty species like lion's mane, king oyster, and pioppino (which frequently retail at $18 to $28 per lb fresh, when you can find them at all), and the chamber math turns comfortable by month four.
Frequently asked questions
How long does a mushroom grow kit take to produce mushrooms?
Most beginner grow kits show pins within 7 to 14 days after you start them, and the first full harvest lands between day 14 and day 21. Automated chambers like the Lykyn Grow Box stay in that range consistently because they hold humidity and airflow steady around the clock. A passive kit sitting on a countertop varies more, sometimes taking 3 to 4 weeks if the room is dry or the temperature swings overnight.
How many harvests do you get from a mushroom grow kit?
A single-use bag kit typically gives you 2 flushes, with the first harvest being the largest and the second dropping to about half the yield. A chamber-based system with a fresh fruiting block gives you 3 to 4 usable flushes per block before yields fall below the effort. With the Lykyn Grow Box you swap in a new block in about 90 seconds, so continuous harvests are the normal operating rhythm rather than a one-time event.
What is the easiest mushroom to grow at home for a beginner?
Pink oyster is the most forgiving species for a first-time grower. It fruits fast (often within 10 days), tolerates a wide temperature range, and shows pinning behavior clearly enough that beginners can see progress every day. Blue oyster and yellow oyster are close seconds. Lion's mane and shiitake are worth trying once you have one successful oyster flush behind you, since both are less tolerant of humidity dips.
Share:
Lemon Tek Mushrooms: What the Technique Does and Why
How to Grow Pink Oyster Mushrooms at Home: Complete 2026 Guide