
Cooking oyster mushrooms is one of those skills that elevates a home cook overnight. Oysters are the most forgiving of the popular mushroom varieties: they cook fast, they crisp beautifully, and they take on flavors aggressively without losing their own character. The reason they don't get more attention in mainstream cookbooks is mostly history (button mushrooms had a decades-long head start) rather than performance.
Here's the practical guide to cooking oyster mushrooms: cleaning, prepping, the four core techniques, and the small details that separate sad gray clumps from genuinely impressive plates.
Pick the Right Oyster for the Job
Oyster mushroom is a category, not a single species. The four you'll see most often:
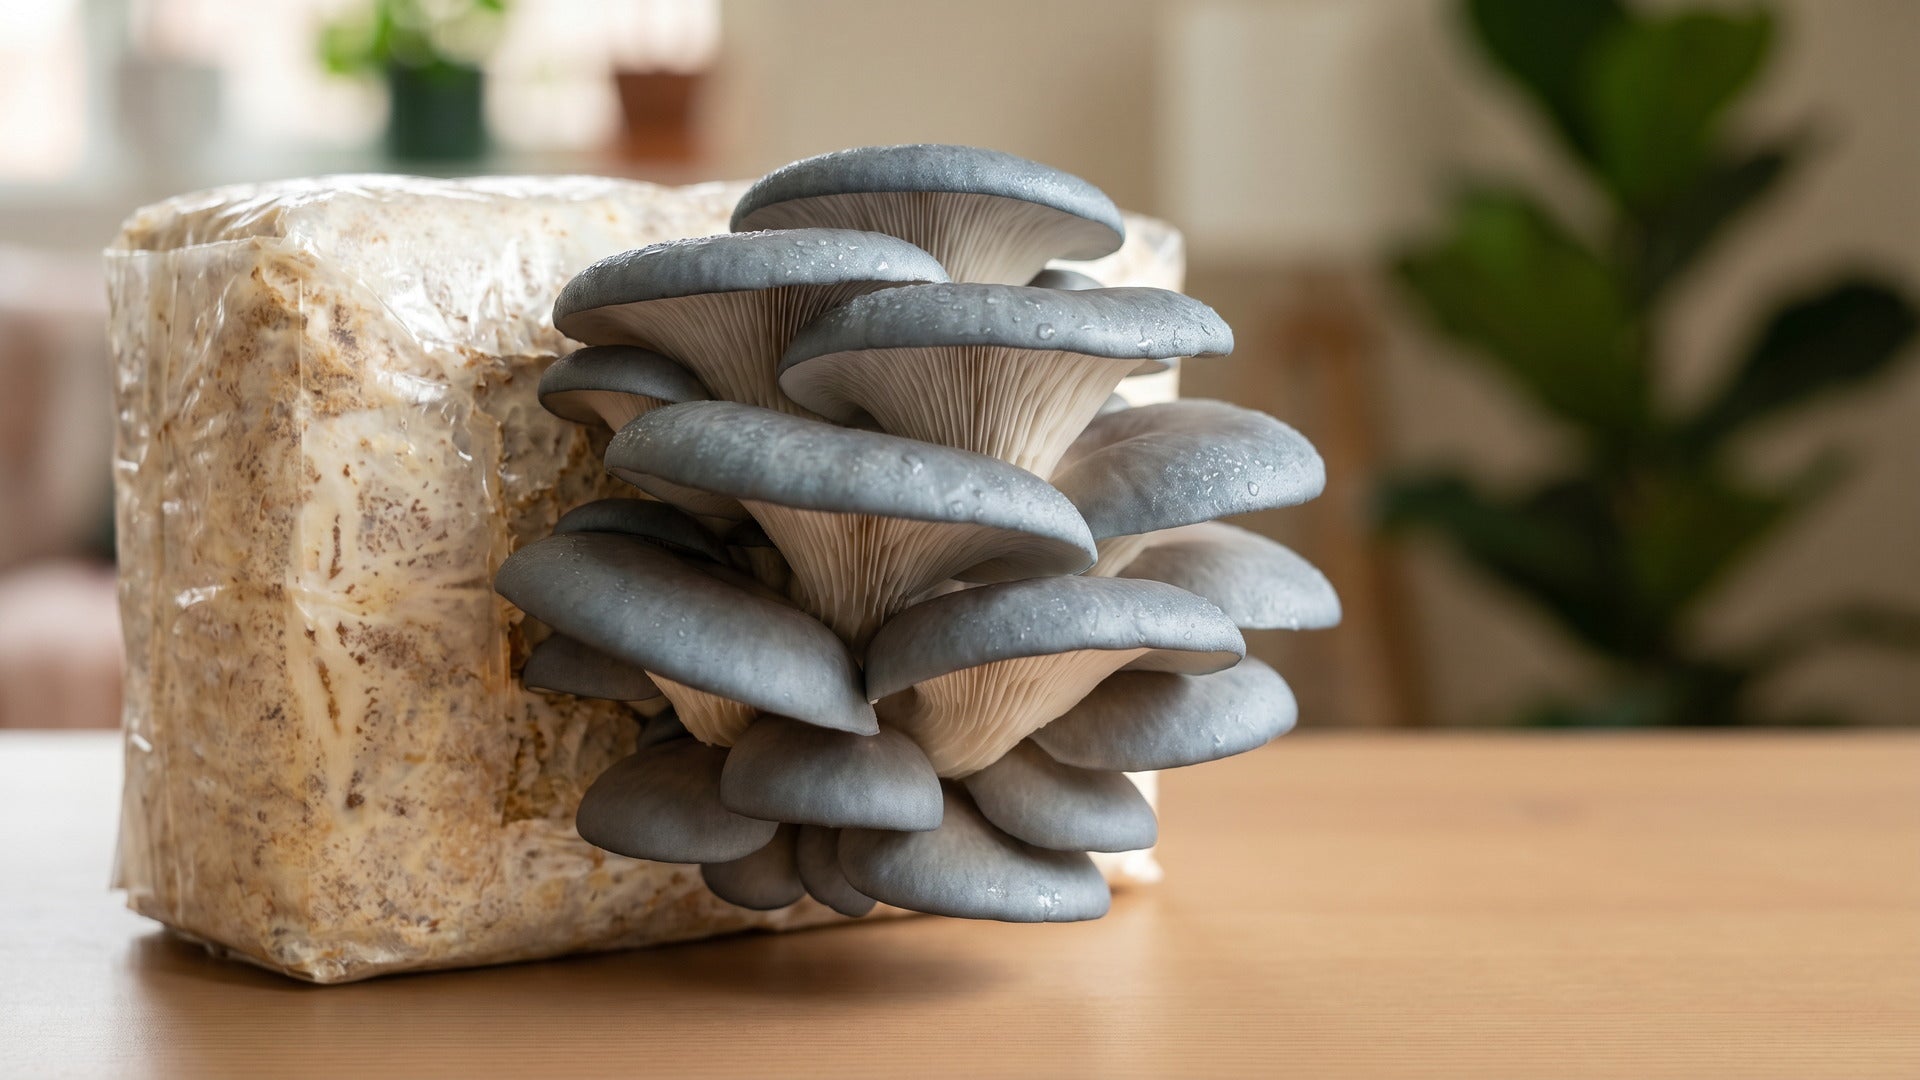
- Pearl oyster (Pleurotus ostreatus): the gray-brown classic, fan-shaped, delicate. Best for stir-fries, omelets, pasta, and quick saute.
- King trumpet / king oyster (Pleurotus eryngii): thick white stems with small caps. Dense, meaty texture. Excellent seared in thick rounds.
- Golden oyster (Pleurotus citrinopileatus): bright yellow clusters with a nutty, almost cashew-like flavor. Tender, cooks fast.
- Pink oyster (Pleurotus djamor): vivid pink caps that turn tan in cooking. Develops a smoky, bacon-like flavor when crisped.
For most cooking-oyster-mushrooms guidance, the pearl oyster is the reference variety. The techniques translate to the other types with small adjustments noted below.

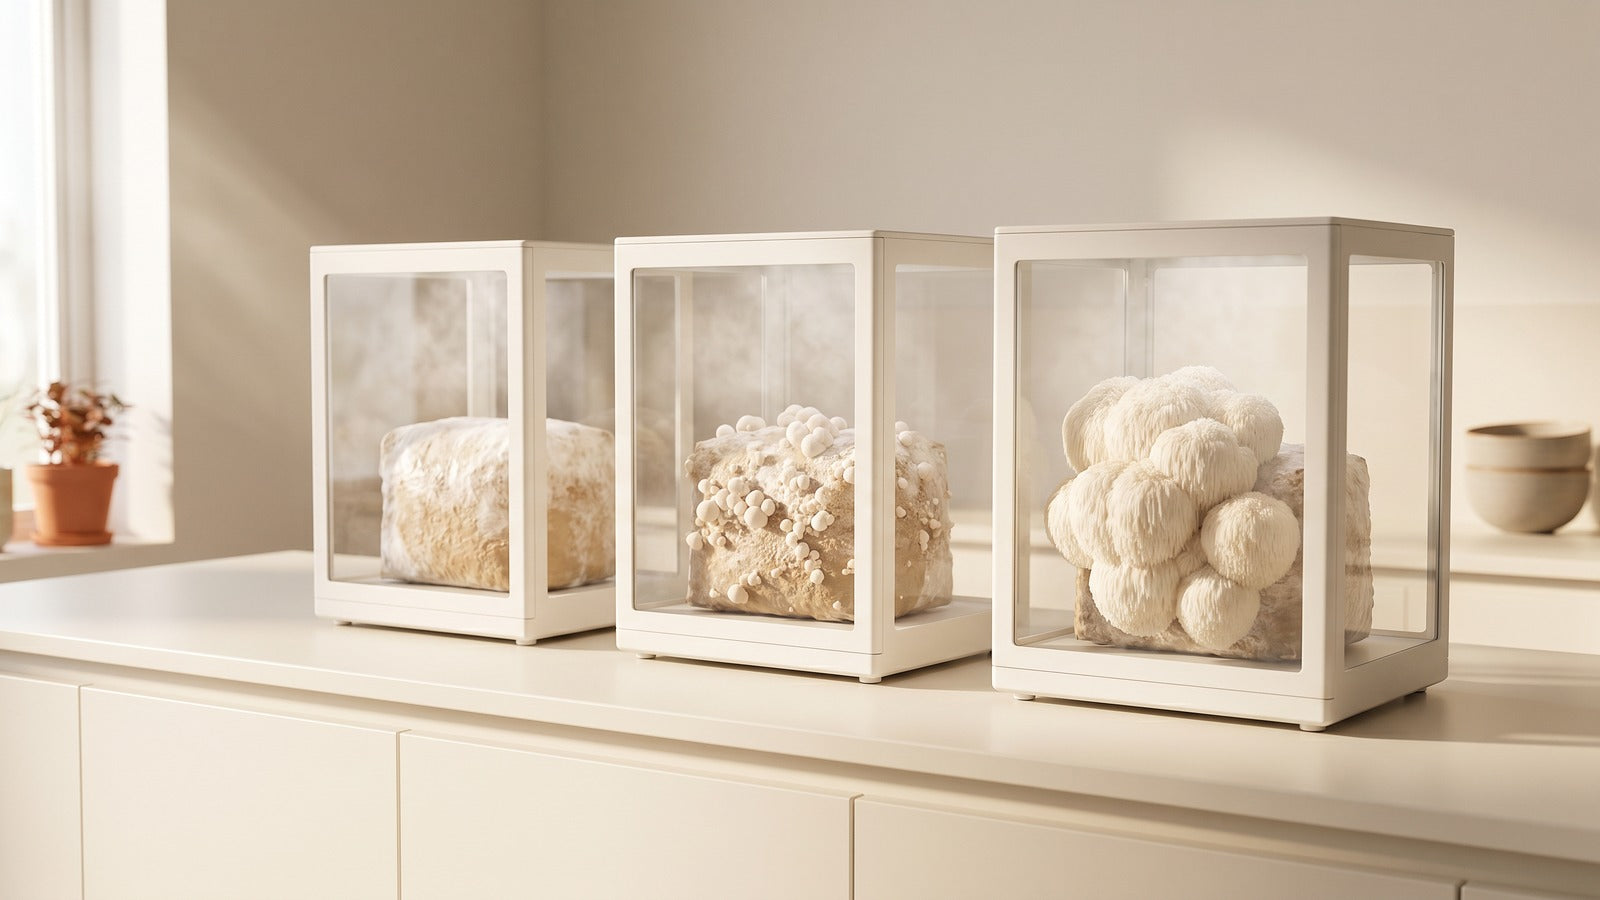
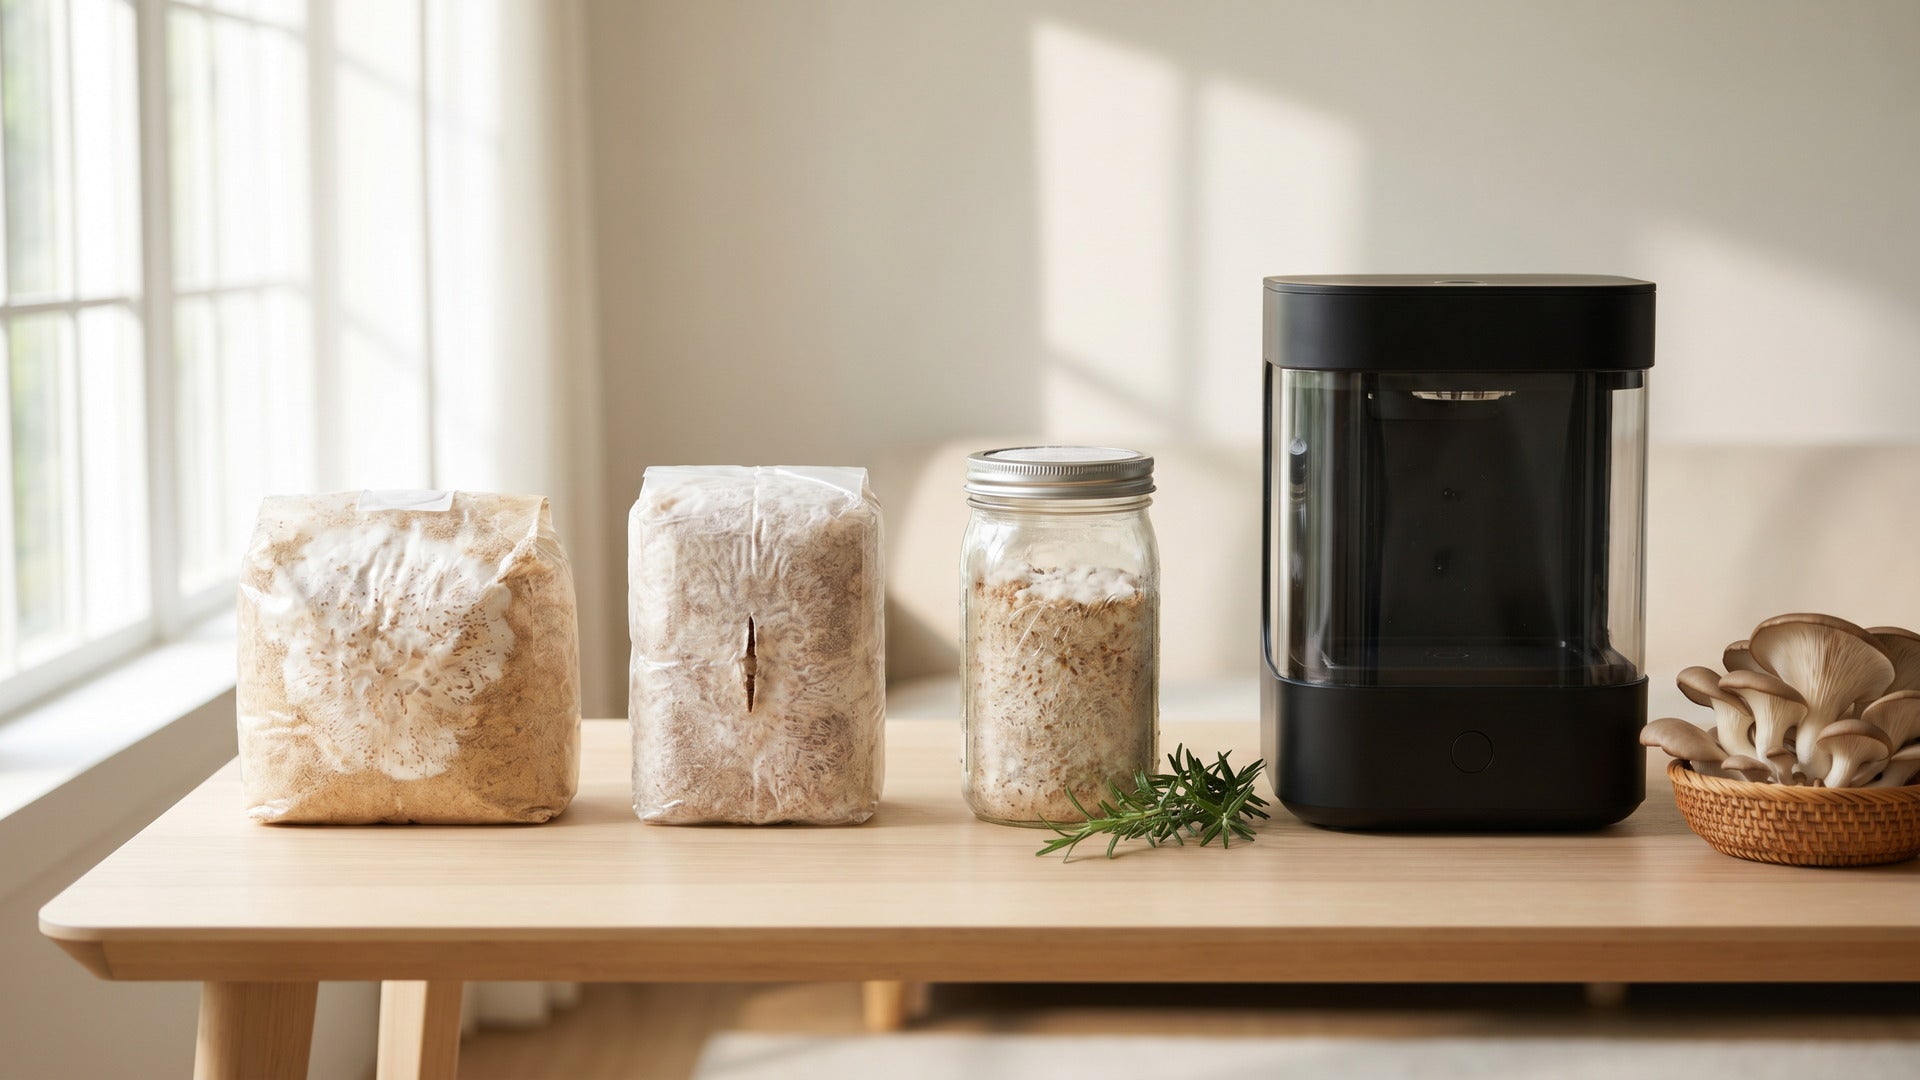
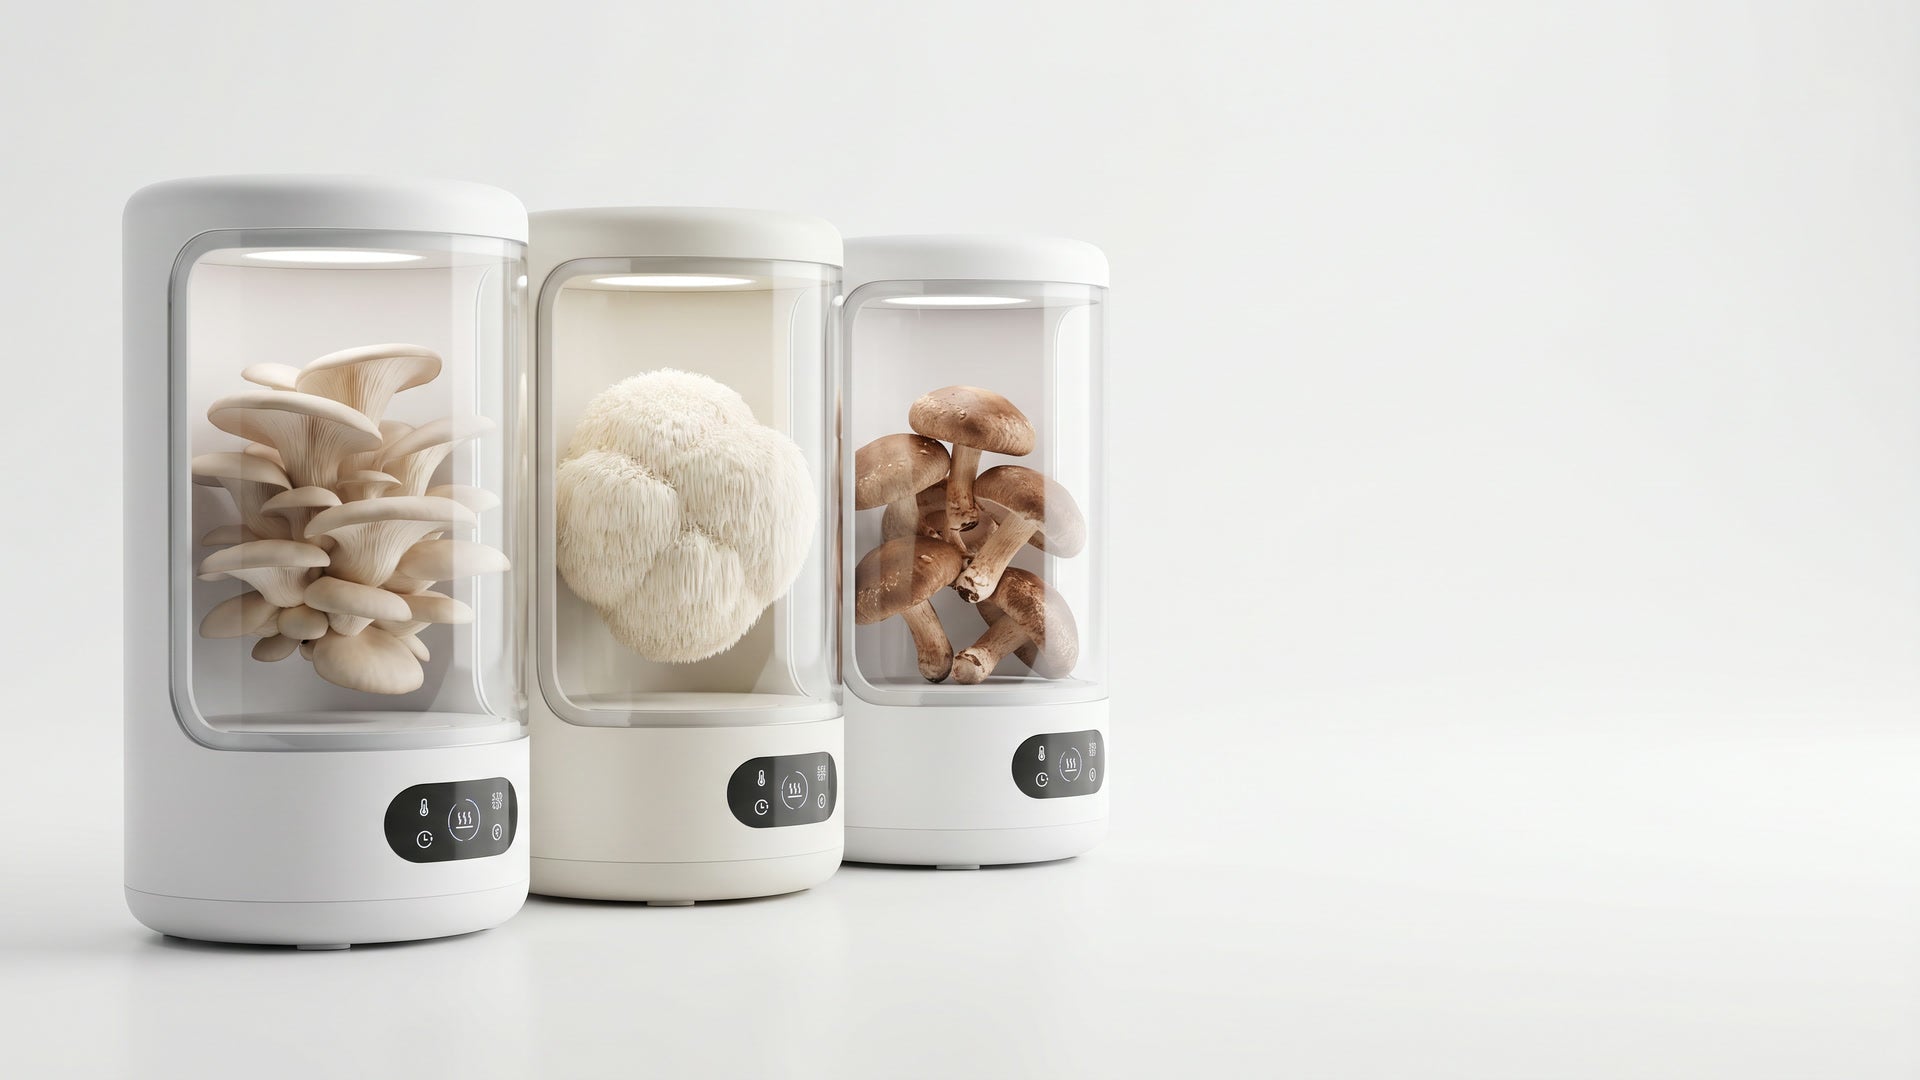
Smart Chamber. Bone White Single
- 2.8L tank, 90% humidity automatic
- App-controlled, plug-and-play
- 6 lb block ceiling, in stock

Smart Chamber. Obsidian Black Single
- 2.8L tank, 90% humidity automatic
- App-controlled, plug-and-play
- Matte obsidian finish, in stock

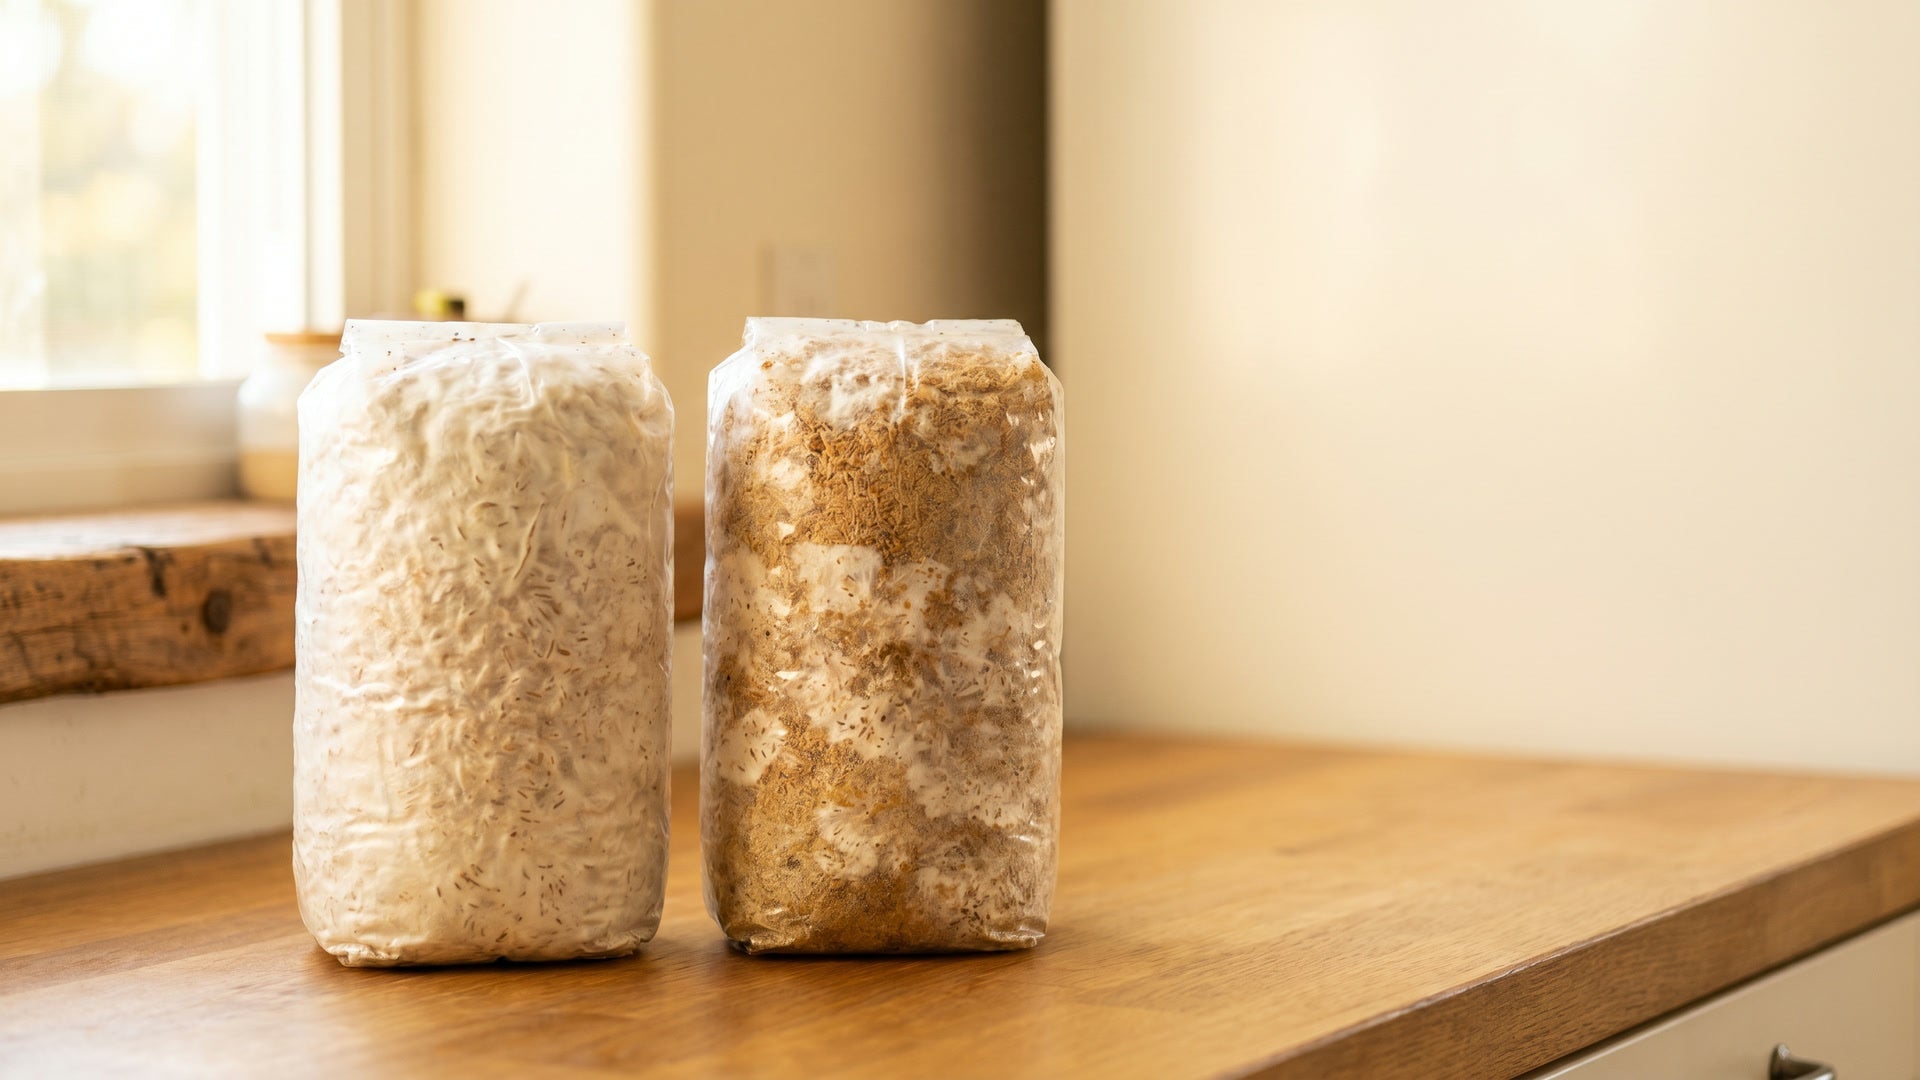
Black Oyster Fruiting Block
- 5 lb colonized hardwood block
- 1-3 day cycle, easy first flush
- Lab-tested strain, in stock
Cleaning Oyster Mushrooms
Oyster mushrooms grow on wood or wood-based substrate, which means they're usually clean to begin with. Avoid washing them under running water. The caps and gills are absorbent, and waterlogged oyster mushrooms steam in the pan instead of browning.
Best practice: brush off any visible debris with a clean dry cloth or a soft pastry brush. If a cluster is heavily soiled, give it a quick rinse in a colander, then immediately pat dry with a kitchen towel or paper towels. Spread on a sheet pan for 10 to 15 minutes to let surface moisture evaporate before cooking.
Cutting and Tearing
One of the joys of oyster mushrooms is that they tear cleanly along the gill lines. Separate the clusters at the base, then either leave them in long strips or pull them into bite-size pieces. Tearing produces more surface area for browning and a less uniform texture that feels more substantial in the mouth than knife-cut pieces.
The exception is king trumpet. Thick king trumpet stems should be sliced cleanly with a knife into 1/2 inch rounds or lengthwise planks. Score one side in a shallow crosshatch pattern to encourage browning.
Technique 1: Dry Pan Saute (The Foundation)
Almost every great oyster mushroom dish starts with this technique. It's the answer to why your previous mushroom attempts came out wet and gray instead of crisp and golden.
- Heat a heavy skillet over medium-high until very hot.
- Add the torn or sliced oyster mushrooms to the dry pan in a single layer. No oil, no butter, no salt.
- Let them sit untouched for 3 to 4 minutes. They'll release water and start to dry out.
- Toss or flip. Continue cooking another 2 to 3 minutes until the surface starts to brown.
- Add 1 to 2 tablespoons of butter or neutral oil, a chopped garlic clove, and a pinch of salt. Cook 60 seconds.
- Finish with cracked black pepper and a squeeze of lemon if desired.
The dry-first principle is the single most important thing about cooking oyster mushrooms. Oil added at the start traps moisture and prevents browning. Oil added at the end coats already-crisp mushrooms with flavor without rehydrating them.

Fuel Your Mushroom Journey
Smart Mushroom Grow Chamber
Plug-and-play smart chamber with humidity, light, and airflow dialed in for every species. Beginners harvest their first flush in days, not months.
Add to cart $299Technique 2: Pulled Oyster (Plant-Based Meat Substitute)
For sandwiches, tacos, and grain bowls, oyster mushrooms make a remarkably convincing pulled-meat texture.
- Tear oyster mushrooms into long thin strips along the gill direction.
- Toss with 2 tablespoons of oil, 1 tablespoon of soy sauce, 1 teaspoon of smoked paprika, 1/2 teaspoon of garlic powder, and a generous grind of black pepper.
- Spread on a sheet pan in a single layer.
- Roast at 400 degrees Fahrenheit for 25 to 30 minutes, stirring once, until edges are crisp and the strips have shrunken to about a third of their starting volume.
The result holds up in BBQ sauce, taco fillings, ramen toppings, and savory salads. Refrigerated, it keeps for 4 to 5 days.
Technique 3: Seared King Trumpet "Scallops"
This dish has become a staple in plant-forward kitchens because the texture is genuinely scallop-like.
- Slice king trumpet stems crosswise into 3/4 inch rounds. Score one side lightly in a crosshatch.
- Heat a heavy skillet over medium-high. Add 1 tablespoon of oil.
- Lay rounds scored-side down. Press gently with a spatula. Cook 3 to 4 minutes without moving.
- Flip. Cook another 2 to 3 minutes.
- Add 1 tablespoon butter, 1 clove crushed garlic, a few thyme sprigs. Baste the rounds with the foaming butter for 60 seconds.
- Finish with flaky salt, fresh lemon, and chopped parsley.
Serve over cauliflower puree, risotto, or alongside a simple salad.
Technique 4: Crispy Battered Oyster
For game-day cooking or anyone craving fried-food texture without the meat, battered oyster mushrooms are a revelation.
- Whisk together 1 cup all-purpose flour, 1 cup cold sparkling water, 1 teaspoon salt, and 1/2 teaspoon baking powder.
- Heat 2 inches of neutral oil to 360 degrees Fahrenheit in a heavy pot.
- Dip oyster clusters in the batter, letting excess drip off.
- Fry for 3 to 4 minutes until deeply golden, flipping once if needed.
- Drain on a rack. Sprinkle with salt while hot.
Serve with sriracha mayo, hot honey, or a tangy slaw on soft buns. Pink oyster is particularly good for this preparation because of the bacon-like flavor it develops.
Flavor Pairings That Work
Oyster mushrooms have a versatile flavor profile that takes well to a wide range of cuisines.
- Asian: soy sauce, sesame oil, garlic, ginger, scallion, rice vinegar, white pepper
- Italian: olive oil, garlic, parsley, thyme, Parmesan, lemon, balsamic
- French: butter, shallot, white wine, tarragon, cream
- American: smoked paprika, brown butter, miso butter, Worcestershire
- Mexican: lime, chipotle, cilantro, queso fresco, cumin
The umami density of oyster mushrooms makes them especially good with acid (lemon, vinegar, wine) and with fat (butter, olive oil, cream). Always add an acid component at the end. It cuts the richness and brightens the flavor.
Storage and Leftover Strategy
Cooked oyster mushrooms keep in the refrigerator for 3 to 4 days in a sealed container. They reheat best in a hot dry pan for 60 to 90 seconds, which re-crisps the edges. Microwaving is fine if speed matters but produces softer leftovers.
Raw oyster mushrooms are more perishable than buttons. Plan to use them within 5 to 7 days of purchase. Store in a paper bag or loosely covered container, never sealed plastic. Sealed plastic traps moisture and accelerates decay.
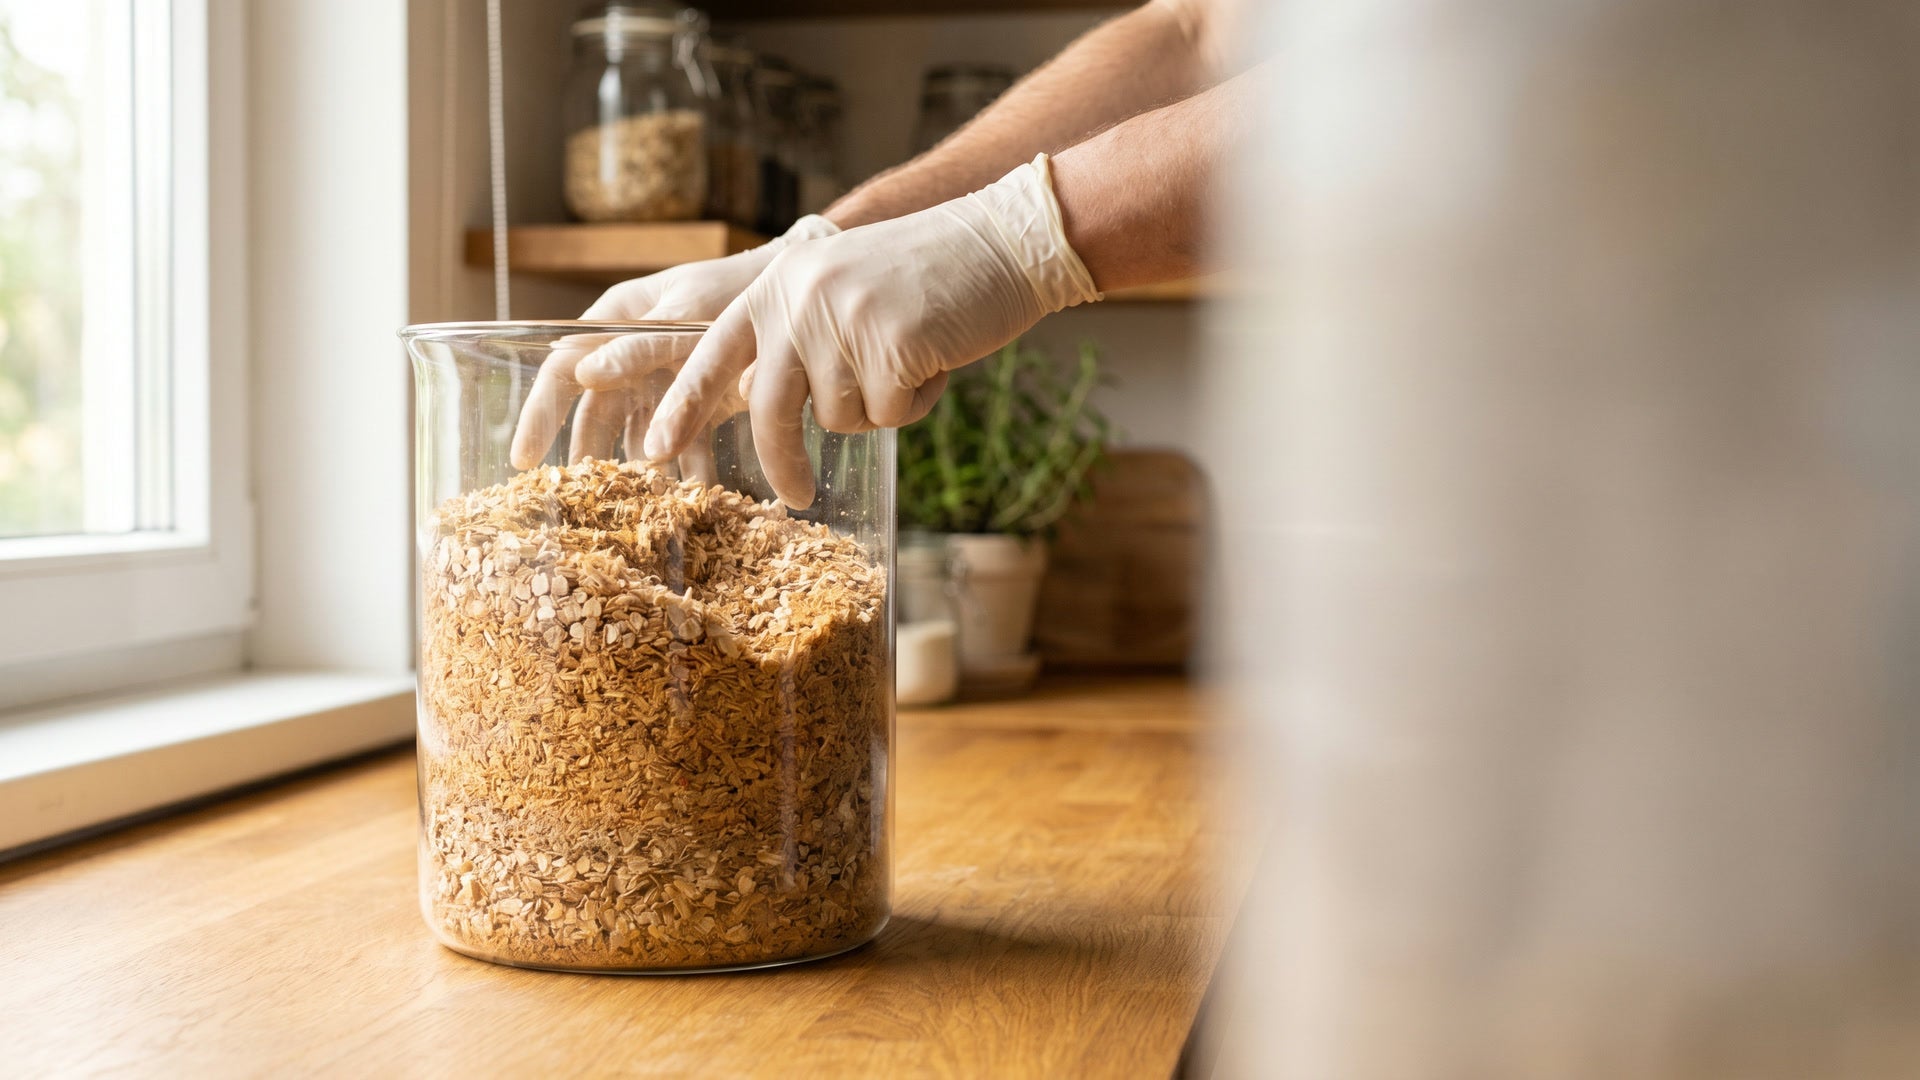
Why Growing Your Own Makes Sense
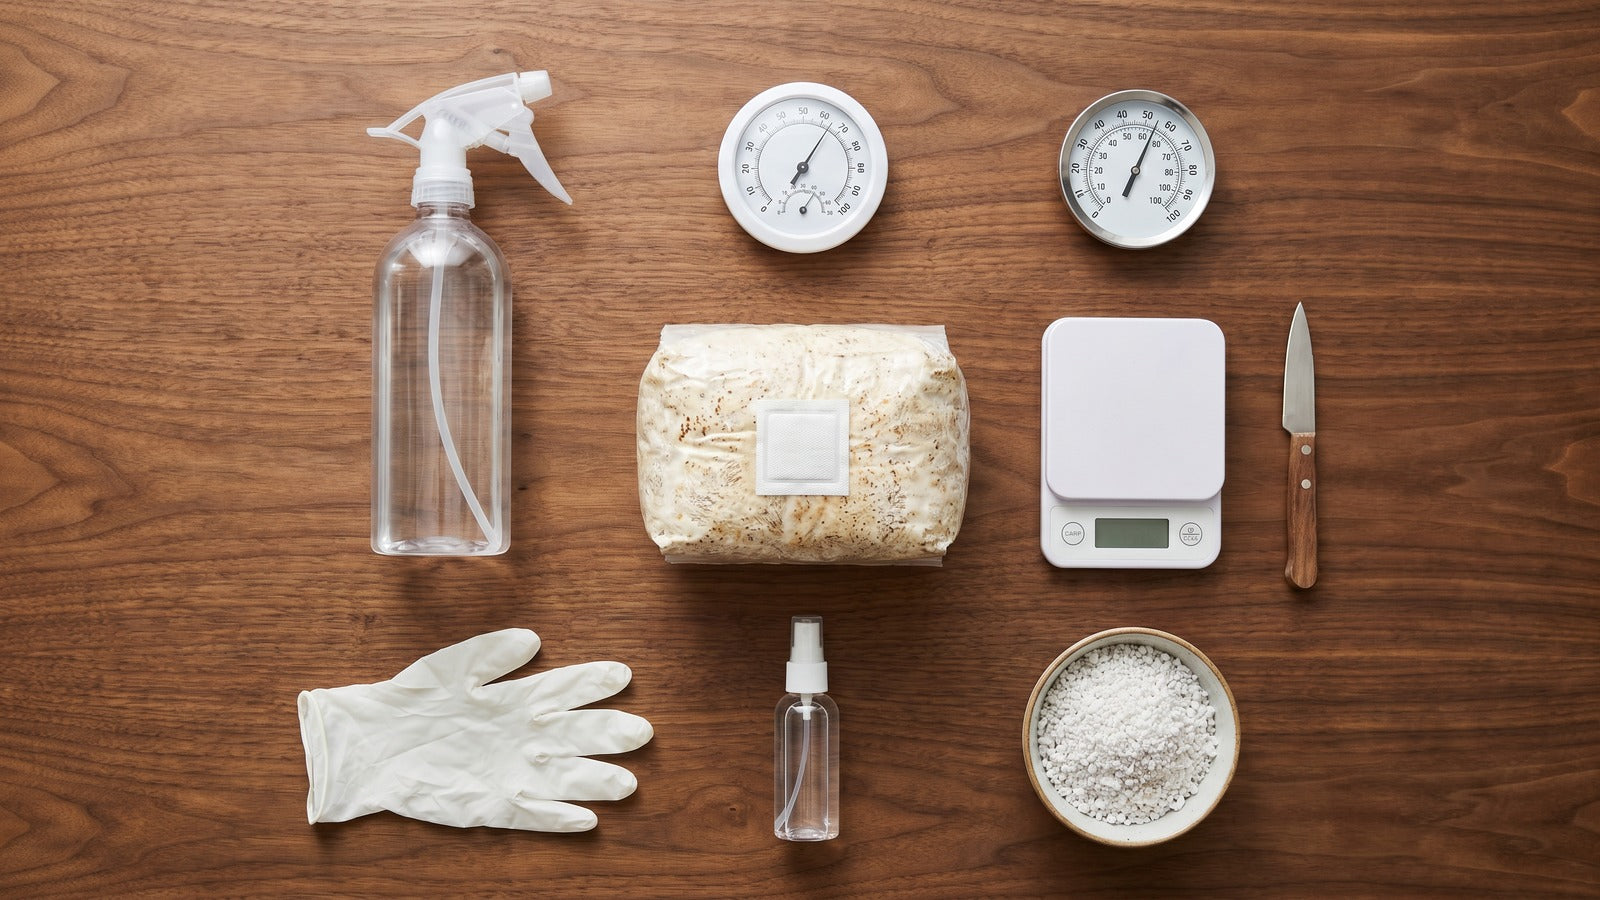
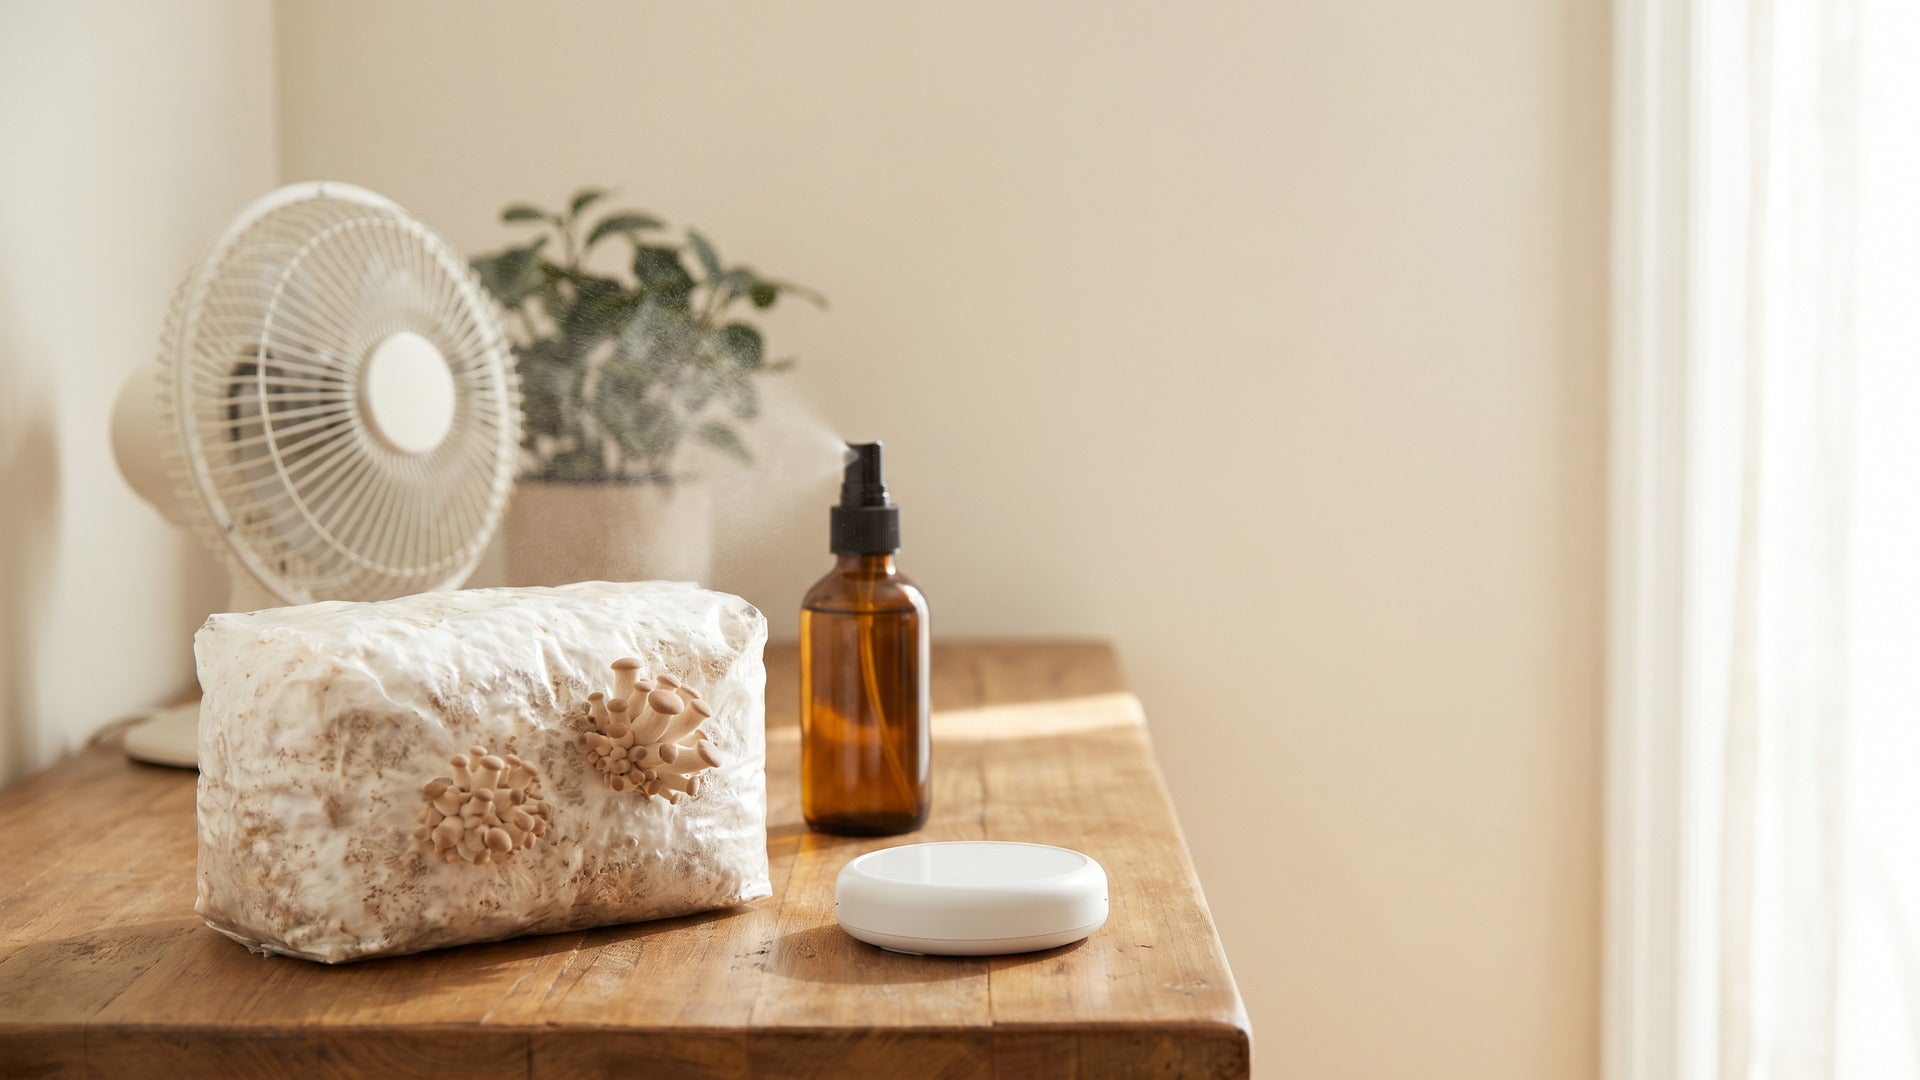
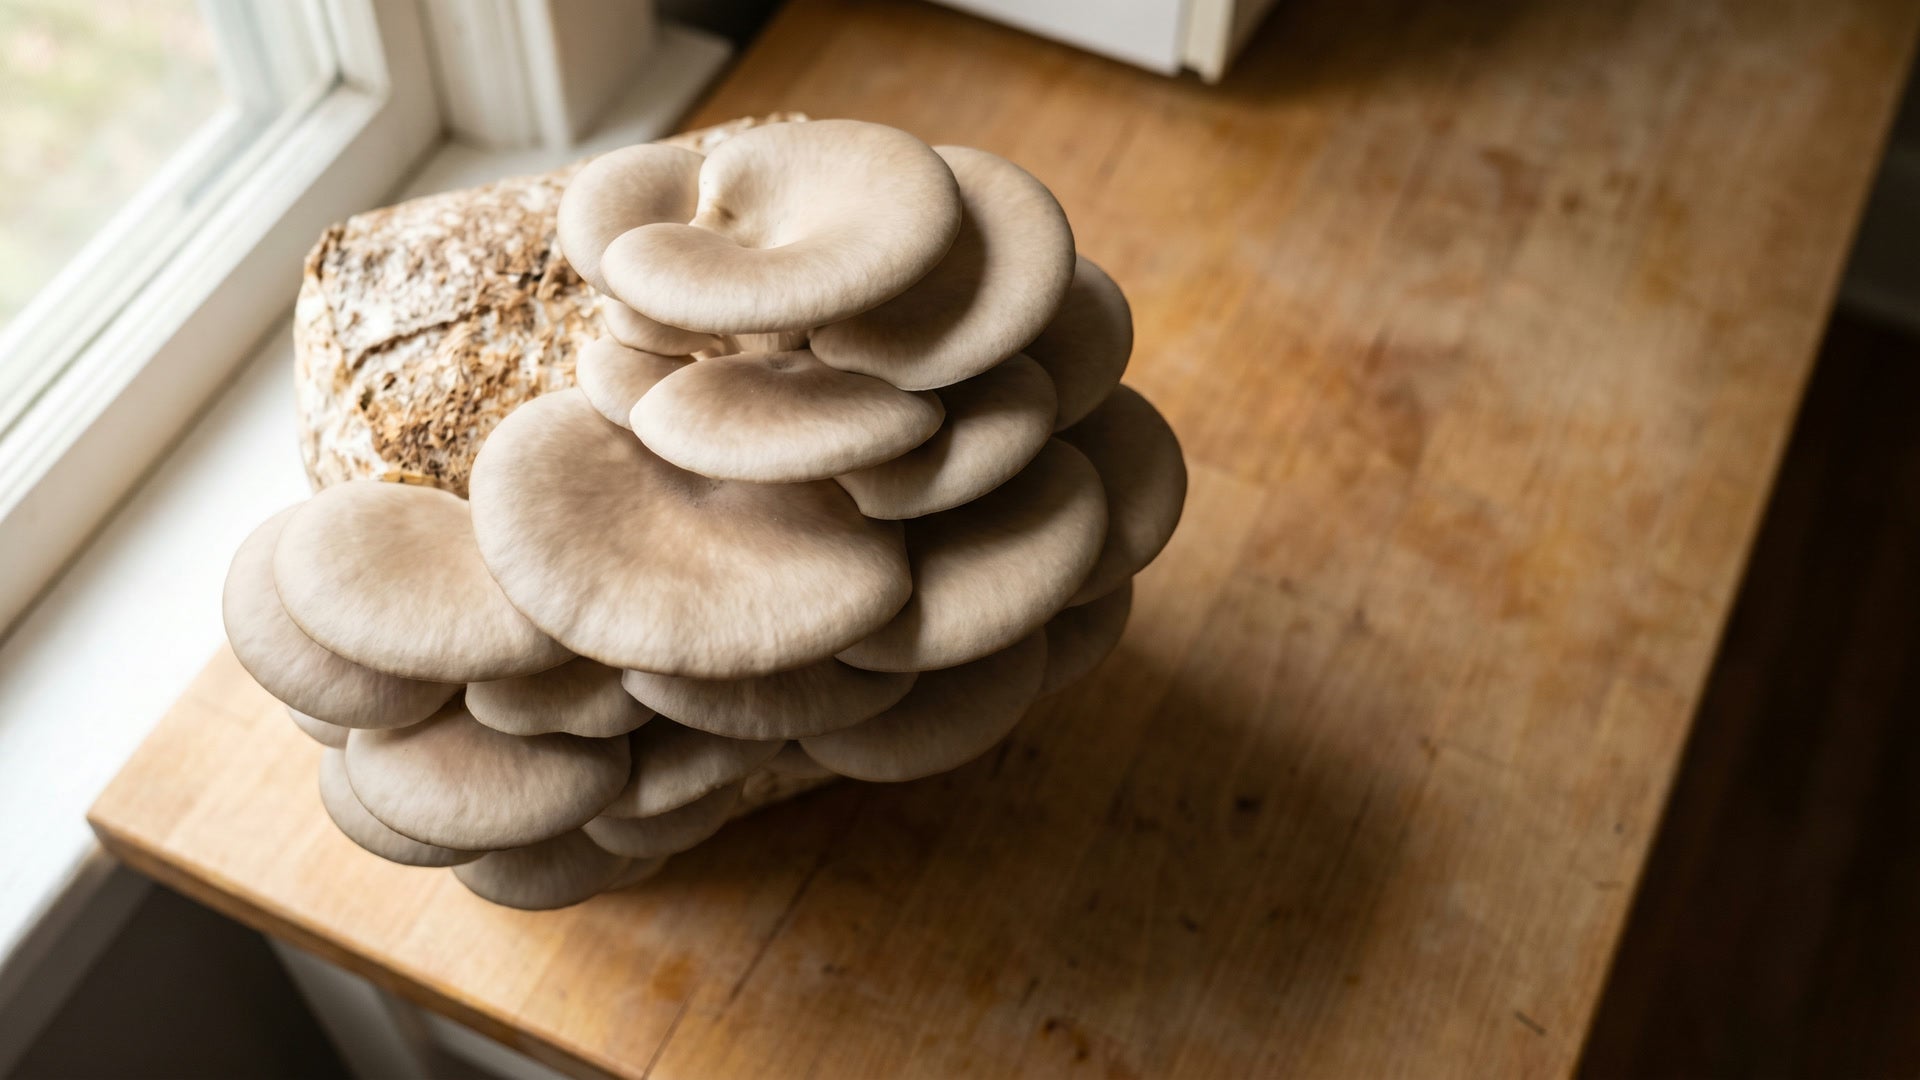
If you cook oyster mushrooms more than twice a month, growing your own becomes weirdly economical and produces visibly fresher results. Oyster mushrooms are the easiest of the cultivable species, with consistent harvests in 5 to 7 days from a colonized block. A countertop kit from Lykyn's mushroom grow kits yields more than a pound of fresh oysters with zero cultivation experience required, and the texture of just-harvested mushrooms is noticeably better than week-old grocery store stock.
The most visually striking option is the pink variety, and a gourmet pink oyster mushroom kit turns your counter into a steady source of those coral-pink clusters at peak freshness.
Cooking oyster mushrooms well isn't about secret techniques. It's about respecting the moisture rule: dry pan first, then add fat, then add seasoning. Get that sequence right and the rest of the recipe practically writes itself.

Share:
Colorful Mushrooms: A Visual Guide to Edible Varieties
Colorful Mushrooms: A Visual Guide to Edible Varieties