

Every successful mushroom grow, from a $14 cardboard kit on a kitchen counter to a 10,000-square-foot commercial farm, runs on the same four environmental principles: humidity, fresh air exchange, light, and temperature. Add a clean substrate and a colonized mycelium, and you have everything a fruiting body needs to form. Miss any one of those, and the mushrooms either never pin or pin and shrivel before harvest.
This guide covers mushroom cultivation basics from the ground up: the four universal growing principles, substrate fundamentals, the difference between sterilization and pasteurization, contamination prevention, and how to read harvest timing. It is species-agnostic by design. Once you understand the principles, you can apply them to lion's mane, oyster, shiitake, reishi, or any of the 38 plus species commercially cultivated in 2026.
The Four Universal Growing Principles

Mushrooms are not plants. They do not photosynthesize, they cannot store water, and they evolved to fruit during a narrow window when humidity spikes after rain in a shaded forest. Every cultivation system, indoor or outdoor, recreates that fleeting condition. Four variables control it.
1. Humidity (the most important variable)
Mushroom fruiting bodies are 85 to 95% water. They form by pulling moisture from the substrate and from the air around them. Below 70% relative humidity, pins desiccate before they reach harvestable size. Above 95%, surface water lingers on caps and invites bacterial blotch (Pseudomonas tolaasii).
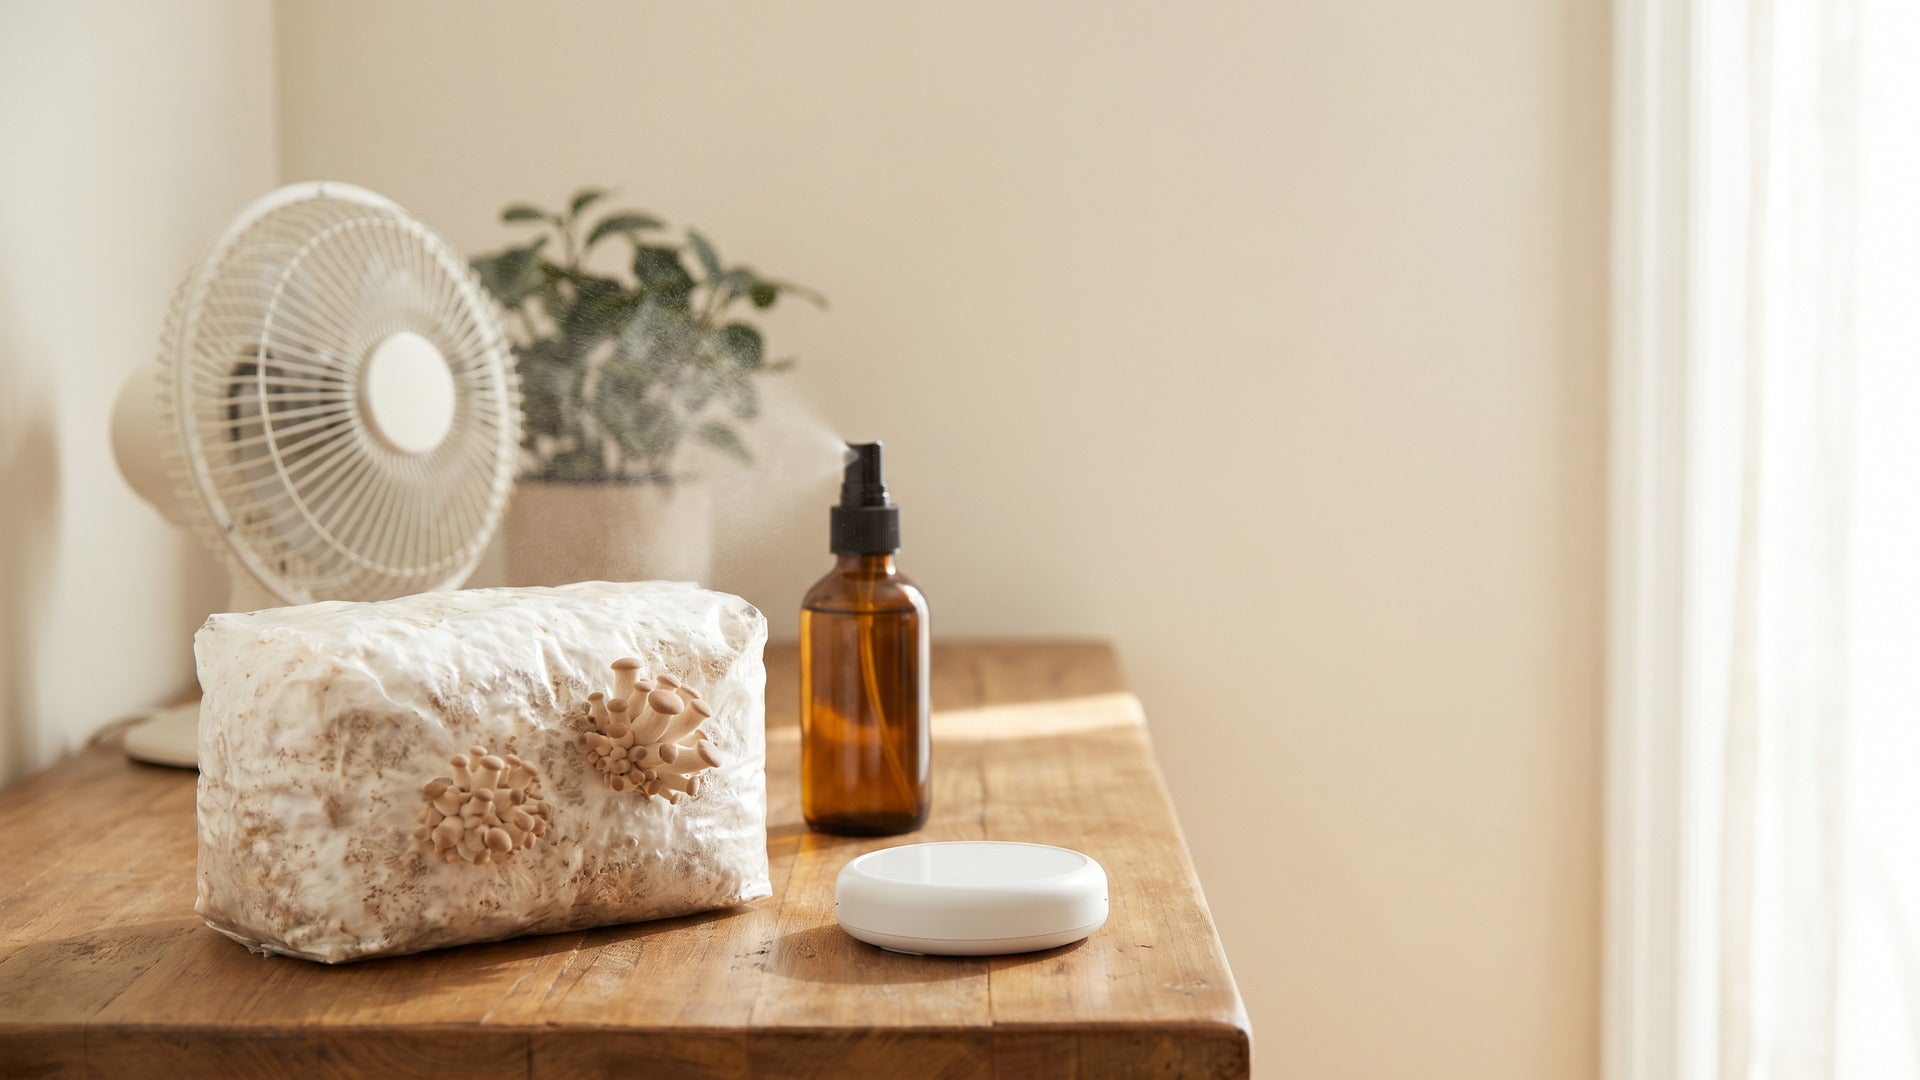
The working range for gourmet species is 85 to 92% RH. Hold it steady. A swing from 90% down to 65% for even 4 hours can stall an entire flush. In a humidity tent, mist twice a day on the walls (never the mushrooms themselves). In an automated chamber, an ultrasonic humidifier holds the band within 3% tolerance.
2. Fresh Air Exchange (FAE)
Mushrooms are aerobic. They consume oxygen and exhale carbon dioxide. In a sealed bag or closed room, CO2 builds up fast and the fruiting body responds by stretching its stem to reach better air. Long thin stems with tiny caps are not a strain problem. They are a CO2 problem.
Target ambient CO2 is under 1,000 ppm during fruiting. Most rooms sit at 400 to 800 ppm naturally. A sealed bag climbs past 5,000 ppm within hours. Solutions: open the bag, ventilate the room, or run a chamber fan on a 15 to 30 minute cycle. Each FAE refreshes the air and resets CO2 back to ambient.
3. Light
Mushrooms do not photosynthesize but pin formation is light-triggered. Many species (oyster, shiitake, lion's mane) need 12 hours of indirect light daily during the fruiting phase. The light tells the mycelium where the surface is so caps can form facing it.
Intensity matters less than people assume. A 100-lux indirect daylight is enough (a north-facing window or a basic LED on a timer). Direct sunlight overheats the substrate and dries the surface, so position the kit out of beam paths. A few species (button mushroom, Agaricus bisporus) fruit fully in the dark and are the exception, not the rule.
4. Temperature
Every species has a fruiting range. Cross outside the range and you stall the flush, even with perfect humidity and FAE. Common gourmet species ranges:
- Lion's mane: 60 to 70°F
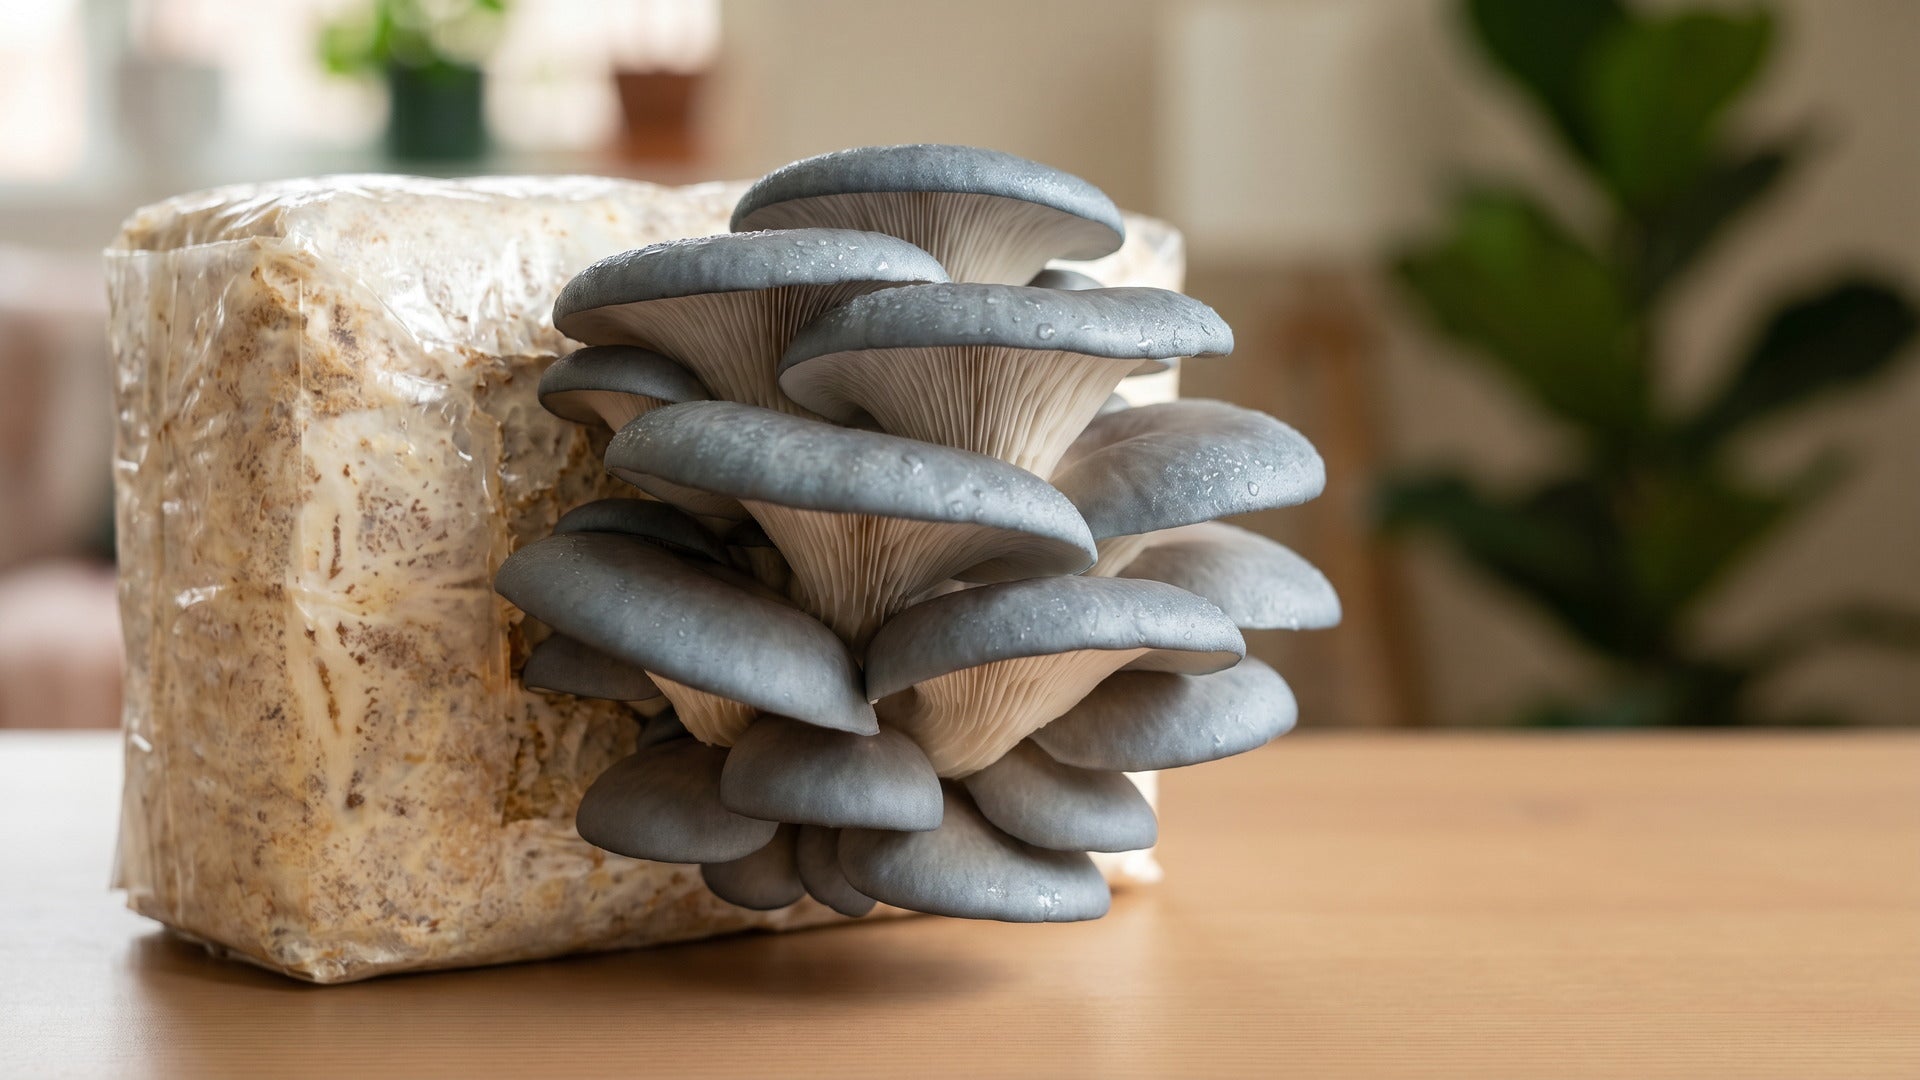
- Blue oyster: 50 to 65°F
- Pink oyster: 70 to 85°F (the warm-loving outlier)
- Shiitake: 55 to 75°F
- Chestnut: 55 to 75°F
- Reishi: 70 to 80°F
Temperature also shapes morphology. Cool fruiting (under 60°F) produces darker, denser caps. Warm fruiting (above 70°F) produces lighter, faster-expanding caps. Same strain, different presentation. For the deep version of how temperature drives color, the blue oyster growing guide covers cold-induced pigmentation in detail.
Substrate Basics: What Mushrooms Actually Eat

Mycelium is a primary or secondary decomposer depending on species. Primary decomposers (oyster, lion's mane, shiitake) eat fresh wood and plant material. Secondary decomposers (button, portobello, wine cap) eat already-broken-down compost. Match your substrate to the species and the colonization speed climbs 30 to 50%.
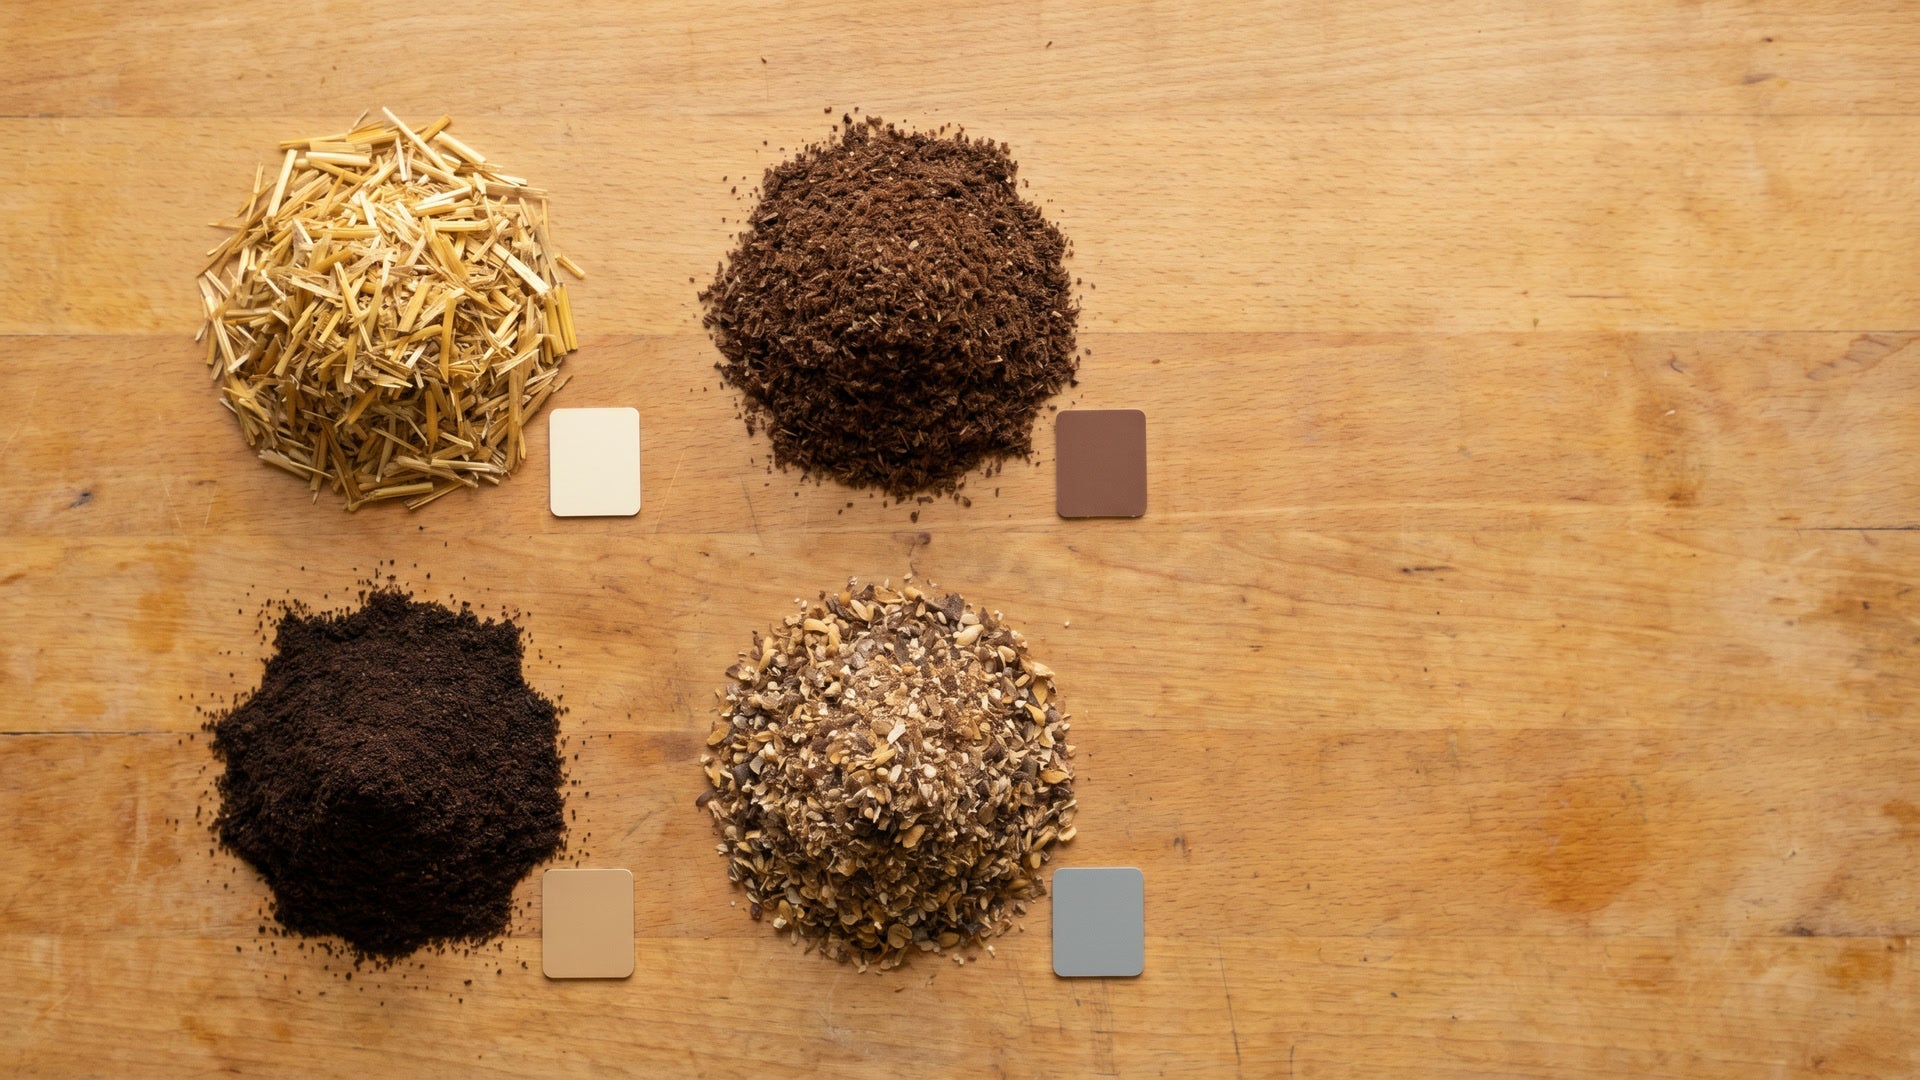
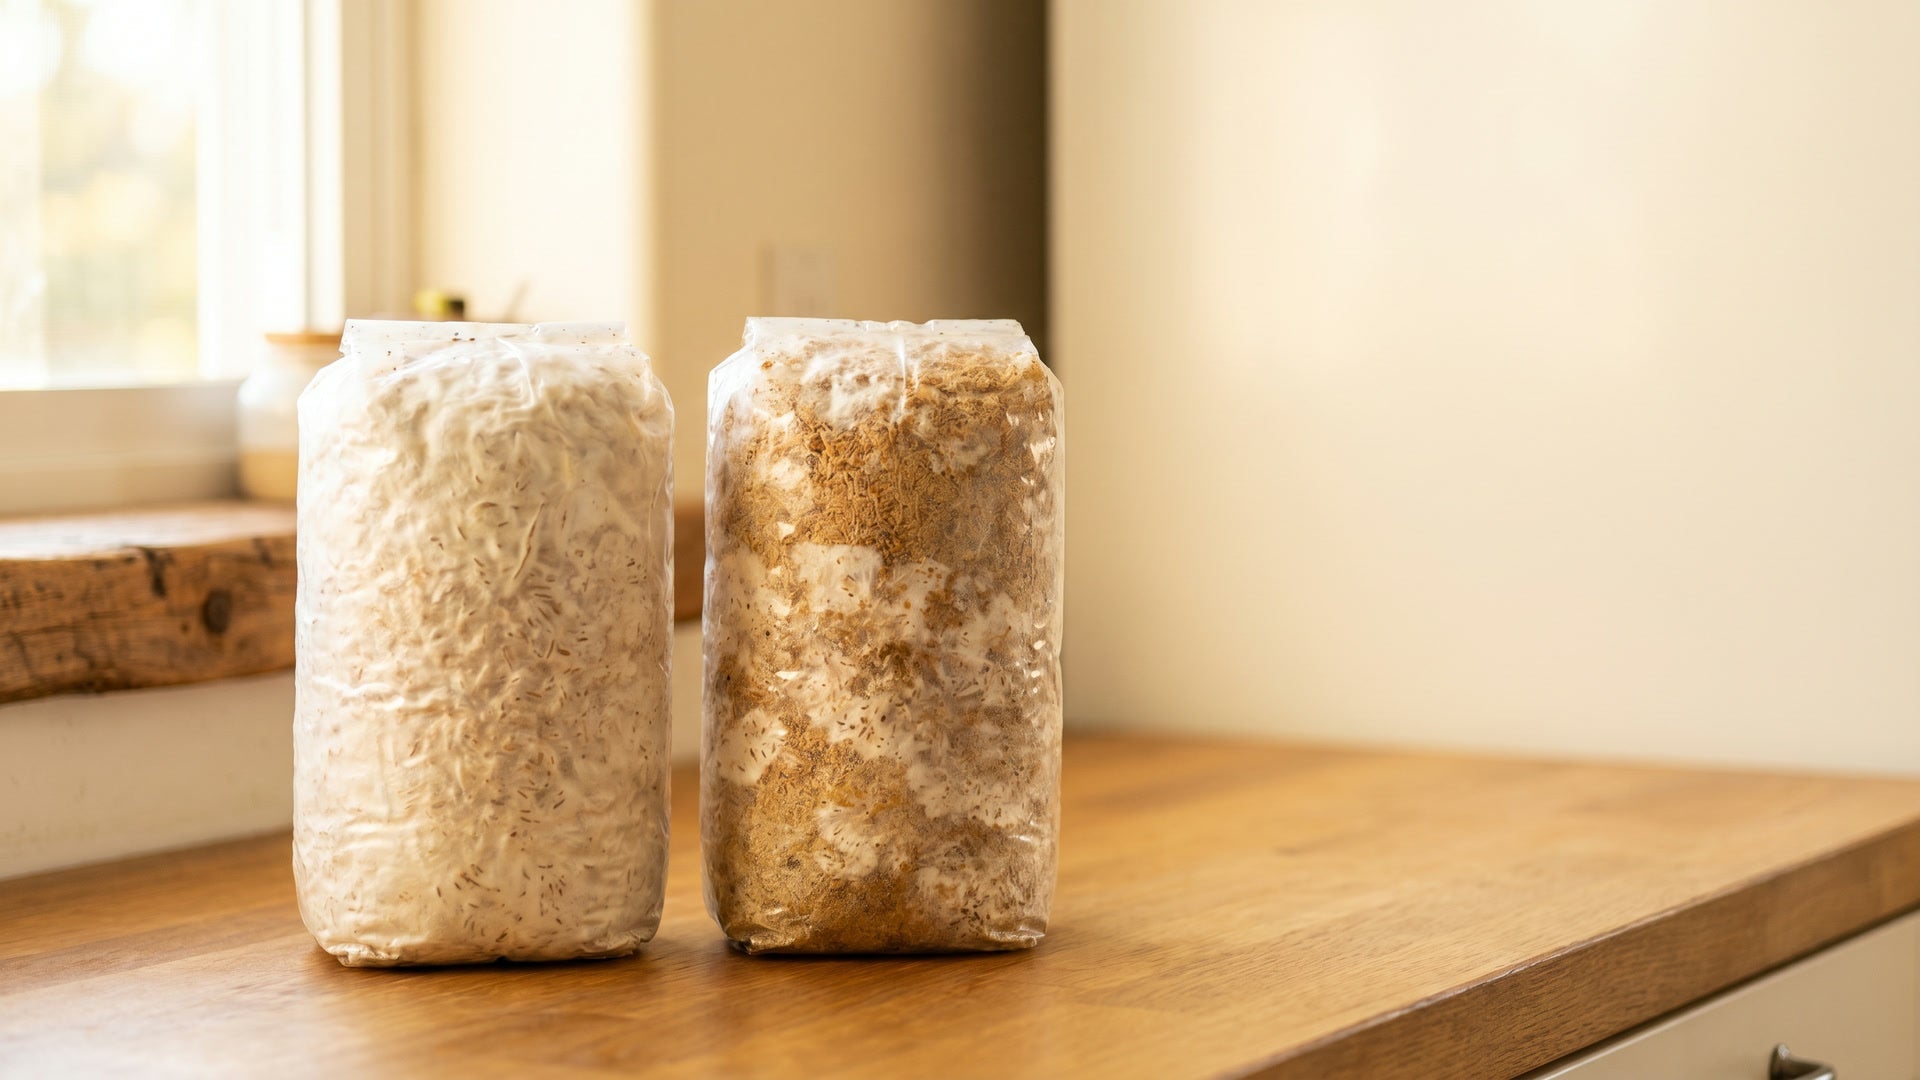
The most common home substrate is Master's Mix: 50% hardwood fuel pellets and 50% soy hulls by dry weight, hydrated to 60 to 65% moisture. This ratio supplies the lignin (for cell wall building) and nitrogen (for protein synthesis) that gourmet species need.
For oyster and similar low-demand species, pasteurized wheat straw alone produces flushes at 70 to 80% the yield of Master's Mix. For lion's mane and shiitake, supplemented hardwood sawdust outperforms straw by a wide margin.
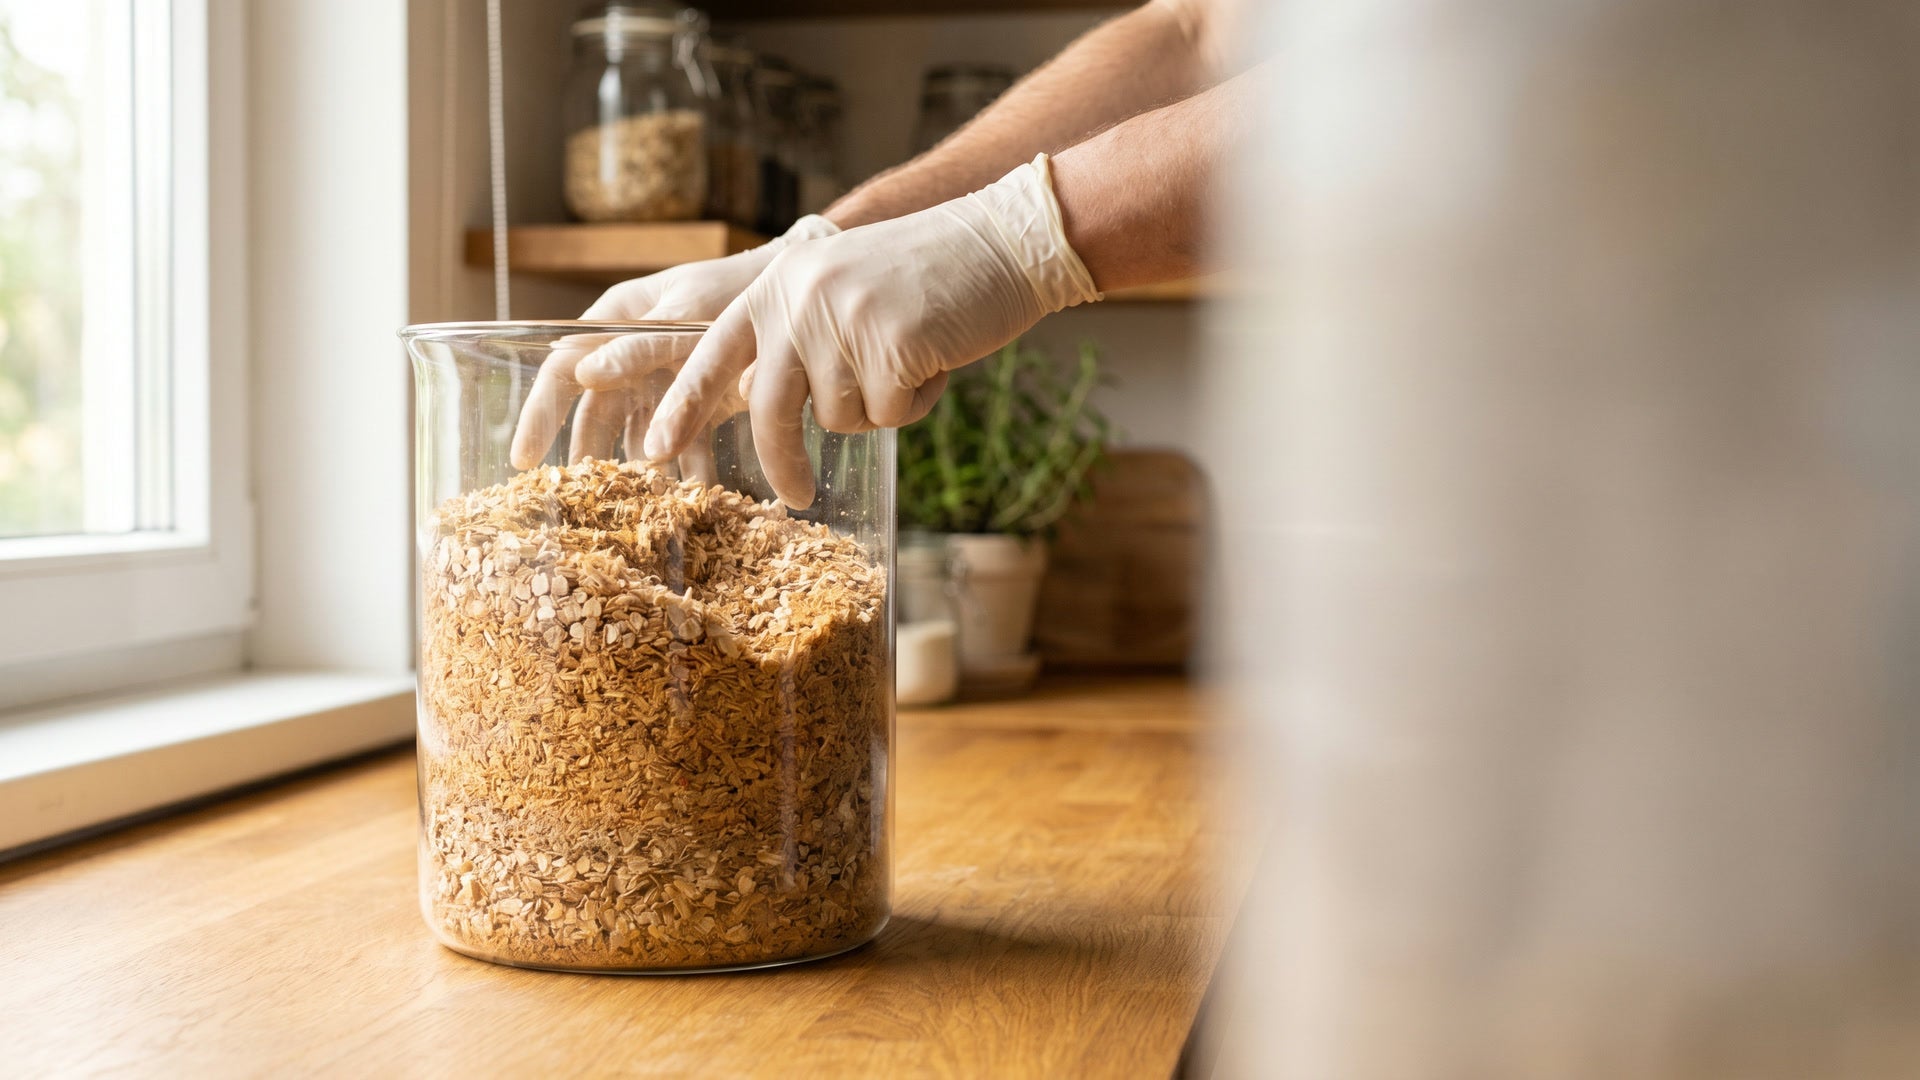
The squeeze test confirms moisture: grab a handful of mixed substrate and squeeze hard. A few drops should release. If water streams out, the substrate is over-hydrated and will not breathe. If nothing comes out, hydrate further. Get this right and contamination drops noticeably.
Sterilization vs Pasteurization: When to Use Which

The single most confused topic in home cultivation. They are not interchangeable.
Sterilization kills everything (bacteria, mold spores, competitors) by heating to 250°F under 15 PSI for 90 to 120 minutes in a pressure cooker or autoclave. Use sterilization for any nitrogen-rich substrate (grain spawn, Master's Mix, supplemented sawdust) where competitors thrive. Without sterilization, contamination rates run above 80% on grain.
Pasteurization reduces (does not eliminate) competing organisms by heating to 160 to 175°F for 60 to 90 minutes. Use pasteurization for low-nitrogen substrates (straw, plain hardwood pellets) where the slow-eating mycelium can outcompete leftover survivors. Pasteurization is faster, uses less energy, and does not require a pressure cooker.
Rule of thumb: nitrogen-rich substrate needs sterilization. Low-nitrogen substrate tolerates pasteurization. If you cannot tell which category a substrate belongs to, sterilize. The downside is energy and time, not failure.
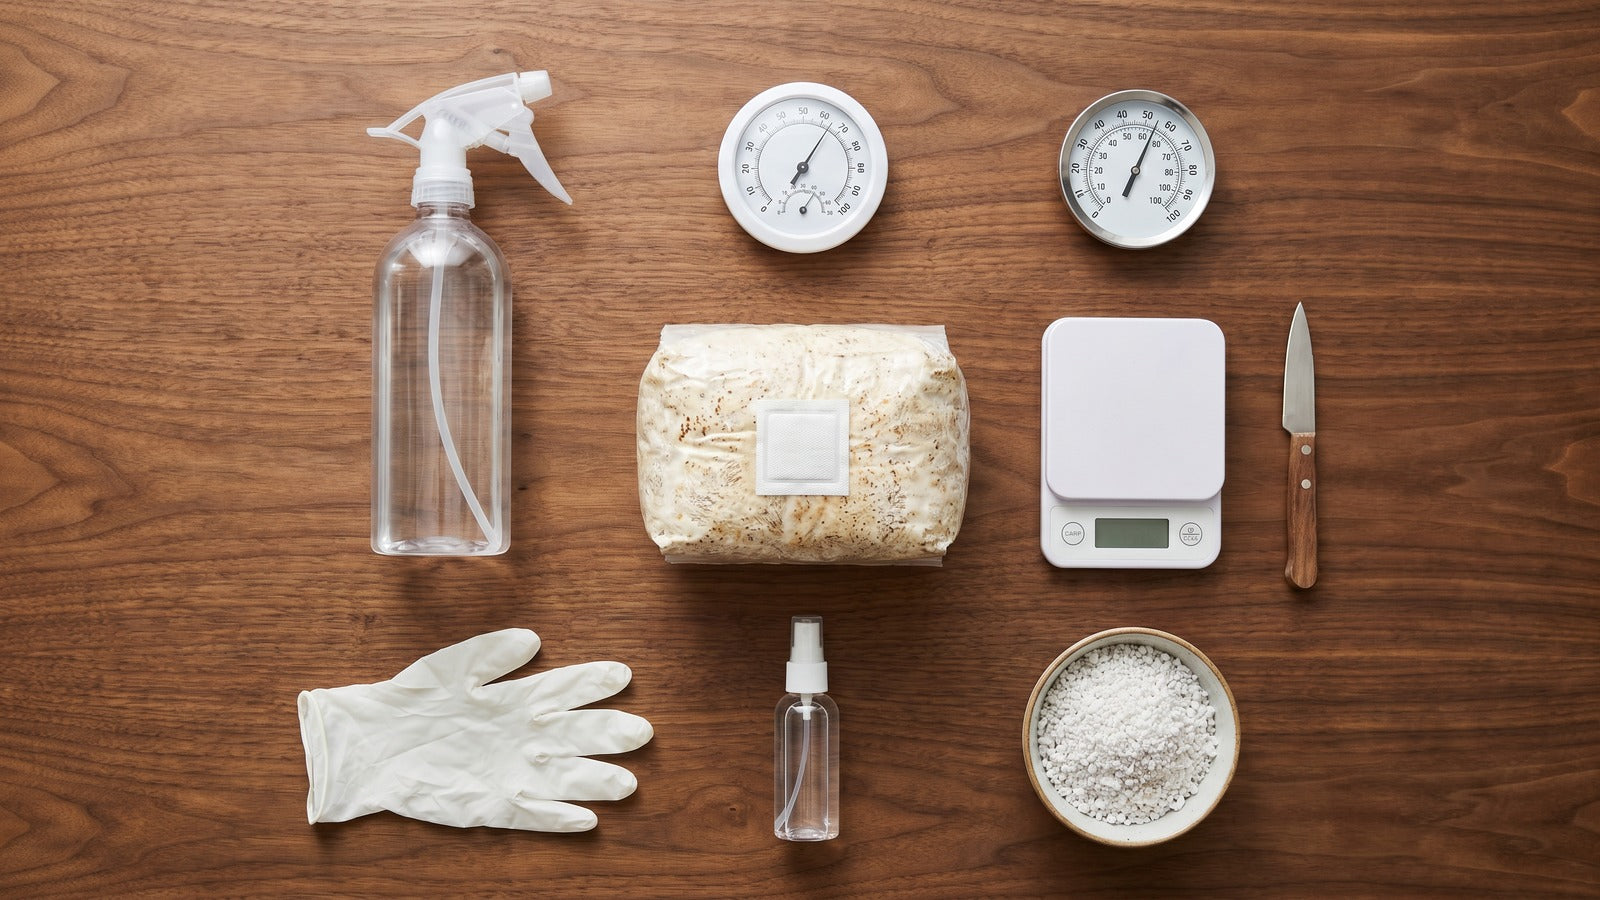
Contamination: Prevention Beats Treatment Every Time

The most common cultivation failure is not bad mycelium. It is contamination from competing fungi or bacteria that out-eat the mushroom mycelium before fruiting starts. The three main culprits:
Green mold (Trichoderma spp.). Fast-growing, aggressive, neon green. Eats the same substrate as your mushroom and is the most common contaminant in home grows. Source: airborne spores during cooling or inoculation. Prevention: cool sterilized substrate inside a sealed bag, inoculate in still air, and wipe surfaces with 70% isopropyl alcohol.
Black bread mold (Rhizopus spp.). Looks like fuzzy gray-black patches. Source: overly wet substrate plus stagnant air. Prevention: hit the 60 to 65% moisture target and ensure adequate FAE during colonization.
Bacterial wet rot. Slimy, yellowish, foul-smelling patches on the substrate. Source: bacterial cross-contamination from poorly sealed bags or unwashed hands. Prevention: wear gloves during inoculation, work over a 70% alcohol-wiped surface, and seal injection ports immediately after.
Even with perfect technique, expect 5 to 15% contamination loss on grain spawn and 2 to 5% on bulk substrate during your first growing year. The numbers drop with practice but never reach zero. Plan for it, do not chase it.
For a deeper look at identifying and recovering from specific contamination patterns, see the moldy mushrooms guide.

Fuel Your Mushroom Journey
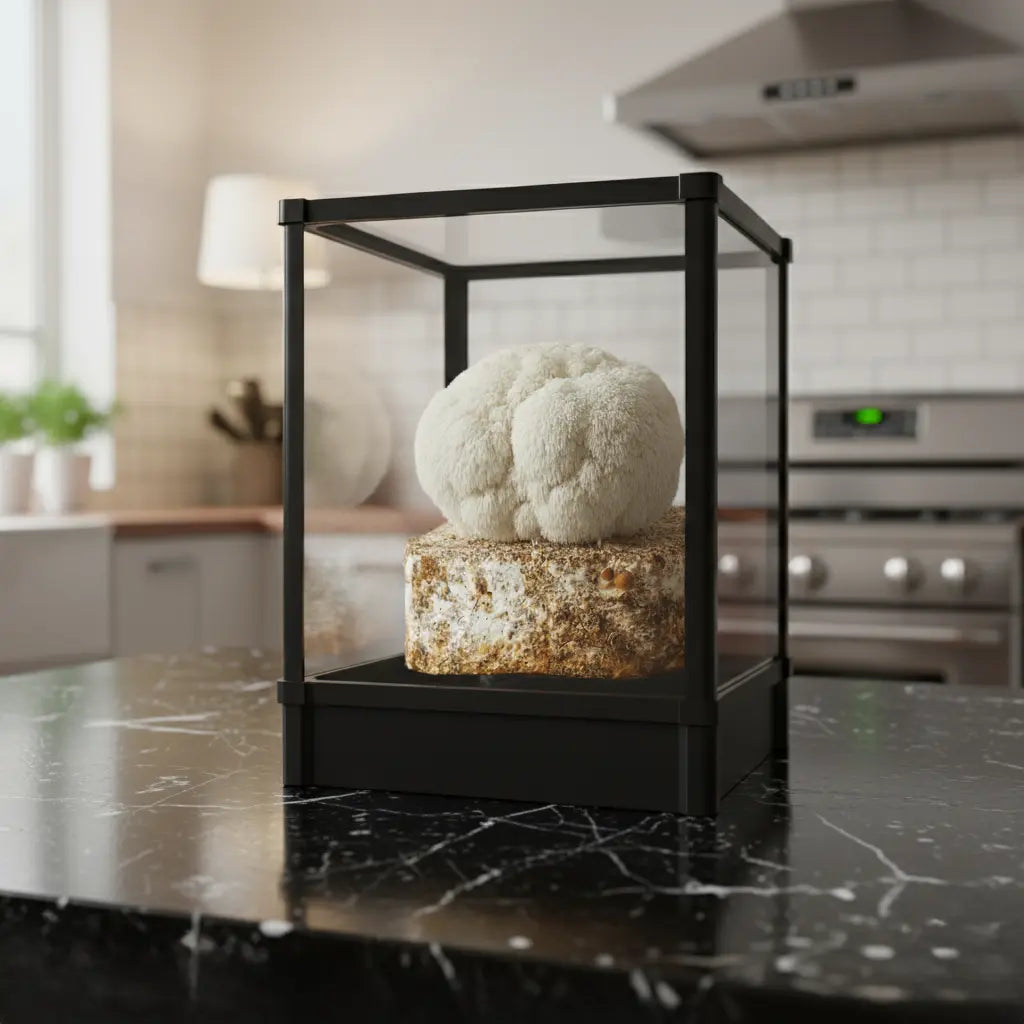
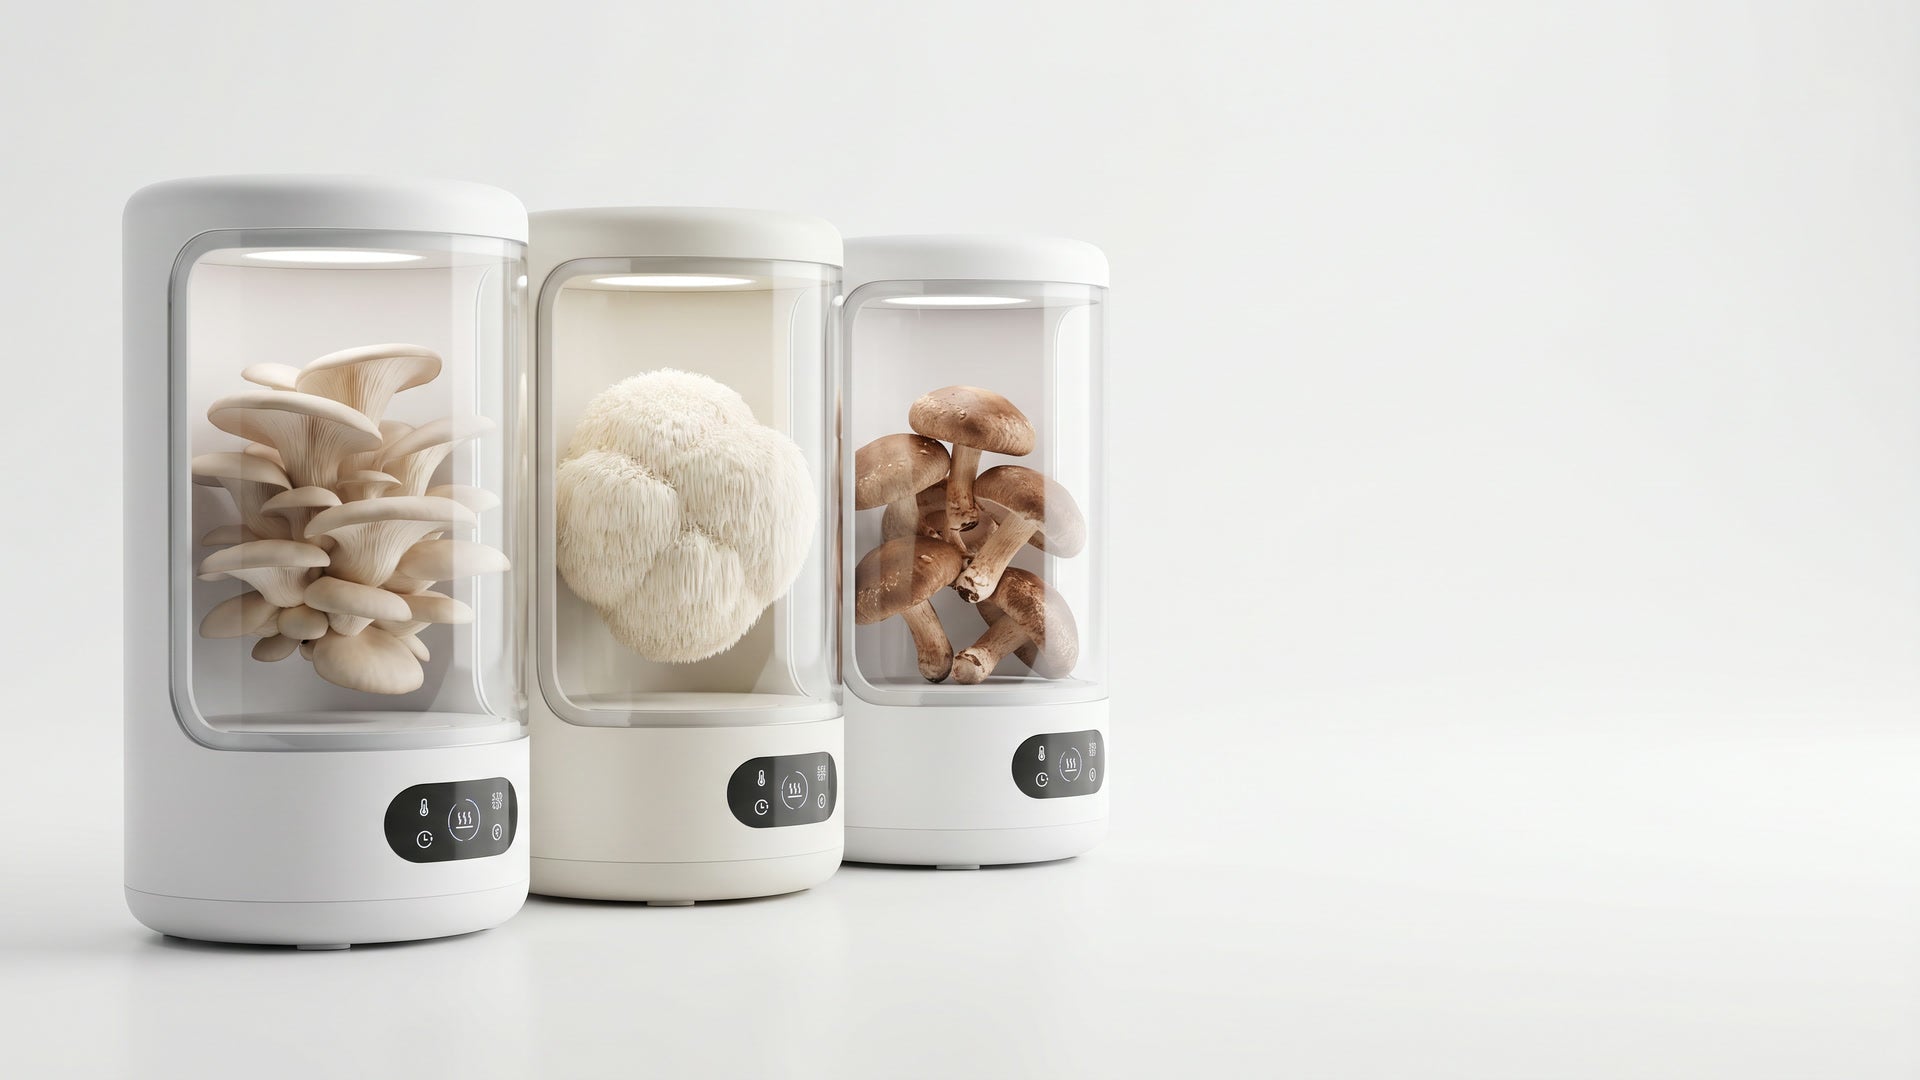
Smart Mushroom Grow Chamber
Plug-and-play smart chamber with humidity, light, and airflow dialed in for every species. Beginners harvest their first flush in days, not months.
Add to cart $299Harvest Timing: Reading the Mushroom, Not the Calendar

Most home growers harvest too late, not too early. Late harvesting drops shelf life by 50% and starts the spore release that signals the fruiting body to senesce. The visual cues are species-specific but they share a pattern.
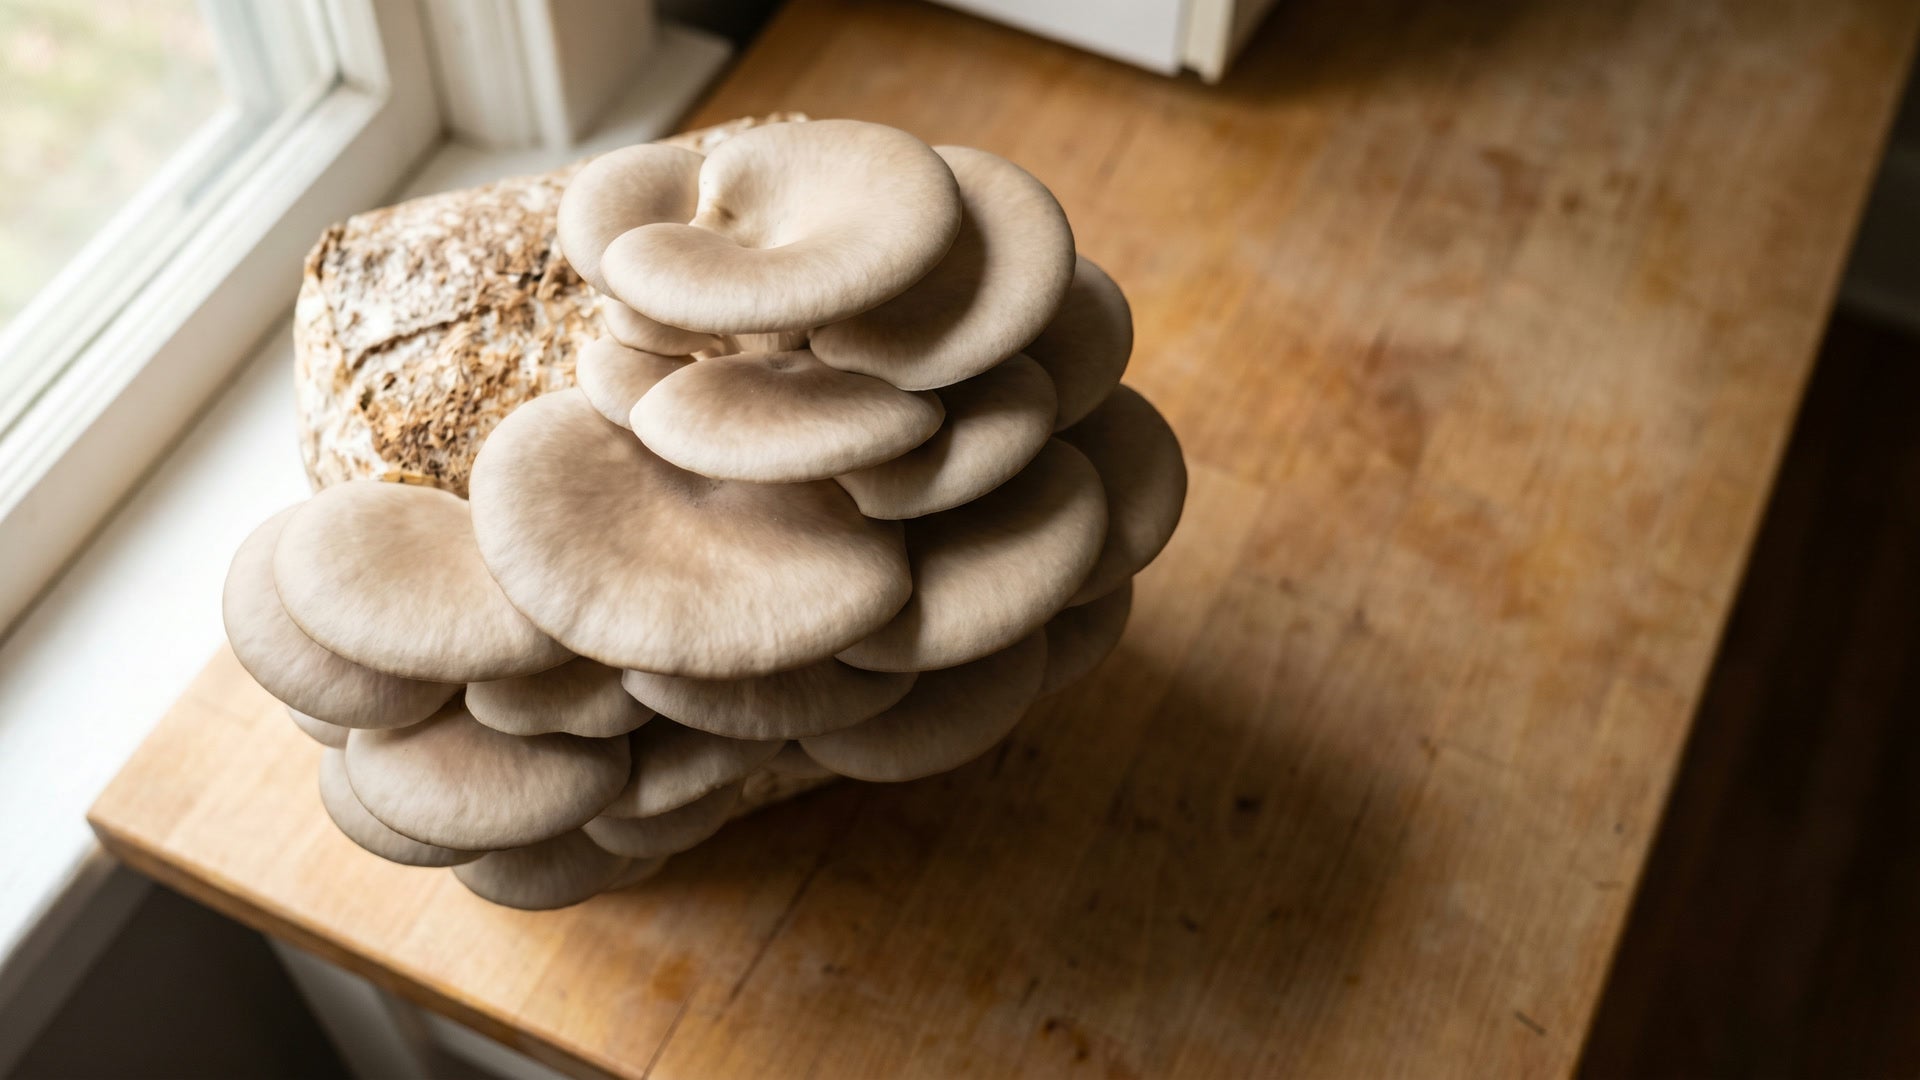
Oyster mushrooms: harvest when caps are 2 to 4 inches across and the edges are still slightly downturned, not curled up. If gills turn from cream to pale tan, you waited too long.
Lion's mane: harvest when the spines are 0.25 to 0.5 inches long and pure white. Once spines start yellowing or browning, the fruit gets bitter.
Shiitake: harvest when the cap has rolled out to about 80% open. The veil under the cap should be just starting to tear. Fully flat caps with exposed gills are past prime.
Chestnut: harvest while caps are still domed and dark brown. Once they flatten and lighten to tan, they are still edible but textures get soft.
Cut at the base with a clean knife rather than twisting and pulling. Twisting tears mycelium fibers and slows the next flush by 3 to 5 days. The pinning guide walks through earlier-stage cues so you know when fruiting started, not just when to pick.
From Principles to First Grow
You now know the four universal principles, the substrate-to-species match, the sterilization-versus-pasteurization decision, the contamination triangle, and how to read harvest timing. Each principle compounds: get humidity right and pinning happens. Get FAE right and stems form properly. Get temperature right and morphology develops correctly. Miss one and the chain breaks.
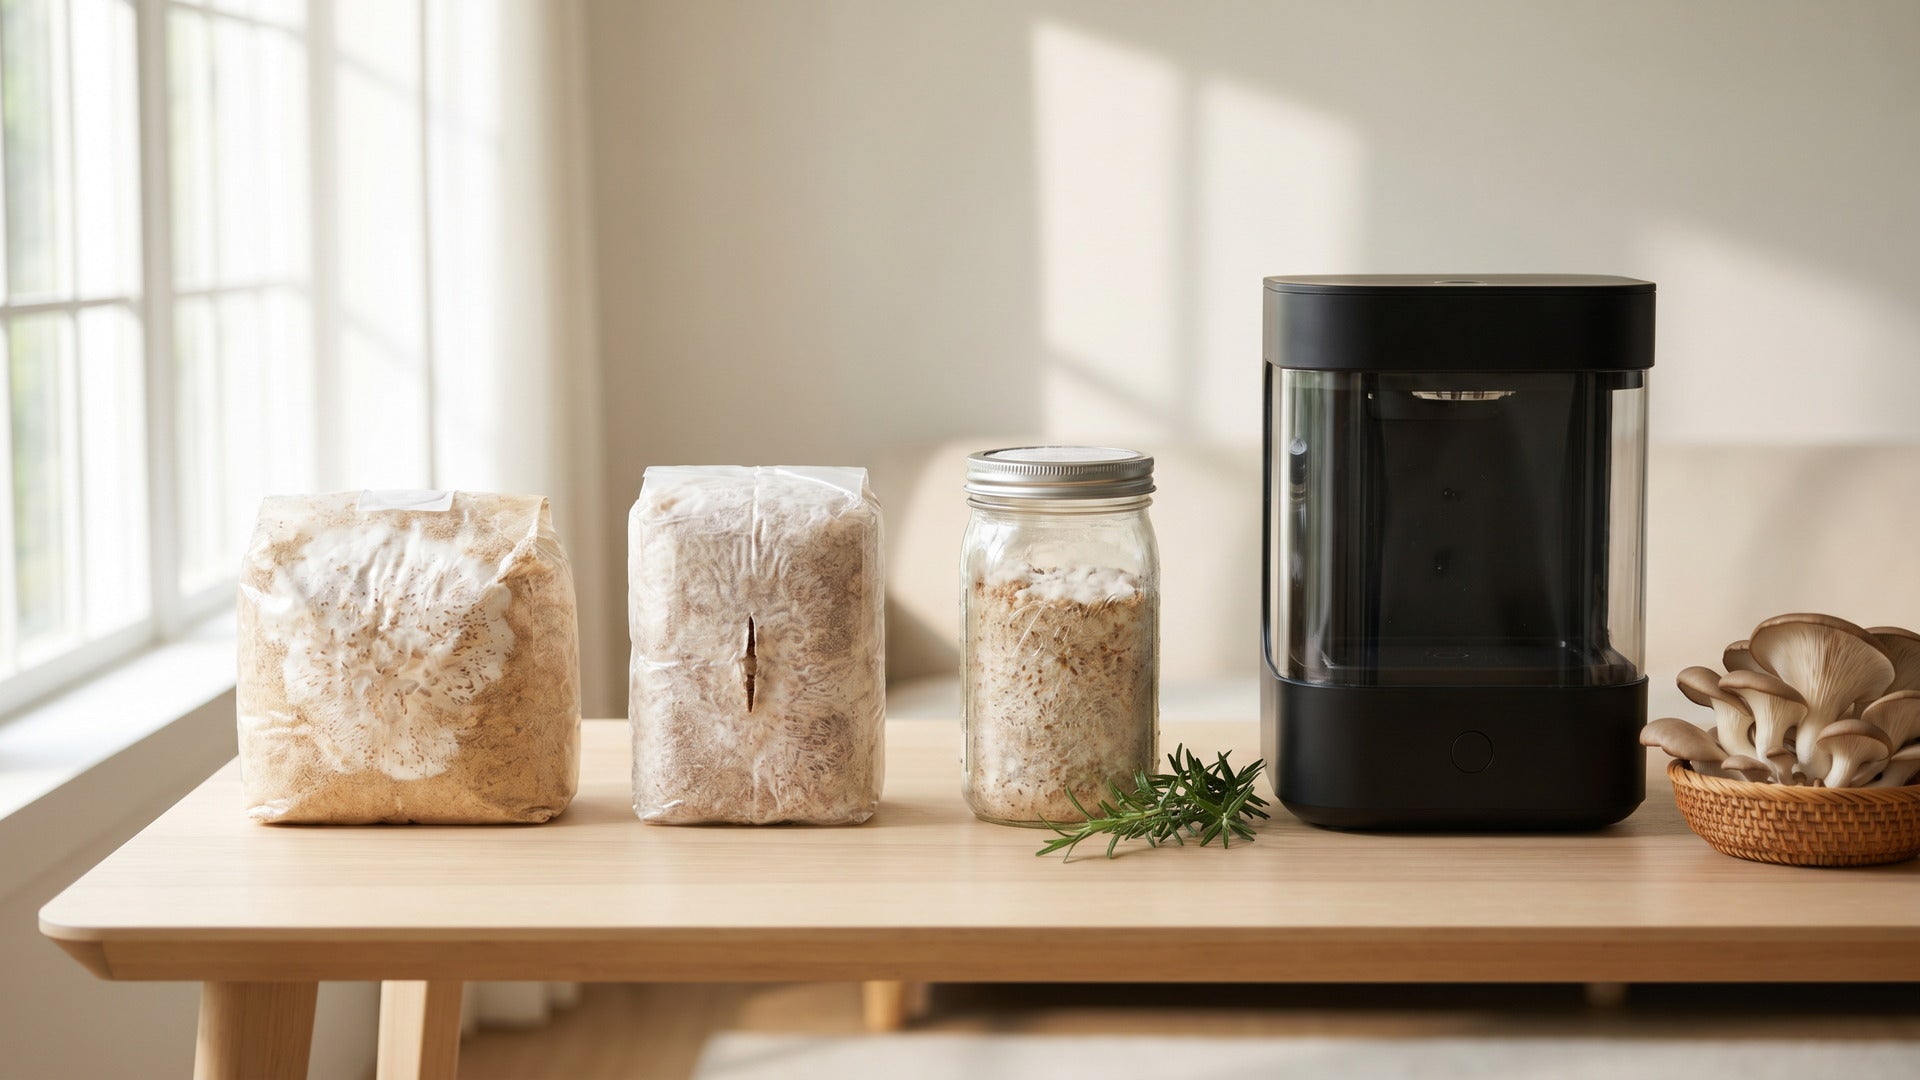
Most first-time growers skip the principles and pick a kit, which is a reasonable shortcut because a good kit handles three of the four for you. The principles still apply, but the format provides the controls. To see how each kit format handles these variables differently, the mushroom grow kits comparison covers fruiting block, log, jar spawn, automated chamber, and sawdust bag formats side by side.
Ready to Grow Mushrooms at Home?
Understanding the principles is half the work. Holding them steady for 10 to 14 days while a flush forms is the other half. The Lykyn Smart Mushroom Grow Box automates humidity at 85 to 92%, runs scheduled fresh air exchanges every 15 to 30 minutes, manages the 12-hour light cycle, and holds temperature inside a 3°F tolerance band. The four universal principles handled for you, on the counter.
Pair the chamber with a pre-inoculated fruiting block from any of the 28 plus species in rotation, set the species on the app, and your first harvest forms within 7 to 14 days. Or explore the full mushroom grow kits collection to match a format to your space and schedule.
Fuel Your Mushroom Journey

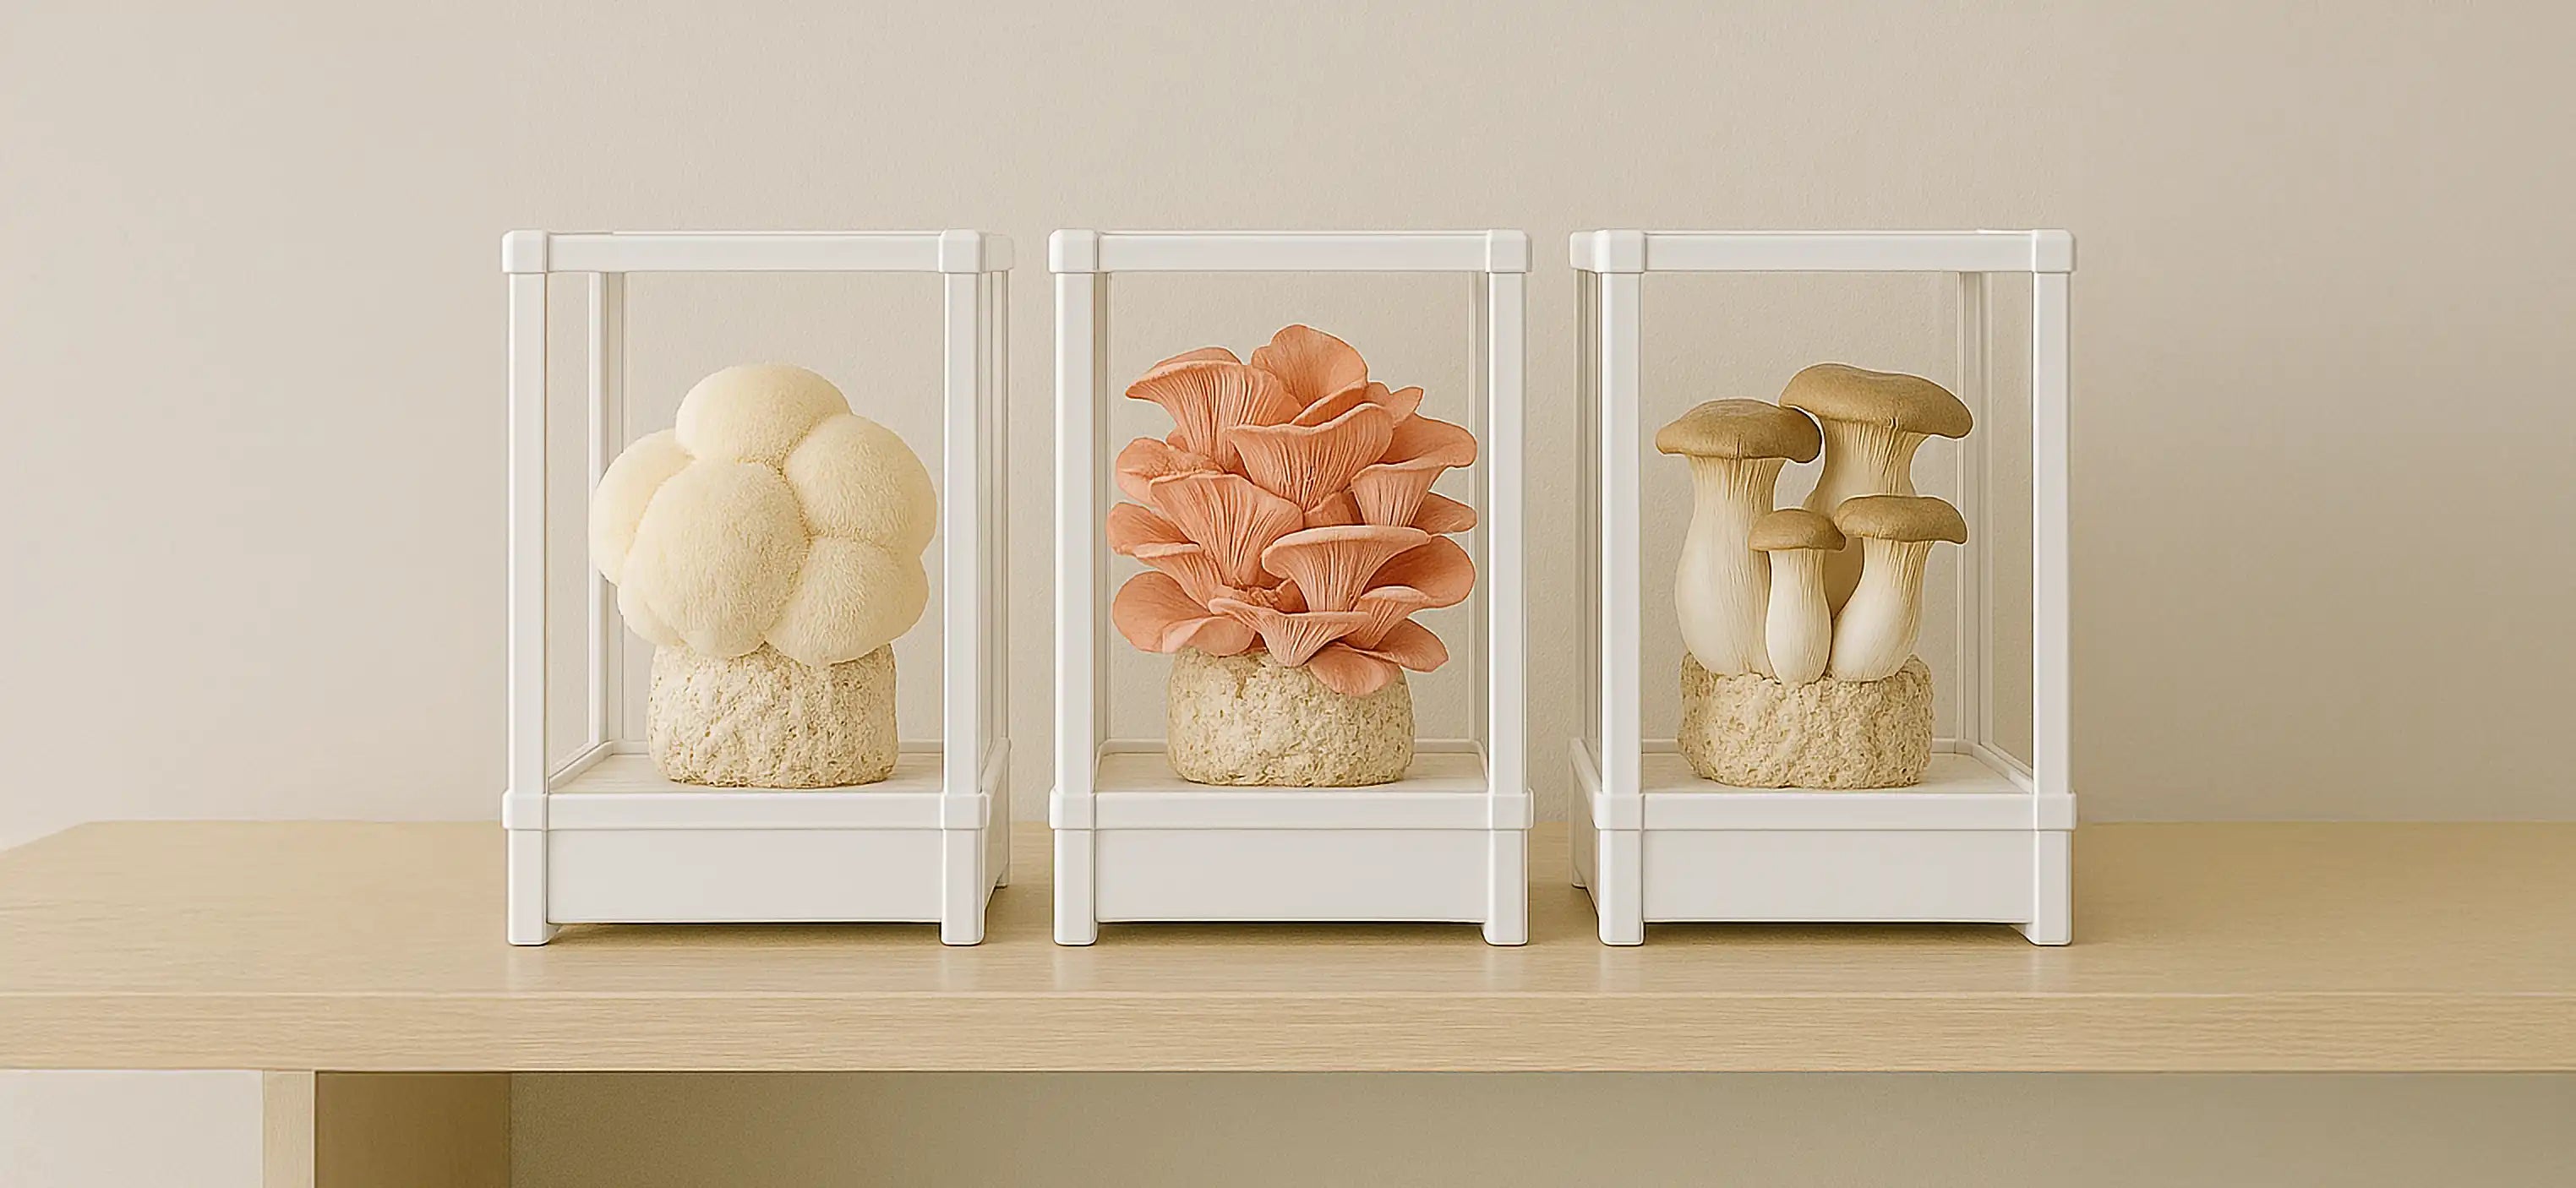
Smart Chamber. Bone White Single
- 2.8L tank, 90% humidity automatic
- App-controlled, plug-and-play
- 6 lb block ceiling, in stock

Smart Chamber. Obsidian Black Single
- Same hardware as Bone White
- Matte black premium finish
- Pairs with any kitchen palette


Share:
Mushroom Grow Kits: 5 Types Compared (Yields and Cost)
Blue Oyster Mushroom Growing Guide: Substrate, Pins, Harvest