

Growing oyster mushrooms in buckets represents one of the most accessible, sustainable, and rewarding methods for home mushroom cultivation. This technique eliminates the need for expensive equipment while delivering impressive yields that can feed your family and potentially generate income. Whether you're a complete beginner or looking to scale up your mushroom growing operation, bucket cultivation offers a perfect balance of simplicity and productivity.

Quick Answer: Oyster mushrooms can be successfully grown in 5-gallon buckets using pasteurized straw or wood chips as substrate. The process takes 2-4 weeks from inoculation to harvest, with buckets producing multiple flushes over several months. This method is beginner-friendly, cost-effective, and perfect for small-scale production.
Why Choose Bucket Cultivation for Oyster Mushrooms?
Bucket cultivation offers numerous advantages that make it the preferred method for many home growers and small-scale commercial operations. Understanding these benefits helps explain why this technique has become so popular among mushroom enthusiasts worldwide.
Environmental and Economic Benefits
Growing mushrooms in buckets is perfect for smaller-scale mushroom production and urban mushroom cultivation. It reduces single-use plastic waste and makes mushroom production more sustainable. The buckets can be reused hundreds of times, making this method both economical and environmentally responsible.
Key Advantages of Bucket Growing:
-
Reusability: Buckets can be cleaned and reused for multiple growing cycles
-
Space Efficiency: Stackable design optimizes vertical growing space
-
Cost-Effective: Lower startup costs compared to specialized growing systems
-
Scalability: Easy to expand from hobby to small commercial operation
-
Mobility: Freestanding buckets can be moved as needed
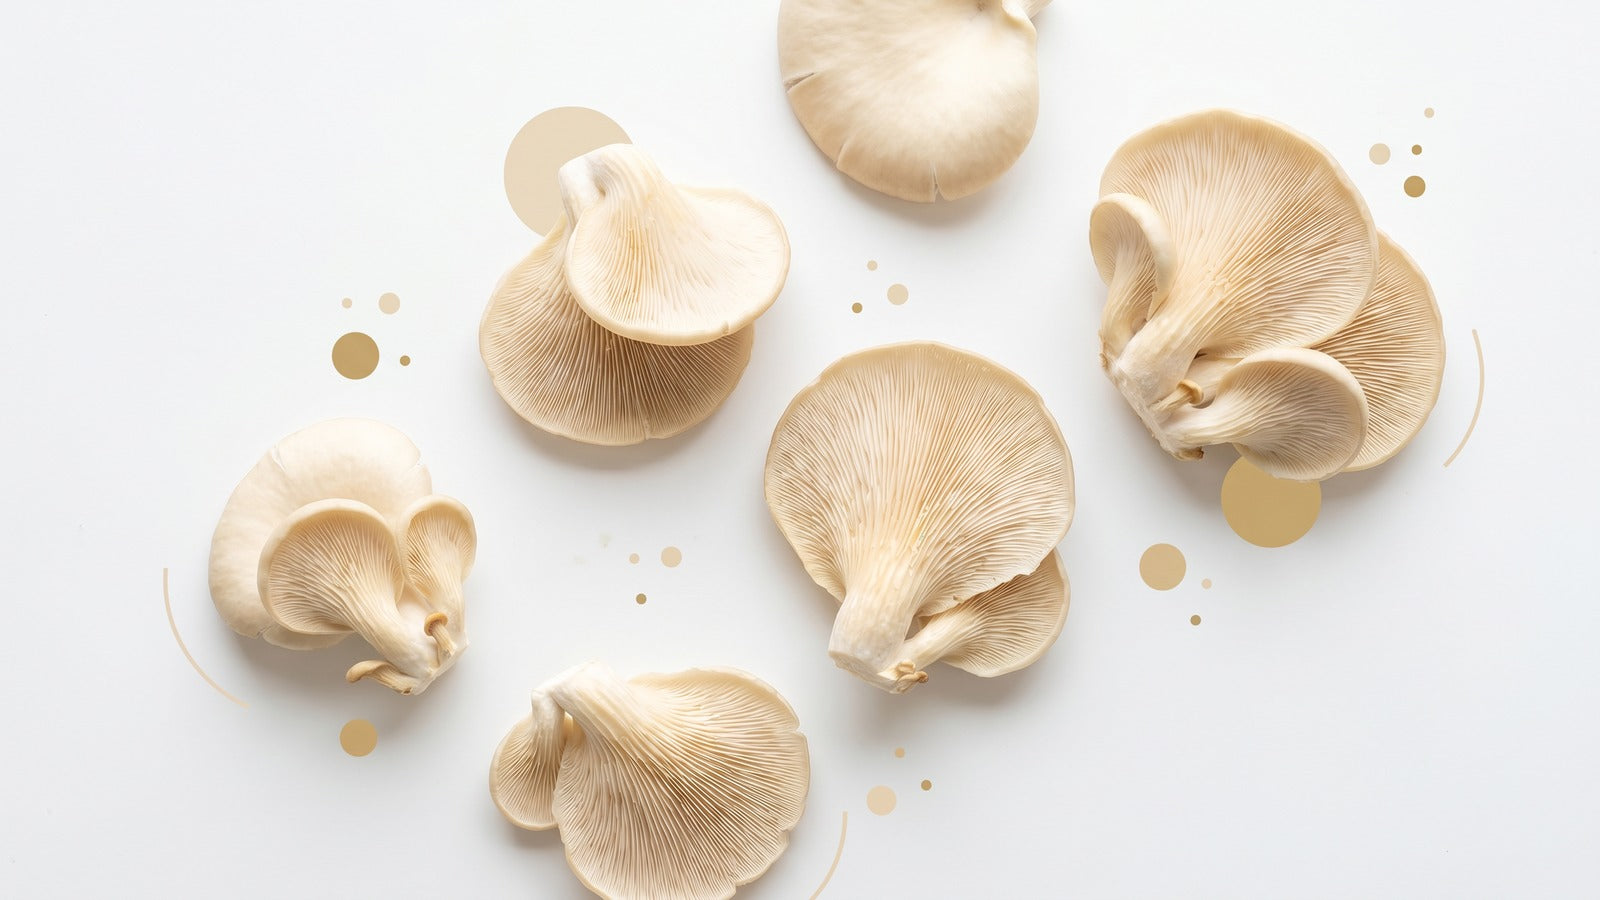
Why Oyster Mushrooms Excel in Buckets
Oyster mushrooms are the greatest choice for bucket growing. They grow quickly, are less sensitive to environmental factors than many other mushrooms, and can be grown on a variety of substrates. Their aggressive growth pattern helps them outcompete most contaminants, improving success rates for beginners.
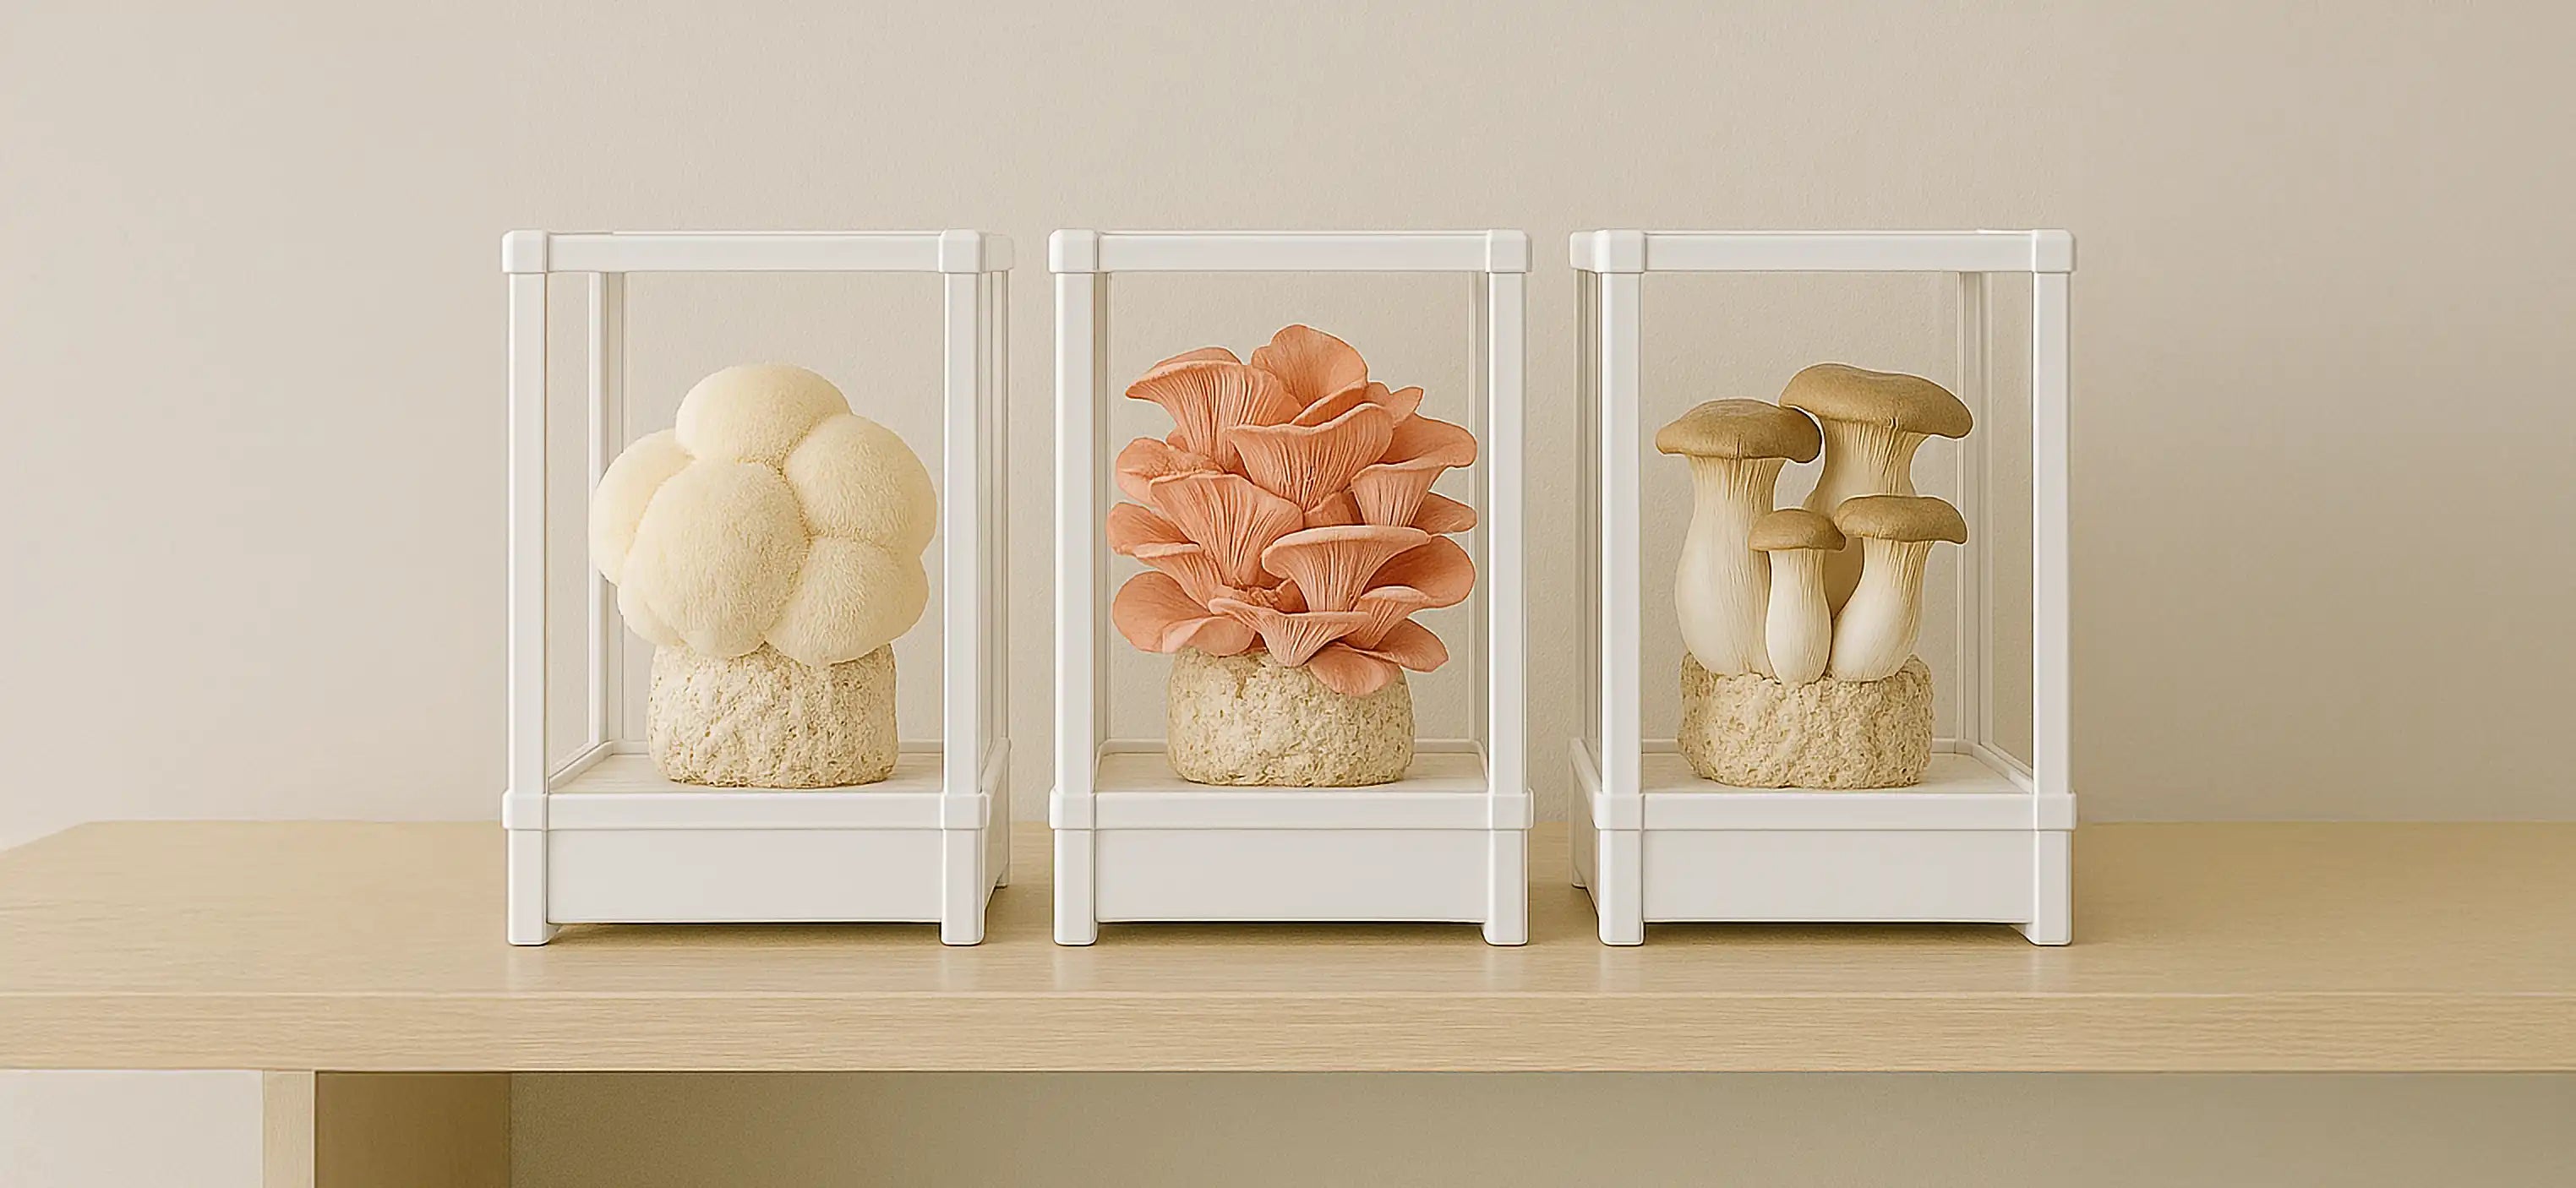
Unlike top-fruiting mushrooms such as king oysters, side-fruiting oyster mushrooms like white, pink, blue, or yellow varieties naturally grow from the holes drilled in bucket sides, making them perfectly suited to this cultivation method.
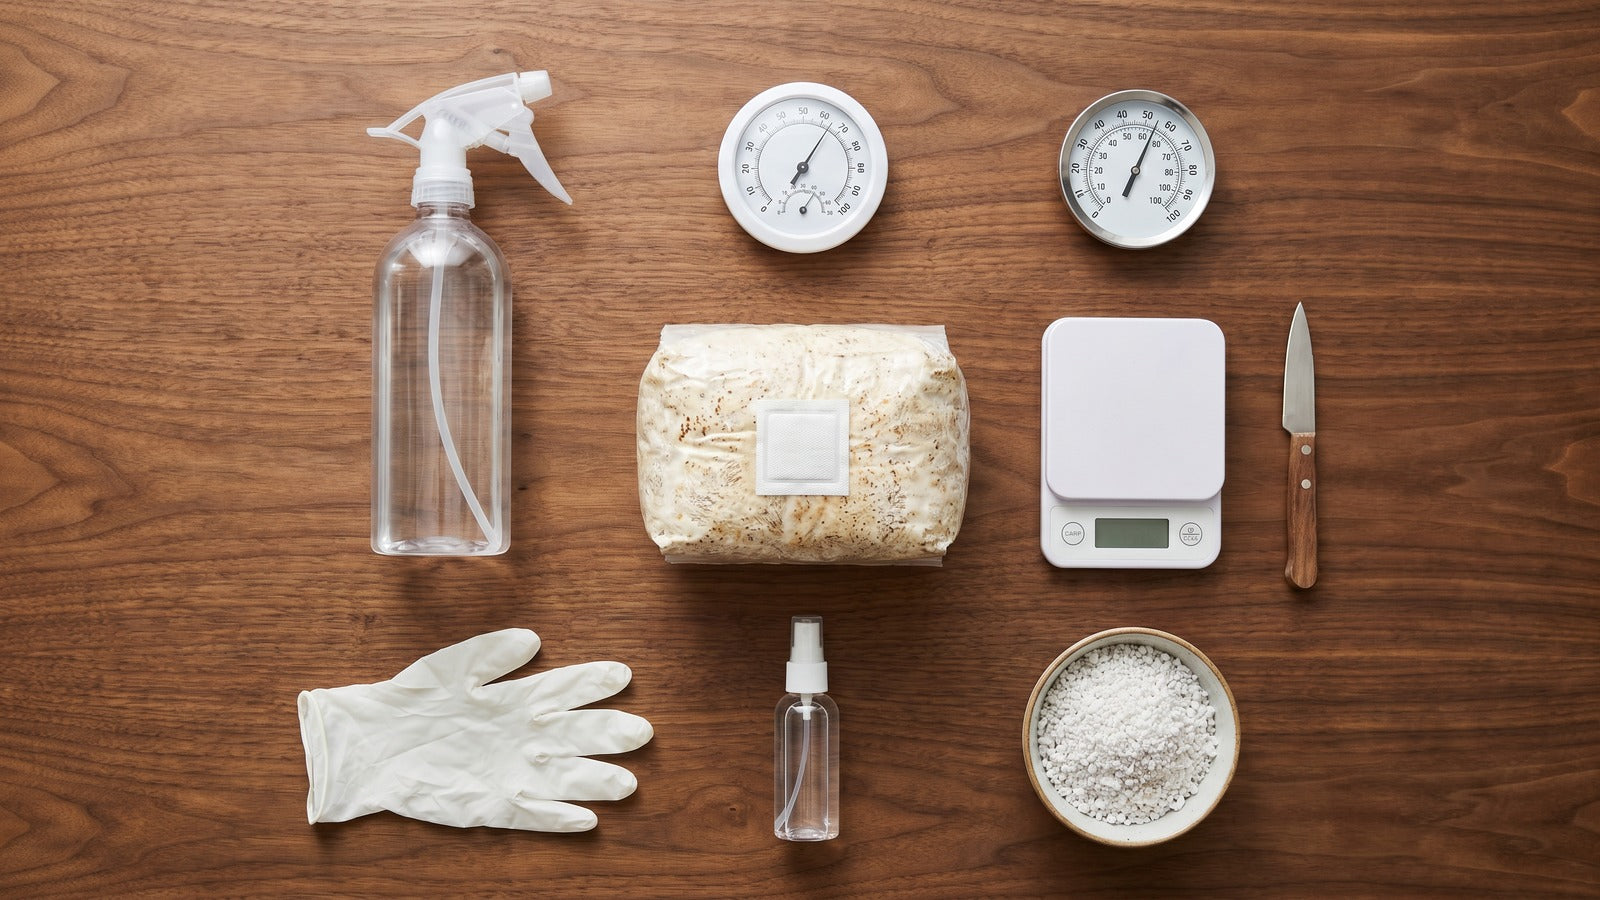
Essential Equipment and Materials
Before beginning your bucket mushroom cultivation journey, gathering the right materials ensures smooth operations and better success rates. Most items can be found at local hardware stores or ordered online.
Basic Equipment List
Primary Equipment:
-
5-gallon buckets with lids (food-grade preferred)
-
1/2-inch drill bit for creating fruiting holes
-
Micropore tape for hole coverage during colonization
-
Spray bottle for misting
-
Large pot or container for pasteurization
Substrate Options:
-
Chopped straw (wheat, oat, or rice straw)
-
Hardwood sawdust or wood chips
-
Sugarcane mulch
-
Aspen shavings (for simplified preparation)
Growing Materials:
-
Oyster mushroom grain spawn (2-5 pounds per bucket)
-
Hydrated lime for cold pasteurization
-
pH testing strips (optional but recommended)
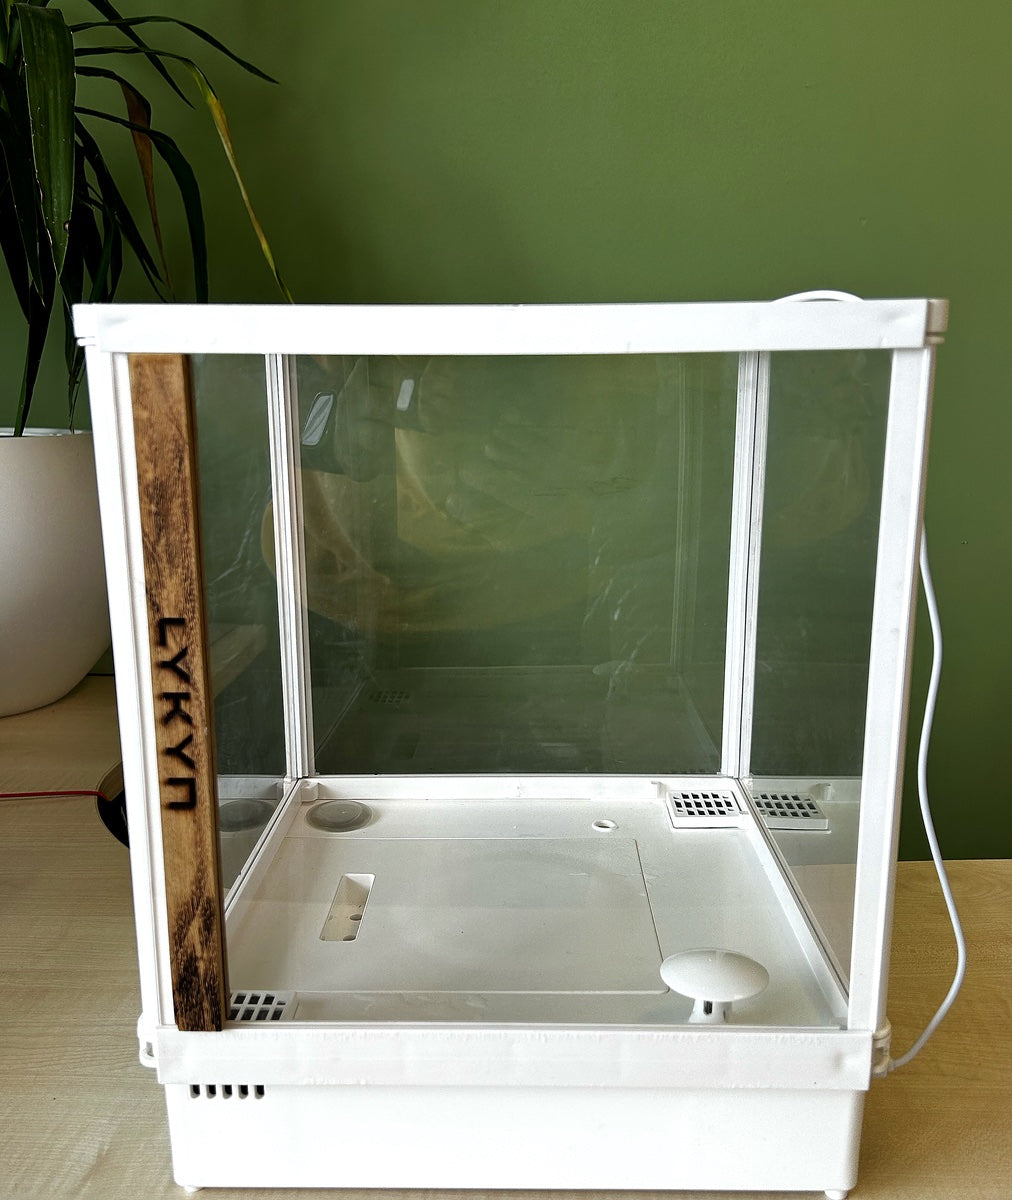
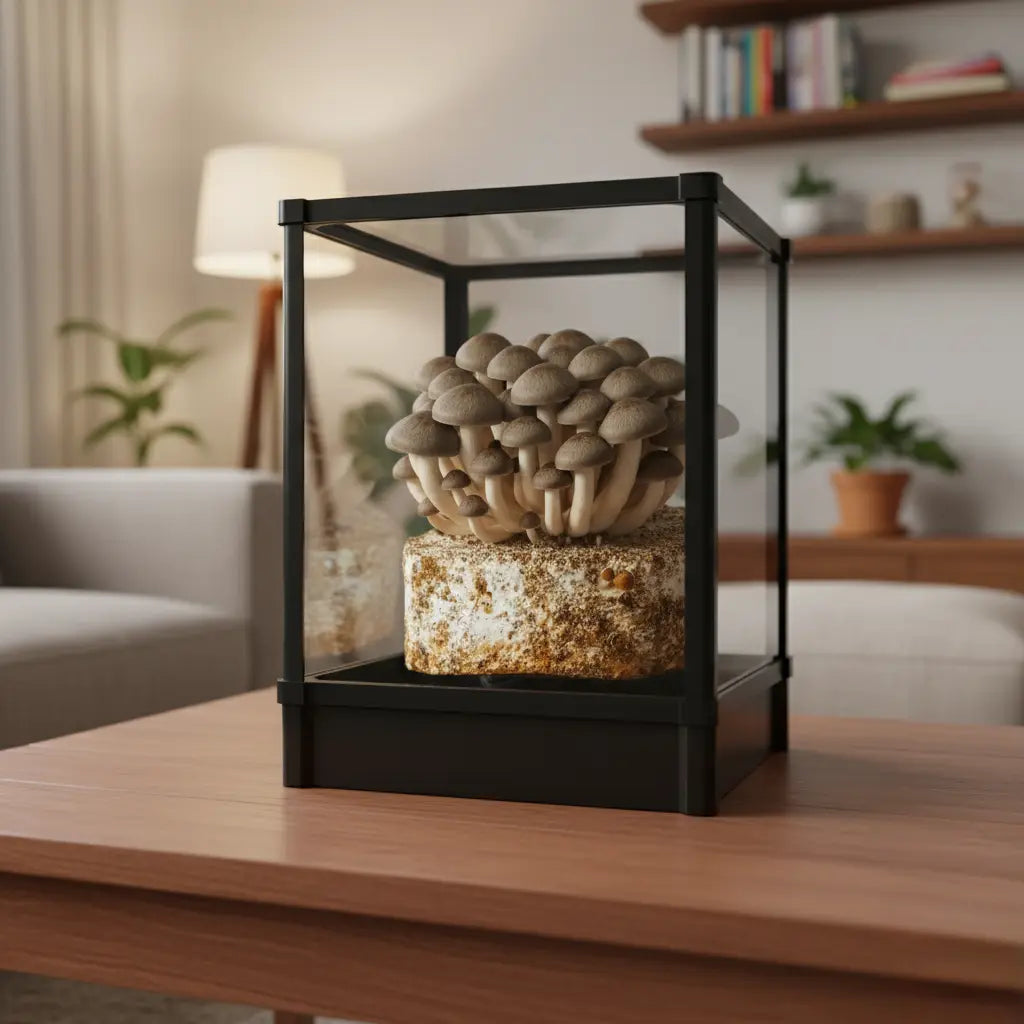
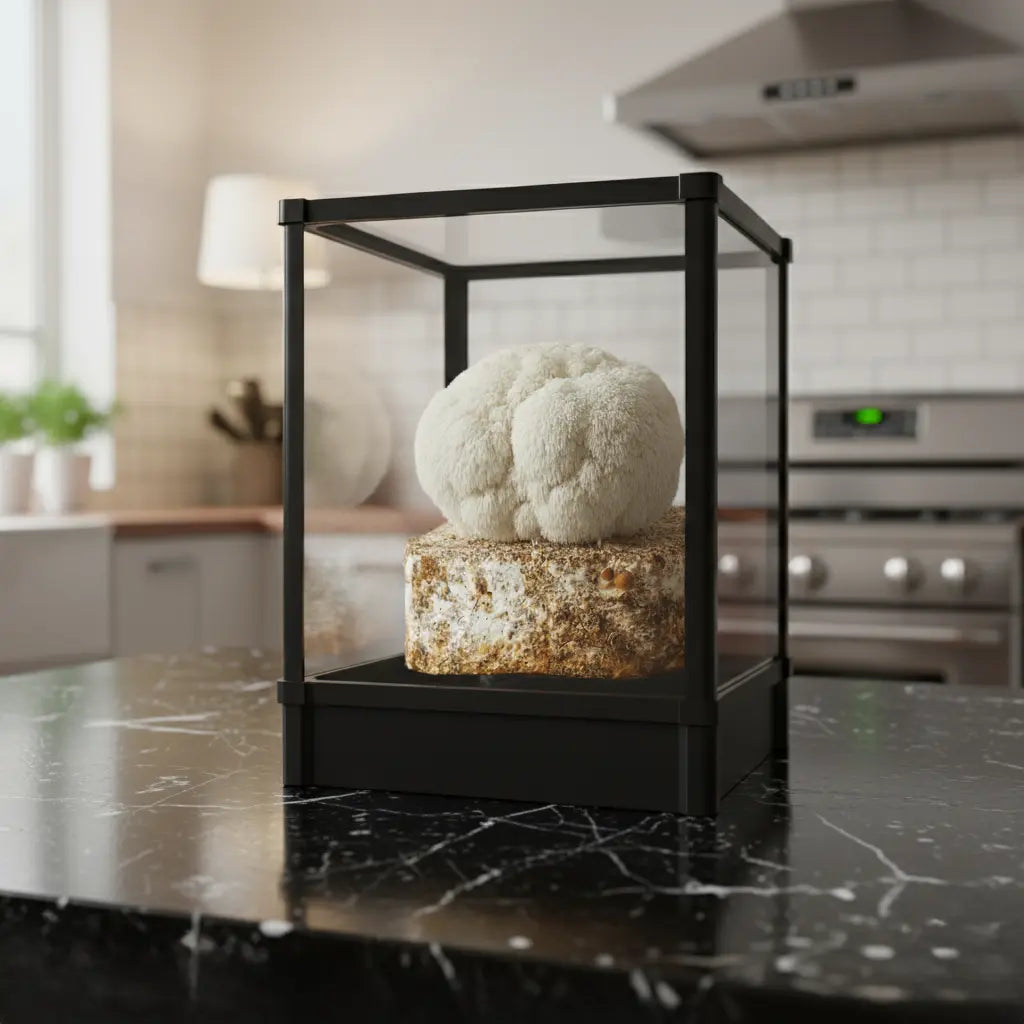
For those interested in more advanced cultivation setups, the Lykyn Smart Mushroom Grow Chamber provides automated environmental control that can complement bucket growing by maintaining optimal conditions for colonization and fruiting.
Step-by-Step Bucket Preparation
Proper bucket preparation creates the foundation for successful mushroom cultivation. Following these detailed steps ensures optimal growing conditions and maximum yields.
Drilling the Fruiting Holes
Using a 1/2-inch drill bit, drill holes in a diamond pattern around the full circumference of your bucket. This drill bit creates holes large enough for the mushrooms to fruit from but not big enough to let the substrate dry out while it is colonizing.
Hole Placement Guidelines:
-
Space holes 4 inches apart horizontally
-
Stagger rows vertically by 2 inches
-
Start first row 6 inches from bottom
-
Drill additional holes in bucket bottom for drainage
After drilling, use a knife or sandpaper to remove any jagged edges that could damage emerging mushrooms. Clean the bucket thoroughly with warm soapy water and allow to dry completely.
Applying Micropore Tape
Cover each side hole with micropore tape during the colonization phase. This breathable tape maintains moisture while allowing necessary air exchange, preventing contamination while the mycelium establishes itself throughout the substrate.
Substrate Preparation and Pasteurization
Substrate preparation represents the most critical phase of bucket cultivation. Proper pasteurization eliminates competing microorganisms while preserving beneficial bacteria that support healthy mycelial growth.
Cold Water Lime Pasteurization Method
Cold water lime pasteurization has become the preferred method for many growers due to its simplicity, energy efficiency, and effectiveness. This technique uses hydrated lime to create an alkaline environment that kills harmful organisms while being gentle on the substrate.
Pasteurization Process:
-
Prepare the lime solution: Mix 8-10 grams of hydrated lime per gallon of water
-
Safety first: Wear gloves, eye protection, and face mask when handling lime
-
Submerge substrate: Place chopped straw in mesh bag and submerge in lime solution
-
Soak time: Allow 12-24 hours for complete pasteurization
-
Drain and test: Squeeze substrate to field capacity (should form ball but not drip)
The lime to water ratio is around 2g lime to every 1L of water. You are looking for a pH of 11-13 approximately to pasteurize mushroom substrate correctly.
Alternative Pasteurization Methods
Hot Water Bath Method: For growers preferring traditional heat pasteurization, submerge substrate in 160-170°F (71-76°C) water for 60-90 minutes. This method requires more energy but offers slightly higher contamination control.
Simplified Aspen Shaving Method: Simply add hot water to a pot filled with aspen shavings (available everywhere as small animal pet bedding), cool, pack into bucket with spawn. This method requires no pasteurization due to the natural properties of aspen shavings.
Inoculation and Colonization Process
Successful inoculation establishes the foundation for healthy mushroom production. Understanding proper techniques and timing ensures optimal colonization rates and reduces contamination risks.
Spawn Rates and Mixing
To produce oyster mushrooms in a 20-litre bucket, use spawn at a rate of 5 to 10 percent. This means every 20 litres (5 gallons) bucket will require 1-2.3 kilograms of grain spawn. A 10 percent spawn rate will quickly occupy the bucket, increasing your odds of success.
Inoculation Best Practices:
-
Work in clean environment: Sanitize hands, tools, and work surface
-
Layer technique: Alternate layers of substrate and spawn for even distribution
-
Mix thoroughly: Ensure spawn is evenly distributed throughout substrate
-
Pack lightly: Avoid over-compacting which restricts air flow
-
Seal bucket: Replace lid and ensure all holes remain taped
Colonization Timeline and Monitoring
Different oyster mushroom species have varying colonization timelines:
Species-Specific Timelines:
-
Pink Oyster: Usually 10 days minimum, can take up to 40 days in cold temperatures
-
Blue/Grey Oyster: Usually 18-20 days for first pins to appear
-
Pearl Oyster: 14-21 days for full colonization
-
Golden Oyster: 12-18 days in optimal warm conditions
During colonization, maintain temperatures between 65-75°F (18-24°C) and keep buckets in a dark, stable environment. Check periodically for signs of healthy white mycelial growth and any potential contamination.
Environmental Management for Optimal Growth
Creating and maintaining proper environmental conditions determines the success of your bucket cultivation operation. Understanding the specific needs of oyster mushrooms helps optimize yields and quality.
Temperature Control
The optimal temperature for fruiting varies by mushroom strain but most oyster mushroom strains aren't too picky. They should fruit as long as the temperature is between 50-86°F (10-30°C), with most varieties preferring 60-75°F (15-24°C) for optimal production.
Temperature Management Strategies:
-
Choose naturally cooler locations (basements, north-facing areas)
-
Use fans or ventilation for cooling in warm climates
-
Group buckets to create beneficial microclimates
-
Monitor daily temperatures during fruiting phase
Humidity and Misting
Because the mushrooms will develop from the holes in the bucket, misting the holes many times a day will keep the mycelium from drying out. Baby mushrooms thrive in humid environments, and if the mushrooms become too dry, they will stop growing.
Humidity Best Practices:
-
Mist holes 2-3 times daily during fruiting
-
Use fine mist spray to avoid oversaturation
-
Maintain 80-90% relative humidity around fruiting holes
-
Cover buckets with plastic bags to increase humidity if needed
For growers seeking automated environmental control, the Lykyn Smart Mushroom Grow Chamber provides precise humidity and temperature management that can significantly improve yields and reduce the labor involved in manual misting.
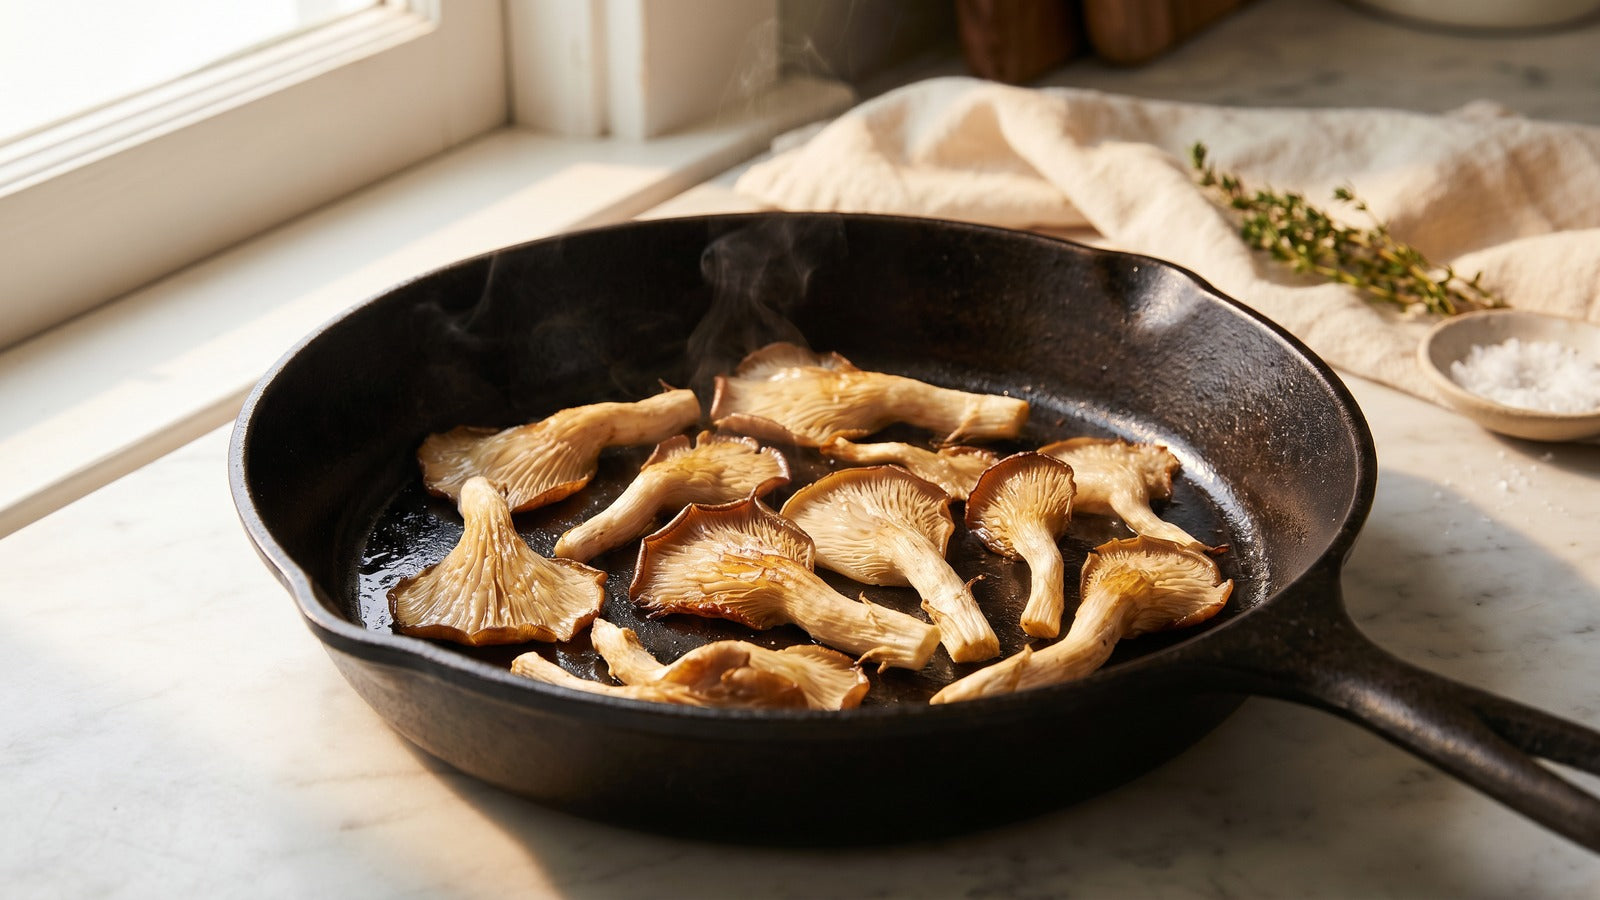
Harvesting and Post-Harvest Management
Proper harvesting techniques and post-harvest handling maximize both yield quality and storage life of your home-grown oyster mushrooms.
Optimal Harvest Timing
Oyster mushrooms are ready to harvest when the fruiting bodies get large and their caps start to flatten out. Once mushrooms start fruiting, they will double in size every day! It should take about a week for the mushrooms to go from pins to full-sized harvestable clusters.
Harvest Indicators:
-
Caps begin to flatten and edges become wavy
-
Spore production hasn't begun (caps still colored, not white with spores)
-
Clusters feel firm but not tough
-
Size appropriate for intended use
Harvesting Technique
Cut off the entire cluster with a sharp knife, or use your hands to gently break them off from the growing medium. Harvesting entire clusters rather than individual mushrooms promotes better subsequent flushes and reduces contamination risk.
Storage and Preservation
Oyster mushrooms have a shelf life of 5-7 days when properly stored. Keep them in a paper bag in the refrigerator until ready to use. For longer-term storage, oyster mushrooms can be dried, frozen, or preserved in various preparations.
Managing Multiple Flushes
One of the great advantages of bucket cultivation is the ability to harvest multiple flushes from a single substrate preparation. Understanding how to manage subsequent harvests maximizes your return on investment.
Rehydration Between Flushes
After your first harvest, rehydrate the bucket by soaking it in a bigger container of water for around four hours, then return it to fruiting conditions for the next "flush." You may get many "flushes" of mushrooms from one bucket.
Multiple Flush Management:
-
Rest period: Allow 1-2 weeks between harvests
-
Rehydration: Soak entire bucket in water for 4-12 hours
-
Drainage: Ensure excess water drains from bottom holes
-
Return to fruiting: Resume misting and maintain optimal conditions
Yield Expectations
Most buckets produce 2-4 significant flushes, with the first flush typically being the largest. Subsequent flushes may produce smaller but still substantial harvests over 3-6 months of productive life.
Troubleshooting Common Problems
Even experienced growers encounter challenges in bucket cultivation. Understanding common issues and their solutions helps maintain consistent production and prevent crop losses.
Contamination Issues
The green mold (trichoderma) is the most common form of contamination in bucket growing. If your bag is over 20% green, it's best to move it outside to the garden and let the battle happen outside, sometimes you'll still get some mushrooms!
Contamination Prevention:
-
Maintain proper sanitation during all phases
-
Ensure adequate pasteurization of substrate
-
Monitor environmental conditions closely
-
Use high-quality spawn from reputable sources
Slow or Poor Growth
Common Causes and Solutions:
-
Insufficient moisture: Increase misting frequency
-
Poor air exchange: Check that holes aren't blocked
-
Temperature extremes: Adjust growing location or add climate control
-
Old or poor-quality spawn: Source fresh spawn from reliable suppliers
Environmental Stress Signs
Mushrooms growing under environmental stress may exhibit:
-
Elongated stems with small caps (insufficient fresh air)
-
Brown or yellow discoloration (age or bacterial issues)
-
Slow development (temperature or moisture problems)
-
Abort formation (sudden environmental changes)
Advanced Techniques and Scaling Up
Once you've mastered basic bucket cultivation, several advanced techniques can improve yields, efficiency, and production scale.
Substrate Supplementation
Adding nutritional supplements to basic substrates can significantly increase yields. Wheat bran, soy hulls, or other nitrogen sources can boost mushroom production when properly balanced.
Supplementation Guidelines:
-
Add 10-20% wheat bran to straw substrate
-
Ensure thorough sterilization of supplemented substrates
-
Monitor for increased contamination risk
-
Balance nutrition without over-feeding
Commercial Scaling Considerations
For those considering small commercial operations, bucket growing can be scaled effectively:
Scaling Strategies:
-
Standardize substrate preparation processes
-
Implement batch production schedules
-
Invest in automated environmental controls
-
Develop efficient harvesting and processing workflows
For comprehensive information about different oyster mushroom varieties and their specific growing requirements, the detailed oyster mushroom identification guide provides valuable insights into selecting the best varieties for your growing conditions.
Frequently Asked Questions About Bucket Growing
How many mushrooms can I expect from one bucket?
A well-prepared 5-gallon bucket typically yields 2-4 pounds of fresh oyster mushrooms across multiple flushes. First flush usually produces 1-2 pounds, with subsequent flushes producing smaller but still significant harvests.
Can I reuse the same bucket for multiple growing cycles?
Yes, buckets can be reused hundreds of times with proper cleaning. Wash thoroughly with bleach solution between cycles, rinse well, and allow to dry completely before preparing for the next grow.
What's the best oyster mushroom variety for beginners?
Pearl oyster mushrooms are excellent for beginners due to their tolerance for environmental variations, reliable growth patterns, and mild flavor. They're also less sensitive to temperature fluctuations than some other varieties.
How long does the entire process take from start to harvest?
From inoculation to first harvest typically takes 3-6 weeks, depending on species and environmental conditions. The colonization phase usually requires 2-3 weeks, followed by 1-2 weeks for fruiting development.
Is bucket growing suitable for commercial production?
While bucket growing can be scaled for small commercial operations, it becomes labor-intensive for large-scale production. It's excellent for farmers' markets, restaurants, or specialty sales where quality and freshness are prioritized over volume.
Summary: Mastering Bucket Cultivation for Home Mushroom Production
Growing oyster mushrooms in buckets offers an ideal entry point into mushroom cultivation, combining simplicity with impressive productivity. This method requires minimal investment while delivering consistent results that can feed your family and potentially generate income through farmers' market sales or direct-to-consumer marketing.
Key success factors for bucket cultivation: Use proper pasteurization techniques to eliminate competing organisms, maintain appropriate environmental conditions throughout colonization and fruiting, and source high-quality spawn from reputable suppliers. Patience during the colonization phase and consistent attention to humidity and temperature during fruiting are essential for optimal yields.
The Lykyn Smart Mushroom Grow Chamber can complement bucket growing operations by providing automated environmental control for colonization phases or serving as a dedicated fruiting chamber for harvested substrate blocks. This technology is particularly valuable for growers looking to optimize conditions and reduce the manual labor associated with traditional bucket management.
From understanding the basics of substrate preparation to mastering multiple flush management, bucket cultivation provides a foundation for more advanced mushroom growing techniques. Whether you're growing for personal consumption or considering small-scale commercial production, this method offers scalability and sustainability that align with modern urban agriculture practices.
Remember that successful mushroom cultivation combines technical knowledge with careful observation and patience. Each growing cycle provides learning opportunities that improve your skills and increase future success rates. With proper preparation, attention to detail, and commitment to best practices, bucket cultivation can provide years of productive mushroom harvests while connecting you to the fascinating world of fungi cultivation.
To explore the nutritional benefits and culinary applications of your harvested oyster mushrooms, the comprehensive oyster mushroom nutrition guide provides valuable information about maximizing the health benefits of your homegrown harvest.
Share:
How Long for Mycelium to Colonize Bag: Complete Timeline Guide for Home Mushroom Growers
Golden Oyster Mushroom Recipes: 8 Delicious Ways to Cook These Vibrant Fungi