

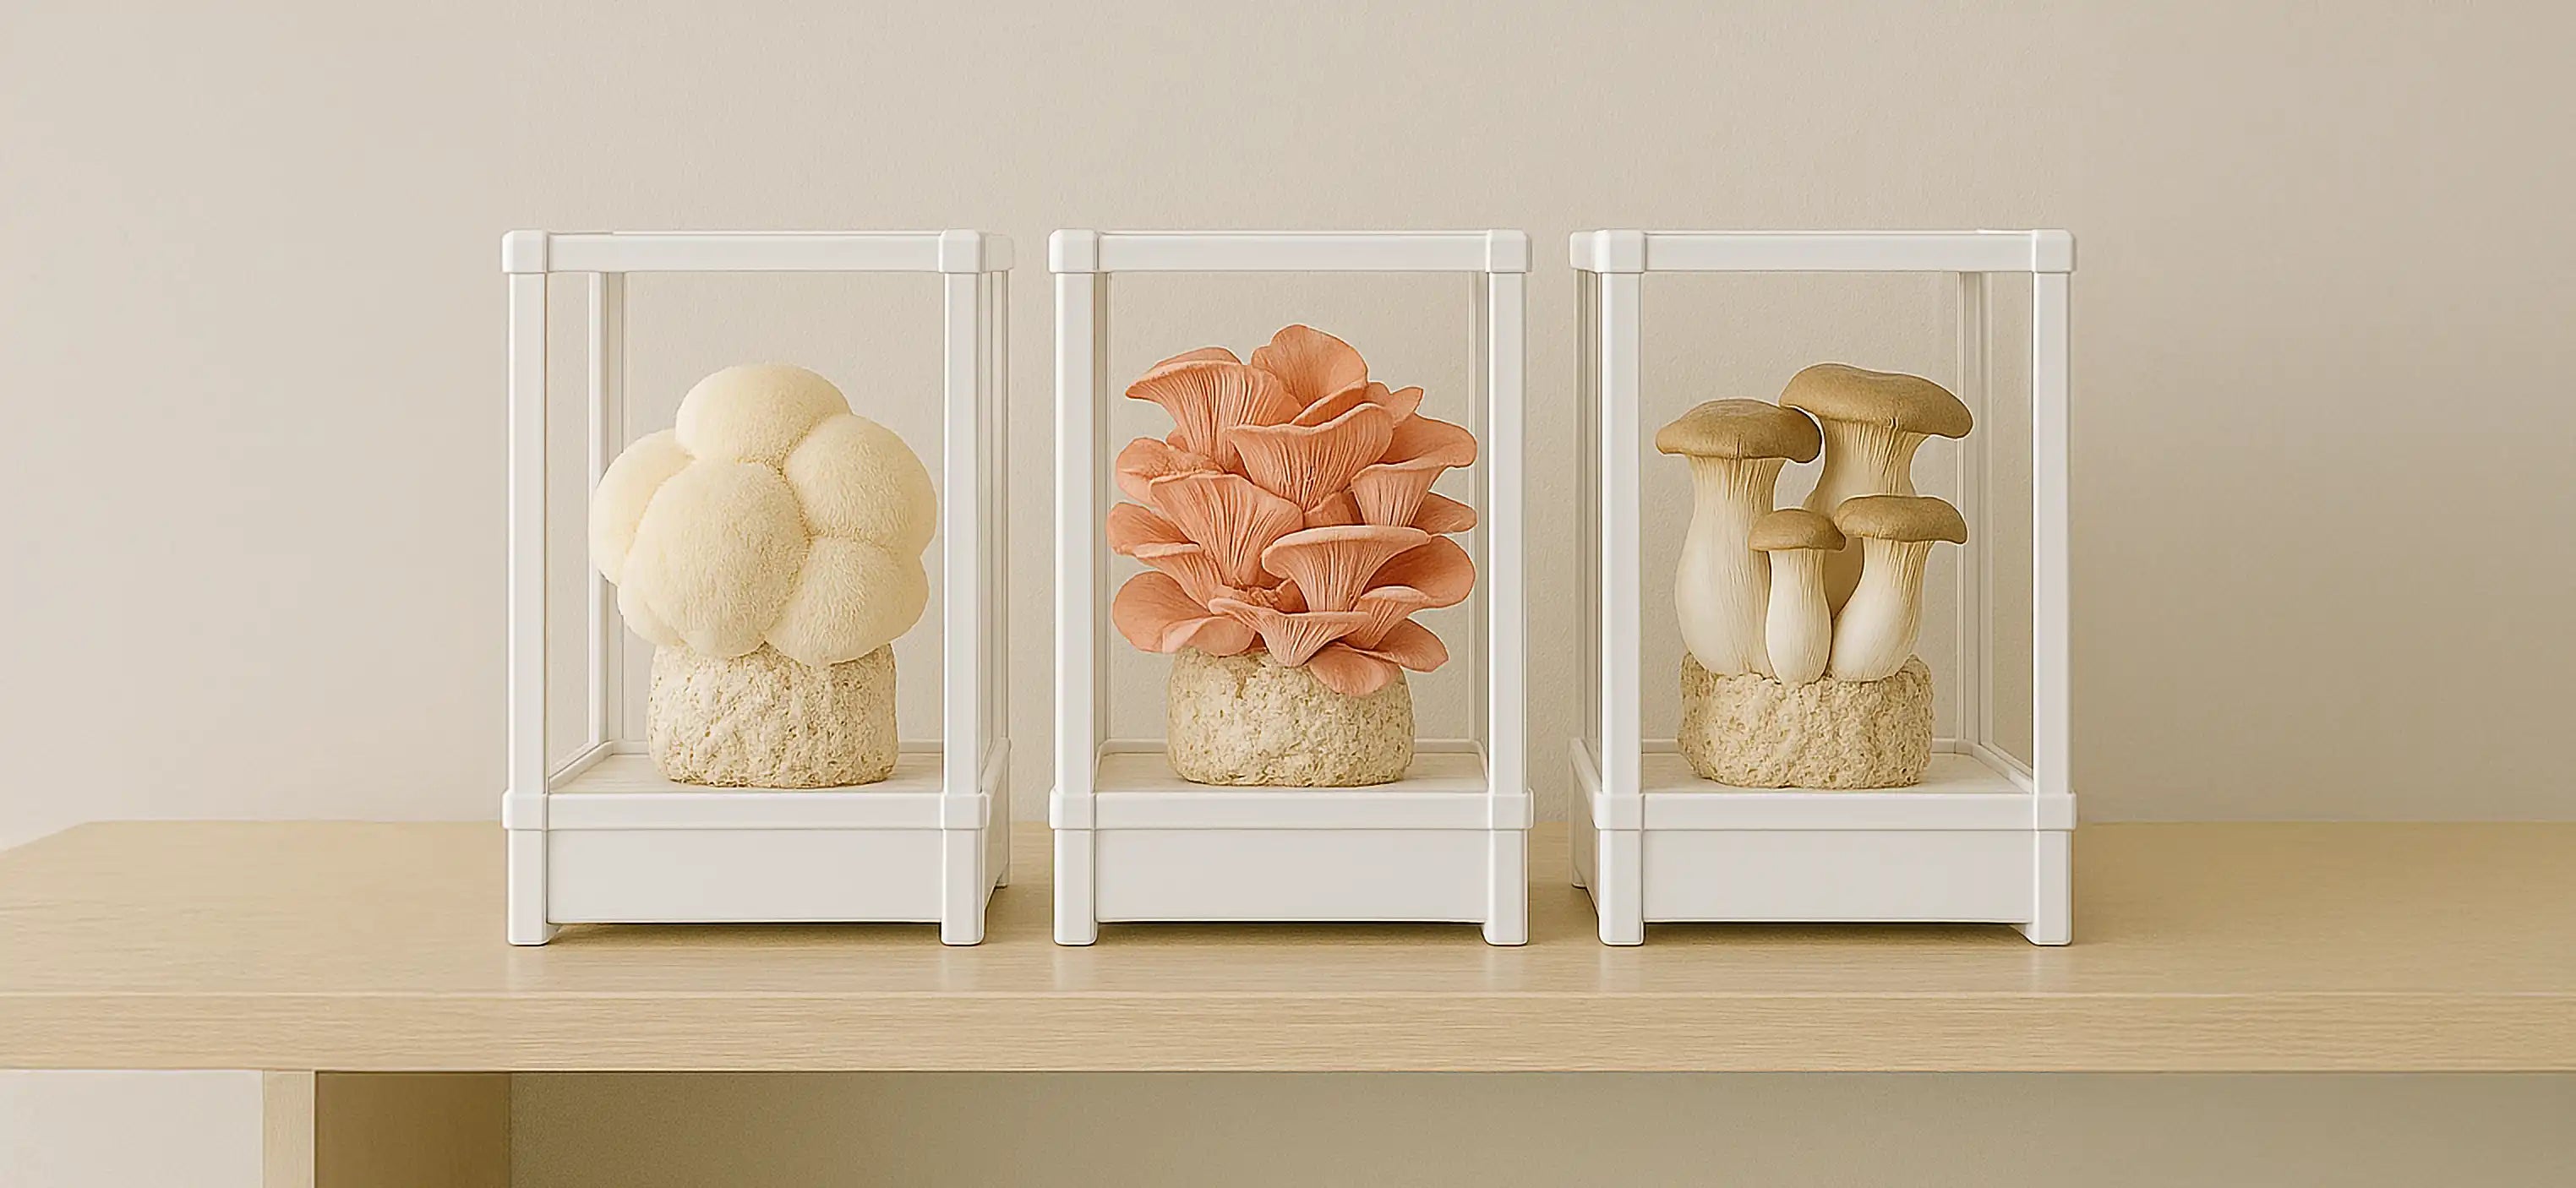
Introduction to Maitake Mushrooms
Maitake mushrooms (Grifola frondosa), also known as "hen of the woods," "sheep's head," or "dancing mushrooms," are prized for both their culinary value and medicinal properties. With their distinctive cluster-like appearance resembling the feathers of a fluffed hen, these mushrooms offer a rich, earthy flavor and meaty texture that makes them a favorite among chefs and home cooks alike.
While maitake mushrooms naturally grow at the base of hardwood trees, particularly oak, in temperate forests, you don't need a forest in your backyard to enjoy these delicious fungi. With the right techniques and a bit of patience, you can successfully grow maitake mushrooms at home.
In this comprehensive guide, we'll walk you through everything you need to know about growing maitake mushrooms, from understanding their lifecycle to setting up the perfect growing environment, preparing substrate, and finally harvesting your homegrown crop.
Understanding Maitake Mushroom Growth
Before diving into the growing process, it's important to understand how maitake mushrooms naturally grow in the wild.
Natural Habitat and Growing Cycle
Maitake mushrooms are primarily found at the base of oak trees, though they may also grow near maple and elm trees. They appear from late summer through early fall in temperate regions of North America, Europe, and Asia. Unlike many mushrooms that grow on dead wood, maitake has a slightly parasitic relationship with living trees, though they primarily feed on decaying matter around the tree's base.
In the wild, maitake mushrooms typically grow in the same location year after year if conditions remain favorable. They form large fruiting bodies that can weigh anywhere from a few pounds to over 50 pounds in exceptional cases.
Growth Requirements
Understanding the specific requirements for maitake growth will help you create optimal growing conditions:
- Temperature: Maitake prefers temperatures between 55-75°F (12-24°C) for mycelium growth, with fruiting occurring best at 55-65°F (12-18°C)
- Humidity: High humidity levels of 85-95% are essential, especially during fruiting
- Light: Indirect light is required for proper fruiting, though complete darkness is suitable during the incubation period
- Air Exchange: Good ventilation with high humidity is crucial
- Substrate: Hardwood-based growing medium that mimics their natural environment

Methods for Growing Maitake at Home
There are several approaches to growing maitake mushrooms at home. We'll cover the three most common methods, from easiest to most advanced.
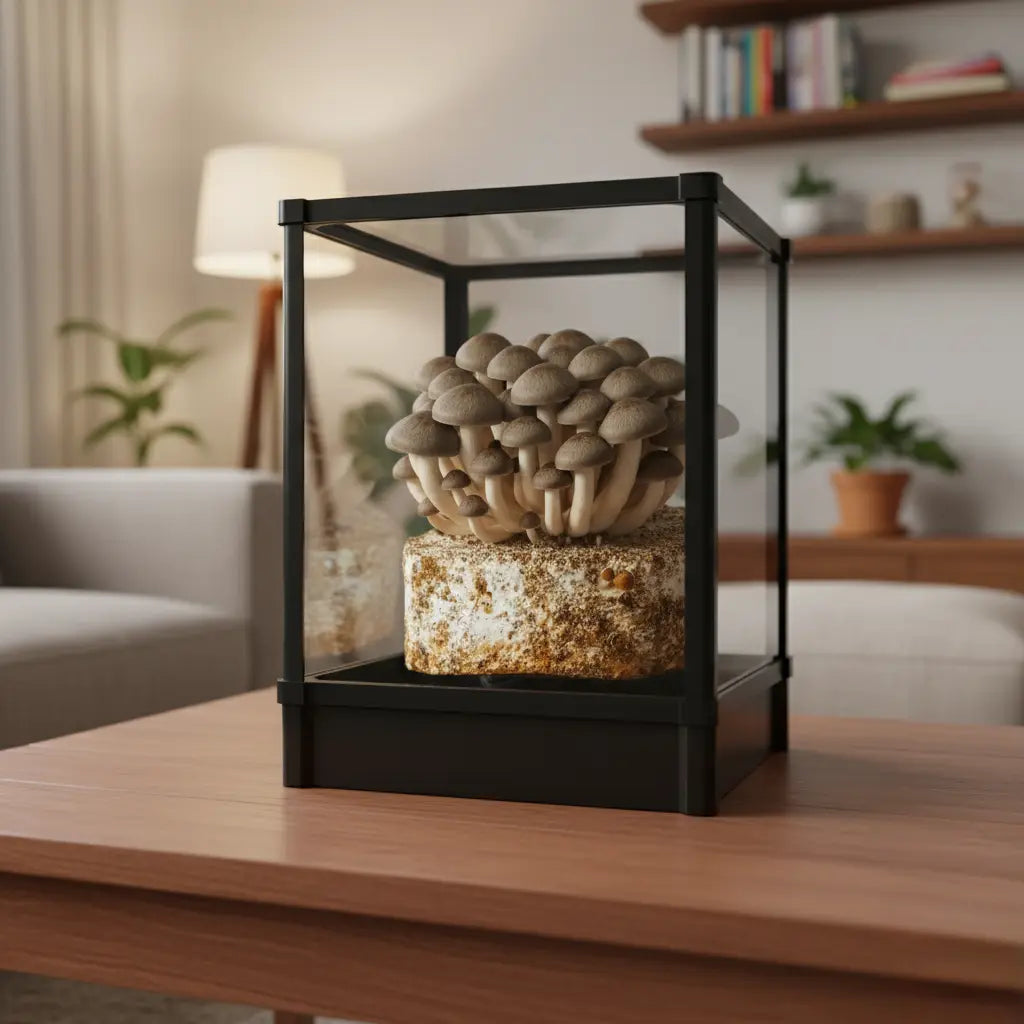
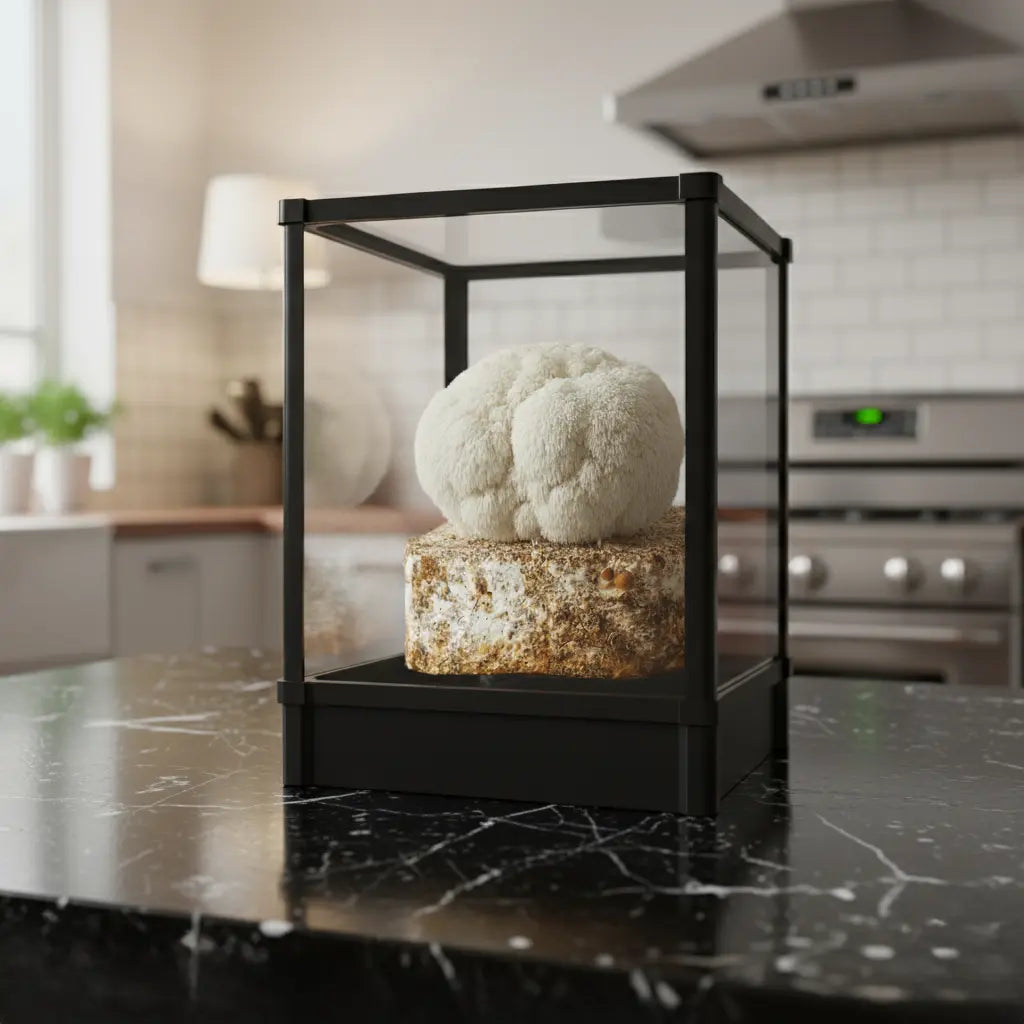
Method 1: Using a Maitake Mushroom Growing Kit
For beginners, a mushroom growing kit is the simplest way to start growing maitake mushrooms at home.
What You'll Need:
- A maitake mushroom growing kit
- Spray bottle with clean water
- A location with indirect light
- Thermometer and hygrometer to monitor conditions
Step-by-Step Process:
-
Unpack the kit: Carefully open the kit according to the manufacturer's instructions. Most kits contain a substrate block already colonized with maitake mycelium.
-
Create the right environment: Place the kit in a location with:
- Temperatures between 60-70°F (15-21°C)
- Indirect light (not direct sunlight)
- Good air circulation
- High humidity (use a humidity tent if provided, or create one with a plastic bag with small holes)
-
Maintain humidity: Mist the growing block daily or as directed in the kit instructions. The substrate should remain moist but not soaking wet.
-
Wait patiently: Maitake mushrooms can take 2-4 weeks to begin fruiting from a kit. During this time, maintain consistent growing conditions.
-
Harvest: When the mushroom clusters reach full size with well-defined caps (typically about 1-3 inches across), they're ready to harvest. Use a sharp knife to cut the entire cluster at the base.
While growing kits are convenient, they typically produce only one or two harvests. For ongoing maitake production, you'll need to explore more advanced methods.
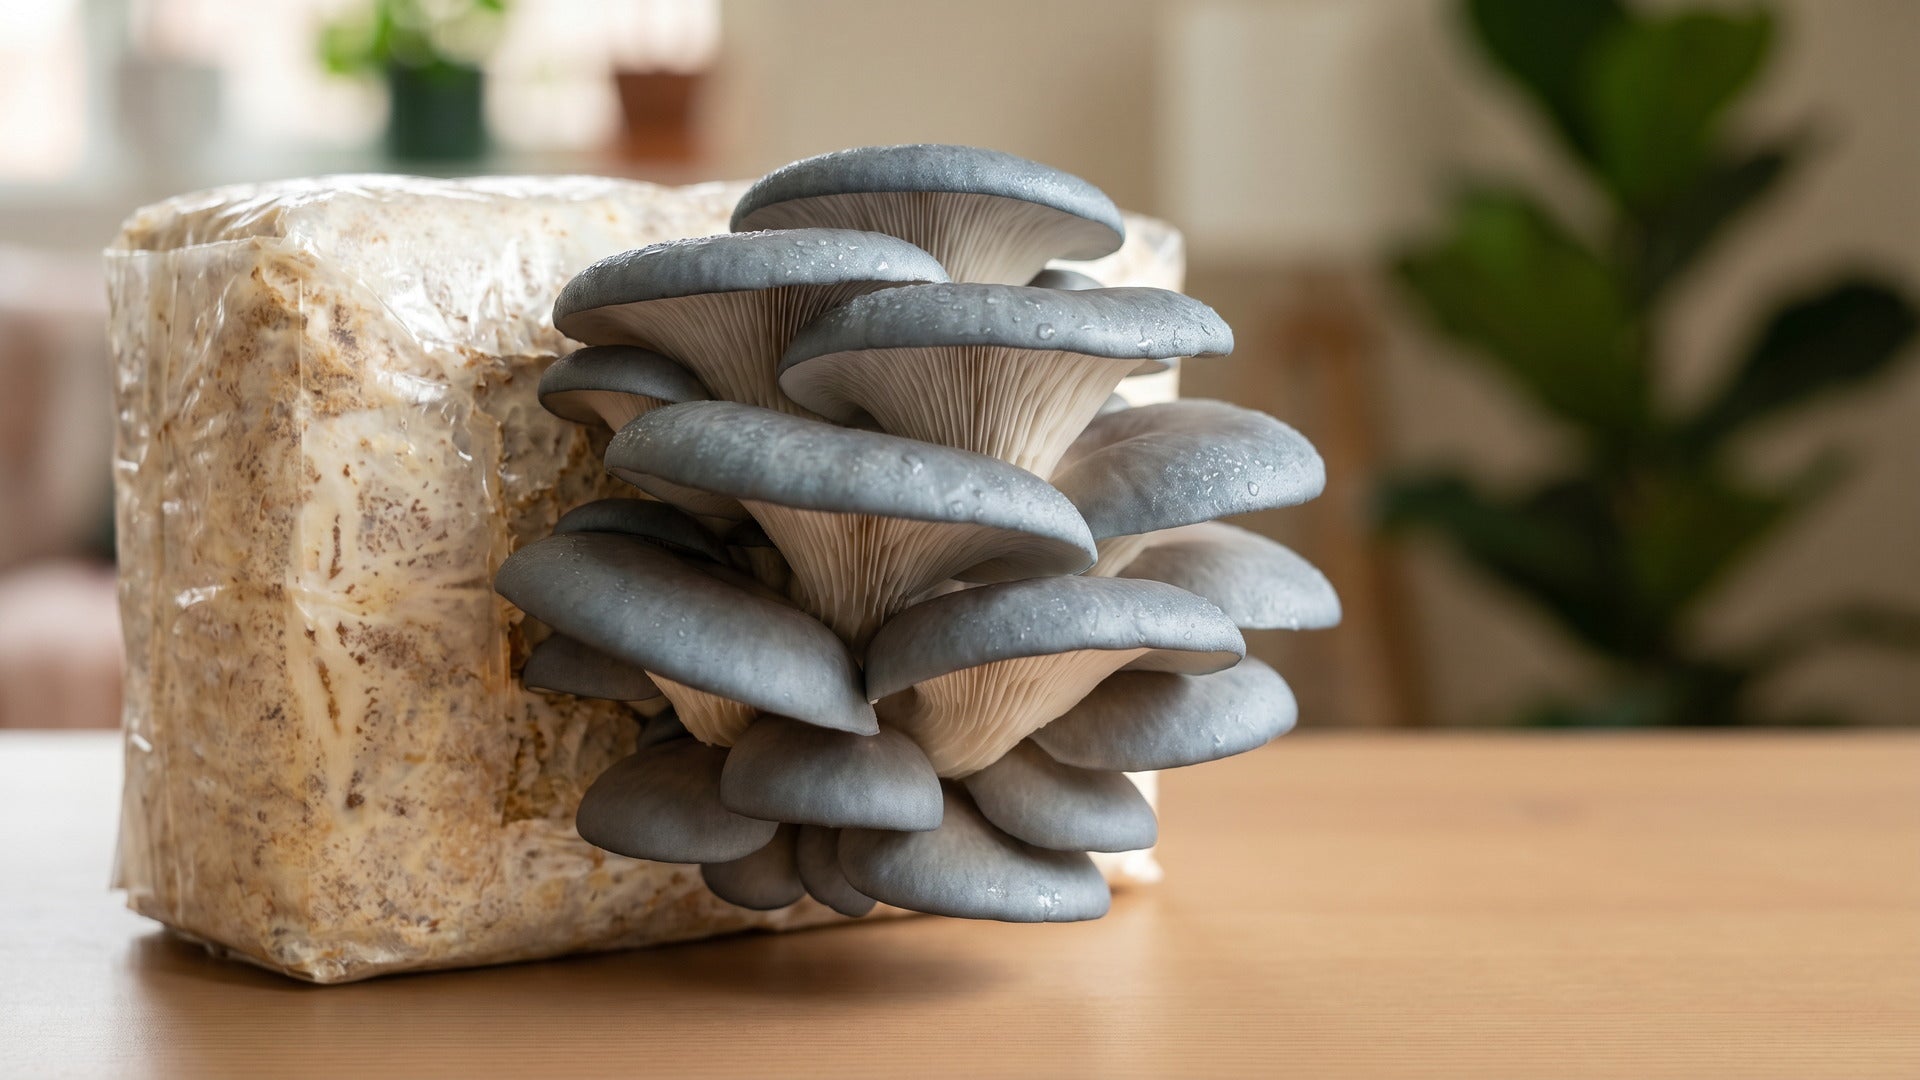
Method 2: Growing on Logs (Outdoor Method)
Growing maitake mushrooms on logs more closely replicates their natural growing conditions and can produce harvests for several years.
What You'll Need:
- Fresh oak logs, 3-8 inches in diameter and 2-3 feet long
- Maitake spawn (dowel, sawdust, or plug form)
- Drill with 5/16-inch bit (for plug spawn) or 1-inch bit (for sawdust spawn)
- Beeswax or food-grade wax
- Small saucepan and heat source for melting wax
- Paintbrush for applying wax
- Equipment for sterilizing logs (pressure cooker, large pot for boiling, or steaming setup)
Step-by-Step Process:
-
Select and prepare logs: Cut healthy, living oak trees or branches during dormant season (late winter to early spring). Allow logs to rest for 2-4 weeks after cutting, but no longer to prevent colonization by wild fungi.
-
Sterilize the logs: This step is crucial for maitake, as they're somewhat parasitic and can be outcompeted by other fungi. Options include:
- Pressure cooking smaller logs or sections
- Boiling logs for 1-2 hours
- Steaming logs for 2-3 hours
-
Cool logs: Allow logs to cool completely before inoculation.
-
Inoculate the logs:
- For plug spawn: Drill holes about 1 inch deep every 6 inches in a diamond pattern around the log. Insert one plug in each hole.
- For sawdust spawn: Drill 1-inch holes and pack with sawdust spawn.
-
Seal with wax: Melt the wax and use a paintbrush to seal each inoculation hole to prevent contamination and moisture loss.
-
Incubation phase: Place the inoculated logs in clean plastic bags with filter patches for air exchange. Keep in a warm (65-75°F) dark place for 2-3 months while the mycelium colonizes the logs.
-
Outdoor planting: After the incubation period, partially bury the logs in a shaded outdoor location. The best time for this step is late spring to early summer.
- Choose a spot with dappled shade
- Bury the log about 1/3 of its diameter into the soil
- Keep the area moist but not waterlogged
-
Waiting period: Maitake can take anywhere from a few months to over a year to fruit after planting. Be patient.
-
Harvest: Once fruiting begins, harvest clusters when caps are well-formed but still firm. Logs can produce mushrooms for several years, typically one year for each inch of log diameter.
Method 3: Indoor Cultivation with Sawdust Substrate
This method offers more control over growing conditions but requires more expertise and equipment.
What You'll Need:
- Hardwood sawdust (preferably oak)
- Wheat bran
- Calcium supplement (gypsum or agricultural lime)
- Maitake spawn (liquid or grain)
- Spray bottle with clean water
- Polypropylene bags with filter patches
- Pressure cooker or autoclave
- Thermometer and hygrometer
- Clean workspace for inoculation
- Growing area with controlled temperature and humidity
Step-by-Step Process:
-
Prepare the substrate: Mix the following ingredients:
- 75% hardwood sawdust (a mix of fine and coarse)
- 23% wheat bran
- 1% gypsum or agricultural lime
- 1% sucrose (optional)
- Enough water to reach approximately 60-65% moisture content (substrate should form a ball when squeezed but not drip water)
-
Load and sterilize: Fill polypropylene bags with the substrate mixture, then sterilize in a pressure cooker at 15 PSI for 2-3 hours.
-
Cool completely: Allow the sterilized substrate to cool to room temperature before inoculation.
-
Inoculate in a clean environment: In a clean, still-air environment or laminar flow hood:
- Open the spawn and substrate bags
- Mix spawn into the substrate at a rate of 10-15% by weight
- Seal bags according to manufacturer directions
-
Incubation phase: Place the inoculated bags in a warm (65-75°F), dark area for colonization:
- Monitor for contamination (unusual colors, odors, or growth patterns)
- Maitake mycelium should appear white and feathery
- Full colonization typically takes 3-4 weeks
-
Fruiting conditions: When bags are fully colonized:
- Move to a cooler environment (55-65°F)
- Provide indirect light for 8-12 hours daily
- Maintain high humidity (85-95%)
- Ensure good air exchange
- Either cut small slits in the bag or remove the substrate block and place it in a fruiting chamber
-
Maintenance during fruiting: Mist regularly to maintain humidity without soaking the substrate.
-
Harvest: When caps are well-formed and firm (typically 1-3 inches across), harvest the entire cluster by cutting at the base with a sharp knife.
Creating Optimal Growing Conditions
No matter which method you choose, maintaining the right environment is crucial for successful maitake cultivation.
Temperature Control
- Colonization phase: 65-75°F (18-24°C)
- Fruiting phase: 55-65°F (12-18°C)
- Avoid fluctuations: Sudden temperature changes can stress the mycelium
For indoor cultivation, consider using:
- Heating mats with thermostats for cooler environments
- Cool, basement areas for warmer climates
- Space heaters or air conditioners with thermostats for precise control
Humidity Management
Maitake requires high humidity, especially during the fruiting stage.
Methods to increase humidity include:
- Humidity tents made from plastic bags with small holes
- Automated humidifiers
- Regular misting with a spray bottle
- Placing containers of water near the growing area
- Perlite or vermiculite beds in fruiting chambers
Use a hygrometer to monitor humidity levels, aiming for:
- 65-75% during colonization
- 85-95% during fruiting
Light Requirements
Maitake requires different light conditions at different stages:
- Colonization: Complete darkness is acceptable
- Fruiting: Indirect light for 8-12 hours daily
Natural indirect light or fluorescent lights work well. Avoid direct sunlight, which can overheat and dry out your growing medium.
Air Exchange
Proper ventilation is essential, especially during fruiting:
- Ensure fresh air exchange without drying out the substrate
- Use small fans set on low speed for air circulation
- For fruiting chambers, install air holes covered with micropore tape or filters
Common Challenges and Troubleshooting
Growing maitake mushrooms can present some challenges, particularly for beginners. Here are solutions to common issues:
Contamination
Signs of contamination include unusual colors (green, black, pink), foul odors, or slimy textures.
Prevention and solutions:
- Work in a clean environment when handling spawn
- Ensure proper sterilization of substrate
- If contamination occurs, isolate the affected bag/log immediately
- For minor contamination, try removing the affected area if caught early
Slow or No Growth
If your maitake is growing slowly or not at all:
- Check temperature: Ensure it's within the optimal range
- Verify humidity: Low humidity can halt growth
- Examine spawn quality: Old or poor-quality spawn may not perform well
- Consider substrate composition: Maitake prefers hardwood substrates with proper supplements
Abnormal Fruiting Patterns
If mushrooms appear deformed or grow strangely:
- Evaluate CO2 levels: Excessive CO2 can cause elongated stems and small caps
- Check light conditions: Insufficient light can lead to unusual growth
- Assess humidity: Inconsistent humidity can create deformed mushrooms
- Monitor air circulation: Poor air exchange affects mushroom development
Harvesting and Storage
Knowing when and how to harvest ensures you'll get the best flavor and texture from your maitake mushrooms.
When to Harvest
Harvest maitake mushrooms when:
- The caps are well-formed and firm
- Individual caps are approximately 1-3 inches across
- The edges are still relatively thick (not paper-thin)
- The cluster has a fresh, earthy smell
Avoid harvesting when:
- Caps begin to droop significantly
- Edges become extremely thin and fragile
- The mushroom develops a fishy or ammonia-like smell
- There are signs of insect damage or mold
Harvesting Technique
To harvest:
- Support the mushroom cluster with one hand
- Use a sharp knife or scissors to cut the cluster at its base
- Take care not to damage the growing block or log if you expect more fruitings
Storage Methods
Fresh maitake mushrooms can be:
- Refrigerated in a paper bag for up to 7-10 days
- Dried in a food dehydrator at 110-120°F until completely dry and brittle
- Sautéed and frozen for longer storage
Sustainability and Long-term Cultivation
To create a sustainable cycle of maitake production:
Method 1: Multiple Growing Kits or Blocks
Stagger the starting times of multiple kits or blocks to ensure continuous harvests.
Method 2: Expanding Your Log Operation
- Add new inoculated logs each year
- Maintain a log yard with different logs at various stages of production
- Properly care for spent logs by returning them to the environment
Method 3: Spawn Production
Advanced growers may want to produce their own spawn:
- Start with a pure culture from a reliable source
- Maintain the culture on agar media
- Expand to grain spawn
- Use the grain spawn to inoculate new substrate or logs
Health Benefits and Culinary Uses
Understanding the benefits and uses of maitake mushrooms can provide additional motivation for growing them at home.
Health Benefits
Maitake mushrooms are renowned for their potential health benefits, including:
- Supporting immune function
- Helping regulate blood sugar levels
- Providing antioxidants and anti-inflammatory compounds
- Potentially supporting heart health
- Offering a natural source of vitamin D when exposed to UV light
Culinary Applications
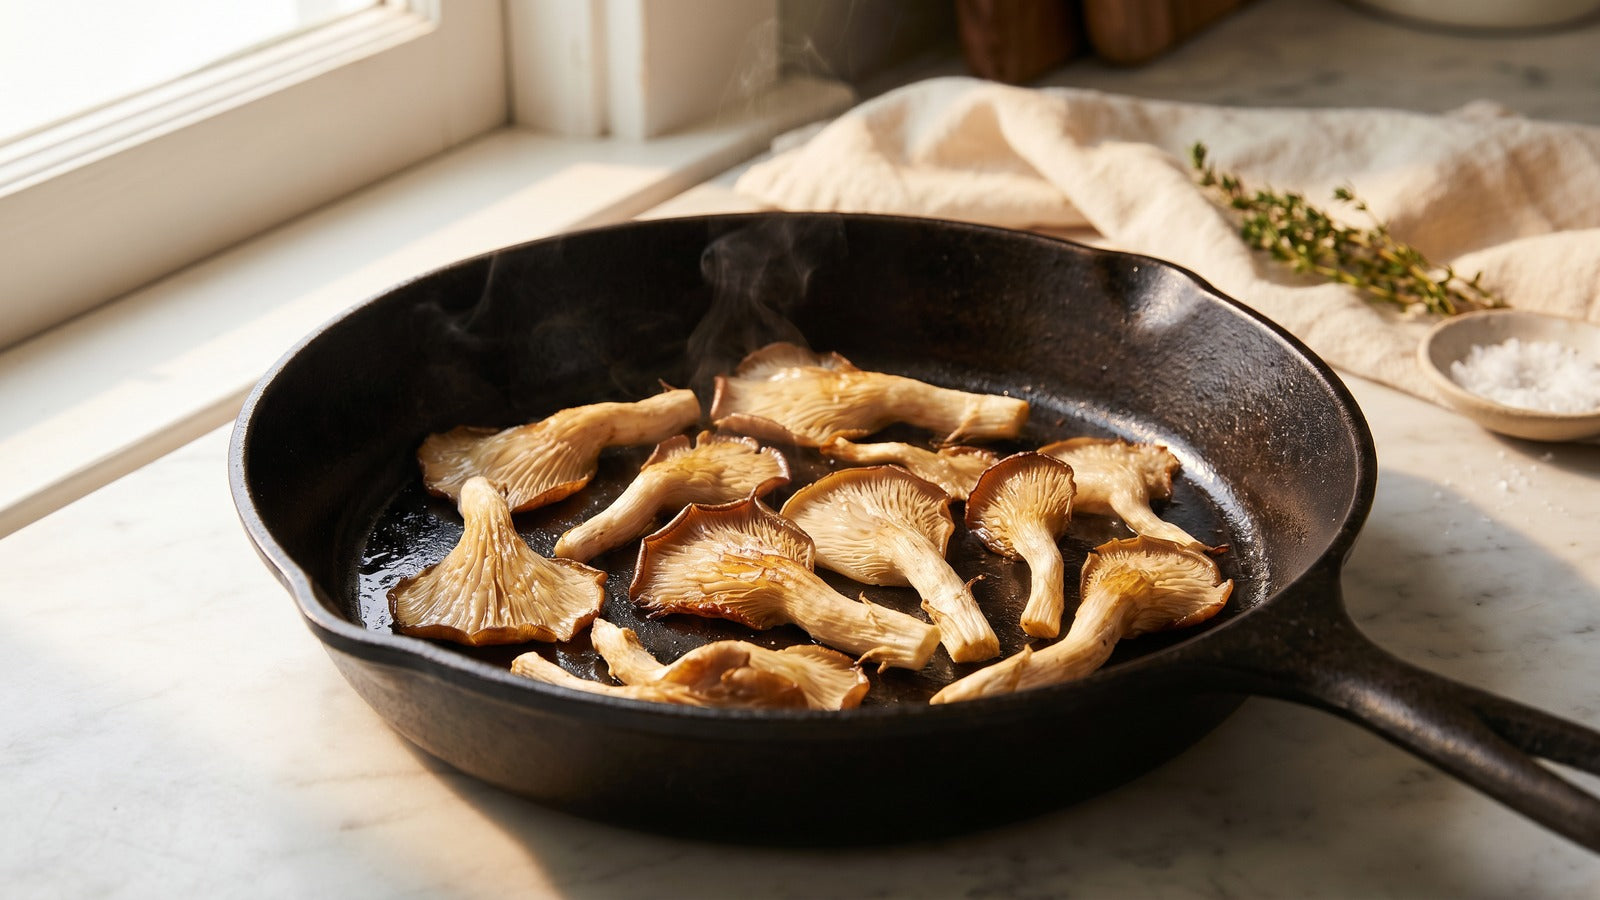
Freshly harvested maitake mushrooms can be enjoyed in numerous ways:
- Sautéed with butter or olive oil and garlic
- Roasted to enhance their nutty flavor
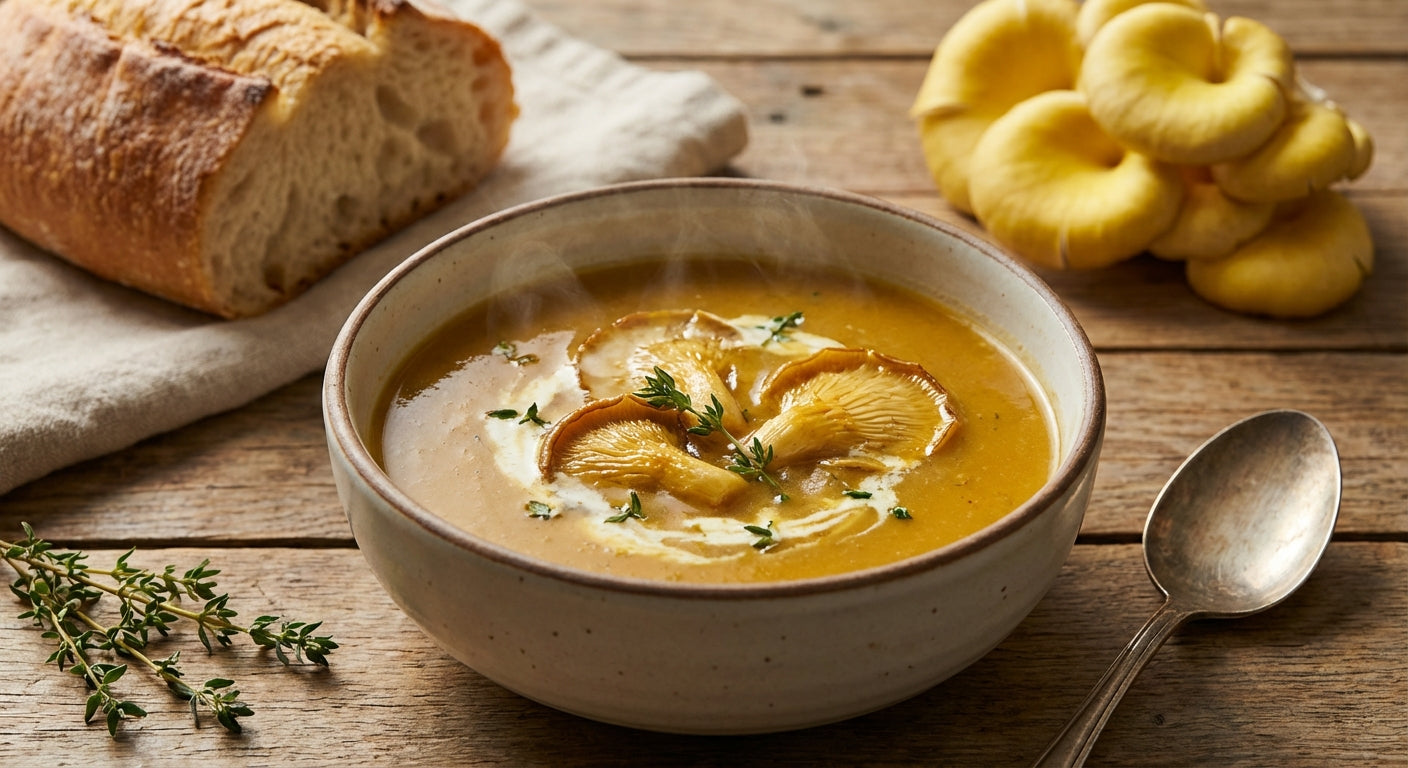
- Added to soups and stews
- Incorporated into risotto or pasta dishes
- Tempura-fried for a crispy appetizer
- Dried and powdered as a flavor enhancer
Conclusion
Growing maitake mushrooms at home is a rewarding journey that requires patience, attention to detail, and a willingness to learn. While they may be more challenging to cultivate than some other mushroom varieties, the exceptional flavor and potential health benefits make them well worth the effort.
Whether you choose to start with a simple growing kit, try the log method, or dive into indoor cultivation with sawdust substrate, following the guidelines in this comprehensive guide will help you successfully grow your own maitake mushrooms at home.
Remember that mushroom cultivation is both a science and an art, each growing cycle provides new learning opportunities and chances to refine your techniques. With persistence and careful observation, you'll soon be harvesting your own homegrown maitake mushrooms and enjoying their unique flavor and benefits.
Frequently Asked Questions
How long does it take to grow maitake mushrooms?
Maitake mushrooms require patience. From inoculation to first harvest typically takes:
- 2-4 weeks with a pre-colonized kit
- 3-12 months with the log method
- 2-4 months with the sawdust substrate method
Can maitake mushrooms be grown year-round?
Yes, with indoor cultivation using controlled conditions, you can grow maitake mushrooms throughout the year. Outdoor log methods will follow more seasonal patterns.
Are maitake mushrooms difficult to grow for beginners?
Maitake mushrooms are considered intermediate to advanced in cultivation difficulty. Beginners should start with a kit before progressing to more complex methods.
What's the best substrate for growing maitake mushrooms?
A mixture of hardwood sawdust (preferably oak) supplemented with wheat bran and a calcium source creates an ideal substrate for maitake cultivation.
How many harvests can I expect?
- Growing kits typically produce 1-2 harvests
- Log cultivation can produce harvests for several years (one year per inch of log diameter)
- Indoor sawdust blocks generally provide 1-3 harvests before the substrate is depleted
Can I grow maitake mushrooms alongside other mushroom varieties?
It's best to grow maitake mushrooms separately, as they can be outcompeted by faster-growing mushroom species and have specific environmental requirements.
What are the signs of contamination?
Watch for unusual colors (green, blue, black, or pink), strange odors, or slimy textures on your substrate or growing medium, which indicate contamination.
Share:
“Side Effects of Maitake Mushrooms: Explained and Backed by Science
Fried Maitake Mushrooms: A Crispy and Delicious Delight