

Want to know how to grow mushrooms from mushrooms? You've discovered one of the most powerful techniques in mushroom cultivation. Growing mushrooms from existing mushrooms, called cloning or tissue culture, allows you to propagate your favorite specimens indefinitely, preserve exceptional genetics, and eliminate the need to repeatedly purchase spawn or spores. Whether you want to clone a particularly impressive mushroom from your garden or replicate store-bought varieties, this comprehensive guide will teach you everything you need to know.
Learning how to grow mushrooms from mushrooms opens doors to unlimited, cost-free propagation. Once you master these techniques, a single exceptional mushroom can provide years of cultivation without ever buying spawn again. Best of all, cloning preserves exact genetic characteristics, ensuring every future harvest matches the quality of your original specimen.
Why Learn How to Grow Mushrooms from Mushrooms?
Before diving into the technical process, let's explore why experienced cultivators consider cloning mushrooms essential knowledge.
Preserve Superior Genetics
When you grow mushrooms from mushrooms, you're making an exact genetic copy. If you harvest an exceptionally large, fast-growing, or flavorful mushroom, cloning preserves those exact characteristics forever. Unlike growing from spores (which creates genetic variation), tissue cloning guarantees consistency.
This matters tremendously for serious cultivators. Finding a mushroom with perfect size, texture, and growth speed represents months of trial and error. Cloning that specimen means you never lose those superior genetics.
Unlimited Free Propagation
Once you understand how to grow mushrooms from mushrooms, you'll never need to purchase spawn again. A single cloned culture can be expanded indefinitely through successive transfers, providing years of cultivation material at virtually no cost.
Compare this to buying spawn repeatedly, quality spawn costs $15-30 per bag, which adds up quickly for regular cultivators. Cloning eliminates this recurring expense entirely.
Clone Exceptional Store-Bought Mushrooms
Ever buy incredible mushrooms from a farmers market or specialty store and wish you could grow them yourself? When you learn how to grow mushrooms from mushrooms, you can clone those exceptional specimens. While success rates vary with store-bought mushrooms (they often carry contaminants), the technique works frequently enough to be worth attempting with particularly impressive finds.

Preserve Rare or Unique Varieties
Some mushroom varieties are difficult to find as commercial spawn. If you obtain rare species through foraging, trading with other cultivators, or limited commercial sources, cloning ensures you maintain permanent access to those genetics.
Understanding the Science: How Growing Mushrooms from Mushrooms Works
Before learning practical techniques, understanding the biological principles helps you make better decisions throughout the process.
What Is Mushroom Cloning?
Mushroom cloning (also called tissue culture) involves taking a small piece of mushroom tissue and transferring it to a nutrient-rich growing medium. The tissue contains living cells that, under proper conditions, regenerate into mycelium, the white, thread-like fungal network that eventually produces new mushrooms.
This differs fundamentally from growing mushrooms from spores. Spores undergo sexual reproduction, combining genetic material from two parents to create offspring with new genetic combinations. Tissue cloning is asexual reproduction, creating exact genetic duplicates of the parent mushroom.
Why Fresh, Healthy Mushrooms Matter
The interior of a healthy, fresh mushroom contains sterile tissue protected by the outer surface. This sterile interior tissue provides your starting material for cloning. Once exposed to air, however, tissue quickly picks up contaminants like bacteria and mold spores.
This explains why fresh mushrooms clone more successfully than older specimens, and why store-bought mushrooms (which may be several days old and exposed to numerous handling) present greater challenges than freshly harvested homegrown mushrooms.
The Contamination Challenge
Learning how to grow mushrooms from mushrooms requires understanding that contamination represents your biggest obstacle. Mushroom tissue isn't naturally sterile, it's merely protected by the mushroom's exterior. The moment you expose interior tissue to air, countless airborne contaminants attempt to colonize it.
Successful cloning depends on transferring tissue to sterile growing media before contaminants can establish themselves. This requires clean technique, speed, and often multiple attempts to achieve success.
Essential Equipment for Growing Mushrooms from Mushrooms
Successful mushroom cloning requires specific equipment. While beginners can start with minimal tools, investing in proper supplies dramatically improves success rates.
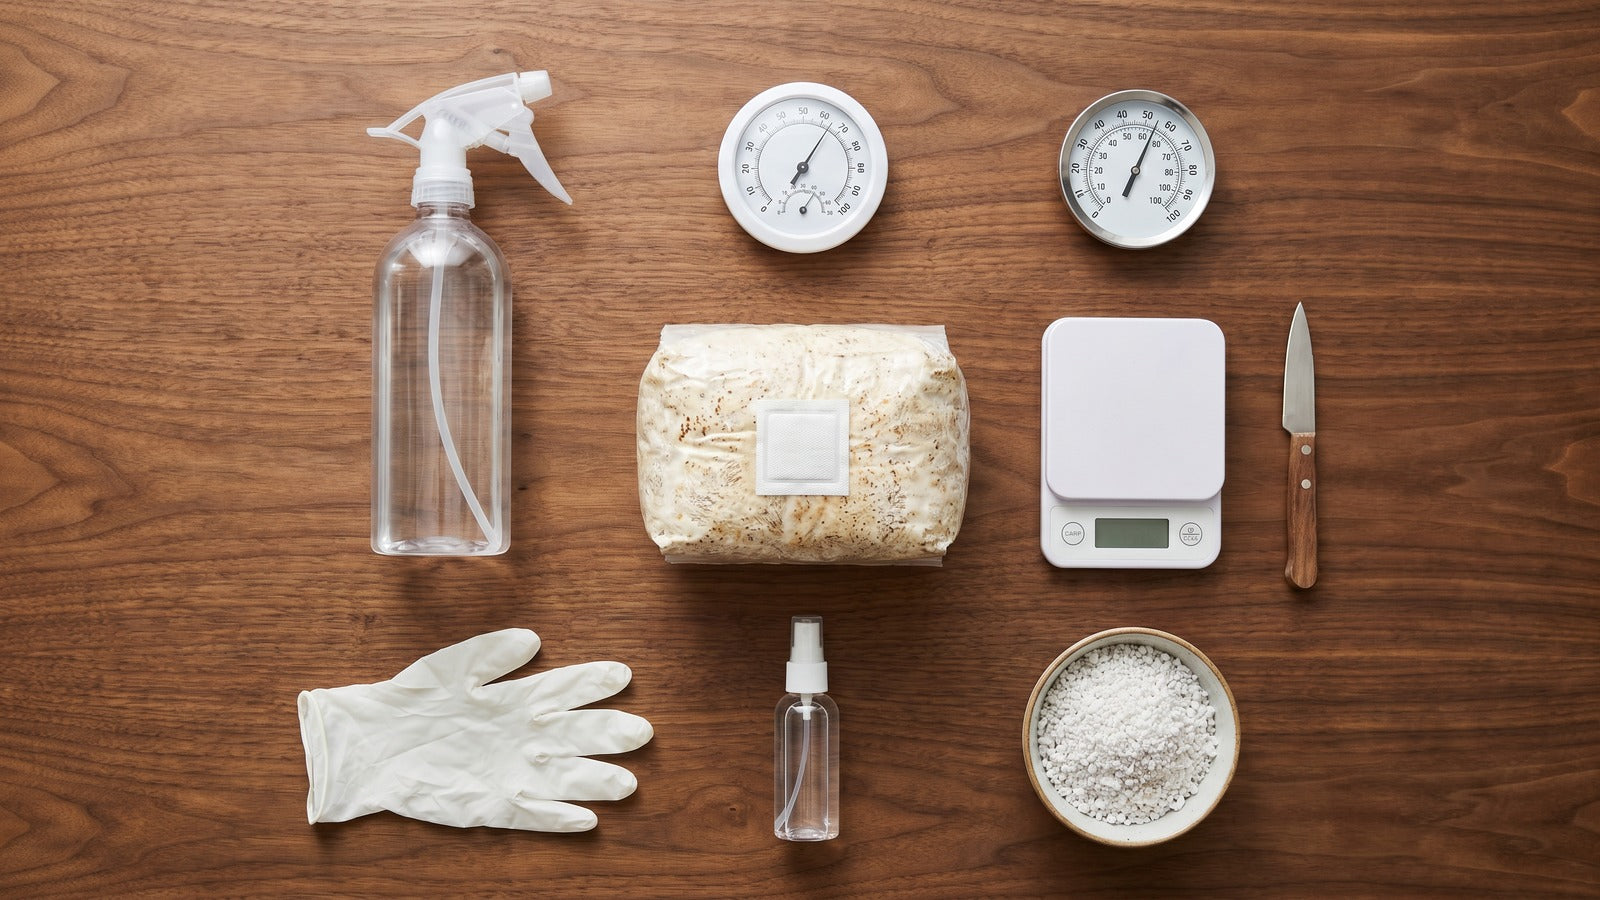
Basic Cloning Supplies
Petri dishes with agar: Agar provides a sterile, nutrient-rich surface where mushroom tissue can regenerate into mycelium. Pre-poured agar dishes (available from mushroom suppliers) eliminate the need for complex preparation. Buy at least 10-20 dishes for your first attempts, you'll need multiple tries to achieve success.
Scalpel or X-acto knife: Sharp, sterile cutting tools allow precise tissue extraction. Disposable scalpel blades work excellently as you can use fresh, sterile blades for each attempt.
Alcohol lamp or torch: For flame-sterilizing tools between uses. A simple alcohol lamp (or even a candle in a pinch) works, though small propane torches provide more consistent heat.
70% isopropyl alcohol: For sterilizing surfaces, tools, and your hands before working. The 70% concentration works better than 91% for surface sterilization due to better penetration.
Parafilm or micropore tape: To seal agar dishes after inoculation while still allowing gas exchange. Parafilm provides better contamination protection but costs more.
Paper towels: For creating sterile working surfaces and catching drips during sterilization.
Creating a Clean Working Environment
Still air box (SAB): A clear plastic storage container with arm holes cut in the sides. This simple device dramatically reduces airborne contamination by creating a protected workspace. You can build one in 10 minutes for under $20.
Laminar flow hood: Professional equipment that provides a continuous stream of sealed and app-controlled air. While expensive ($300-2,000), flow hoods offer the best contamination prevention for serious cultivators. Most beginners start with still air boxes and upgrade later.
Optional Advanced Equipment
Liquid culture supplies: Jars with self-healing injection ports for expanding cloned cultures in nutrient-rich liquid. This allows rapid multiplication of successful clones. For detailed guidance, see this Lion's Mane liquid culture guide which covers techniques applicable to most species.
Pressure cooker: For sterilizing agar media, grain spawn, and substrates if you plan to prepare these from scratch rather than purchasing pre-made supplies.
Grain bags or jars: For transferring successful agar cultures to grain spawn that can inoculate bulk substrates.
Step-by-Step: How to Grow Mushrooms from Mushrooms
Let's walk through the complete process of cloning mushrooms using tissue culture techniques.
Step 1: Select Your Source Mushroom
Choose the best possible source mushroom for cloning:
Fresh is critical: Clone mushrooms within hours of harvesting for best results. The fresher the mushroom, the lower the contamination risk and the more vigorous the resulting culture.
Healthy specimens only: Select mushrooms showing no signs of disease, insect damage, or decay. Avoid any with soft spots, unusual discoloration, or off odors.
Mature but not over-mature: Young, actively growing mushrooms clone more successfully than fully mature specimens releasing spores. Choose mushrooms just reaching full size with caps that haven't completely flattened.
Impressive characteristics: Since you're creating an exact genetic copy, clone mushrooms displaying the traits you want, large size, rapid growth, excellent flavor, or attractive appearance.
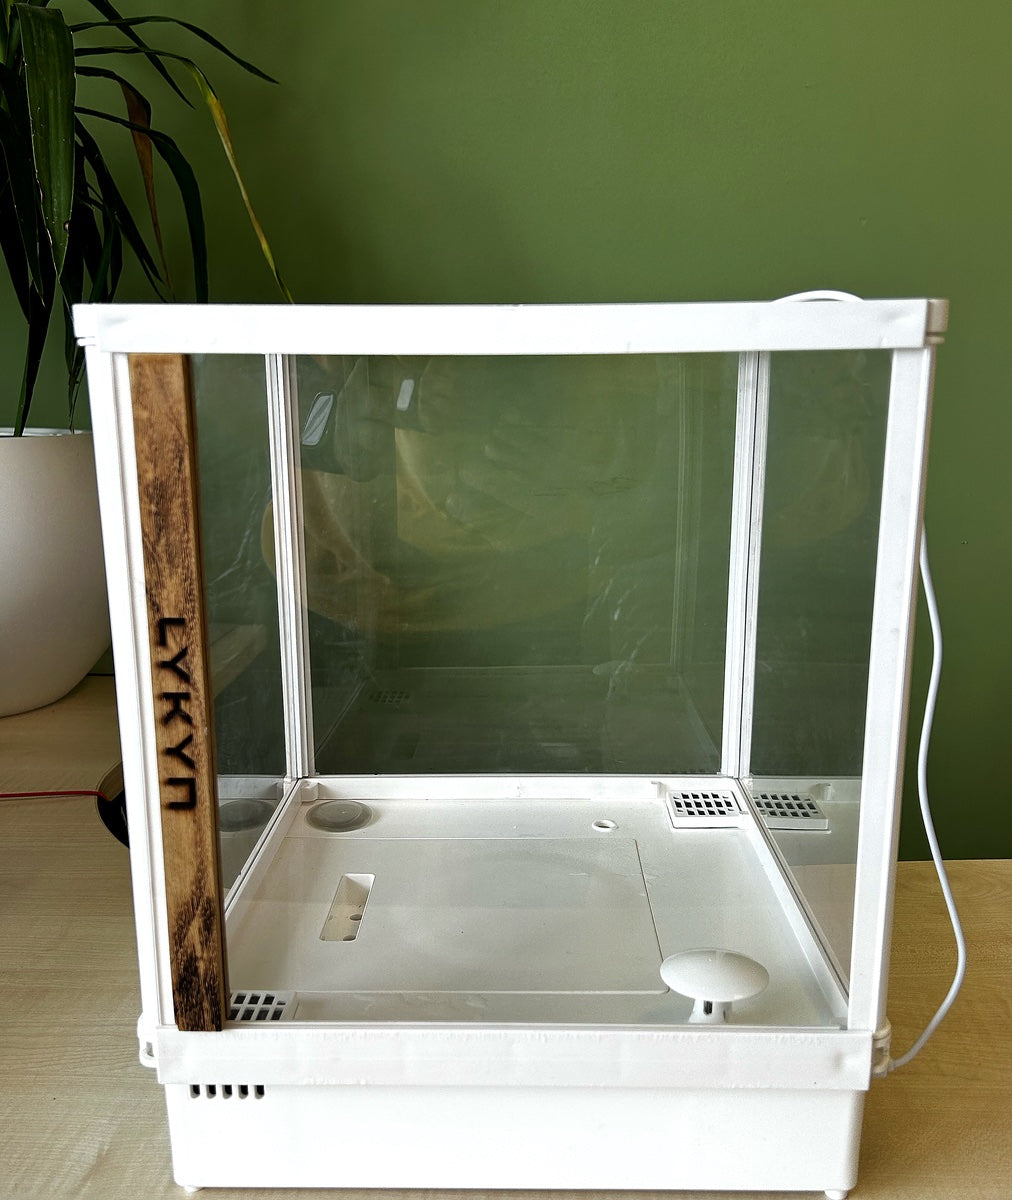
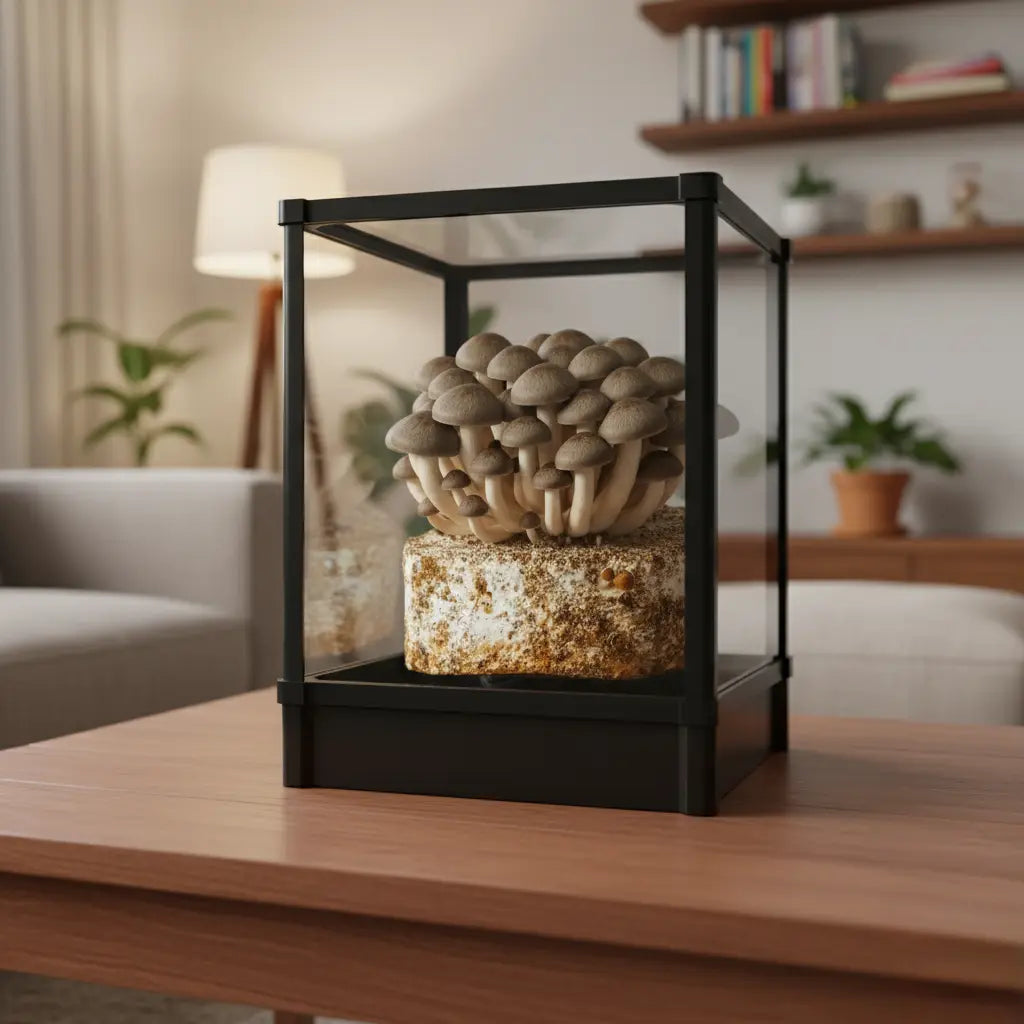
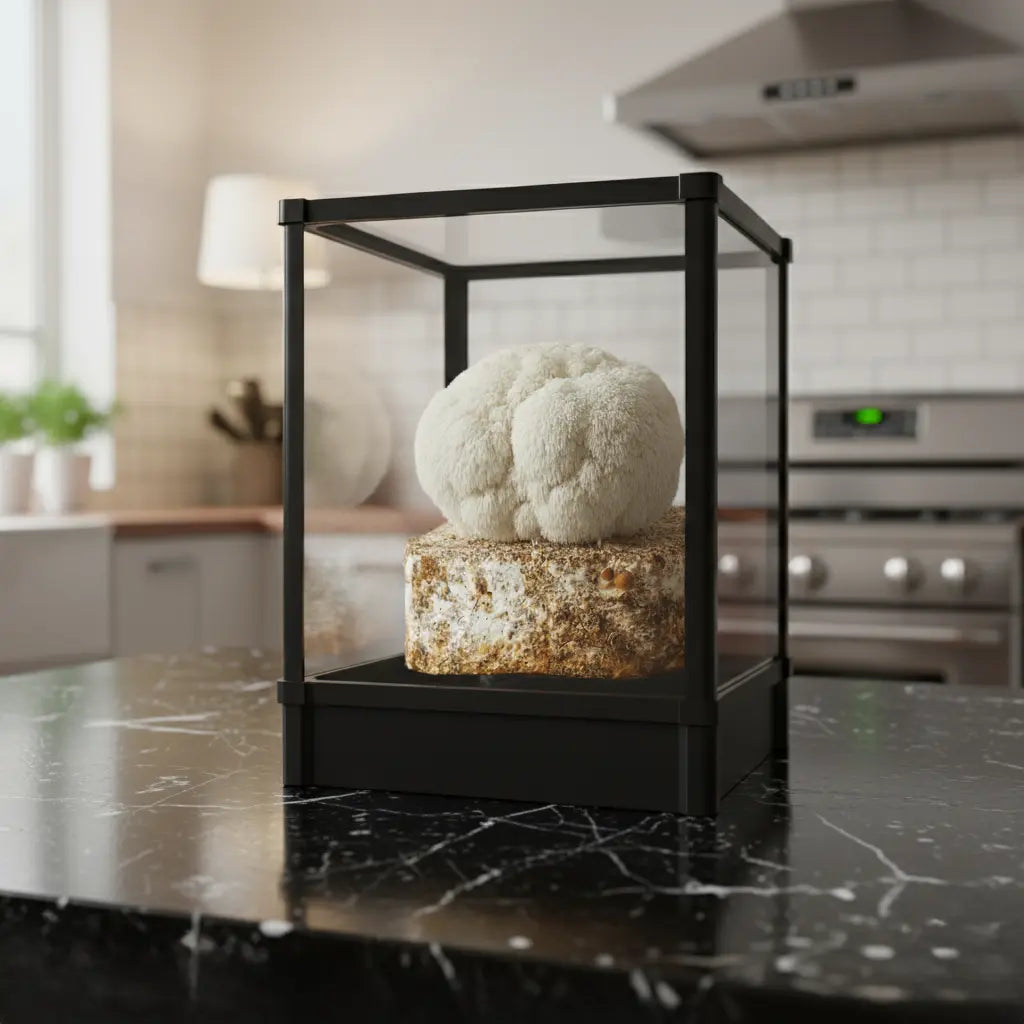
For beginners, homegrown mushrooms from systems like the LYKYN Smart Mushroom Grow Kit work better than store-bought specimens due to superior freshness and lower contamination loads.
Step 2: Prepare Your Workspace
Creating a clean working environment makes the difference between success and contamination:
Set up your still air box: Wipe down the interior completely with 70% isopropyl alcohol. Allow it to air dry for a few minutes, the alcohol needs to evaporate to be effective.
Sterilize your working surface: Even inside the SAB, wipe down all surfaces again with alcohol immediately before working.
Organize all supplies: Place agar dishes, scalpel, alcohol lamp, and alcohol spray inside your SAB before starting. Once you begin, avoid reaching in and out repeatedly, which introduces contamination.
Wash hands thoroughly: Scrub hands with soap, then spray or wipe with alcohol. Let dry completely before beginning work.
Work quickly but carefully: Speed reduces contamination exposure, but rushing causes mistakes. Find a balance between efficiency and precision.
Step 3: Prepare the Mushroom for Cloning
Clean the exterior: Wipe the mushroom's surface with a clean, damp cloth to remove any visible debris. Some cultivators spray with diluted hydrogen peroxide or alcohol, though this isn't always necessary for freshly harvested specimens.
Plan your approach: Identify where you'll make your cut to access sterile interior tissue. The center of the stem typically provides the best material, it's been less exposed to contaminants than the cap or gills.
Step 4: Extract Sterile Tissue
This is the critical step where technique matters most:
Open your agar dish: Place it inside your SAB but don't remove the lid yet. Have it positioned so you can quickly transfer tissue once extracted.
Sterilize your scalpel: Heat the blade in your alcohol lamp flame until it glows red, then let it cool for 5-10 seconds (touching hot metal to agar will kill the mushroom tissue).
Break open the mushroom: Rather than cutting through the exterior, tear or break the mushroom to expose fresh interior tissue that hasn't touched air. This reduces contamination dramatically compared to cutting through the contaminated exterior.
Extract interior tissue quickly: Working rapidly, cut a small piece (2-3mm cube) from deep inside the mushroom's center, ideally from the stem where it meets the cap. Move with purpose but don't panic, smooth, deliberate movements work better than frantic rushing.
Transfer to agar immediately: Remove the agar dish lid, place the tissue piece in the center of the agar surface, and immediately replace the lid. The entire transfer should take 2-3 seconds.
Seal the dish: Wrap the dish's edge with parafilm or micropore tape to prevent contamination while allowing minimal gas exchange.
Step 5: Incubate and Monitor
Storage location: Place inoculated dishes in a dark or dim location at 65-75°F (18-24°C). Most mushroom species colonize well within this temperature range.
Be patient: Initial growth can take 3-7 days to become visible. Oyster mushrooms typically show growth within 3-5 days, while shiitake may take 5-10 days.
Watch for contamination: Check dishes daily. Healthy mycelium appears as white, fluffy growth radiating from the tissue sample. Contaminants typically show as:
- Green, blue, or black mold (Trichoderma, Aspergillus, other fungi)
- Pink or orange bacterial growth
- Slimy, wet-looking patches
Don't give up on slow growth: Some species naturally colonize slowly. As long as you don't see contamination, allow at least 2-3 weeks before declaring failure.
For comprehensive information on recognizing and preventing contamination, review this detailed guide to mycelium contamination.
Step 6: Clean Up Your Culture (If Needed)
Even with perfect technique, your first cloning attempt may show both mushroom mycelium and some contamination growing together on the agar. Don't despair, this is where you learn to isolate clean mycelium:
Identify clean growth zones: Look for areas where white mushroom mycelium is growing away from any contaminants. The mycelium at the leading edge of this clean growth represents your cleanest material.
Transfer clean mycelium: Using sterile technique, cut a small piece of agar containing only clean mycelium and transfer it to a fresh agar dish. This is called "sub-culturing" or "making a transfer."
Repeat if necessary: Sometimes multiple transfers are needed to completely eliminate contaminants. Each successive transfer should show progressively cleaner growth.
Step 7: Expand Your Clone
Once you have clean, vigorously growing mycelium on agar, expand it for practical cultivation:
Option 1 - Grain spawn: Transfer pieces of colonized agar to sterilized grain (rye, millet, or popcorn in jars or bags). The mycelium will spread through the grain over 2-4 weeks, creating spawn you can use to inoculate bulk substrates.
Option 2 - Liquid culture: Transfer small agar pieces to liquid culture media for rapid multiplication. Liquid cultures colonize quickly and can inoculate multiple grain containers from a single jar. See this comprehensive guide on spore syringes which covers similar liquid handling techniques.
Option 3 - Maintain as agar cultures: Keep your clone alive on agar by transferring to fresh dishes every 2-3 months. This provides a permanent genetic library of your best mushrooms.
For information on typical colonization times, check out this guide on mycelium colonization timelines.
Advanced Techniques for Growing Mushrooms from Mushrooms
Once you master basic cloning, these advanced approaches improve success rates and expand possibilities.
Cloning Store-Bought Mushrooms
Many cultivators wonder how to grow mushrooms from mushrooms purchased at grocery stores or farmers markets. While more challenging due to age and contamination, the technique remains the same with a few modifications:
Select the freshest possible specimens: Buy from high-quality sources and clone the same day. Avoid mushrooms showing any signs of aging.
Expect lower success rates: Even with perfect technique, store-bought mushrooms succeed only 30-50% of the time versus 70-90% for fresh homegrown specimens.
Prepare multiple dishes: Clone to 5-10 agar dishes simultaneously to increase your odds of getting at least one clean culture.
Consider pre-isolation on agar: Some cultivators make an initial transfer to agar with antibiotics added to suppress bacteria that commonly contaminate store-bought mushrooms.
Liquid Culture Propagation
Once you have a clean agar culture, liquid culture provides the fastest multiplication method:
Prepare liquid culture jars: Use mason jars with self-healing injection ports and synthetic filter patches. Fill with nutrient solution (often light malt extract or honey water).
Sterilize thoroughly: Pressure cook jars at 15 PSI for 30 minutes to eliminate all contaminants.
Inoculate from agar: Transfer 2-3 small pieces of colonized agar to cooled liquid culture jars using sterile technique.
Shake regularly: Once colonization begins (usually 5-10 days), shake jars every few days to break up mycelium and accelerate growth.
Use within 1-2 months: Liquid cultures work best when fresh. They can inoculate grain spawn much faster than agar pieces.
The Lion's Mane liquid culture guide provides detailed instructions applicable to most mushroom species.
Creating a Genetic Library
Serious cultivators maintain collections of their best mushroom genetics:
Agar slants for long-term storage: Transfer mycelium to test tubes containing slanted agar, then refrigerate. Cultures can survive 6-12 months this way.
Multiple backups: Keep at least 2-3 backup cultures of valuable genetics in case one becomes contaminated.
Label meticulously: Record species, source, date, and any notable characteristics. Without proper labeling, you'll quickly lose track of your cultures.
Regular transfers: Refresh agar cultures every 2-3 months by transferring to fresh media. This prevents cultures from senescing (aging and weakening).
Common Problems When Growing Mushrooms from Mushrooms
Even experienced cultivators face challenges. Here's how to address common issues.
Contamination Overwhelming Your Cultures
Symptoms: Green, blue, black, or pink growth spreading faster than mushroom mycelium.
Causes: Insufficient sterile technique, old or contaminated source mushrooms, poor air quality during transfers.
Solutions:
- Improve your still air box setup, seal any gaps
- Work faster during critical steps
- Use fresher source mushrooms
- Make multiple transfers (5-10 dishes per mushroom) to improve odds
- Consider upgrading to a flow hood for consistent results
No Growth After 2-3 Weeks
Symptoms: Tissue sample sitting on agar showing no white mycelium growth.
Causes: Dead tissue from over-heating tools, wrong temperature storage, or tissue from a damaged portion of the mushroom.
Solutions:
- Ensure scalpel cools adequately after flame sterilization
- Verify incubation temperature stays within 65-75°F
- Try tissue from a different section of the mushroom (stem center usually works best)
- Use younger, more vigorous mushrooms
Slow, Wispy Growth
Symptoms: Mycelium growing but appearing thin, weak, or spreading very slowly.
Causes: Old or weakened tissue, suboptimal agar nutrients, temperature issues, or natural variation between species.
Solutions:
- Increase temperature slightly (within the 65-75°F range)
- Try a different agar formulation, some species prefer specific nutrient profiles
- Transfer the fastest-growing sections to fresh agar
- Be patient, some species naturally grow slower than others
Sectoring or Mutant Growth
Symptoms: Mycelium growing in distinct sectors with different characteristics, or unusual growth patterns.
Causes: Genetic instability, stress during transfer, or natural mutation.
Solutions:
- Transfer only the most normal-looking, vigorous sectors
- Make fresh clones from the original mushroom if available
- Some sectors may grow normally despite unusual appearance, test them before discarding
Integrating Cloned Cultures Into Your Growing System
Once you've successfully cloned mushrooms, integrate them into your existing cultivation workflow.
From Clone to Harvest
The complete process typically follows this timeline:
Days 1-7: Tissue culture establishes on agar, initial mycelium visible Days 7-21: Mycelium fully colonizes agar dish Days 21-35: Transfer to grain spawn, colonization begins Days 35-56: Grain spawn fully colonizes Days 56-70: Grain spawn inoculates bulk substrate Days 70-84: Substrate fully colonizes, fruiting initiates Days 84-98: First mushroom harvest
While this seems like a long timeline, remember that once established, a single culture provides unlimited future grows. You also can run multiple stages simultaneously, maintaining agar cultures while grain colonizes and substrate fruits.
Using Clones with Automated Systems
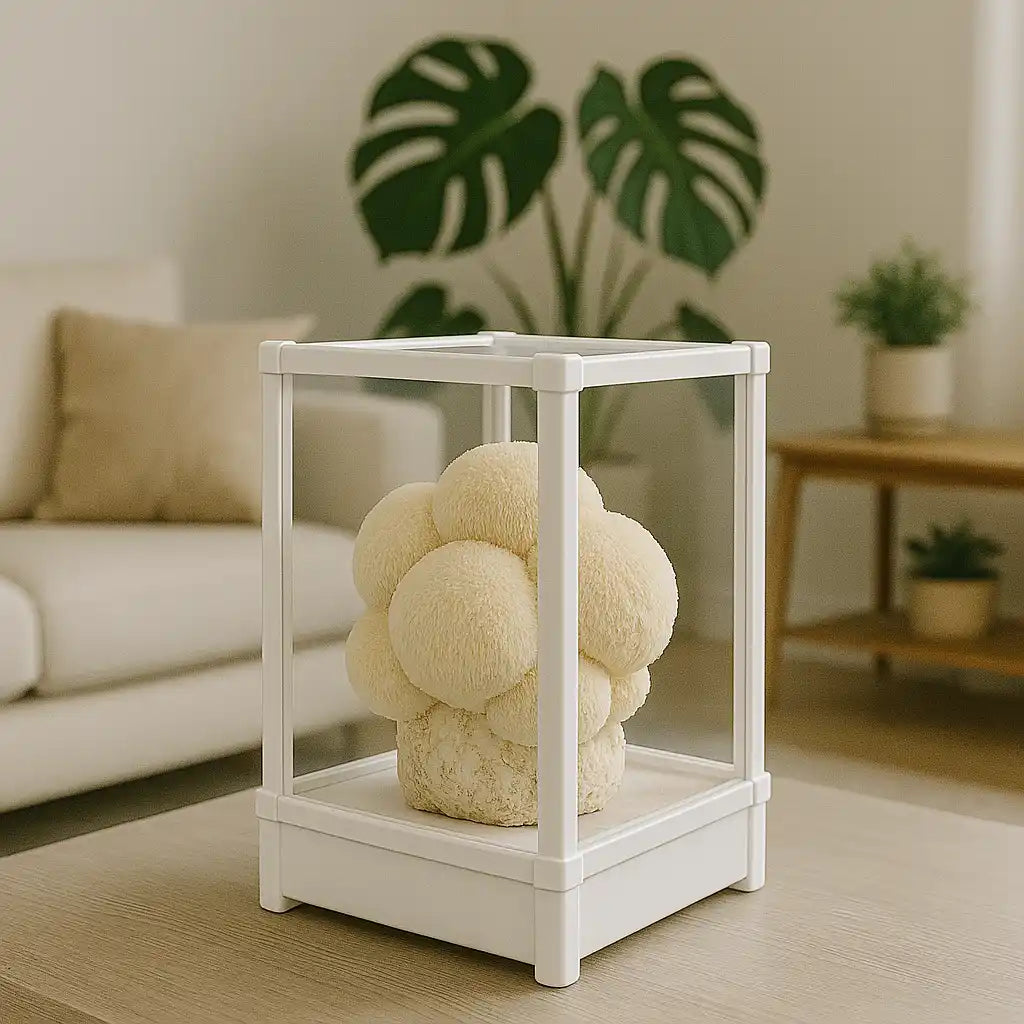
Cloned mycelium works perfectly with automated growing systems. Once you've produced colonized substrate from your clones, the LYKYN Smart Mushroom Grow Kit provides ideal fruiting conditions with automated humidity, temperature, and air exchange control.
This combination offers maximum control, you select the exact genetics you want to grow, then let automation handle the precise environmental management mushrooms need to thrive.
Scaling Production
As you master growing mushrooms from mushrooms, scaling becomes straightforward:
Maintain master cultures on agar: Keep 2-3 dishes of each valued genetic lineage, refreshing every 2-3 months Expand to liquid culture: Transfer agar to liquid culture for rapid multiplication Produce grain spawn: Inoculate multiple grain containers from each liquid culture Create substrate blocks: Use grain spawn to inoculate bulk substrate Fruit in optimal conditions: Use automated chambers for consistent results
This workflow provides unlimited mushroom production from a single successful clone. Many small commercial operations begin this way.
For guidance on choosing the best growing systems, review this comprehensive guide to mushroom growing kits.
Tips for Success: Growing Mushrooms from Mushrooms Like a Pro
These expert tips dramatically improve your cloning success rate:
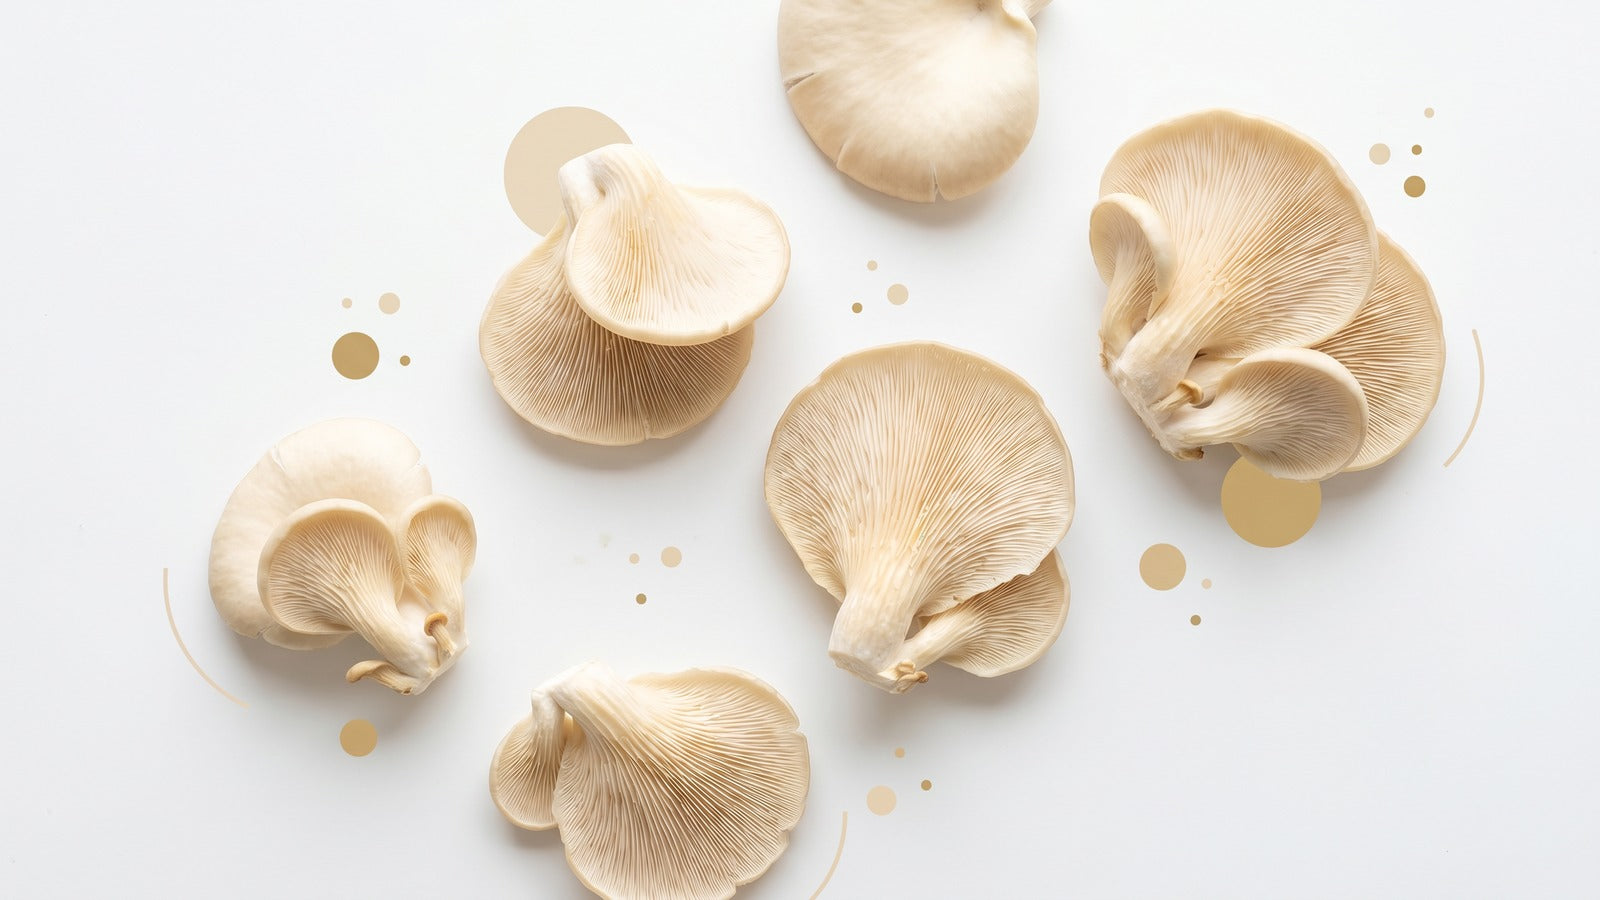
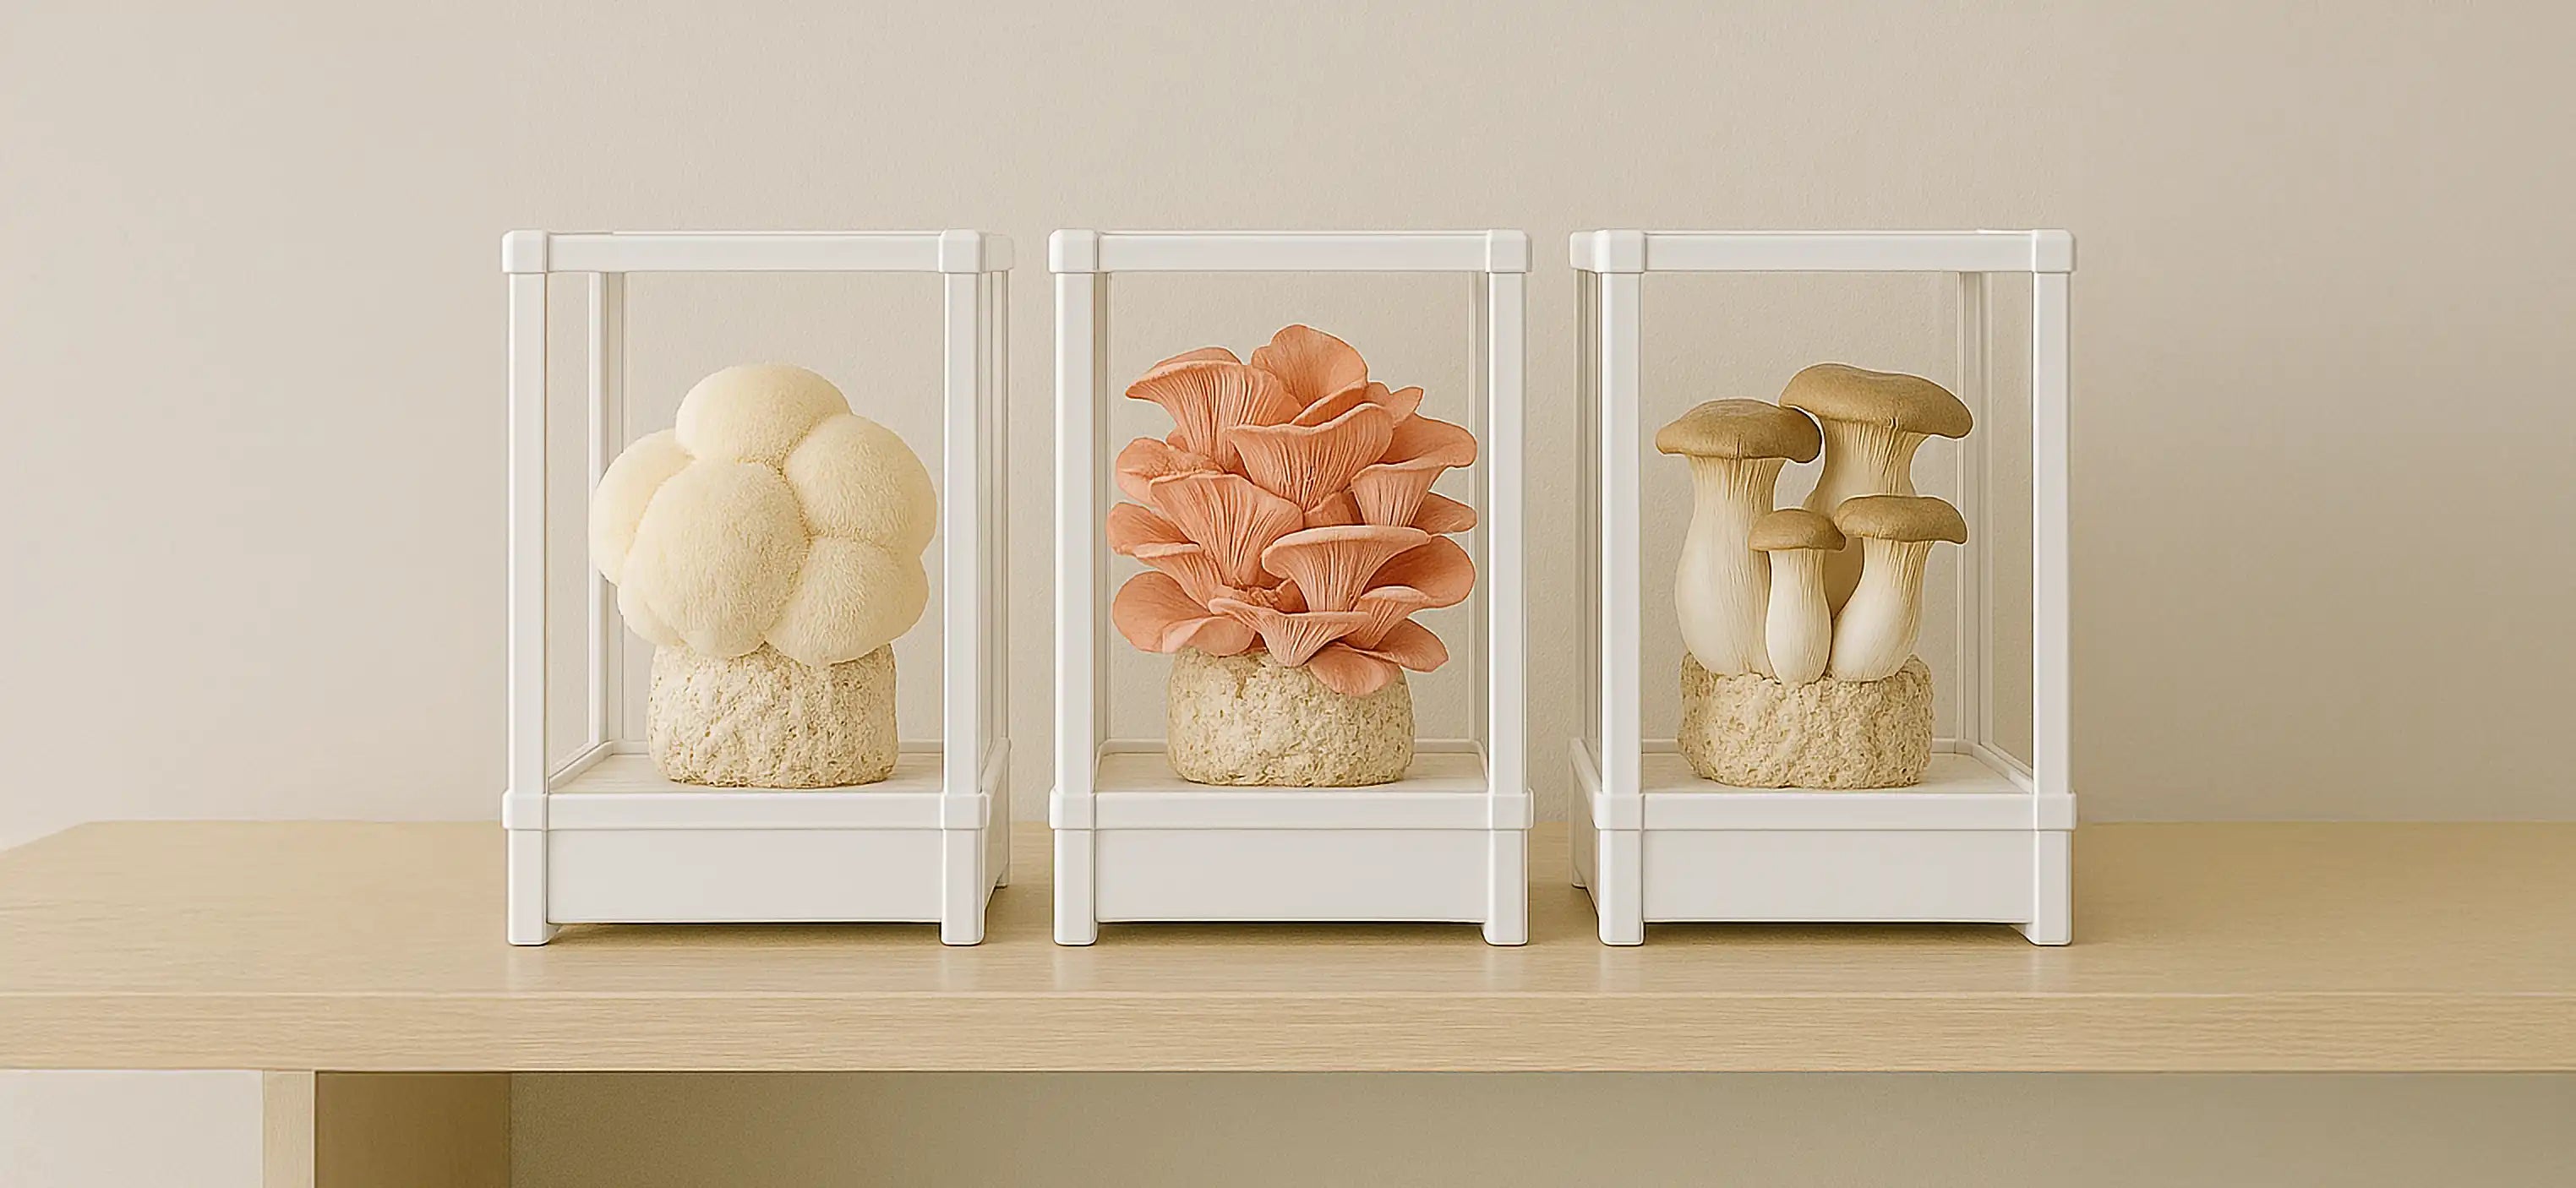
Start with oyster mushrooms: They clone more easily than most species, providing encouraging results for beginners. Once you've succeeded with oysters, expand to other varieties.
Clone multiple dishes per mushroom: Make 5-10 transfers from each source mushroom. Even if most contaminate, you'll likely get 1-2 clean cultures.
Work methodically, not frantically: Yes, speed reduces contamination exposure, but smooth, deliberate movements trump panicked rushing. Practice the motions before your first real attempt.
Keep detailed notes: Record which mushroom you cloned, which dishes succeeded, how quickly they grew, and any problems encountered. This data becomes invaluable for improving future attempts.
Accept that contamination happens: Even professionals see contamination. The difference is they make multiple attempts and don't get discouraged by failures.
Join online communities: Forums and social media groups devoted to mushroom cultivation provide troubleshooting help and technique refinement. Experienced cultivators love sharing knowledge.
Invest in quality agar: Pre-made agar dishes from mushroom suppliers cost more than DIY preparations but offer much more consistent results for beginners.
For additional guidance on cultivation techniques, explore this complete guide on growing mushrooms from spores, which covers related propagation methods.
FAQ: Common Questions About Growing Mushrooms from Mushrooms
Can you really grow mushrooms from store-bought mushrooms?
Yes, though success rates vary. Freshly purchased mushrooms from high-quality sources clone successfully 30-50% of the time. The main challenges are the mushrooms' age (several days old typically) and contamination from handling and storage. Make multiple attempts (5-10 agar dishes per mushroom) to improve your odds. Oyster mushrooms and shiitake from farmers markets tend to succeed more reliably than grocery store button mushrooms.
How long does it take to grow mushrooms from mushrooms using cloning?
Initial mycelium growth appears on agar within 3-7 days for fast-growing species like oyster mushrooms. Full agar colonization takes 1-3 weeks. Transferring to grain spawn adds another 2-4 weeks, and bulk substrate colonization requires an additional 2-3 weeks. From initial tissue culture to harvesting mushrooms typically takes 8-12 weeks total. However, once established, your culture provides unlimited future grows.
Do I need expensive equipment to clone mushrooms?
Basic cloning requires minimal investment, $50-100 buys everything you need including agar dishes, scalpel, alcohol lamp, and still air box materials. A pressure cooker ($60-150) helps if you want to prepare your own agar and grain spawn but isn't essential for beginners using pre-made supplies. Professional equipment like laminar flow hoods ($300-2000) improves success rates but isn't necessary for home-scale cloning.
What's the easiest mushroom species for beginners learning to clone?
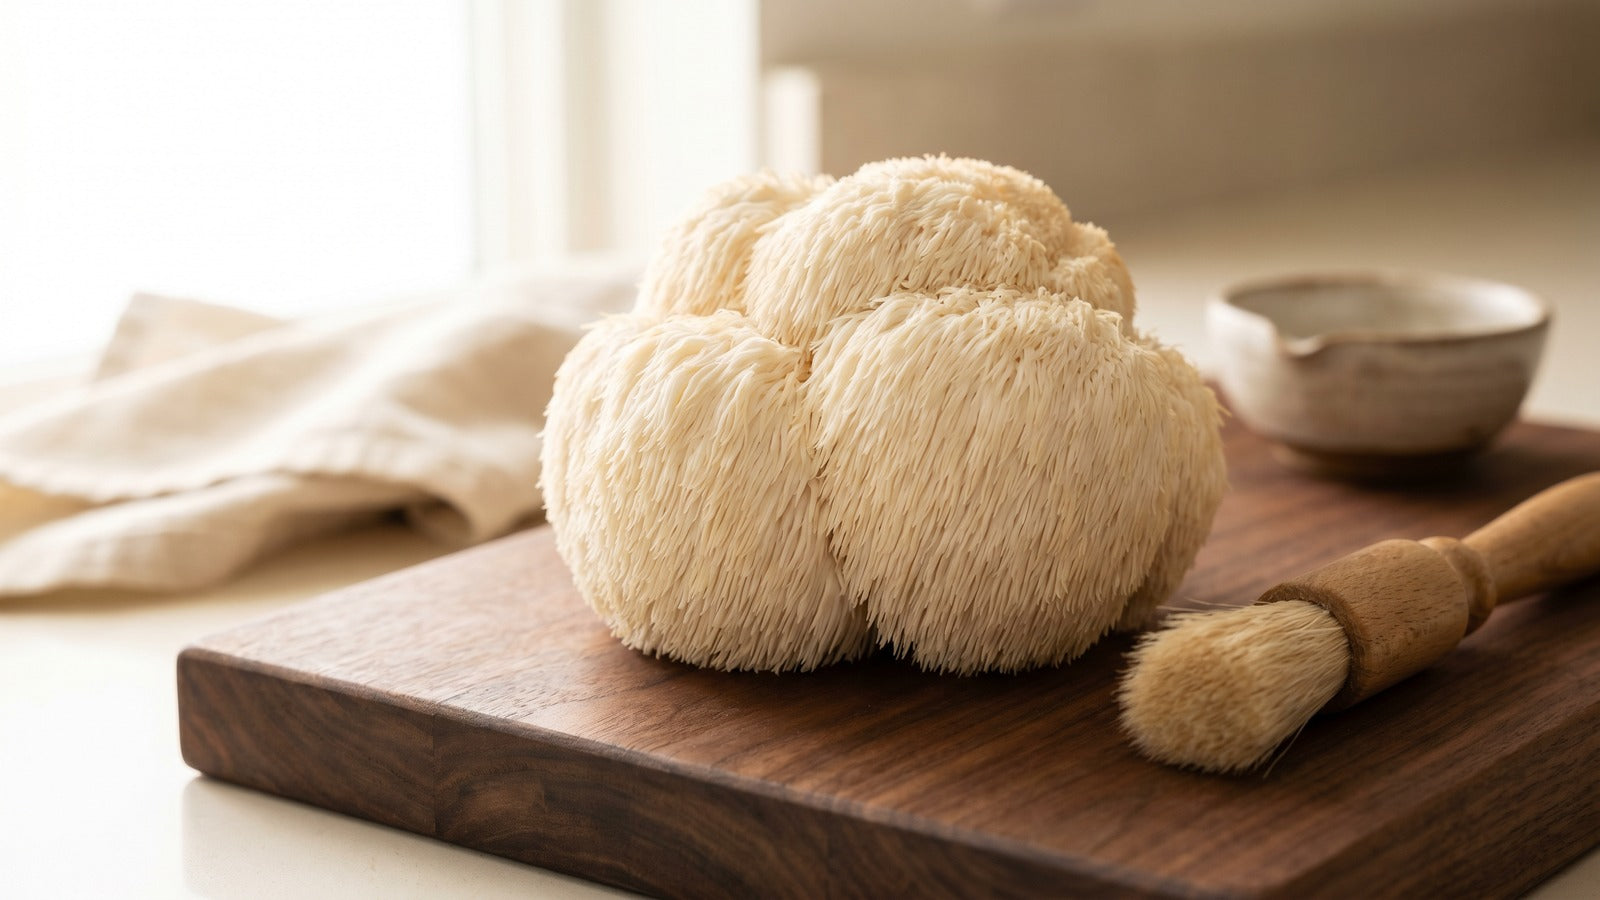
Oyster mushrooms (all varieties, pearl, pink, golden, blue) clone most easily and show the highest success rates for beginners. They grow fast on agar (often visible within 3-5 days), tolerate environmental variations, and resist contamination better than most species. Lion's mane ranks as second-best for beginners. Avoid starting with shiitake or maitake, which grow more slowly and succumb to contamination more easily.
Can I keep cloned mushroom cultures alive indefinitely?
Yes, with proper maintenance. Transfer cultures to fresh agar every 2-3 months to keep them vigorous. For longer-term storage, create agar slants in test tubes and refrigerate, cultures can survive 6-12 months this way. Professional laboratories maintain cultures for decades through regular transfers and proper storage protocols. Each transfer creates an exact genetic copy, preserving your original mushroom's characteristics indefinitely.
Featured Snippet Summary
To grow mushrooms from mushrooms, extract sterile tissue from fresh mushroom interior, transfer to nutrient agar in sterile conditions, incubate at 65-75°F for 1-3 weeks until mycelium colonizes. Transfer clean mycelium to grain spawn, then bulk substrate. Clone preserves exact genetics indefinitely.
Start Growing Mushrooms from Mushrooms Today
Learning how to grow mushrooms from mushrooms transforms you from a consumer of cultivation supplies into a self-sufficient mushroom propagator. A single successful clone provides years of unlimited cultivation at virtually no ongoing cost. More importantly, you gain complete control over genetics, ensuring every harvest matches your best specimens.
While cloning requires more technical skill than simply fruiting ready-made blocks, the techniques aren't difficult once you understand the principles. Most beginners achieve their first successful clone within 3-5 attempts. With practice, success rates climb to 70-90% or higher.
The combination of cloning for genetic control and automation for environmental management represents the pinnacle of home mushroom cultivation. Clone your best mushrooms to preserve superior genetics, then fruit them in the LYKYN Smart Mushroom Grow Kit where automated humidity, temperature, and airflow controls ensure optimal development.
Don't let the initial learning curve discourage you. Start with fresh oyster mushrooms from your existing grows (or purchase fresh specimens from a farmers market), prepare 5-10 agar dishes, and work through the process. Your first successful clone, seeing that white mycelium radiating across the agar, creates a moment of genuine excitement that makes all the effort worthwhile.
Ready to master this essential cultivation skill? Gather your supplies, review this guide, and clone your first mushroom this week. For additional cultivation guidance and equipment to grow your clones to harvest, explore our complete indoor growing guide and discover why serious cultivators consider cloning an indispensable technique. Your first successful clone awaits!

Share:
How to Grow Mushrooms in House: Your Complete Indoor Cultivation Guide
The Complete Guide to Shroom Kits: Growing Fresh Mushrooms at Home Made Easy