

Growing oyster mushrooms in buckets has become the go-to method for home cultivators seeking fresh, organic mushrooms with minimal investment and maximum success. This simple yet effective technique transforms ordinary 5-gallon buckets into productive mushroom farms that can yield pounds of delicious oyster mushrooms right in your backyard, garage, or basement.
If the bucket prep feels like more work than you signed up for, a ready-to-fruit pink oyster kit skips the pasteurisation and inoculation steps and gets you to harvest in roughly a week.
Whether you're a complete beginner or an experienced gardener looking to expand into mushroom cultivation, the bucket method offers an accessible entry point into the fascinating world of fungi farming. Unlike complex growing systems that require expensive equipment, oyster mushroom bucket cultivation uses readily available materials and straightforward techniques that anyone can master.
Why Choose the Oyster Mushroom Bucket Method?
The bucket technique stands out as one of the most reliable and beginner-friendly approaches to mushroom cultivation. The bucket tek, or technique, is one of the most reliable methods to grow oyster mushrooms quickly and on a predictable schedule. It's sustainable, beginner friendly, and easy to scale up. To a point.
Key advantages of bucket growing include:
Cost-Effectiveness: A complete setup costs less than $20 and can be reused dozens of times. Compare this to purchasing organic oyster mushrooms at $8-12 per pound, and your investment pays for itself after just a few harvests.
Scalability: Start with one bucket to learn the technique, then easily expand to multiple buckets as your confidence grows. Many successful small-scale mushroom farmers began with the humble bucket method before scaling to commercial operations.
Reusability: Unlike single-use growing kits, properly maintained buckets can produce multiple harvests over several months. Clean buckets between uses, and they'll serve you for years of mushroom production.
Environmental Control: Buckets create a semi-controlled environment that protects developing mushrooms from contamination while allowing necessary air exchange. This balance makes them ideal for beginners who haven't yet mastered precise environmental controls.

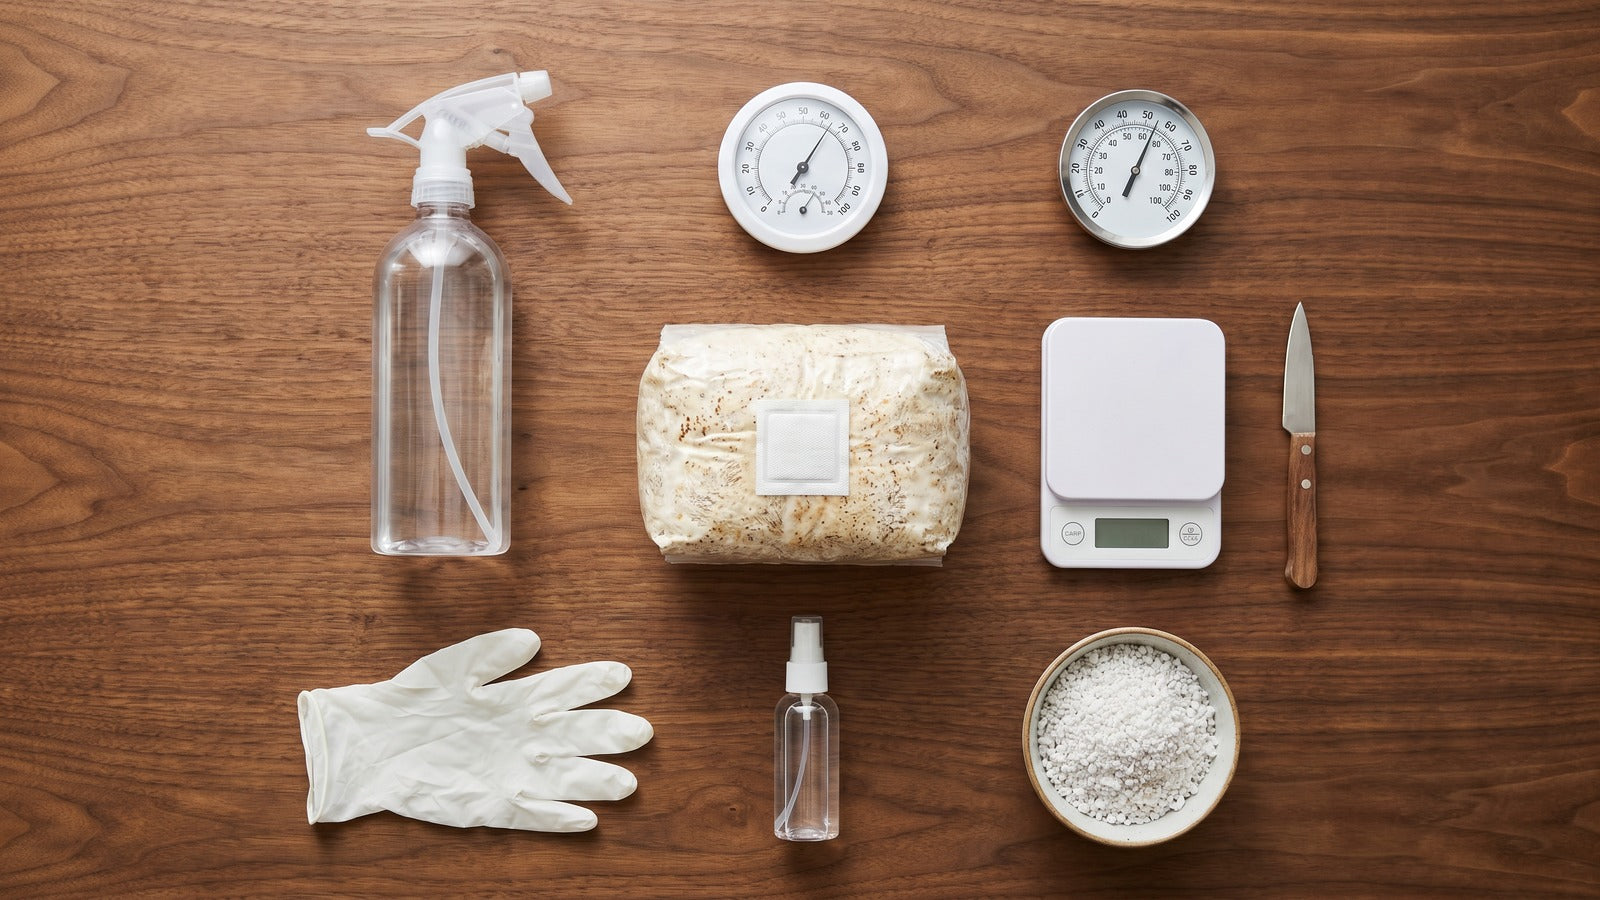
Essential Supplies for Your Oyster Mushroom Bucket Project
Success begins with gathering the right materials. A brand new 5-gallon bucket with lid can be purchased at your local hardware store or for free from a local business such as a restaurant or food processor, where products are often shipped in food grade 5-gallon buckets and discarded thereafter.
Primary Equipment:
- Food-grade 5-gallon bucket with tight-fitting lid
- 1/2-inch drill bit for creating fruiting holes
- Power drill
- Micropore tape or breathable filter material
Growing Materials:
- Chopped straw or wood pellets (substrate)
- Oyster mushroom spawn (grain or sawdust spawn)
- Hydrated lime for pasteurization (optional but recommended)
Additional Supplies:
- Large pot for pasteurization
- Thermometer
- pH testing strips
- Spray bottle for misting
- Sharp knife for harvesting
When selecting buckets, prioritize food-grade containers that haven't contained chemicals. Restaurant supply companies often discard food-grade buckets that work perfectly for mushroom cultivation. Always verify the bucket is marked with a recycling code "2" (HDPE) or "5" (PP) to ensure food safety.

Step-by-Step Bucket Preparation
Drilling Fruiting Holes
Using a ½" drill bit, drill holes in a diamond pattern around the full circumference of your bucket. This drill bit creates holes large enough for the mushrooms to fruit from but not big enough to let the substrate dry out while it is colonizing.
The diamond pattern ensures optimal air circulation while preventing excessive moisture loss. Start your first hole about 4 inches from the bottom, then continue drilling holes every 4-6 inches both vertically and horizontally around the bucket's circumference. Your completed bucket should have 15-20 holes total.
Drainage Considerations
Drill 3-4 small drainage holes in the bucket's bottom to prevent waterlogging. Excess moisture creates anaerobic conditions that favor harmful bacteria over beneficial mushroom mycelium. Proper drainage maintains the moist-but-not-soggy environment oyster mushrooms require.
Sterilization Protocol
Clean your finished bucket thoroughly with a 10% bleach solution, then rinse completely and allow to air dry. This simple sterilization step dramatically reduces contamination risk during the critical early colonization period.
Substrate Preparation and Pasteurization
Choosing Your Growing Medium
Straw works great for oyster mushrooms; it is inexpensive and easily purchased from farm supply and home improvement stores. For easier colonization, shred or chop the straw using a leaf mulcher or lawn mower.
Straw remains the gold standard for oyster mushroom cultivation due to its ideal carbon-to-nitrogen ratio and fibrous structure that promotes air circulation. Wheat straw typically performs best, though barley, rice, or oat straw also work well.
Alternative substrates include:
- Hardwood fuel pellets (convenient and consistent)
- Coffee grounds mixed with straw (adds nitrogen)
- Shredded paper mixed with straw (recycling option)
- Sugarcane mulch (excellent performance)
Pasteurization Methods
Cold Water Lime Bath: Mix 3 grams of hydrated lime per liter of cold water. Submerge straw in this alkaline solution for 16-24 hours. This method eliminates competing microorganisms while preserving beneficial nutrients.
Hot Water Pasteurization: Soak straw in 160-180°F water for 60-90 minutes. This thermal treatment kills pathogens while maintaining substrate integrity.
Steam Pasteurization: Steam straw for 60 minutes at 180°F. This method offers excellent pathogen control with minimal nutrient loss.
After pasteurization, drain substrate thoroughly until it reaches 60-65% moisture content, it should feel like a wrung-out sponge.
Inoculation Process and Spawn Integration
Spawn Selection and Rates
You'll want to use spawn at a rate of five to ten percent to grow oyster mushrooms in a 5 gallon (20 liter) bucket. Thus you'll need 2.5 – 5 lbs (1 – 2.3 kg) of grain spawn for each 5 gallon (20 liter) bucket.
Higher inoculation rates (8-10%) colonize faster and resist contamination better, while lower rates (5-6%) are more economical but take longer to establish. For beginners, the higher rate provides insurance against cultivation mistakes.
Layering Technique
Create alternating layers of substrate and spawn, beginning and ending with substrate. This "sandwich" method ensures even spawn distribution and rapid colonization. Mix gently during the layering process to avoid damaging delicate spawn.
Environmental Considerations
Perform inoculation in the cleanest possible environment. A still air box (clear plastic storage container with arm holes) provides amateur cultivators with near-laboratory conditions. Work quickly but carefully to minimize contamination exposure.
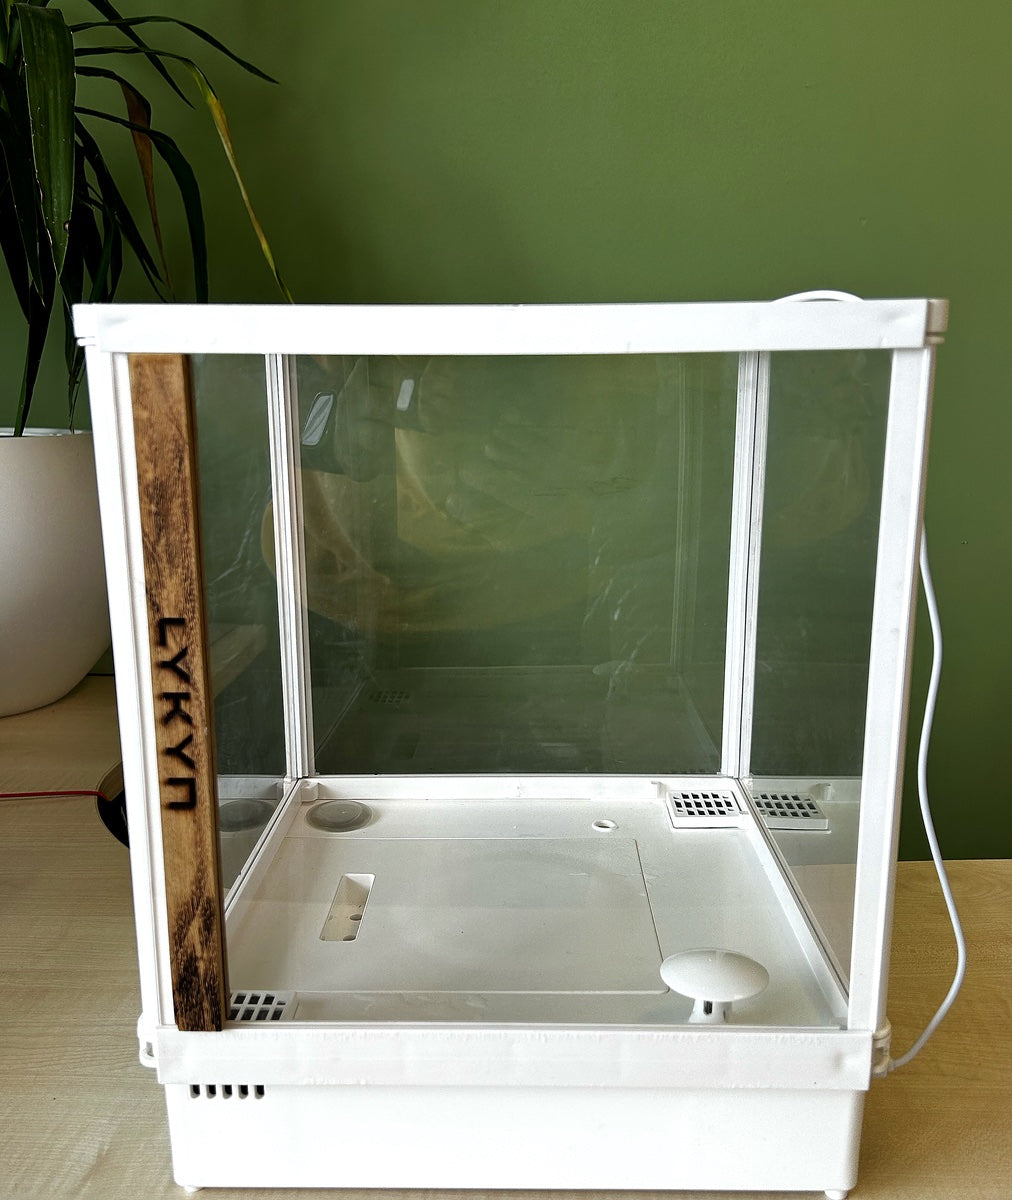
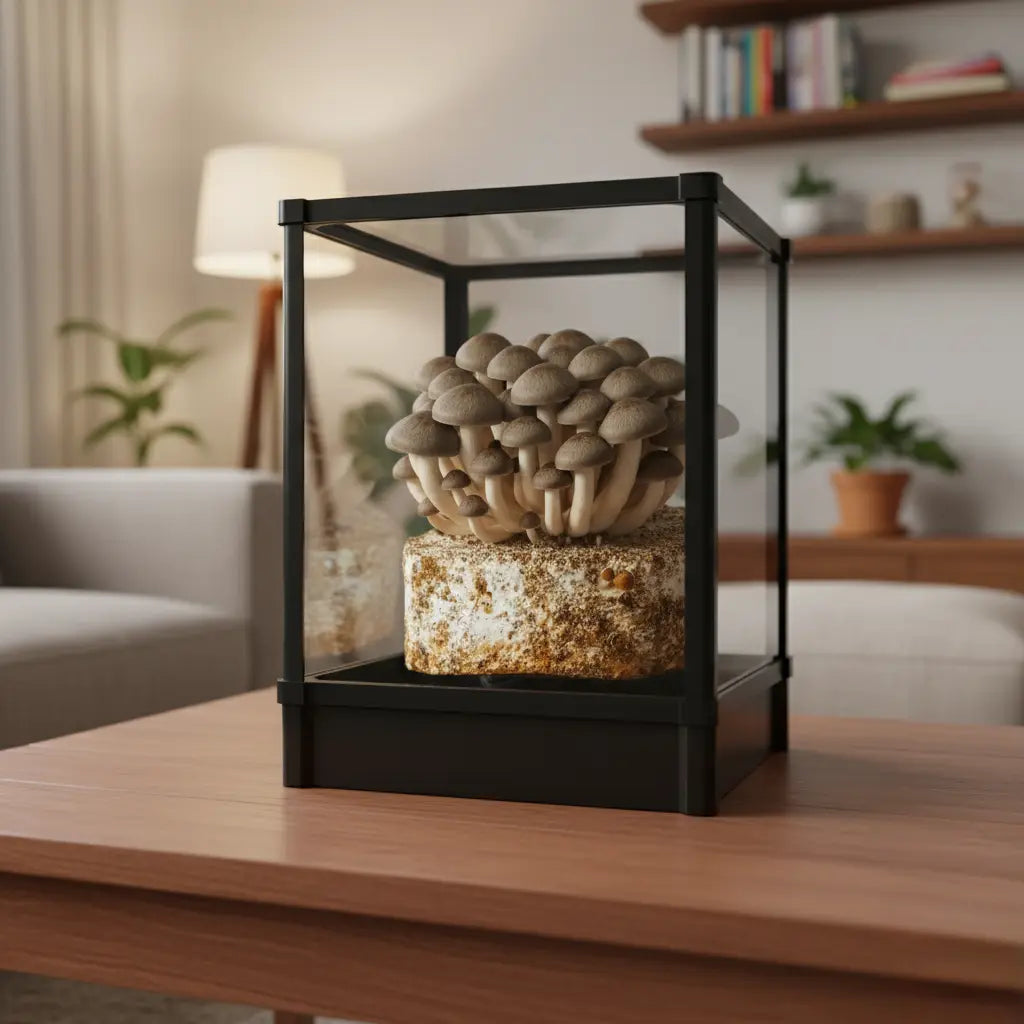
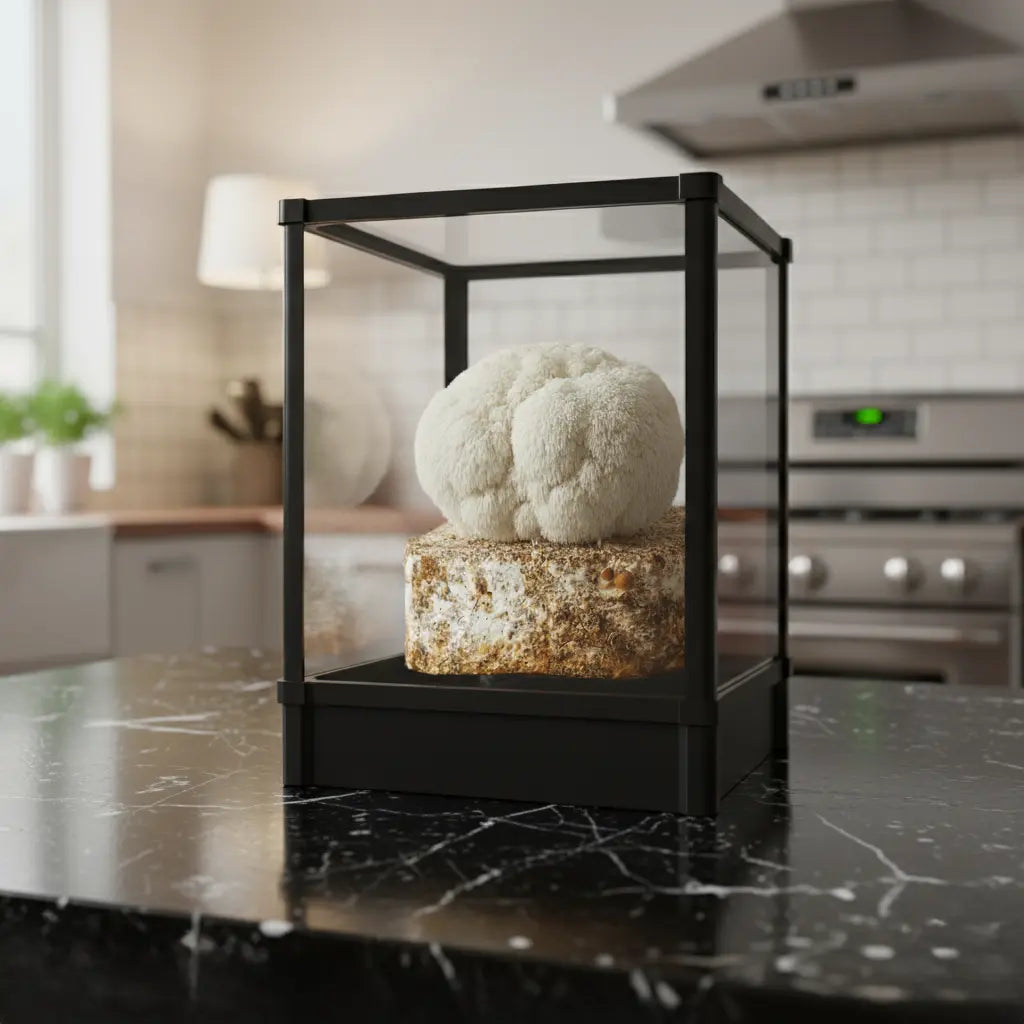
For those seeking a more controlled growing environment, consider upgrading to the Lykyn Mushroom Ship Smart Grow Chamber. This advanced system automatically maintains optimal humidity and airflow through smart sensors, eliminating the guesswork that often challenges bucket growers.
Incubation: The Colonization Phase
Creating Optimal Conditions
Place the lid on your bucket and move out of direct sunlight. Unsurprisingly, mushrooms need darkness to colonize the substrate and start growing. A basement, closet, or cool garage is ideal.
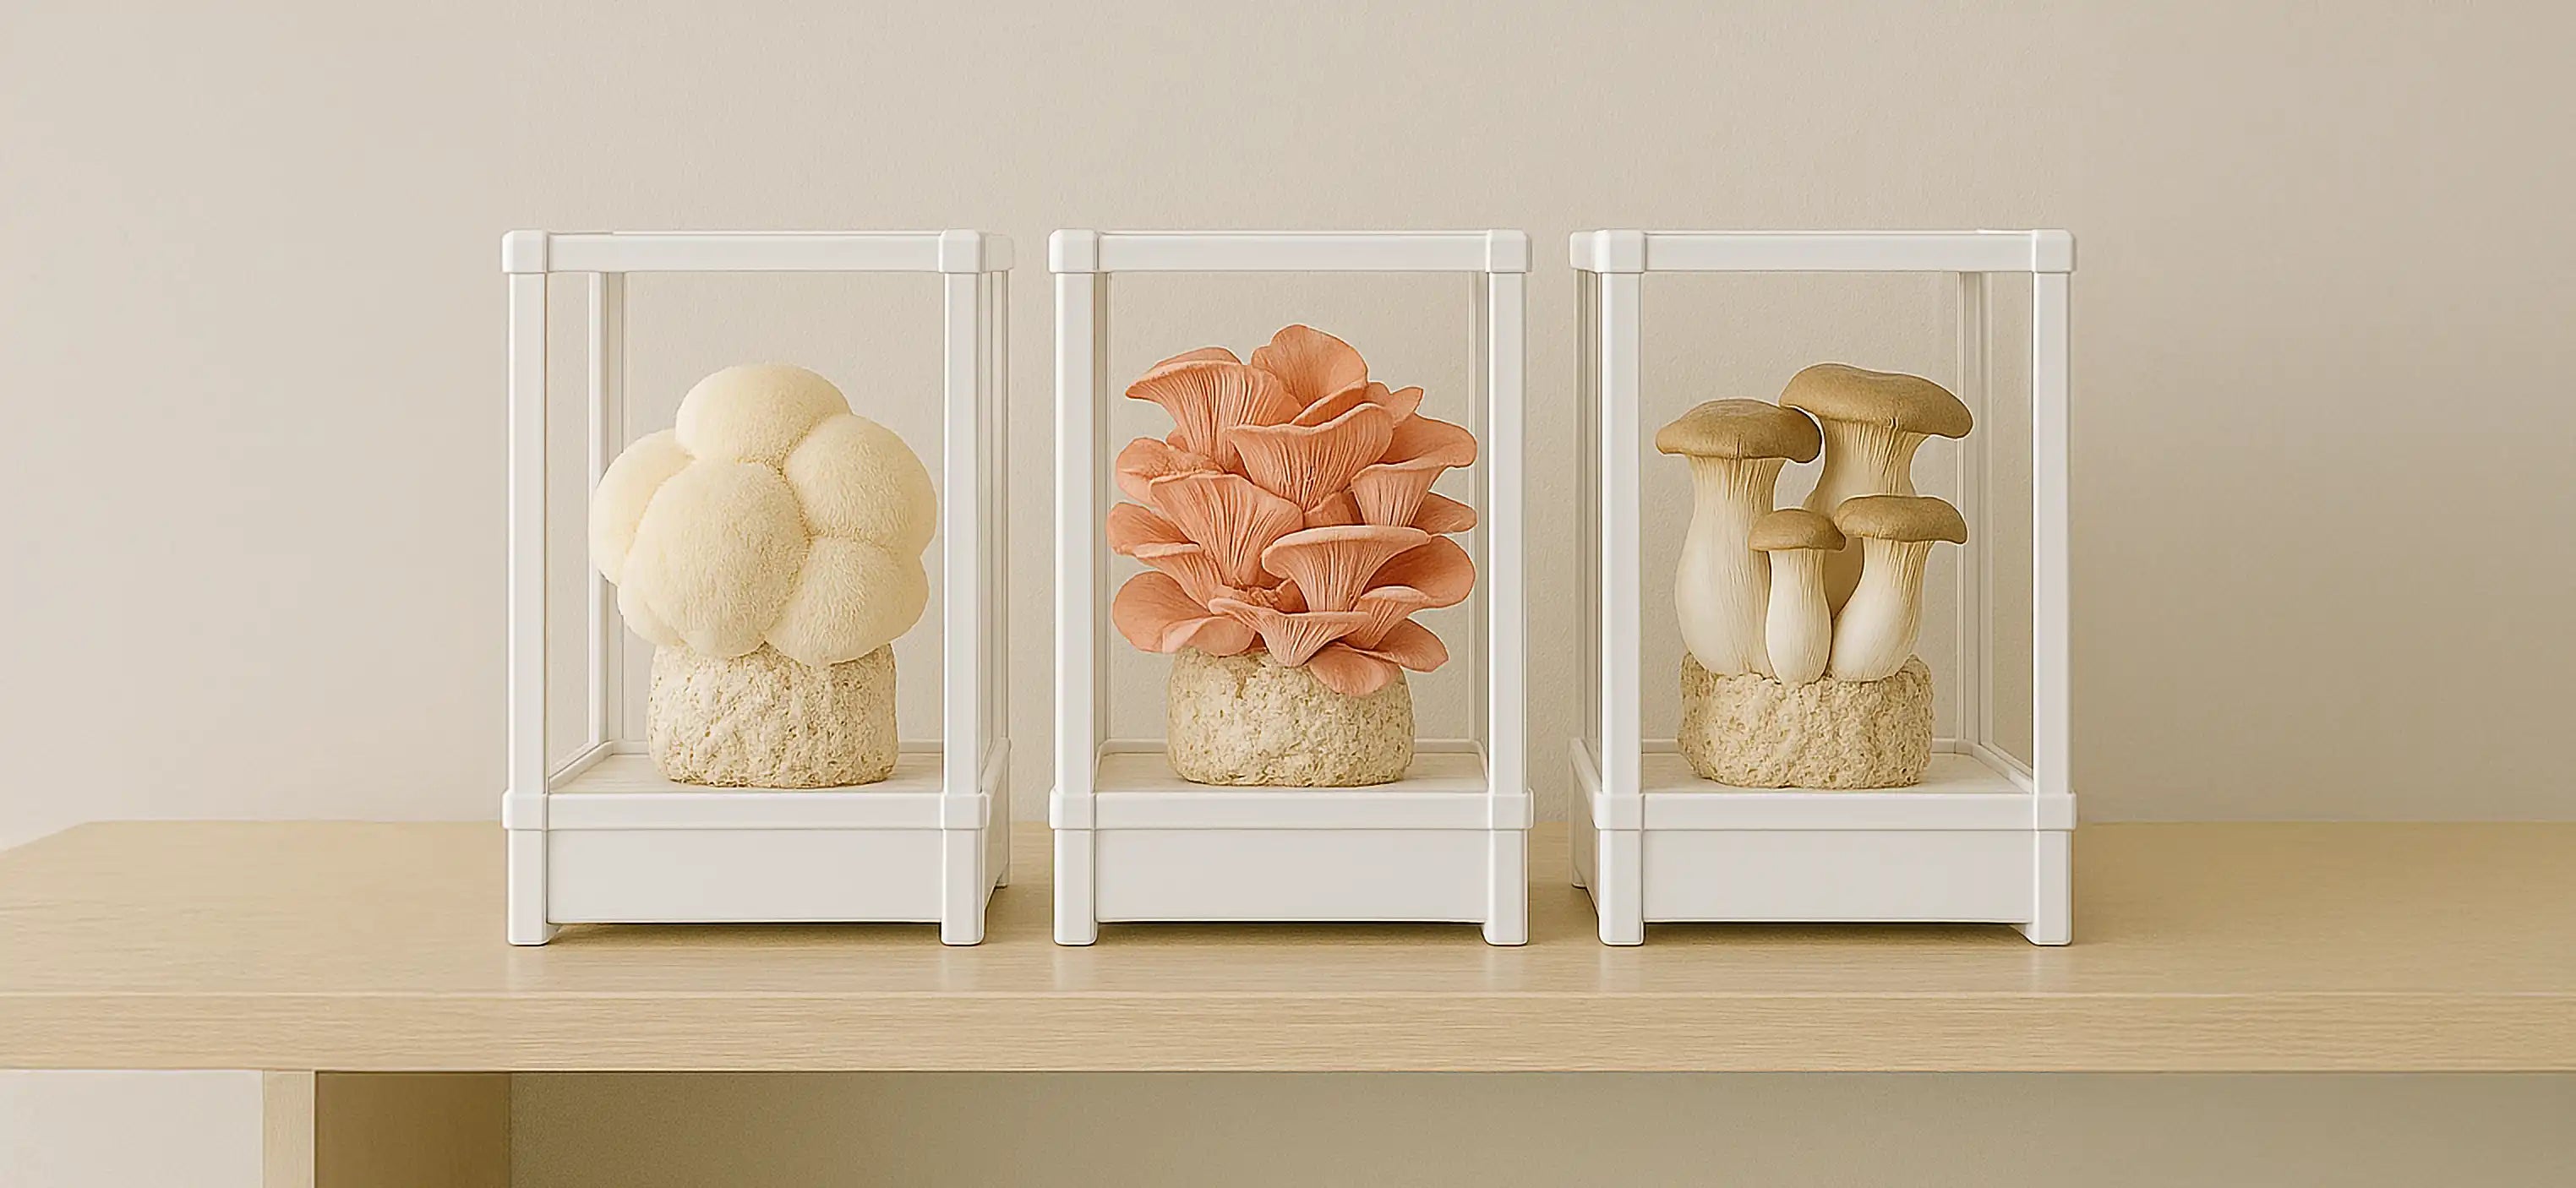
Temperature management during colonization proves critical for success. Aim for temperatures between 30-75°F (-1-24°C), but check the specific temperature requirements of each species. For example, cold-tolerant blue oysters like to grow in environments close to freezing, but pink oyster mushrooms do best around 60°F (16°C) or warmer.
Monitoring Progress
White mycelium should begin appearing within 3-7 days of inoculation. This fuzzy, cotton-like growth indicates healthy colonization. Check regularly for white mycelium and signs of healthy colonization. On average, the fungus may take 10-21 days to colonize a bucket.
Troubleshooting Common Issues
Green, black, or colored growth indicates contamination, discard the entire bucket immediately. Sour or unpleasant odors also signal bacterial contamination. Slow colonization often results from low temperatures, poor spawn quality, or excessive moisture.
Initiating Fruiting: From Mycelium to Mushrooms
Environmental Transition
Exposing the mycelium to fresh air stimulates them into producing mushrooms. In the wild, oyster mushrooms grow out of stumps or logs in fresh oxygen-rich air. To achieve this, remove the micropore tape from the holes on the bucket and ensure the spot you choose for fruiting has good airflow.
This transition from the anaerobic colonization environment to aerobic fruiting conditions triggers the physiological changes that produce mushroom primordia (baby mushrooms).
Humidity Management
Baby mushrooms enjoy high humidity, and if the pins dry out, they may stop growing. So mist as often as you can, or put a bag over the bucket to maintain the humidity.
Maintain 80-90% humidity during the critical pinning stage. Create a humidity tent using a large plastic bag supported by stakes, or mist the area around (not directly on) developing pins 3-4 times daily.
Light Requirements
Oyster mushrooms need some light for the mushrooms to grow, but not too much. A shady spot with indirect light will work well. Ensure the bucket isn't in direct sunlight or too close to a light source or other heat source like a radiator.
Indirect natural light or cool fluorescent lighting for 12 hours daily provides sufficient illumination without heat stress.

Fuel Your Mushroom Journey
Black Oyster Grow Kit
Hardwood-sawdust block colonized with vigorous black oyster mycelium. Drops straight into your Lykyn chamber and starts pinning within days.
Add to cart $29.95Harvesting Your Oyster Mushroom Bounty
Timing Your Harvest
The best time to harvest your oyster mushrooms is when the caps of the oyster mushrooms start to flatten out and begin to curl upwards. It means they're nearly ready to drop their spores. It's best to harvest them before they drop all their spores and start to lose their condition.
Young mushrooms offer the best texture and flavor. Overmature mushrooms become tough and develop a stronger, sometimes unpleasant taste.
Proper Harvesting Technique
Cut entire clusters at the base using a sharp knife rather than pulling individual mushrooms. This technique prevents substrate damage and prepares the growing site for subsequent flushes. Harvest in the morning when mushrooms are fully hydrated for optimal quality.
Storage and Preservation
Fresh oyster mushrooms keep 5-7 days refrigerated in paper bags. For longer storage, slice and dehydrate at 125°F, or slice and freeze in sealed containers. Properly dried oyster mushrooms retain flavor and nutrition for up to one year.
Preparing for Second Flush
After harvesting, rest the bucket for 7-10 days with reduced watering. Then resume misting to stimulate the second flush, which typically produces 60-80% of the first harvest yield. Most buckets produce 3-4 flushes before requiring fresh substrate.
Optimizing Your Bucket Growing System
Scaling Production
Once you've mastered single-bucket production, scaling up becomes straightforward. Many successful growers operate 10-20 buckets in rotation, ensuring continuous harvests. Stagger inoculation dates by 1-2 weeks to maintain steady production.
Seasonal Considerations
Different oyster mushroom varieties thrive in different seasons. For example, cold-tolerant blue oysters like to grow in environments close to freezing, but pink oyster mushrooms do best around 60°F (16°C) or warmer.
Spring and fall typically offer ideal conditions for most varieties, while summer production may require additional cooling or switching to heat-tolerant pink oysters.
Advanced Techniques
Experienced growers experiment with substrate supplementation using wheat bran, soybean meal, or brewery waste to increase yields. However, supplementation increases contamination risk and should only be attempted after mastering basic techniques.
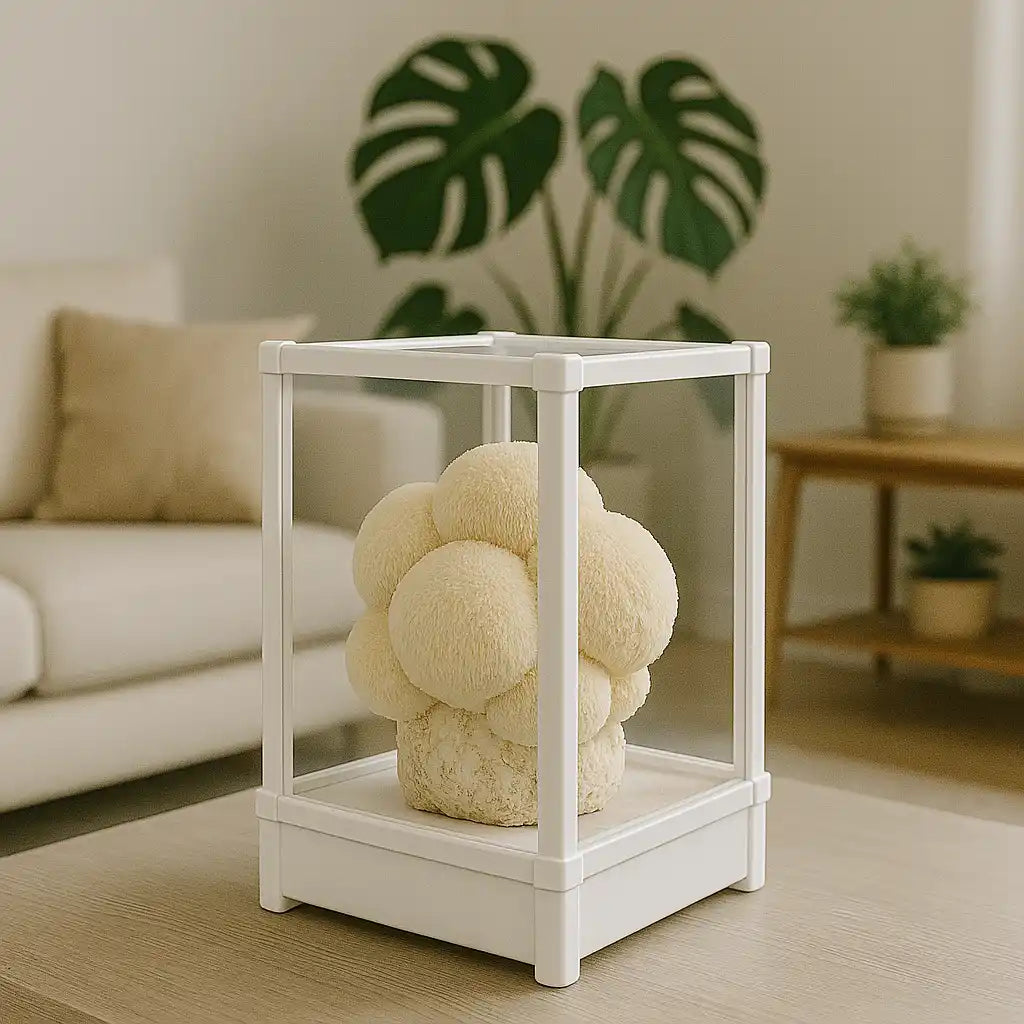
For growers interested in exploring advanced cultivation methods, our comprehensive guide on Lion's Mane mushroom cultivation covers sophisticated techniques applicable to various mushroom species.
Troubleshooting Common Challenges
Contamination Prevention
The most common bucket growing failures result from contamination during inoculation or inadequate pasteurization. Always work in the cleanest possible environment and ensure substrate reaches proper pasteurization temperatures.
Low Yield Issues
Poor yields often trace to insufficient spawn rates, inadequate humidity during fruiting, or substrate that's too wet or too dry. Monitor conditions carefully and adjust based on mushroom response.
Irregular Fruiting Patterns
Uneven pinning usually indicates inconsistent environmental conditions. Check for drafts, temperature fluctuations, or uneven moisture distribution around your growing area.
Frequently Asked Questions
How long does it take to grow oyster mushrooms in buckets?
Oyster mushrooms in buckets typically take 2-4 weeks from inoculation to first harvest. The process breaks down as follows: colonization takes 10-21 days depending on temperature and spawn quality, pinning begins 3-7 days after initiating fruiting conditions, and mushrooms develop from pins to harvest size in 4-7 days. Pink oyster mushrooms tend to develop faster in warm conditions, while blue oysters may take longer but tolerate cooler temperatures. Total timeline depends on the variety chosen, environmental conditions, and spawn quality.
What's the best substrate for oyster mushroom bucket growing?
Chopped straw remains the most reliable substrate for bucket cultivation due to its ideal structure and nutrition profile. Wheat straw performs exceptionally well, though barley, oat, and rice straw also work effectively. For beginners, hardwood fuel pellets offer consistency and convenience, simply add hot water to expand them into a perfect growing medium. Coffee grounds mixed with straw (20% coffee, 80% straw) can boost yields but increases contamination risk. Avoid softwood materials like pine, which contain antifungal compounds that inhibit mushroom growth.
How many harvests can I expect from one oyster mushroom bucket?
A properly maintained oyster mushroom bucket typically produces 3-4 flushes over 2-3 months. The first flush usually provides the largest yield, with subsequent flushes producing 60-80% of the initial harvest. Total yield ranges from 1-3 pounds of fresh mushrooms per 5-gallon bucket, depending on spawn quality, substrate preparation, and environmental management. Between flushes, allow the substrate to rest 7-10 days with minimal watering, then resume misting to stimulate new pin formation. After 4 flushes, substrate nutrients are typically exhausted and should be composted.
What temperature range works best for growing oyster mushrooms in buckets?
Optimal temperatures vary by oyster mushroom variety, but most species thrive in 60-75°F (15-24°C) during colonization and slightly cooler temperatures (55-65°F/13-18°C) during fruiting. Blue oyster mushrooms tolerate near-freezing temperatures and produce well in unheated spaces during winter. Pink oyster mushrooms prefer warmer conditions (65-80°F/18-27°C) and make excellent summer varieties. King oyster mushrooms require more stable temperatures (60-70°F/15-21°C) throughout their growing cycle. Avoid temperature swings greater than 10°F, which can stress developing mushrooms and reduce yields.
How do I prevent contamination in my oyster mushroom buckets?
Contamination prevention starts with proper substrate pasteurization, either hot water treatment at 160-180°F for 90 minutes or cold lime bath (3g lime per liter) for 16-24 hours. Work in the cleanest possible environment during inoculation, ideally using a still air box or clean room. Sterilize all tools with flame or 70% alcohol, and wash hands thoroughly before handling spawn. Maintain proper moisture levels, too wet creates anaerobic conditions favoring bacteria, while too dry stresses mycelium. Use quality spawn from reputable suppliers, as contaminated spawn is the most common source of growing failures.
Summary
Growing oyster mushrooms in buckets offers an accessible, cost-effective method for producing fresh, organic mushrooms at home. This beginner-friendly technique requires minimal investment, typically under $20, while delivering impressive yields of 1-3 pounds per bucket over multiple harvests. The key to success lies in proper substrate pasteurization, maintaining adequate spawn rates of 5-10%, and managing humidity during the critical fruiting phase.
For those ready to take their mushroom growing to the next level, consider exploring our complete guide to edible mushroomsEdible Mushrooms: The Complete 2025 Guide to Safe Identification and Growing to discover additional varieties you can cultivate at home.
Ready to Start Your Mushroom Growing Journey?
While bucket growing offers an excellent introduction to mushroom cultivation, many growers eventually seek more precise environmental control and consistent results. The Lykyn Mushroom Ship Smart Grow ChamberLykyn Mushroom Grow Kit represents the next evolution in home mushroom growing, combining the simplicity of bucket cultivation with automated humidity and airflow management.
This innovative system eliminates the guesswork that challenges bucket growers, automatically maintaining perfect growing conditions through smart sensors and app control. Whether you're expanding from successful bucket growing or seeking a more reliable first-time experience, the Lykyn system offers the precision and convenience that serious mushroom cultivators appreciate.
Start your fungal farming adventure today, your taste buds and wallet will thank you for the fresh, organic mushrooms you'll soon be harvesting from your own home-grown oyster mushroom buckets.
Fuel Your Mushroom Journey

Smart Chamber. Bone White Single
- 2.8L tank, 90% humidity automatic
- App-controlled, plug-and-play
- 6 lb block ceiling, in stock

Smart Chamber. Obsidian Black Single
- Same hardware as Bone White
- Matte black premium finish
- Pairs with any kitchen palette
Share:
How to Prepare Chaga Mushrooms: The Complete Guide to Processing and Using Nature's Superfood
How to Wash Mushrooms: The Complete Guide to Proper Mushroom Cleaning