

Starting your mushroom growing journey doesn't require a degree in mycology or expensive laboratory equipment. With the right mushroom growing kit and a little guidance, anyone can harvest fresh, gourmet mushrooms at home within weeks of starting.
This comprehensive beginner's guide walks you through every step of growing mushrooms from a kit, from choosing your first species to troubleshooting common issues and celebrating your first harvest. Whether you're interested in functional mushrooms like Lion's Mane for cognitive health or culinary varieties like oyster mushrooms for your dinner table, you'll find everything you need to succeed right here.
Growing mushrooms is surprisingly simple once you understand the basics. Unlike traditional gardening, mushroom cultivation happens indoors in controlled environments, making it perfect for apartments, kitchens, and homes without outdoor space. Let's transform you from curious beginner to confident mushroom grower.
Why Mushroom Growing Kits Are Perfect for Beginners
Mushroom growing kits eliminate the most challenging aspects of cultivation that intimidate newcomers. Here's why they're the ideal starting point for your mushroom journey.
Pre-Colonized Substrates Save Time and Complexity
Traditional mushroom cultivation requires sterilizing substrates, handling spores, and waiting weeks for colonization. Grow kits arrive with substrates already fully colonized by healthy mycelium, the vegetative part of the fungus that produces mushrooms.
This means you skip the technical processes that cause most beginner failures and start at the exciting fruiting stage where mushrooms actually appear. Your kit is essentially ready to produce mushrooms the moment you unbox it.
Reduced Contamination Risks
Contamination from mold and bacteria ruins more beginner grows than any other factor. Quality mushroom kits are prepared in controlled, sterile environments, dramatically reducing contamination risks compared to DIY approaches.
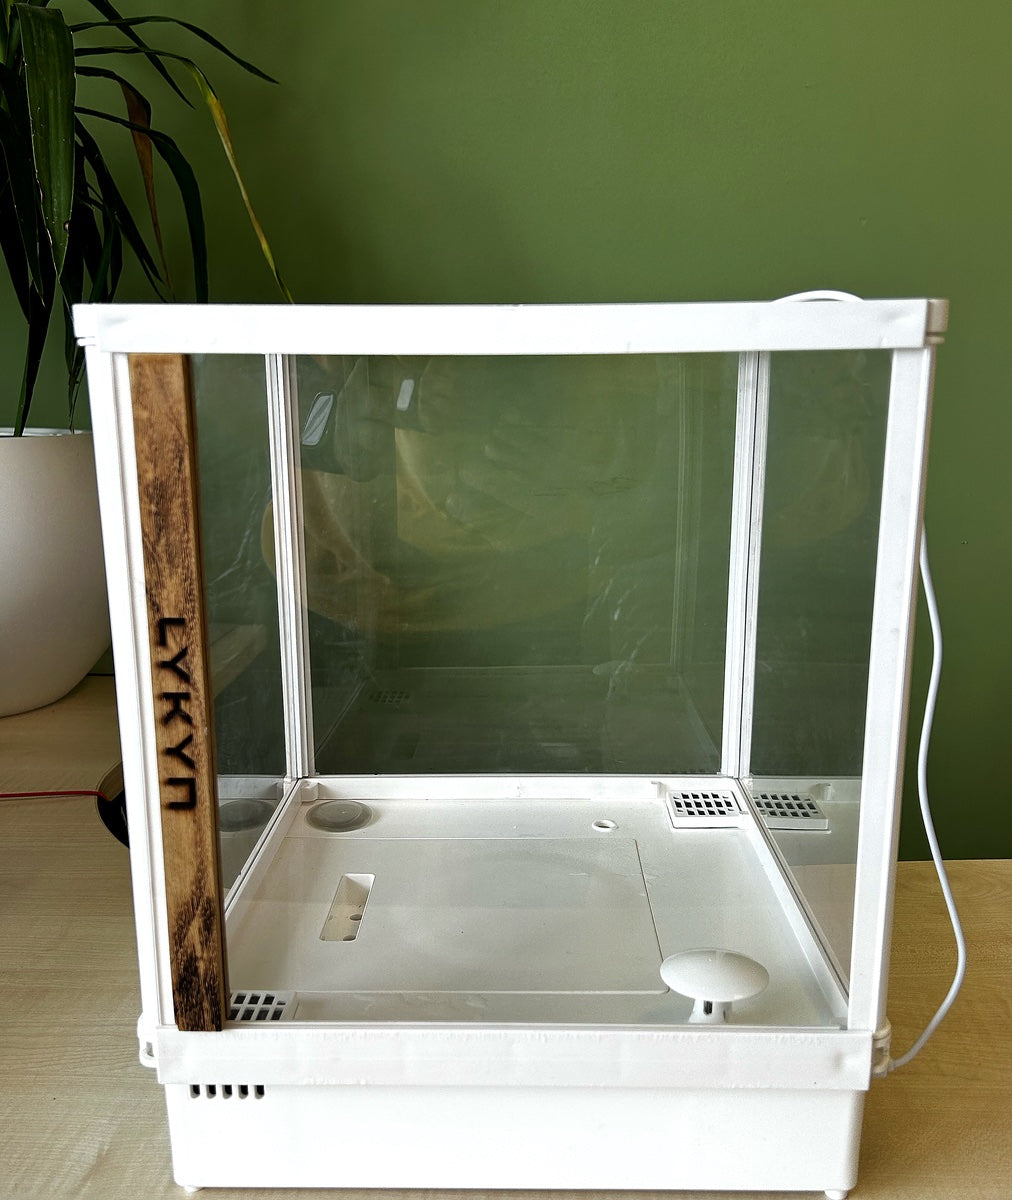
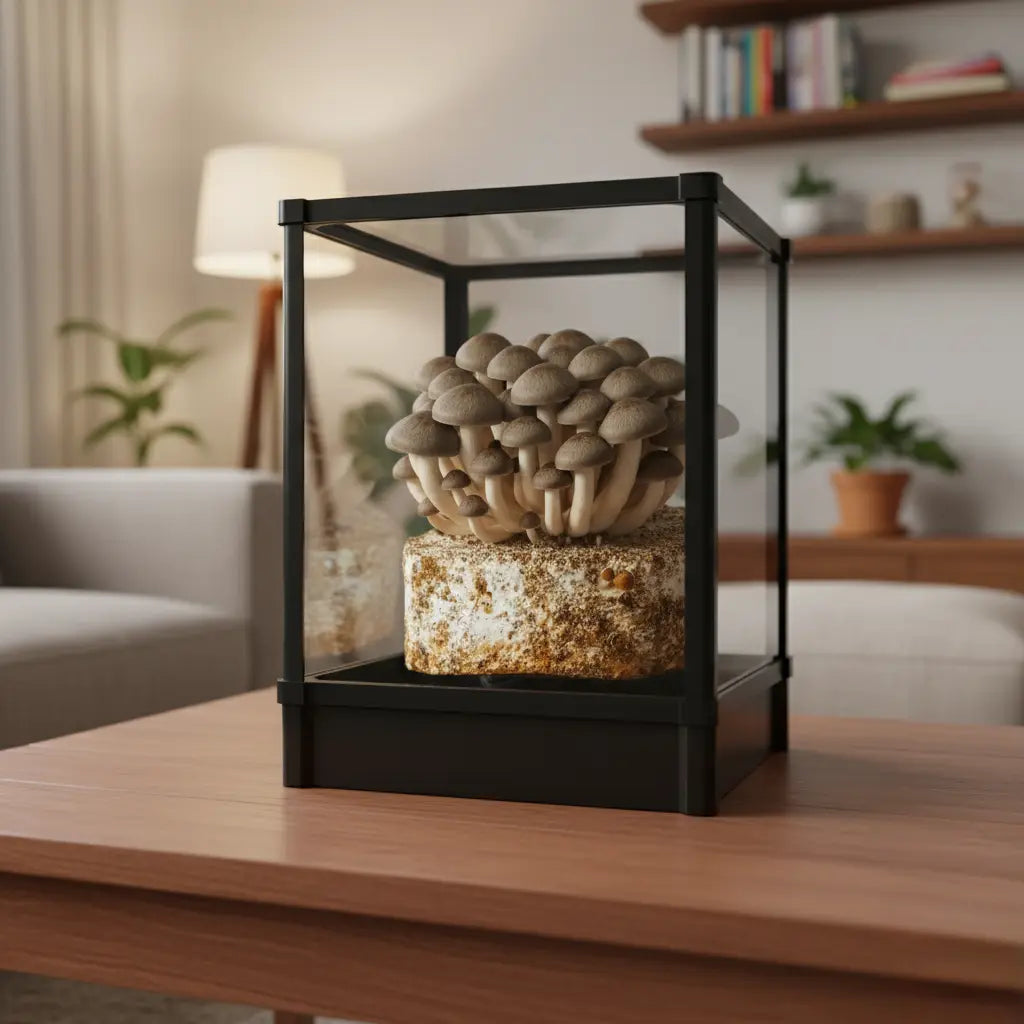
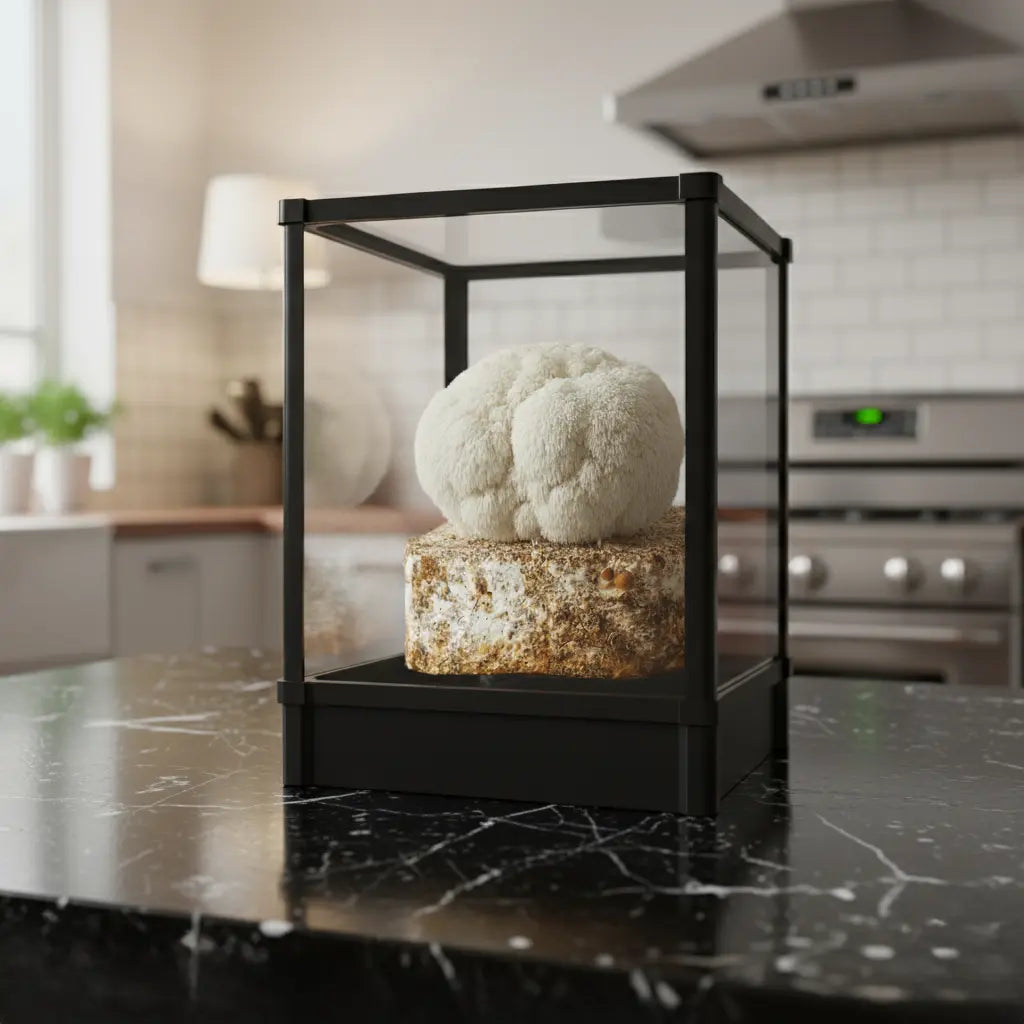
The LYKYN Smart Mushroom Grow Kit takes this protection even further with sealed air intake and sealed growing chambers that eliminate repeated exposure to environmental contaminants during the growing process.
Quick Results Build Confidence
Nothing motivates like success. Most mushroom grow kits produce visible results within 7-14 days. Watching your first mushroom pins emerge creates excitement that carries you through the entire cultivation journey.
This rapid gratification is perfect for beginners who might lose interest in hobbies requiring months before seeing results. You'll harvest edible mushrooms from your first kit within 2-3 weeks of starting.
Learning Without Major Investment
Entry-level mushroom kits cost between $20-40, making them low-risk experiments. If you discover mushroom growing isn't for you, you've invested minimal money. If you love it, and most people do, you can expand to larger systems or smart automated chambers that make regular growing even easier.

Choosing Your First Mushroom Species
Not all mushrooms are equally beginner-friendly. Start with forgiving species that tolerate minor mistakes while you learn the fundamentals.
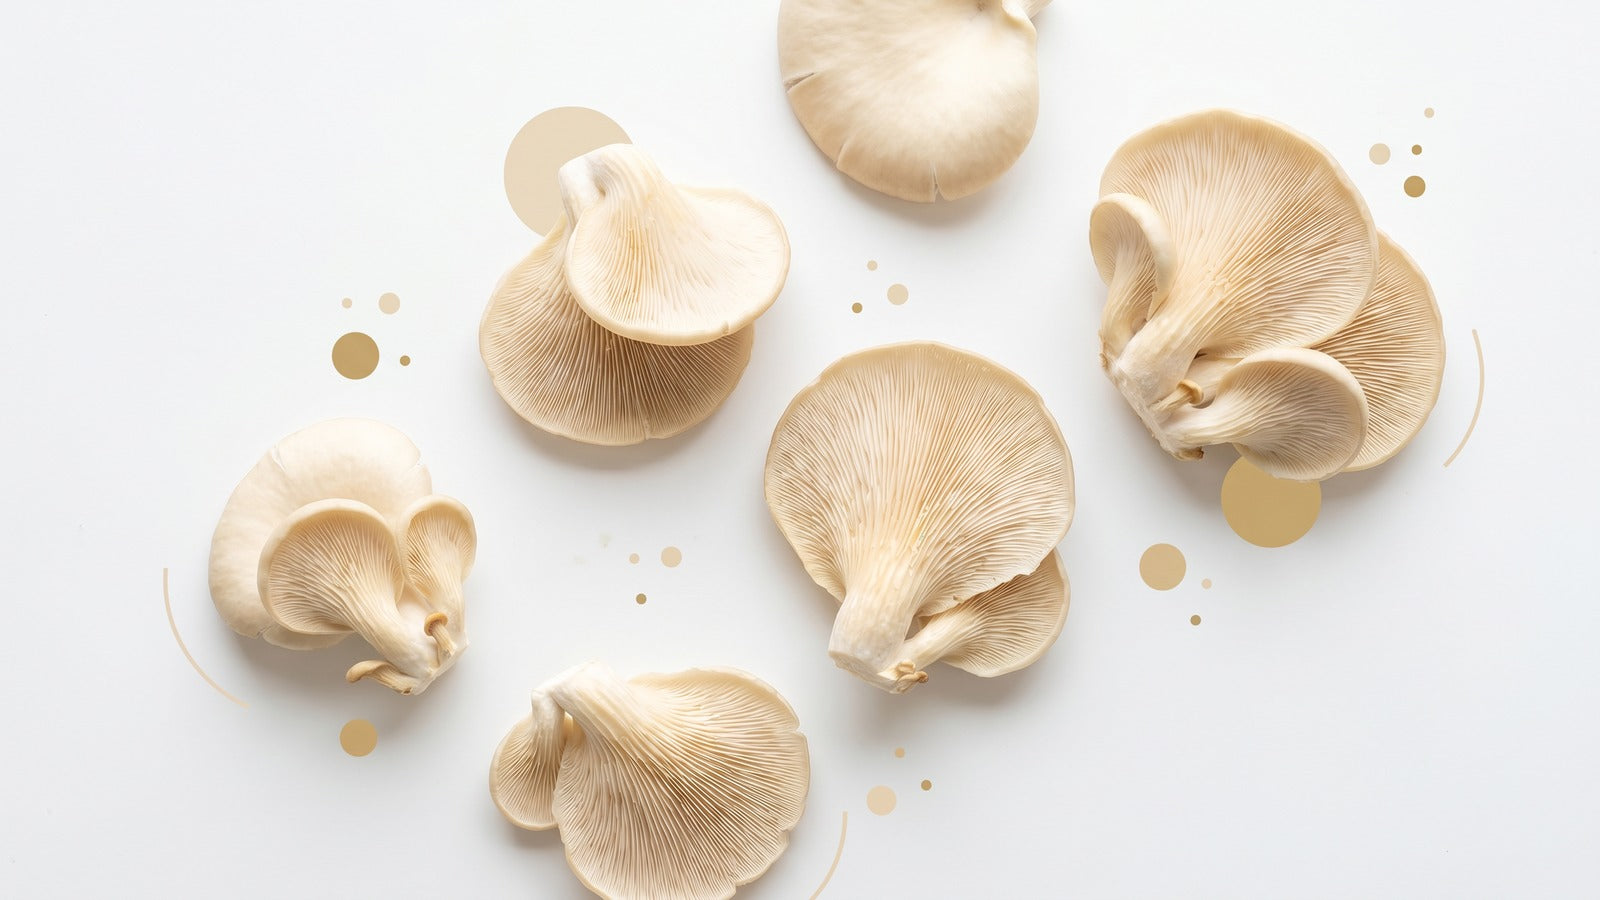
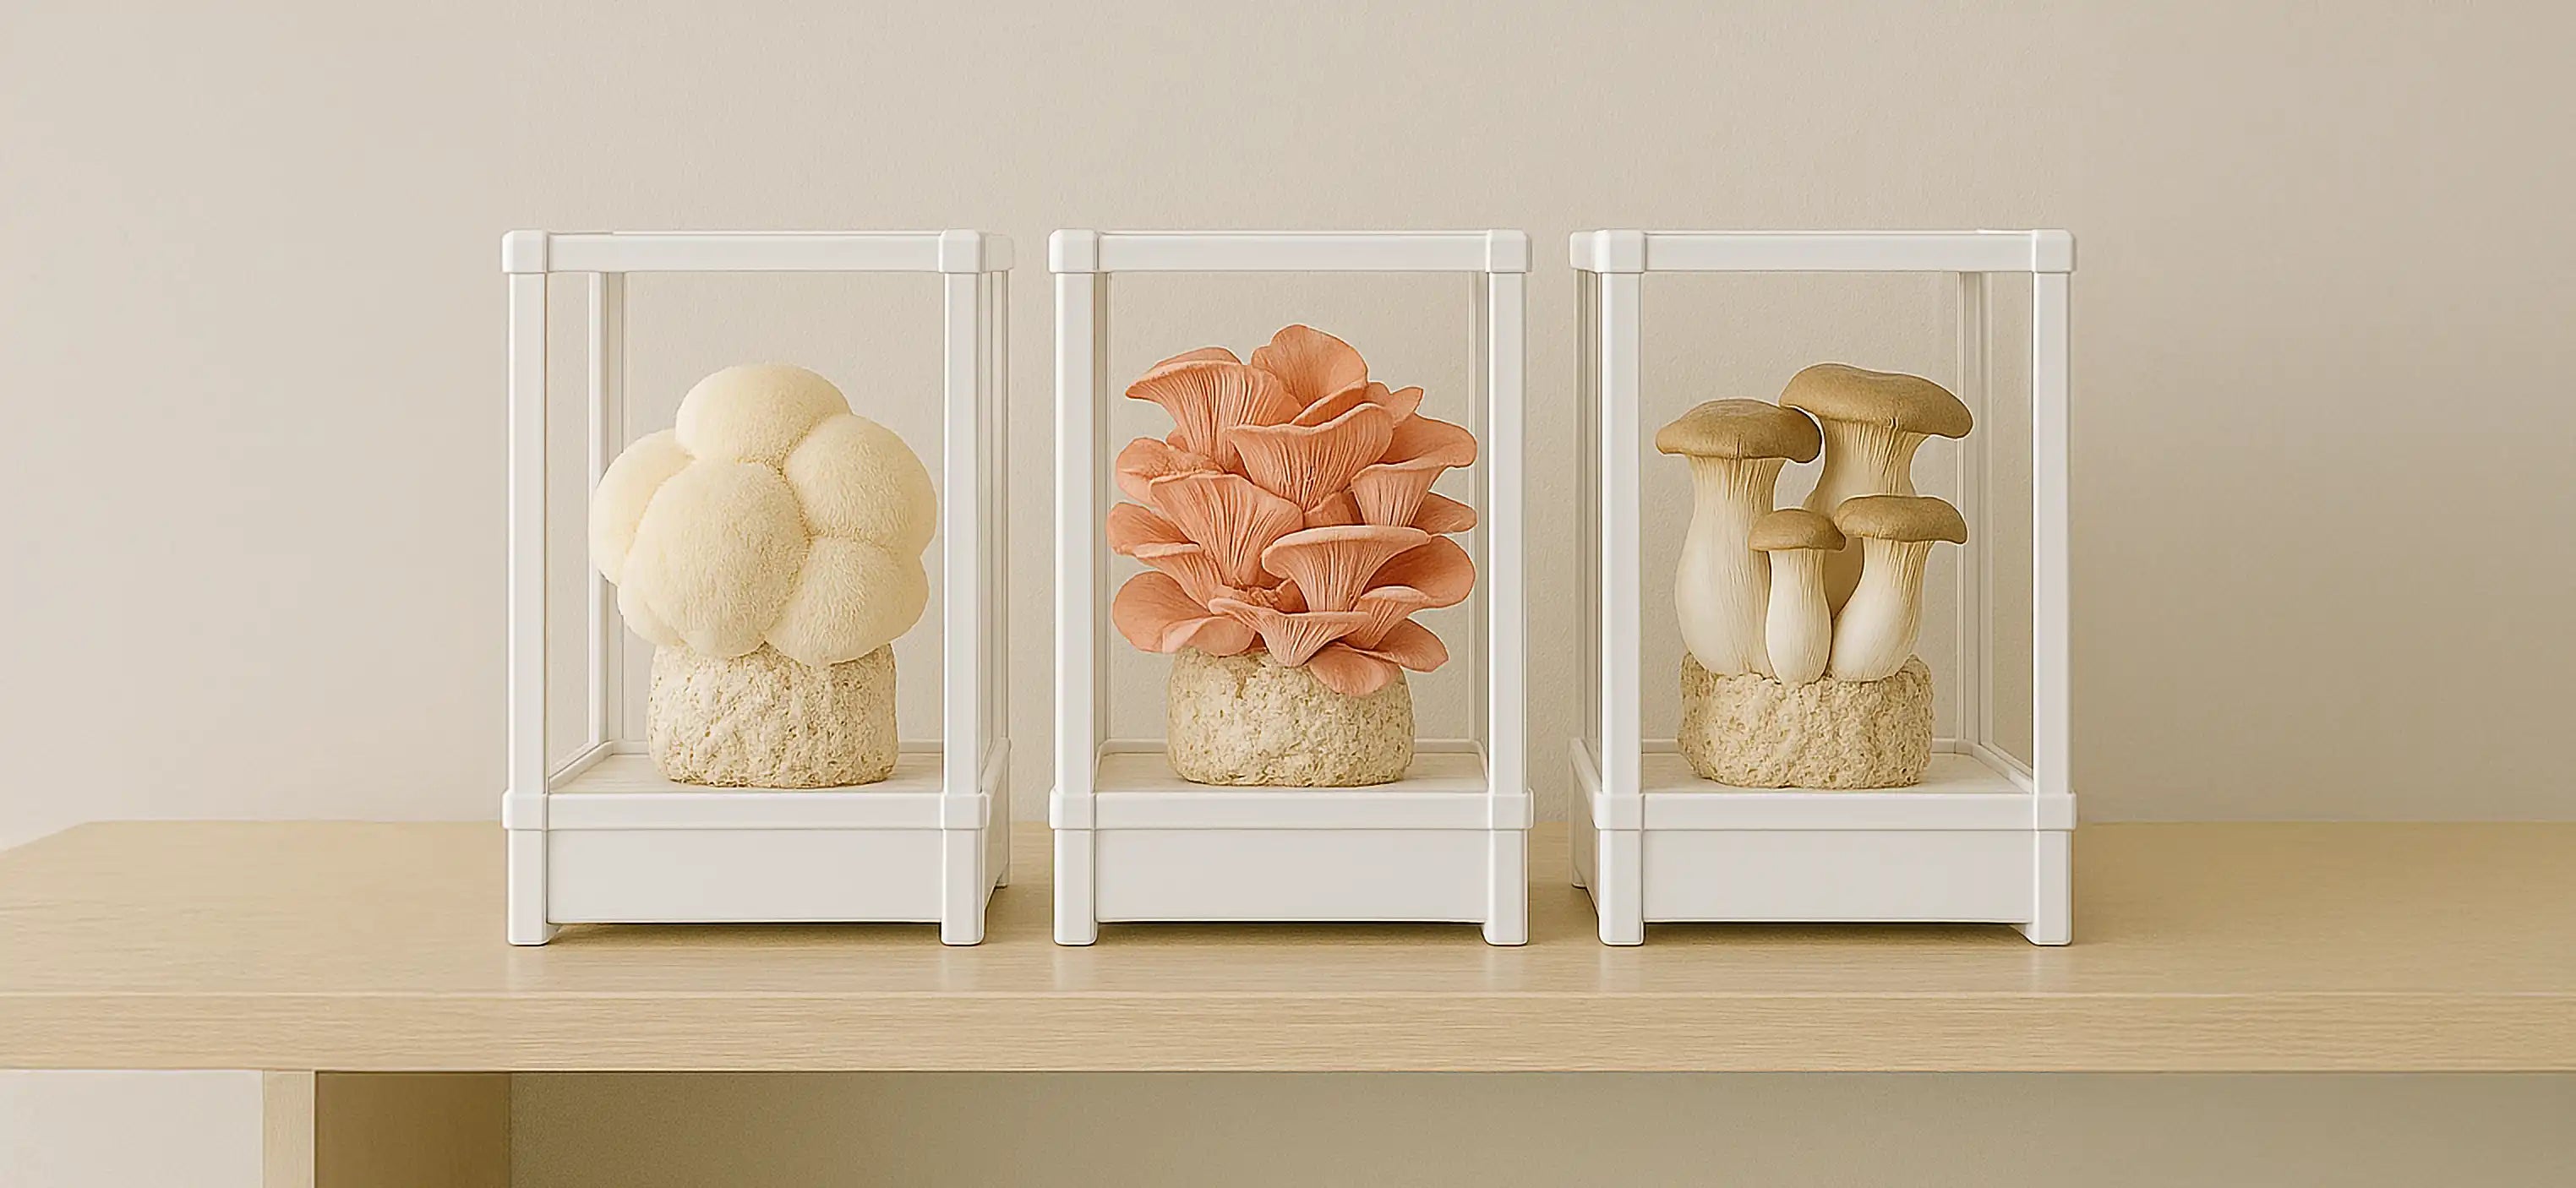
Oyster Mushrooms: The Ultimate Beginner Choice
Oyster mushrooms (Pleurotus species) earn universal recommendations for first-time growers. They're incredibly resilient, grow quickly, tolerate temperature fluctuations, and produce abundant yields.
Variety Options:
- Blue Oyster: Beautiful deep blue color, thrives in cooler temperatures (55-65°F)
- Pink Oyster: Vibrant pink mushrooms, prefers warmer conditions (70-85°F)
- Golden Oyster: Bright yellow clusters, grows fast with mild flavor
- Pearl Oyster: Classic variety, most forgiving of environmental variations
Oyster mushrooms often pin within 7-10 days and grow so rapidly they double in size every 24 hours. This quick feedback helps beginners understand cause-and-effect relationships in mushroom cultivation.
Shiitake Mushrooms: Easy and Flavorful
Shiitake mushrooms rank second for beginner friendliness. They take slightly longer than oysters (10-14 days to pinning) but offer incredible flavor that elevates any dish.
Shiitake prefer cooler temperatures around 60-70°F, making them ideal for basement growing or homes with cooler ambient temperatures. They're also more forgiving about humidity fluctuations than some species.
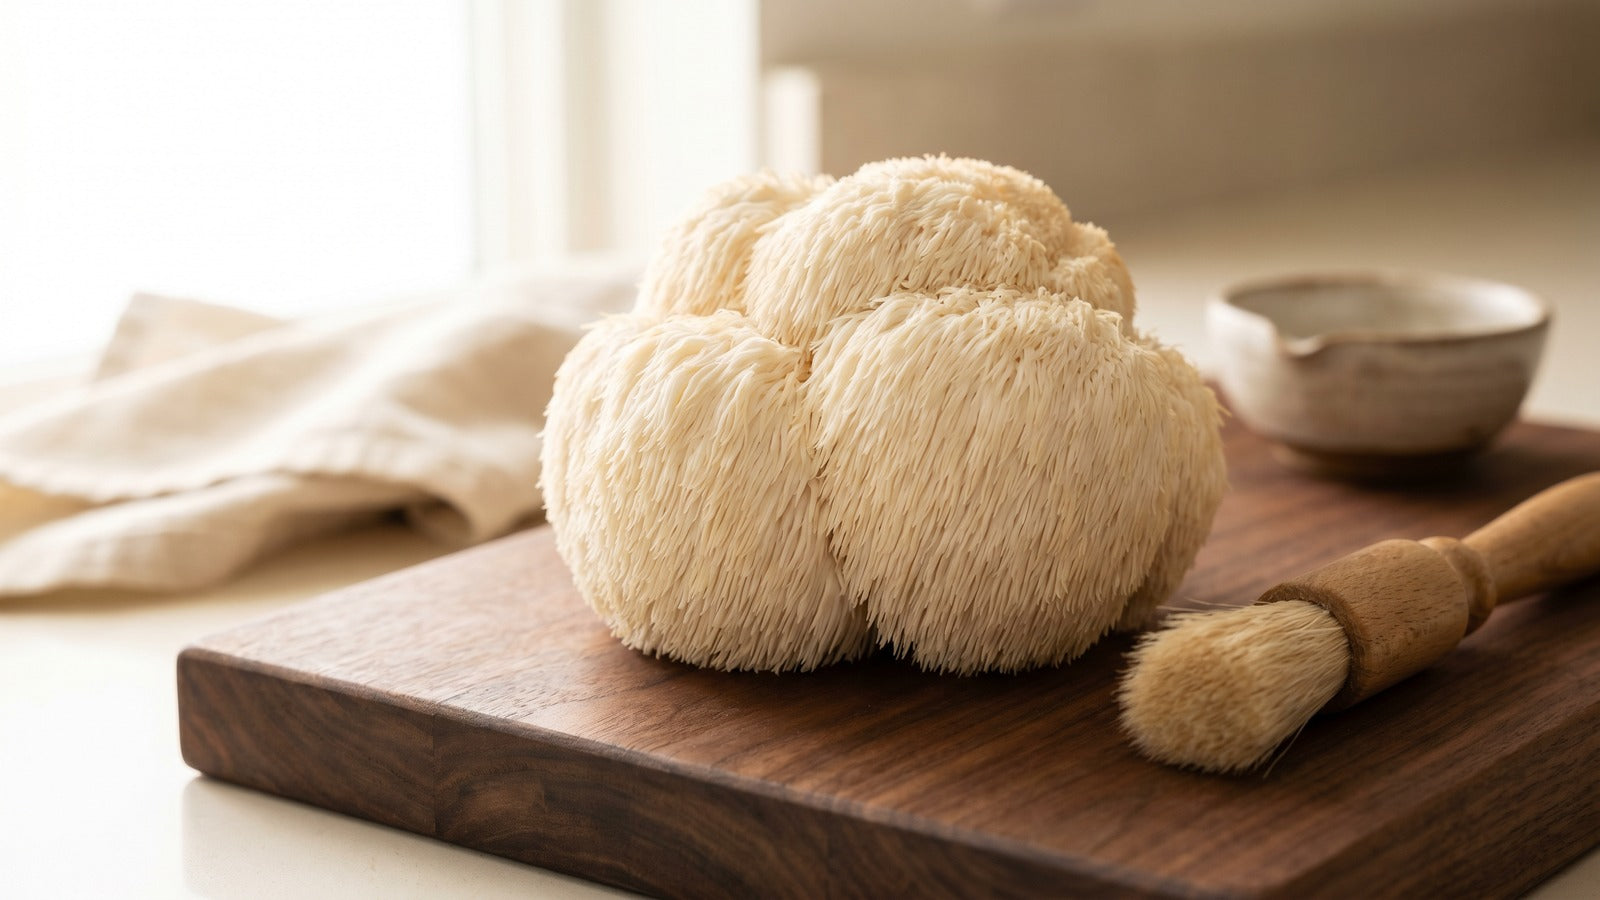
Lion's Mane: Beautiful But Slightly Challenging
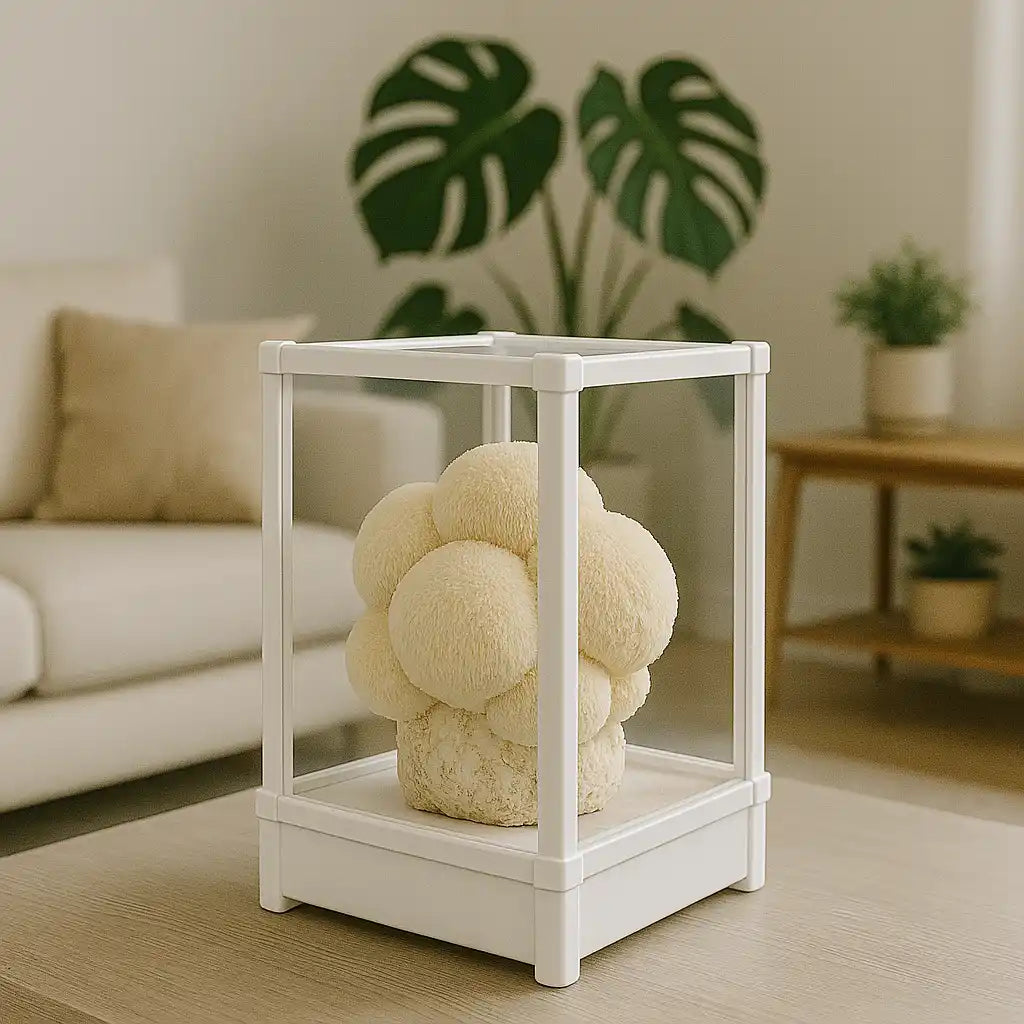
Lion's Mane mushrooms create stunning cascading white clusters that resemble their namesake. While manageable for beginners, they demand higher humidity levels than oysters and are prone to drying out.
If you're drawn to Lion's Mane for its cognitive benefits, consider using an automated humidity system like the LYKYN chamber rather than manual misting. This ensures the consistent moisture Lion's Mane requires. Check our detailed Lion's Mane mushroom cultivation guide for species-specific tips.
Save These for Later
Avoid these species until you've successfully grown easier varieties:
- Reishi: Requires specific conditions and long growing periods
- Maitake: Extremely finicky about environmental parameters
- Turkey Tail: While not difficult, requires special preparation for consumption (see our guide on how to prepare turkey tail mushrooms)
Understanding What's in Your Mushroom Growing Kit
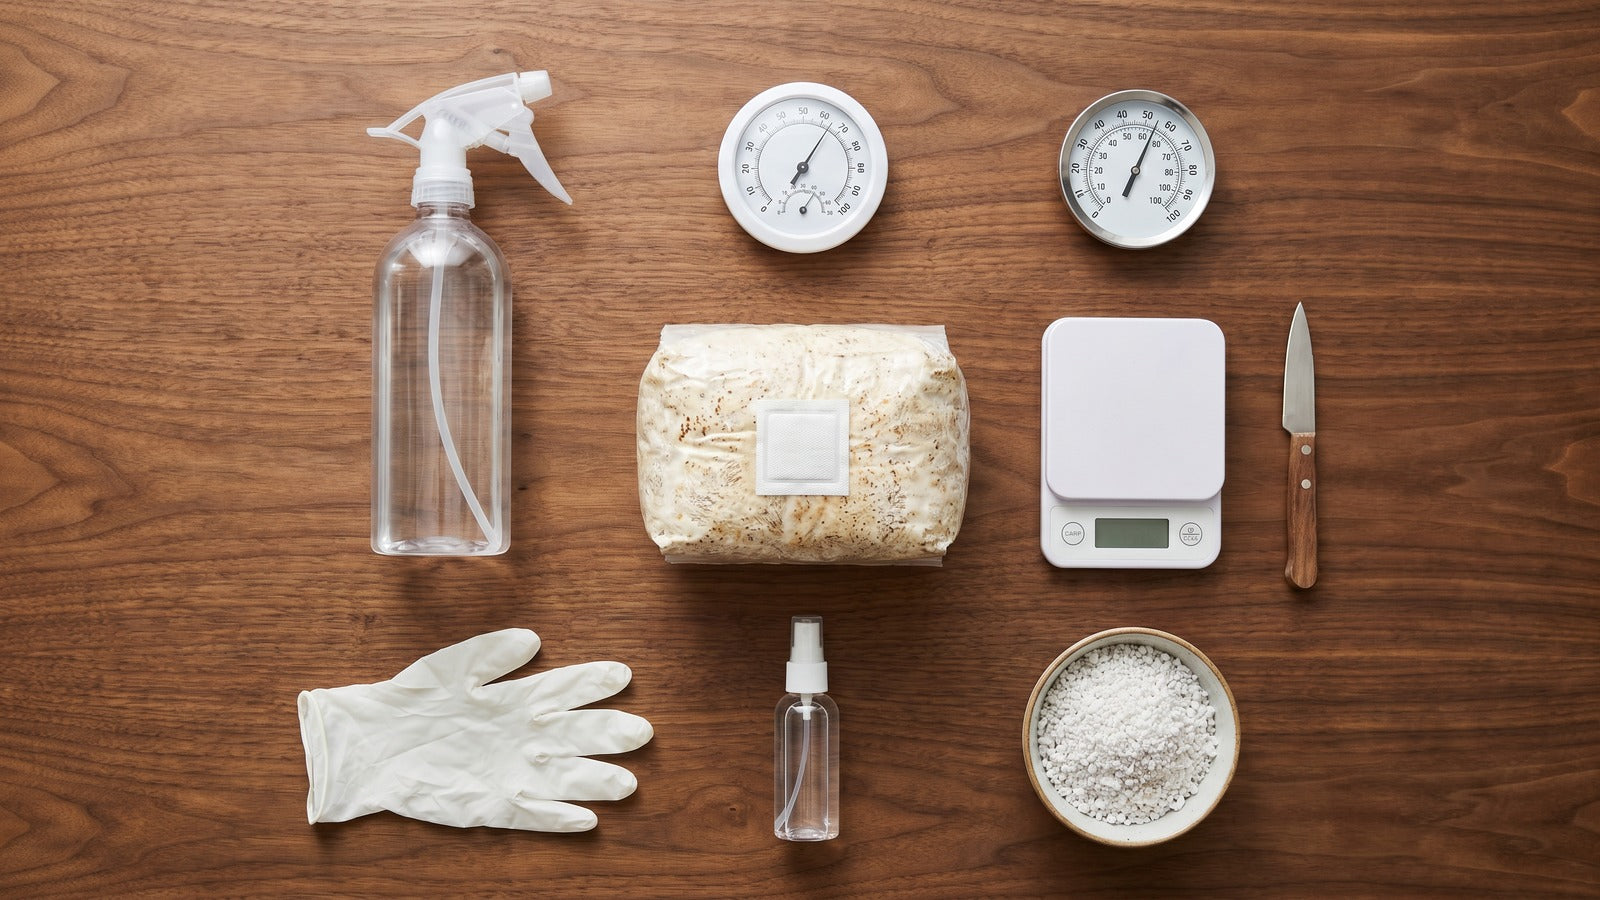
Knowing what you're working with helps you use your kit effectively. Most mushroom growing kits include several key components.
The Substrate Block
The substrate block is the foundation of your kit, a solid mass of growing medium completely colonized by white mycelium. Common substrate materials include:
- Sawdust: Most common, works well for oysters and shiitake
- Straw: Often used for oyster varieties
- Supplemented hardwood: Enhanced with nutrients for higher yields
- Master mix: Premium blend of hardwood and soy hulls
The substrate arrives sealed in a plastic bag to maintain moisture and prevent contamination. You'll open this bag according to kit instructions when you're ready to begin fruiting.
The Humidity Tent or Dome
Most kits include a clear plastic bag or container that functions as a humidity tent. This creates a micro-environment around your growing substrate that maintains the high humidity (85-95%) mushrooms need to develop properly.
The tent should have holes or be loosely placed to allow fresh air exchange while retaining moisture. Too tightly sealed and carbon dioxide builds up; too open and humidity escapes.
Spray Bottle
Manual kits include or require a fine-mist spray bottle for maintaining humidity. You'll mist your mushrooms 2-3 times daily to keep the growing environment moist.
Automated systems like the LYKYN Smart Mushroom Grow Kit eliminate the spray bottle requirement by maintaining humidity automatically through integrated humidifiers and sensors.
Growing Instructions
Quality kits provide clear, species-specific instructions with photos or videos. These guide you through setup, daily care, harvesting, and obtaining multiple flushes from your block.
Read instructions completely before starting. Each mushroom species has unique requirements, and following directions precisely maximizes your success chances.
Step-by-Step: Setting Up Your First Mushroom Kit
Follow this process to get your mushroom kit producing. While specific steps vary by kit and species, this general workflow applies to most beginner kits.
Step 1: Choose the Right Location
Mushroom placement significantly impacts success. Find a spot with these characteristics:
Indirect Light: Mushrooms need ambient light but not direct sunlight, which dries them out. Near a north-facing window, on a kitchen counter away from windows, or under ambient room lighting all work well.
Stable Temperature: Most mushrooms prefer 60-75°F. Avoid areas near heating vents, drafty doors, or cold basement floors.
Accessible for Daily Care: You'll check and mist your kit daily, so choose a convenient location you pass frequently.
Good Air Circulation: Mushrooms need fresh air but not direct drafts. A room with normal air movement is perfect; avoid closets or tightly enclosed spaces.
Many successful growers place kits on kitchen counters near sinks, convenient for misting and naturally humid from sink use.
Step 2: Prepare Your Kit
Carefully unbox your kit and remove components. Wash your hands thoroughly with soap before handling anything, cleanliness prevents contamination.
For Traditional Block Kits:
- Remove the substrate block from its packaging
- Follow instructions to rehydrate if needed (some blocks require soaking for 4-12 hours)
- Using clean scissors, cut an X or U shape into the plastic bag where indicated
- Place the block inside the humidity tent or box provided
For Smart Automated Systems:
- Assemble the chamber according to instructions
- Fill the water reservoir for the humidifier
- Place your mushroom block inside on the designated platform
- Select your mushroom species in the smartphone app
- Let automation handle the rest
Step 3: Begin Daily Maintenance
Your daily routine depends on your kit type.
Manual Kit Routine:
- Morning and evening: Mist the inside of the humidity tent until you see water droplets forming, avoiding direct spraying on developing mushrooms
- Check for pins: Look for small mushroom buds beginning to form
- Monitor moisture: The substrate should appear moist but not waterlogged
- Ensure ventilation: Open the humidity tent briefly if condensation becomes excessive
Automated Kit Routine:
- Check water levels: Refill the humidifier reservoir when needed (every 3-7 days typically)
- Monitor through app: View current conditions and adjust if desired
- Observe growth: Watch your mushrooms develop without manual intervention
Step 4: Watch for Pinning
"Pinning" describes the exciting moment when tiny mushroom primordia appear. These small bumps rapidly develop into recognizable mushroom shapes.
Pinning typically occurs 7-14 days after setup for most species. Once pinning begins, mushrooms grow incredibly fast, often doubling in size every 24 hours.
During this rapid growth phase, maintaining consistent humidity becomes critical. Automated systems excel here, as manual misting can't always match mushroom growth speed.
Step 5: Harvest at Peak Maturity
Knowing when to harvest maximizes flavor and encourages subsequent flushes.
Harvest Timing by Species:
- Oyster mushrooms: Just before or as caps begin to flatten and edges curl upward
- Shiitake: When caps are 70-80% open but before they flatten completely
- Lion's Mane: When the cluster is full and dense, before yellowing or developing brown tips
Harvesting Technique:
- Wash hands thoroughly
- Grasp the mushroom cluster at the base
- Twist and pull gently to remove the entire cluster
- Avoid cutting if possible, twisting removes the entire base and prevents rot
Never leave mushroom stumps on the block, as they can harbor bacteria and prevent new growth.
Step 6: Initiate Additional Flushes
Most blocks produce 2-4 flushes of mushrooms. After harvesting your first flush, rehydrate your block to trigger another round.
Rehydration Process:
- Remove the block from its bag
- Submerge in cold water for 4-12 hours (species-specific timing varies)
- Drain excess water completely
- Return to humidity tent or chamber
- Resume misting/automated care
- Wait 7-14 days for the next flush
Yields typically decrease with each subsequent flush, but you'll still harvest plenty of delicious mushrooms from flushes 2-4.

Common Beginner Mistakes and How to Avoid Them
Learning from others' mistakes saves time and frustration. Here are the most frequent errors new growers make.
Mistake 1: Insufficient Humidity
The Problem: Mushrooms are 90% water and need extremely humid environments (85-95% relative humidity). Insufficient humidity causes mushrooms to dry out, stop growing, or develop cracked, discolored caps.
The Solution: Mist religiously if using manual kits, twice daily minimum, three times for demanding species like Lion's Mane. If you struggle with consistency, consider upgrading to an automated system like the LYKYN chamber that maintains perfect humidity continuously.
Mistake 2: Poor Air Exchange
The Problem: Mushrooms consume oxygen and produce carbon dioxide. Inadequate fresh air exchange causes CO2 buildup, resulting in mushrooms with tiny caps and long, stringy stems, a condition called "reaching."
The Solution: Ensure your humidity tent has adequate ventilation holes. Open it briefly several times daily to exchange air. Smart systems with built-in fans eliminate this concern by providing continuous, filtered fresh air exchange.
Mistake 3: Direct Sunlight Exposure
The Problem: Direct sunlight rapidly dries out mushrooms and can overheat substrates, killing mycelium or causing abnormal growth.
The Solution: Place kits in locations with indirect, ambient light. Mushrooms need light as a growth trigger but don't photosynthesize like plants. Indirect natural light or normal room lighting provides sufficient illumination.
Mistake 4: Over-Watering
The Problem: While mushrooms need humidity, waterlogged substrates promote mold growth and prevent oxygen from reaching mycelium. Substrate should be moist like a wrung-out sponge, not soggy.
The Solution: Mist the air inside your humidity tent rather than soaking the substrate directly. If water pools at the bottom of your kit, you've misted too much, improve drainage and reduce misting frequency.
Mistake 5: Harvesting Too Early or Too Late
The Problem: Premature harvesting means smaller yields and underdeveloped flavor. Waiting too long causes mushrooms to release spores (creating mess), develop tough texture, and signal the substrate to stop producing.
The Solution: Learn species-specific harvest indicators. Generally, harvest when caps are nearly flat but before they turn upward at edges. When in doubt, harvest slightly early rather than late.
Mistake 6: Poor Contamination Prevention
The Problem: Dirty hands, unclean workspaces, or contaminated misting water introduce mold spores and bacteria that outcompete your mushroom mycelium.
The Solution: Always wash hands before handling kits. Use clean or filtered water in spray bottles. Don't breathe directly into grow bags. Maintain clean growing areas. Consider the contamination protection that sealed, sealed systems provide.
Mistake 7: Impatience
The Problem: Beginners often expect immediate results and give up when mushrooms don't appear within days. Different blocks and species have varying timelines.
The Solution: Trust the process. If you're providing proper conditions, mushrooms will come. Some blocks take 14+ days to pin, especially in cooler temperatures. Be patient and consistent with care.
Troubleshooting Common Issues
Even with perfect care, occasional problems arise. Here's how to address them.
Issue: White Fuzzy Growth on Substrate
What it means: This is usually healthy aerial mycelium, not mold. The mycelium is consolidating on the surface, often preceding mushroom formation.
Action: Continue normal care. This is a positive sign that pinning may be imminent. If it's truly mold (usually green, black, or pink coloration), the block is contaminated and should be composted.
Issue: Long Stems, Tiny Caps
Cause: Insufficient fresh air exchange causing CO2 buildup. Mushrooms elongate their stems searching for oxygen.
Fix: Increase ventilation in your humidity tent. Open it more frequently or add additional air holes. If using an enclosed space, move your kit to a location with better air circulation.
Issue: Brown, Cracked Caps
Cause: Humidity too low or direct sunlight exposure drying out developing mushrooms.
Fix: Increase misting frequency, relocate away from direct light, or consider adding a dish of water near your kit to raise ambient humidity. Automated humidity control solves this problem definitively.
Issue: No Pinning After 2+ Weeks
Possible causes:
- Temperature too far from species ideal range
- Insufficient light stimulation
- Block needs rehydration (was stored too long)
- Substrate not fully colonized
Fixes:
- Verify temperature is in proper range for your species
- Move to brighter (but still indirect) location
- Try cold-shocking by refrigerating for 24 hours, then returning to growing location
- Ensure proper light exposure (12 hours daily)
Issue: Yellow Liquid in Bag
What it means: These are metabolites, byproducts from the mycelium digesting substrate. Sometimes produced to fight contamination.
Action: Usually harmless. Continue growing and drain excess liquid if it pools. If accompanied by foul smell or obvious mold, the block may be contaminated.
Maximizing Your Harvest: Advanced Tips
Once you've mastered the basics, these tips optimize yields and quality.
Create a Humidity Indicator: Place a hygrometer near your kit to monitor actual humidity levels. This objective data helps you adjust misting frequency precisely.
Temperature Cycling: Some growers report increased pinning from brief cold exposure (refrigeration for 12-24 hours) followed by return to normal growing temperature.
Harvest Timing: Pick mushrooms in the morning when they're hydrated and firm. Morning-harvested mushrooms often store longer than those picked later in the day.
Multiple Blocks Rotation: Once comfortable, run 2-3 blocks staggered by 1-2 weeks. This creates continuous harvests rather than feast-or-famine production.
Save Your Best: If a particular block produces exceptionally well, you can take a tissue culture to preserve that genetics for future grows, though this ventures beyond beginner territory.
From Harvest to Kitchen: Using Your Mushrooms
Your hard work deserves delicious payoff. Here's how to handle your fresh harvest.
Proper Storage
Short-term (3-7 days): Store fresh mushrooms in paper bags in the refrigerator. Paper allows moisture to escape, preventing slime while maintaining freshness.
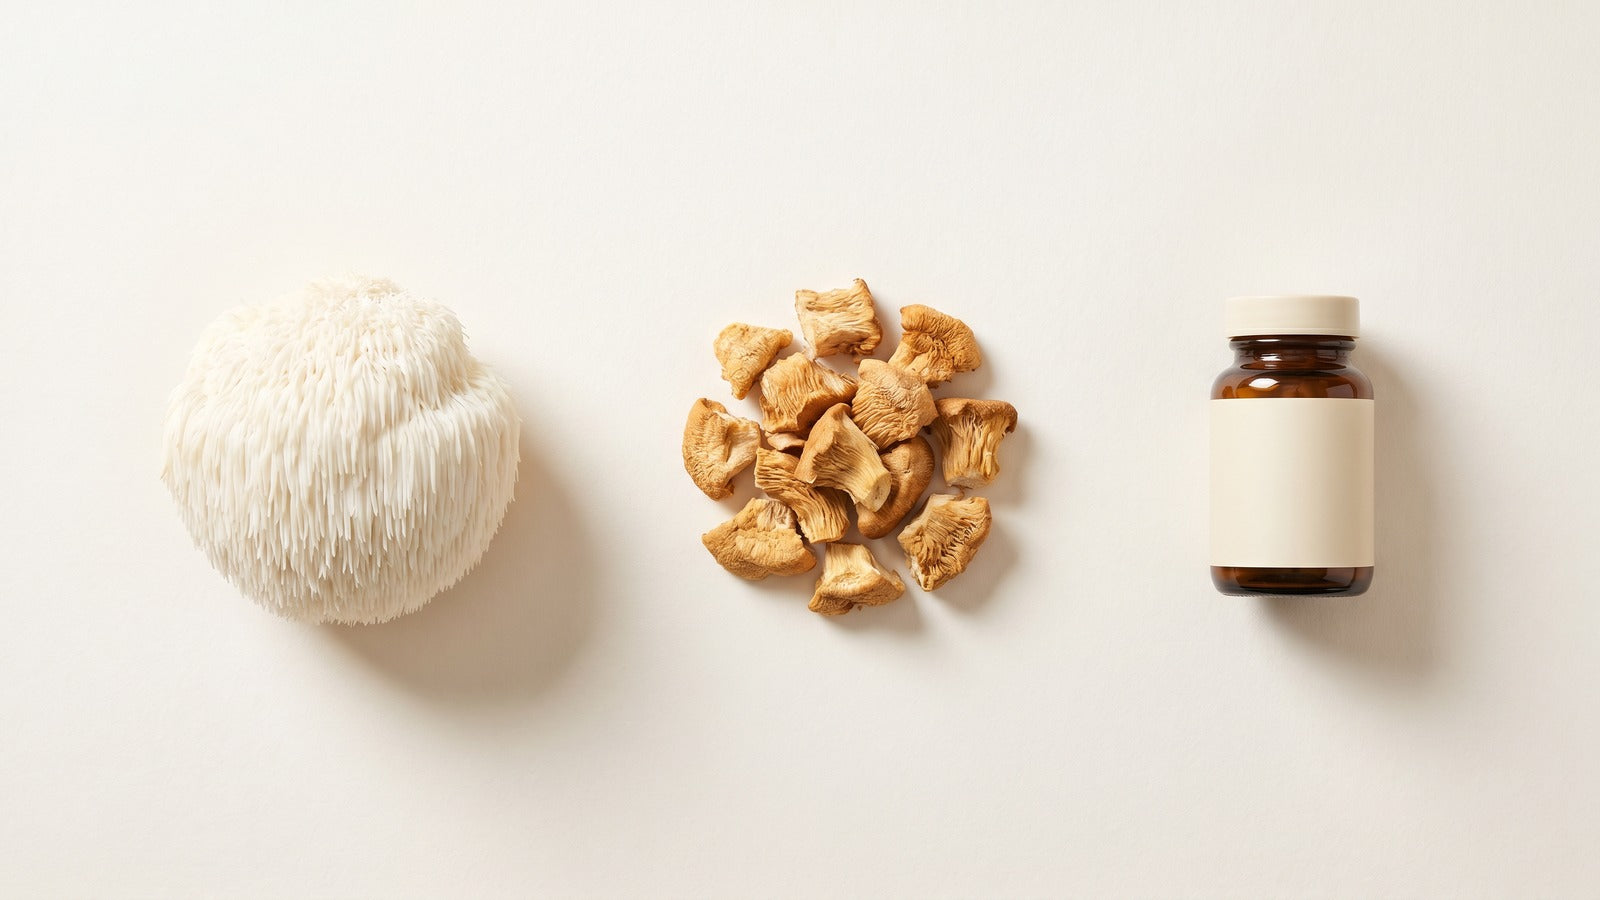
Long-term: Dry mushrooms using a food dehydrator at 110-125°F until crispy. Store dried mushrooms in airtight containers away from light. They'll keep for months and can be rehydrated for cooking or ground into powder for supplements.
Cooking Tips
Always cook mushrooms before eating, even homegrown varieties. Cooking breaks down chitin (the tough cell wall material) making nutrients more bioavailable and improving digestibility.
When trying a new species for the first time, eat a small portion initially to check for any unexpected sensitivities or allergies.
Recipe Ideas:
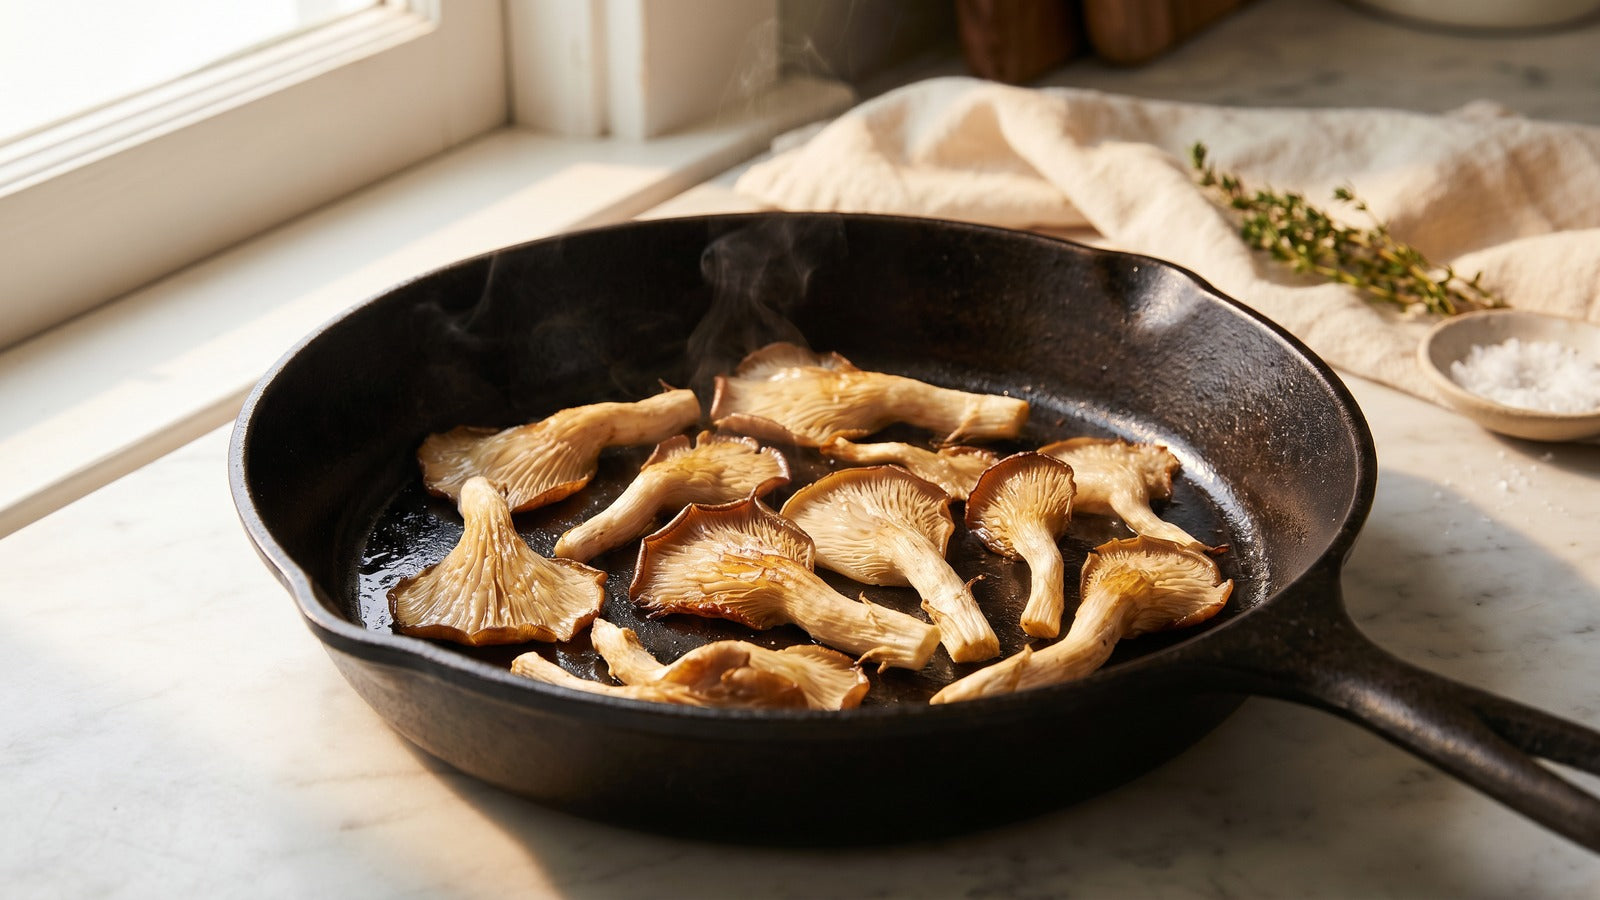
- Sauté oyster mushrooms with butter, garlic, and fresh herbs
- Add shiitake to stir-fries and ramen
- Create Lion's Mane "crab cakes" using its seafood-like texture
- Make mushroom stock from stems and trimmings
For medicinal varieties like turkey tail, see our guide on preparing turkey tail mushrooms for tea and tincture preparation.
Frequently Asked Questions About Mushroom Growing Kits
How long does a mushroom growing kit last?
Most mushroom growing kits produce 2-4 flushes (harvest cycles) over 6-10 weeks before the substrate exhausts its nutrients. Each flush typically comes 7-14 days after the previous harvest and rehydration. First flushes usually produce the highest yields, with subsequent flushes decreasing in size. After the final flush, compost the spent substrate, it makes excellent garden amendment. The equipment (humidity tents, chambers, spray bottles) lasts indefinitely and can be used with fresh substrate blocks.
Do I need any special equipment besides the kit?
Basic mushroom grow kits typically include everything needed for your first grow: substrate block, humidity tent, and instructions. You may want to purchase a spray bottle if one isn't included (fine-mist type works best). Optional but helpful items include a small hygrometer to monitor humidity, a thermometer for temperature tracking, and clean scissors for harvesting. Advanced growers benefit from smart automated systems like the LYKYN chamber that include all environmental controls built-in.
Can I grow mushrooms in my apartment or small space?
Absolutely! Mushroom cultivation is ideal for apartments and small spaces. Kits fit comfortably on kitchen counters, shelves, or small tables, typically occupying less than one square foot. Unlike traditional gardening, mushroom growing doesn't require outdoor space, direct sunlight, or large equipment. The compact nature of mushroom kits makes them perfect for urban dwellers. Many successful growers operate multiple kits in studio apartments or dorm rooms. Smart systems like LYKYN are specifically designed with elegant aesthetics suitable for visible placement in living spaces.
What should I do with my kit between flushes?
After harvesting a flush, your substrate needs rehydration before producing again. Remove the block from its bag and submerge in cold, clean water for 4-12 hours (timing varies by species). This rehydrates the mycelium and triggers another fruiting cycle. After soaking, drain completely and return the block to its humidity tent or chamber. Resume normal misting or automated care. The block will rest for 7-14 days before producing the next flush. Some growers place blocks in the refrigerator during this rest period to simulate seasonal changes, though this is optional.
Why are my mushrooms growing funny shapes?
Abnormal mushroom shapes usually indicate environmental issues. Long, thin stems with tiny caps mean insufficient fresh air exchange, increase ventilation. Brown, cracked caps indicate low humidity or excessive light, mist more frequently and relocate away from direct sun. Fuzzy white coating on stems signals high CO2 levels, improve air circulation. Pale coloration suggests inadequate light, move to brighter (indirect) location. The beautiful news is that mushrooms grow so rapidly you can correct issues and still achieve good results. Subsequent flushes often grow perfectly once you've dialed in conditions. For detailed troubleshooting specific to Lion's Mane, see our Lion's Mane growth stages guide.
Key Takeaways: Your Path to Mushroom Growing Success
Starting with mushroom growing kits eliminates the complexity that stops many beginners before they begin. Pre-colonized substrates, clear instructions, and relatively quick results create an accessible entry point into mycology.
Success comes from choosing beginner-friendly species like oyster mushrooms, maintaining consistent humidity and fresh air exchange, providing indirect light, keeping temperatures stable in the 60-75°F range, and being patient while your first pins develop.
Manual kits work beautifully for people who can maintain twice-daily misting schedules and enjoy hands-on cultivation. Automated systems like the LYKYN Smart Mushroom Grow Chamber suit busy lifestyles, frequent travelers, or those growing demanding species requiring precise environmental control.
Most importantly, don't fear failure. Even experienced growers occasionally lose crops to contamination or environmental issues. Each grow teaches valuable lessons. Your second kit will be more successful than your first, and by your third or fourth, you'll understand the rhythms and requirements of mushroom cultivation intuitively.
Start Your Mushroom Growing Adventure Today
You're now equipped with everything needed to successfully grow mushrooms from a kit. The knowledge, tips, and troubleshooting guidance in this guide represent years of collective growing experience distilled into beginner-friendly format.
The LYKYN Smart Mushroom Grow Kit offers the easiest path to guaranteed success with full automation, app controls, and professional-grade environmental management. For detailed species-specific guidance, explore our comprehensive resources on growing Lion's Mane at home, turkey tail cultivation, and our complete beginner mushroom kit selection guide.
Don't wait to begin this rewarding journey. Order your first mushroom growing kit today and discover the satisfaction of harvesting fresh, nutritious mushrooms you've cultivated yourself. Join thousands of home growers who've transformed their kitchens into small-scale mushroom farms, your first harvest awaits!
Featured Snippet Summary
Mushroom growing kits are perfect for beginners because they include pre-colonized substrates ready to fruit, eliminating complex sterilization and inoculation steps. Start with oyster mushrooms (easiest species), provide indirect light, maintain 85-95% humidity through misting or automation, ensure fresh air exchange, and keep temperatures between 60-75°F. Most kits produce mushrooms within 10-14 days and yield 2-4 harvests over 6-10 weeks. Success requires consistent daily care or automated systems like LYKYN that maintain optimal conditions automatically.

Share:
Mushroom Types Food: Your Complete Guide to 15 Delicious Edible Varieties
Benefits of Using a Mushroom Growing Kit: 10 Compelling Reasons to Start Growing Today